
XBackBone User Guide: Lightweight File Manager
What is XBackBone?
XBackBone is a simple, self-hosted, lightweight PHP file manager that supports the instant sharing tool ShareX and *NIX systems. It supports uploading and displaying images, GIFs, videos, code, formatted text, PDFs, file downloads, and uploads. It also features a Web UI with multi-user management, a media library, and search support.
https://appstore.lazycat.cloud/#/shop/detail/xyz.mxue.xbackbone
How to Use
After the application is installed, initial setup is required upon first launch.
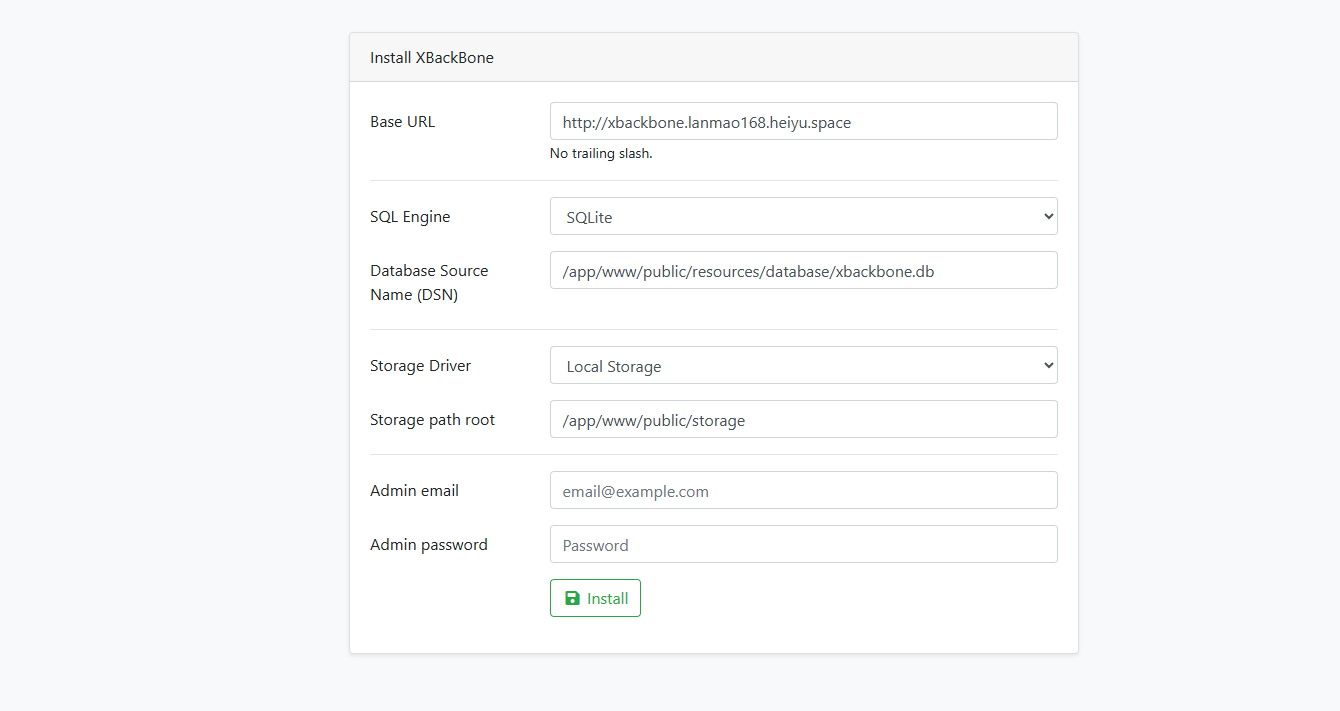
The default protocol here is HTTP. You must change this to HTTPS, otherwise subsequent pages will display incorrectly.
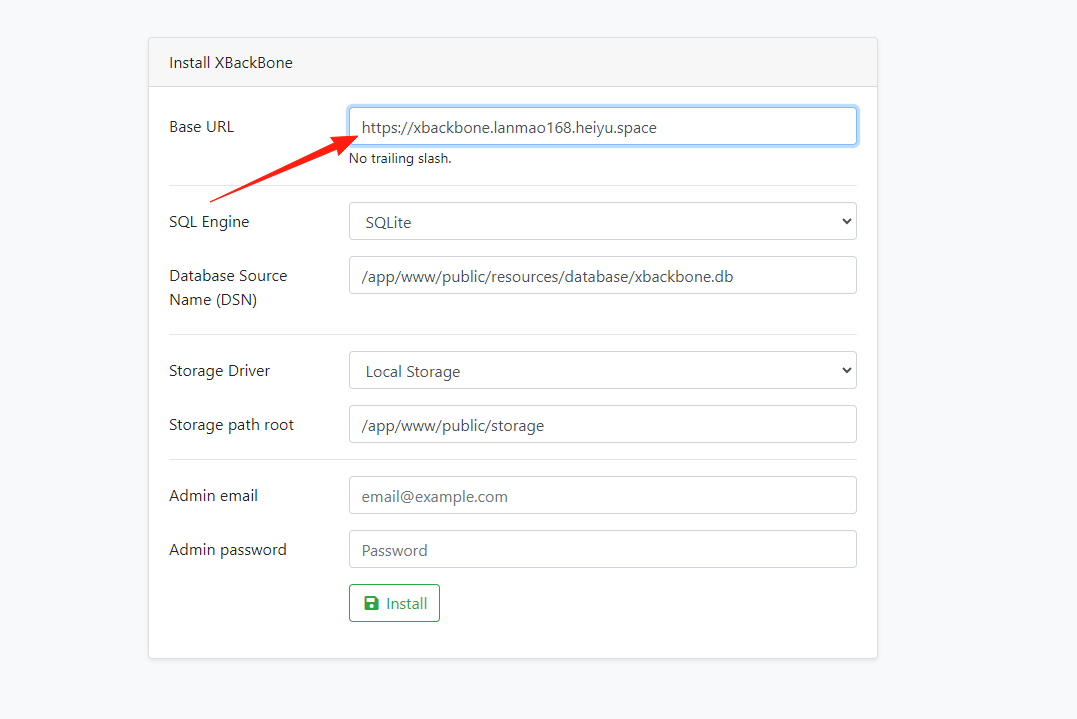 Fill in your email and password; you can leave the other settings as default.
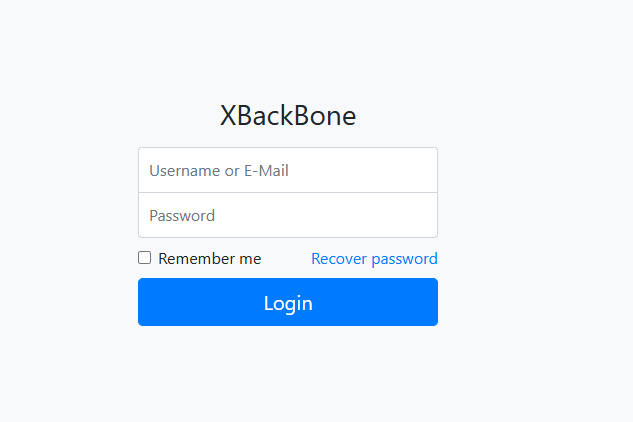
You will then be directed to the login page.
The homepage after logging in:
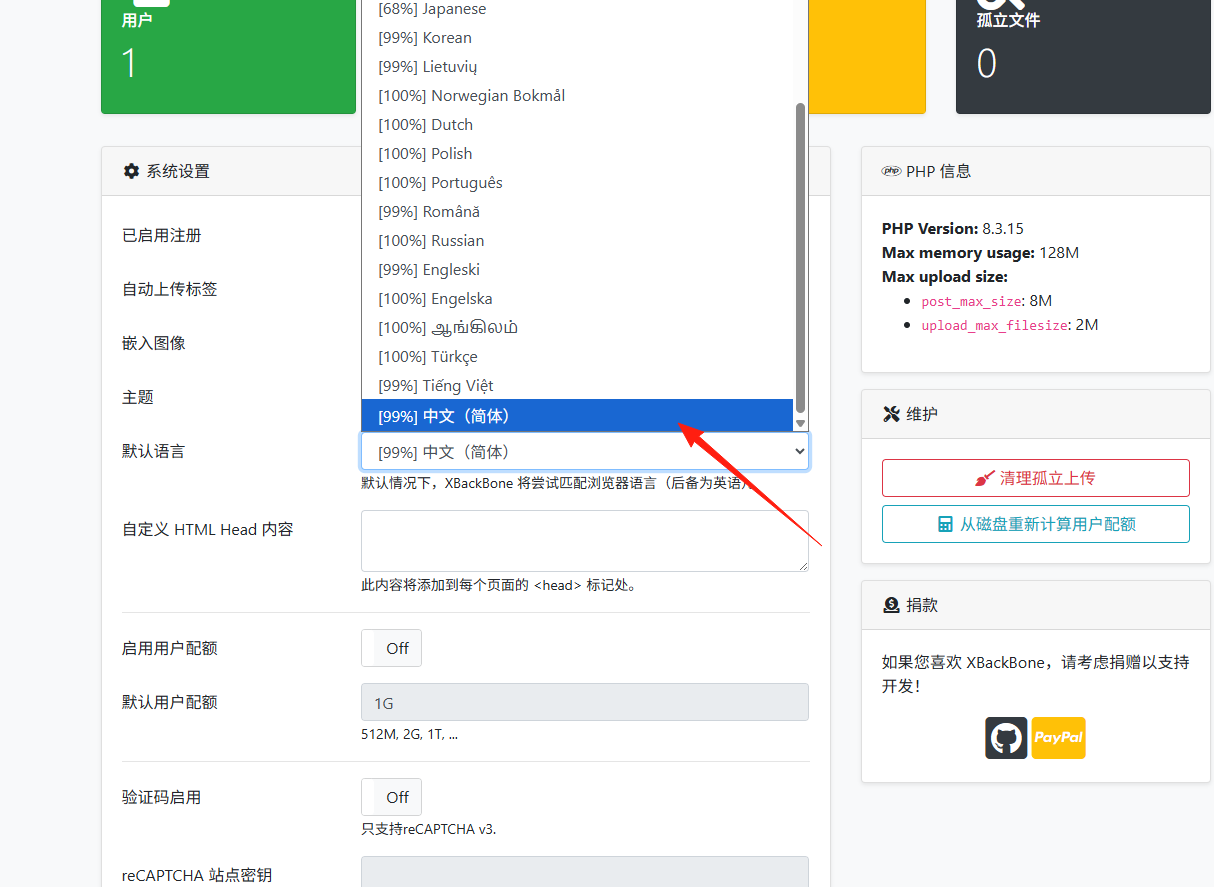
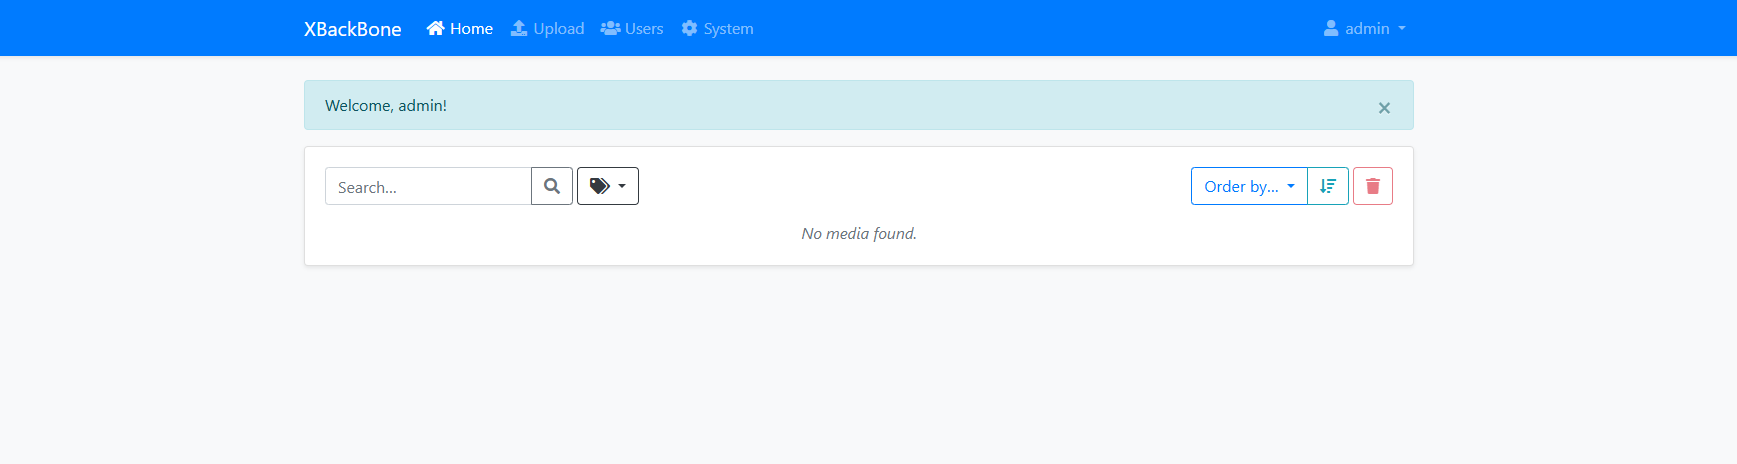 If you are not comfortable with English, go to the settings first and change the language to Chinese.
Click the upload function to upload files.
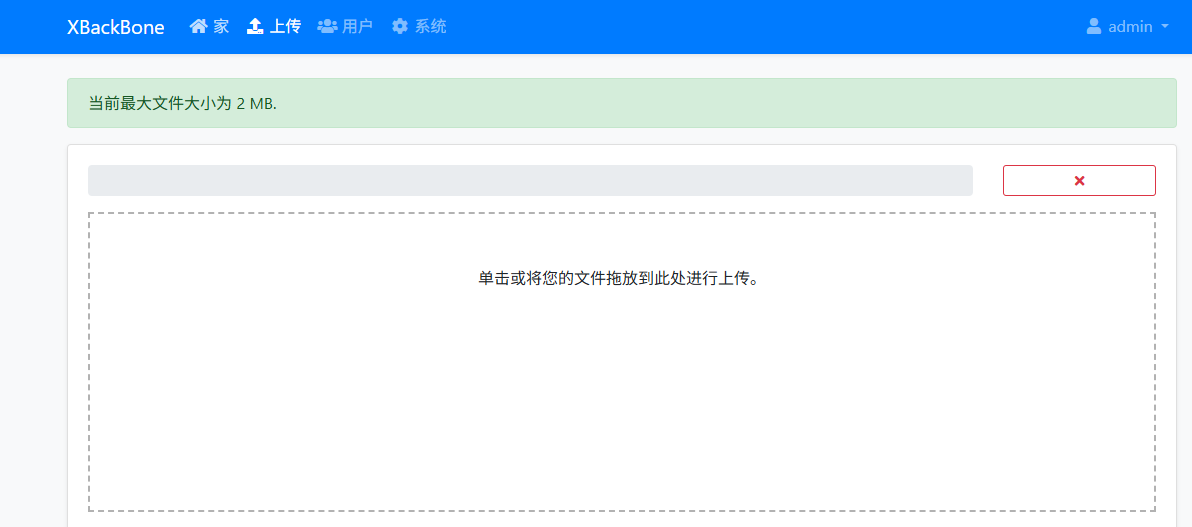
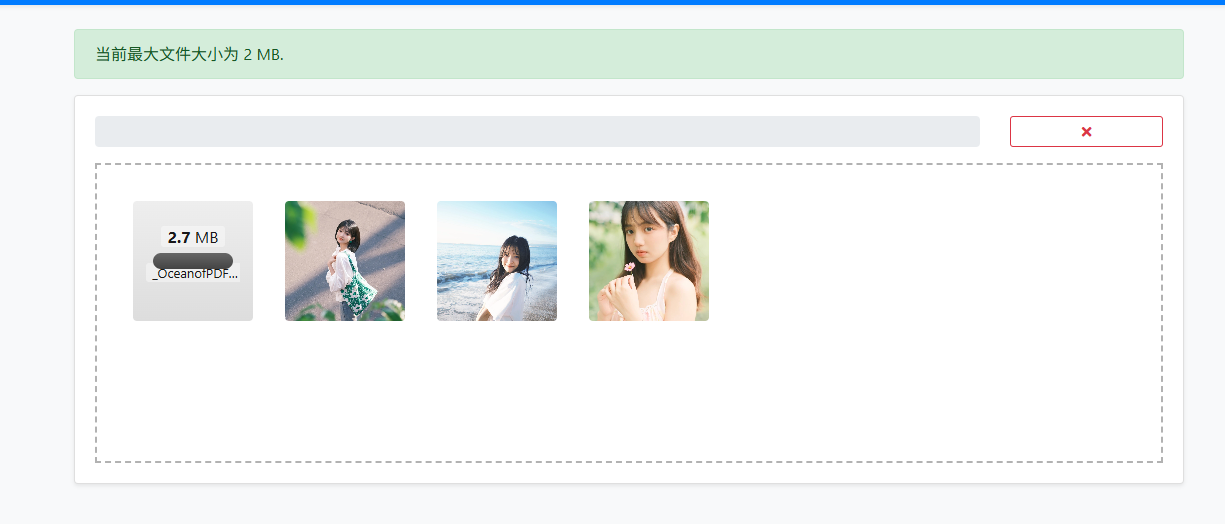
However, the default maximum file size is 2MB. This is fine for small images, but larger files cannot be uploaded.
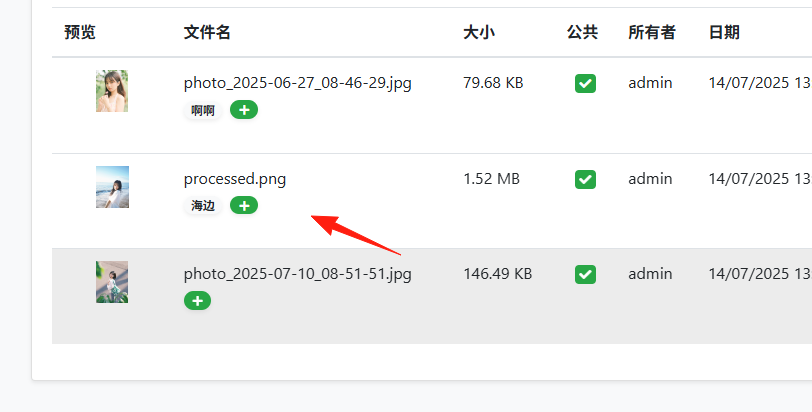
You can add tags to uploaded files.
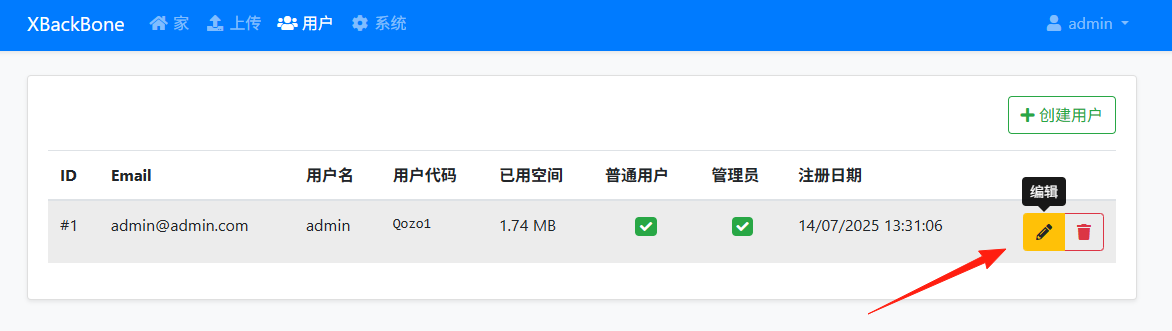
Click User -> Edit.
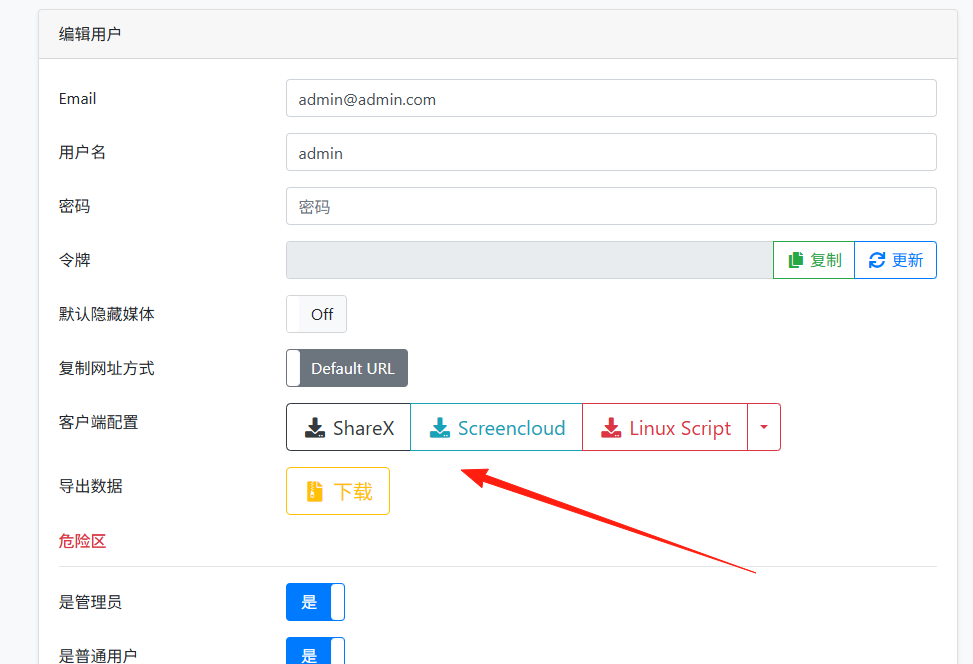
You will find the [Client Configuration] section here. This indicates that this software is actually used as a server and supports these clients.
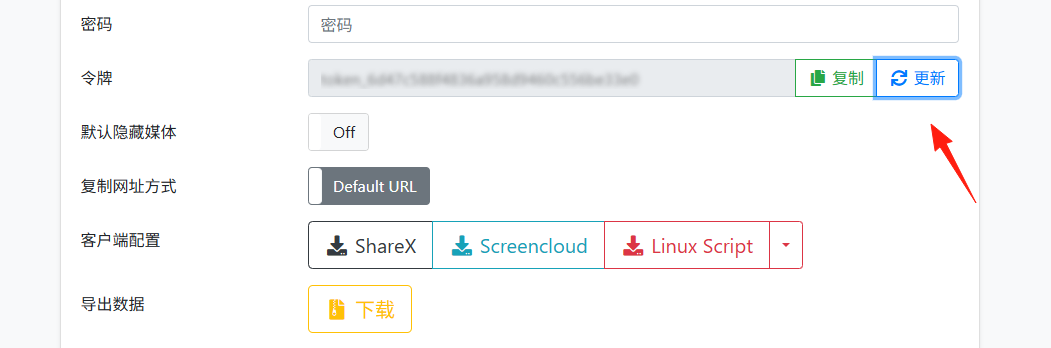
First, generate a token.
ShareX is a free, open-source program that lets you capture or record any area of your screen and share it with a single key press. It also allows uploading images, text, or other types of files to many supported destinations of your choice.
Clicking on ShareX will download a file named admin-ShareX.sxcu.
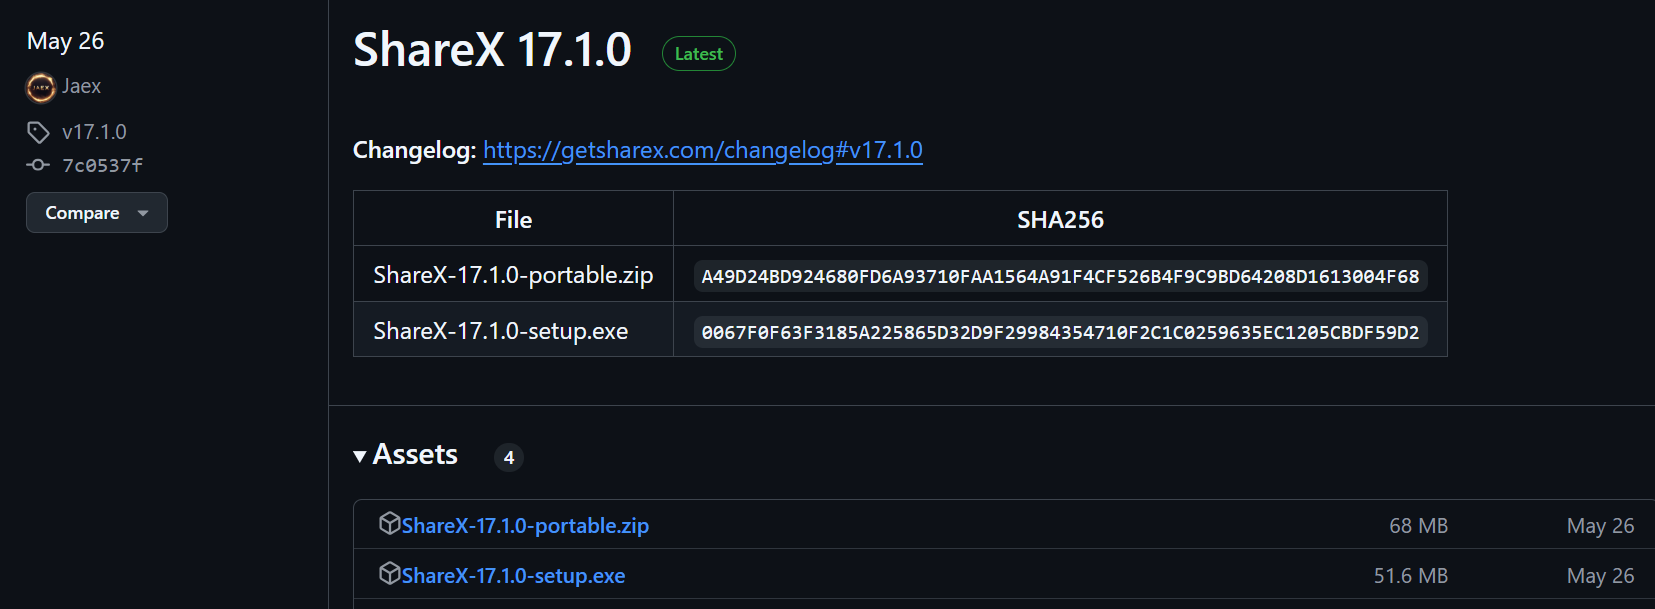
Then, we download the ShareX software. ShareX download address: https://github.com/ShareX/ShareX/releases
After downloading and installing ShareX, the software looks like this:
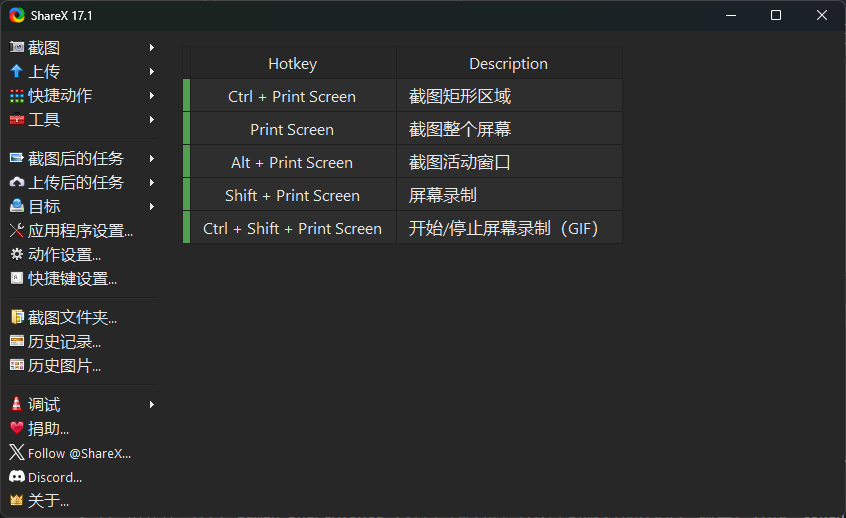
Click on [Destinations] on the left -> [Custom uploaders].
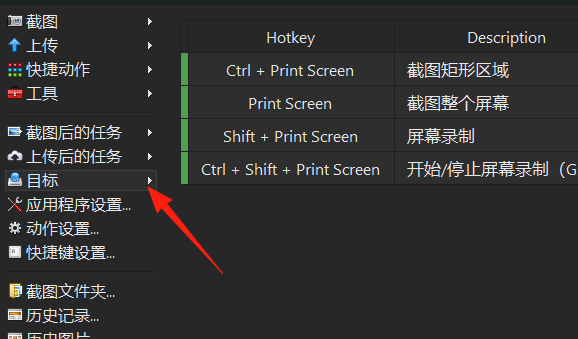
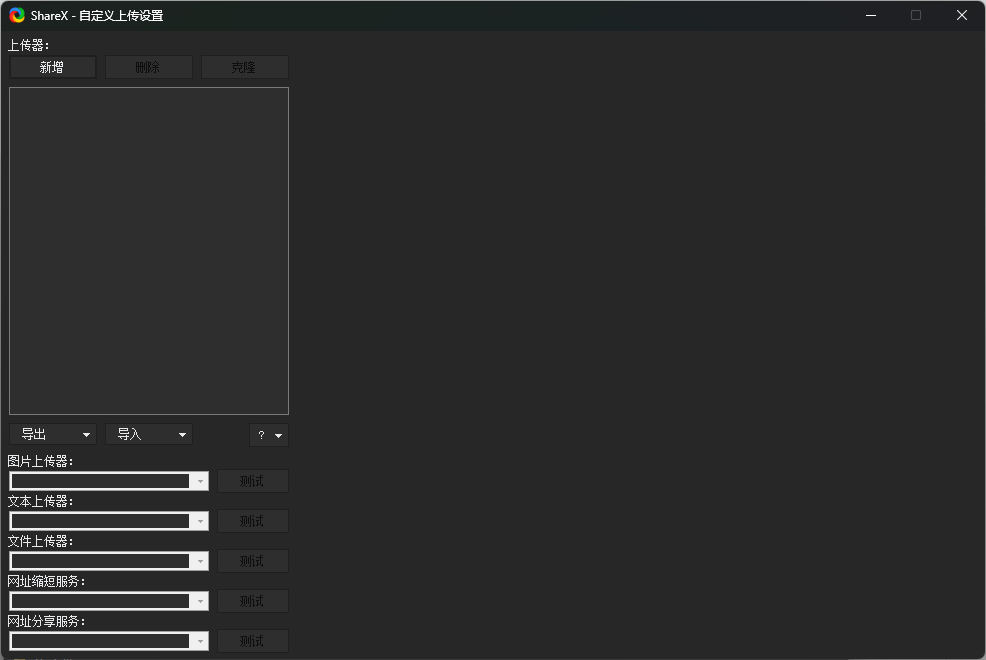 Select Import from file and choose the
 admin-ShareX.sxcu file. After successful import, you will see parameters like server address, port, and token.
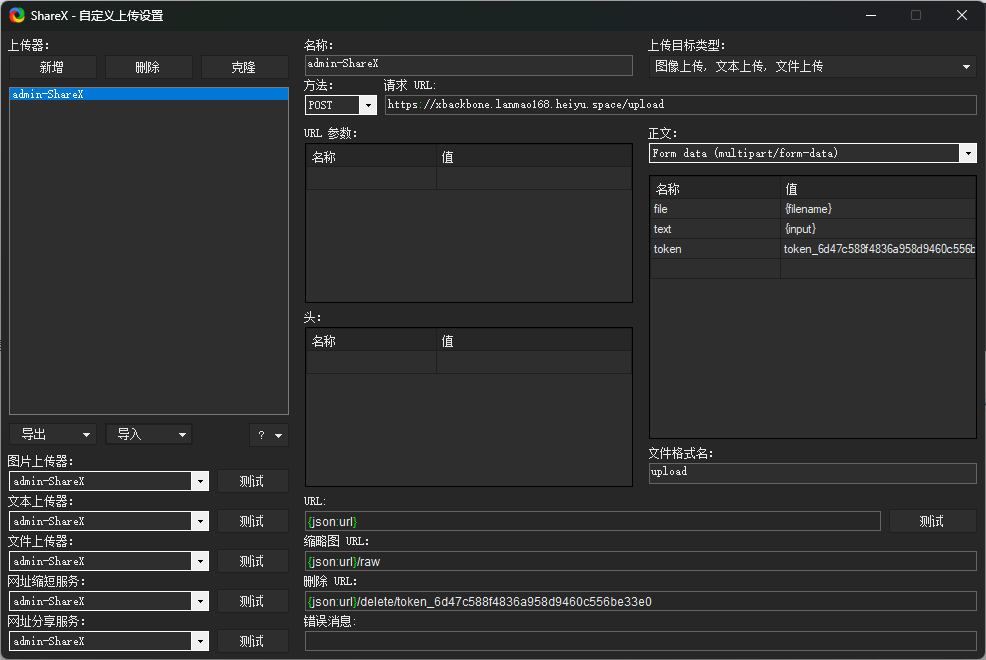
Some additional settings are needed:
- Destinations -> Image upload: Select Custom image uploader
- After capture tasks -> Select Upload image
- After upload tasks -> Select Copy URL to clipboard
- Press
Ctrl + Print Screento start a screenshot.
After this, you can upload files from the client to XBackBone.
XBackBone can be used as a temporary image hosting tool.