
n8n Practical Guide 15: How to Automate X Operations
Previous Guide covered the configuration for X. This guide will implement how to automatically post X tweets.
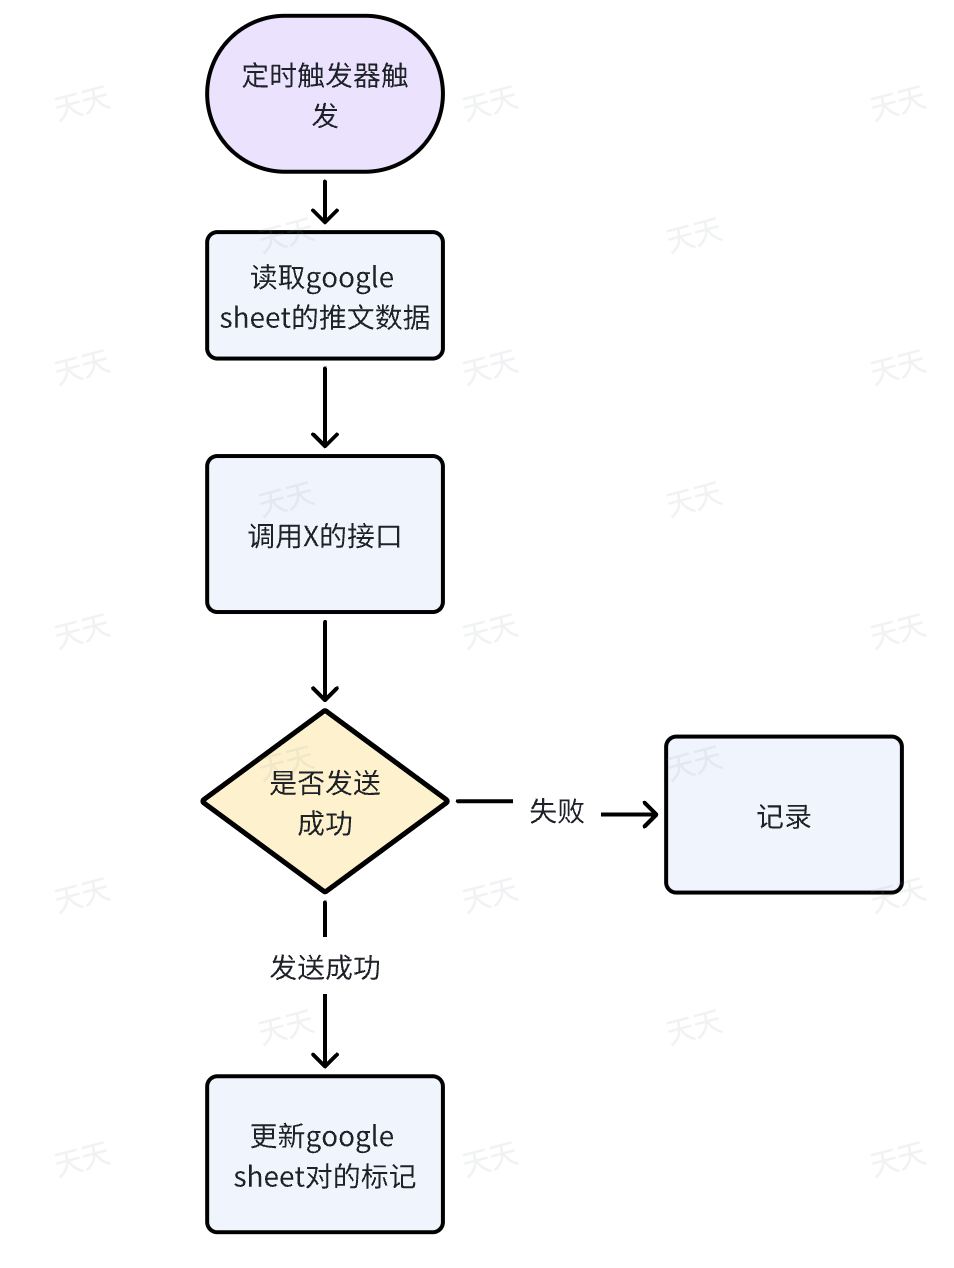
The primary method involves using Google Sheets. We'll write all the pre-prepared content into a spreadsheet and then have n8n read and post it to X. The configuration for each node has been covered previously, so you should be able to get started quickly.
Workflow Diagram:
https://appstore.lazycat.cloud/#/shop/detail/cloud.lazycat.app.n8n
Workflow Setup
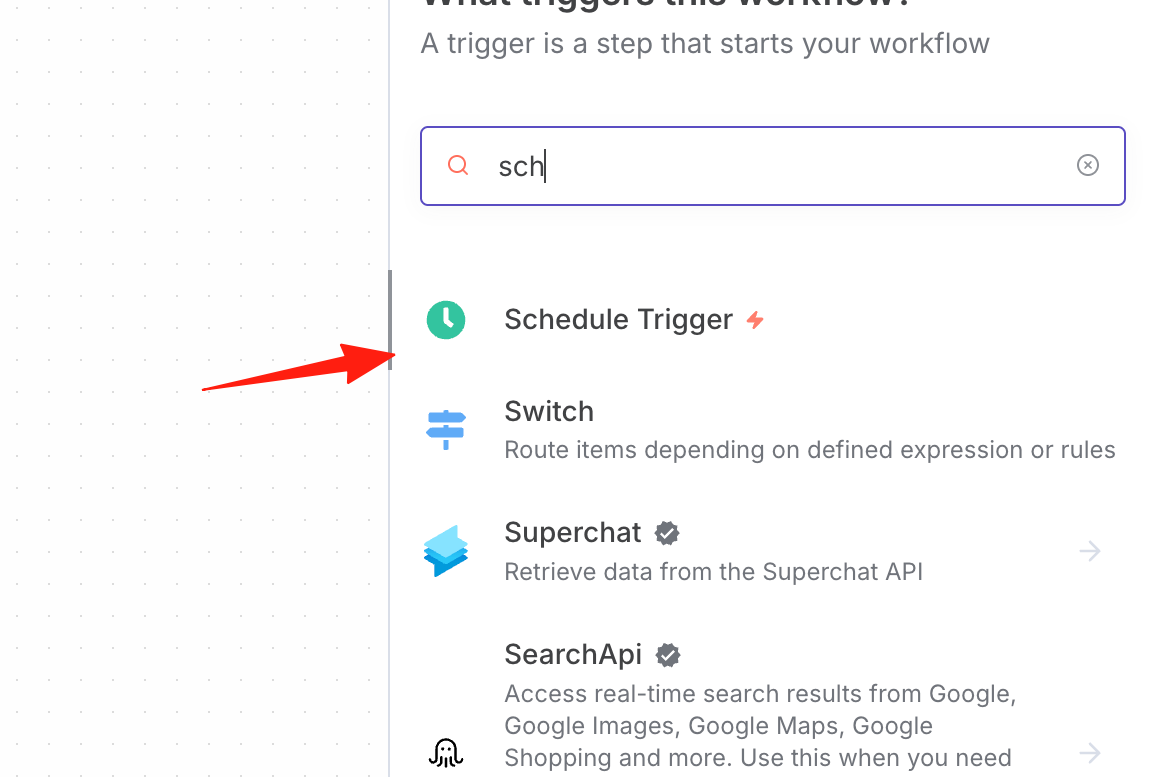
Create a new Schedule Trigger
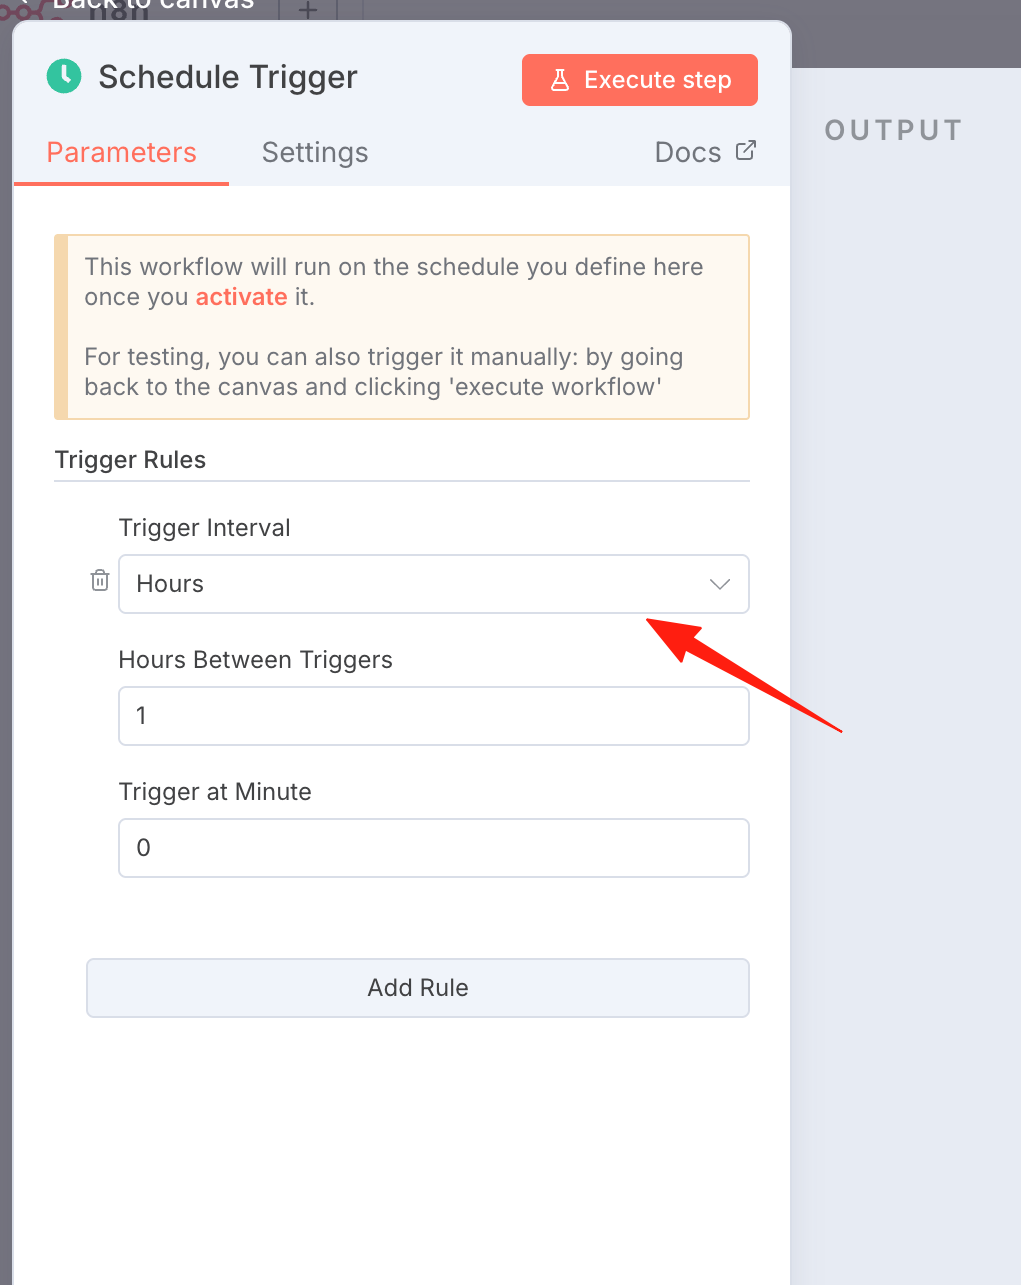
Set your desired trigger time
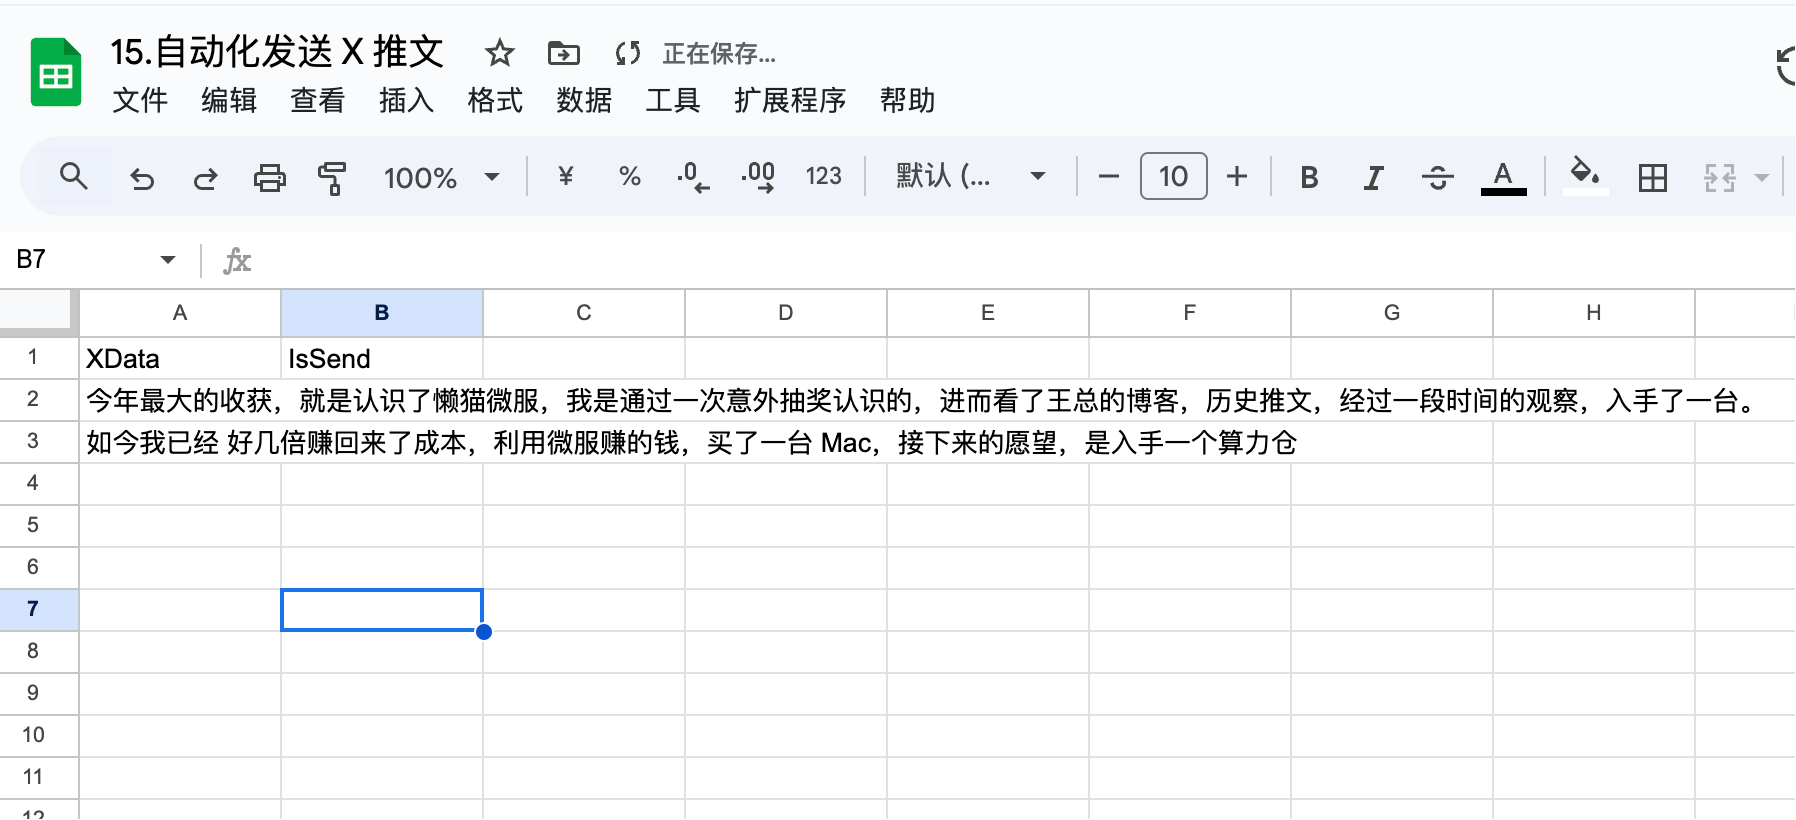
Next, in Google Sheets, I have pre-created a spreadsheet with 2 records.
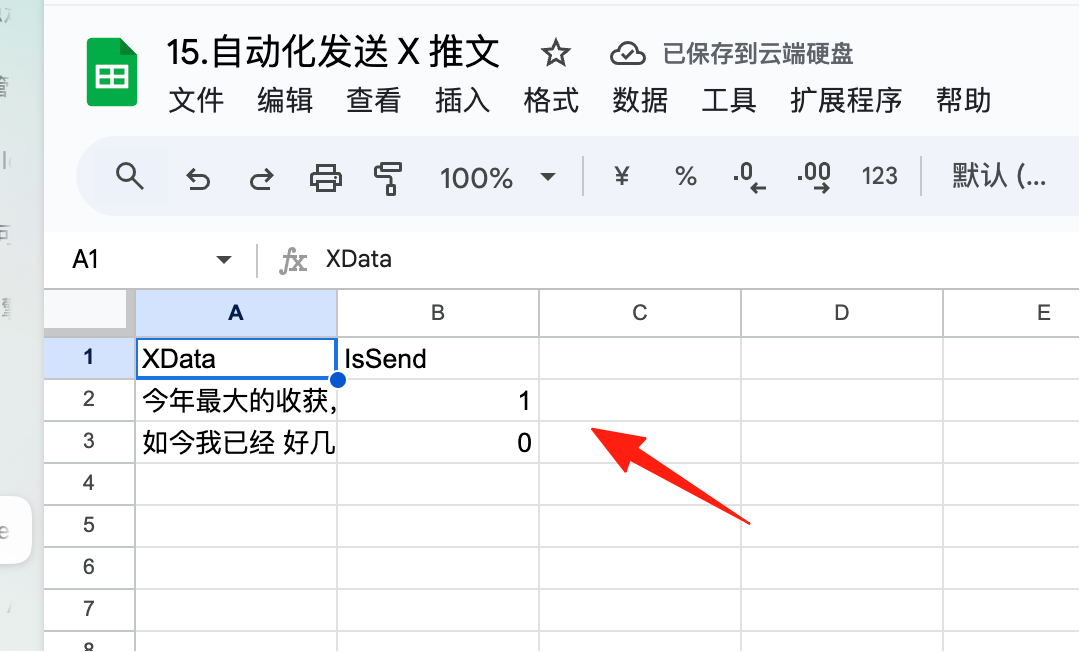
The first column contains the tweet content, and the second column is a flag indicating whether the tweet was sent successfully.
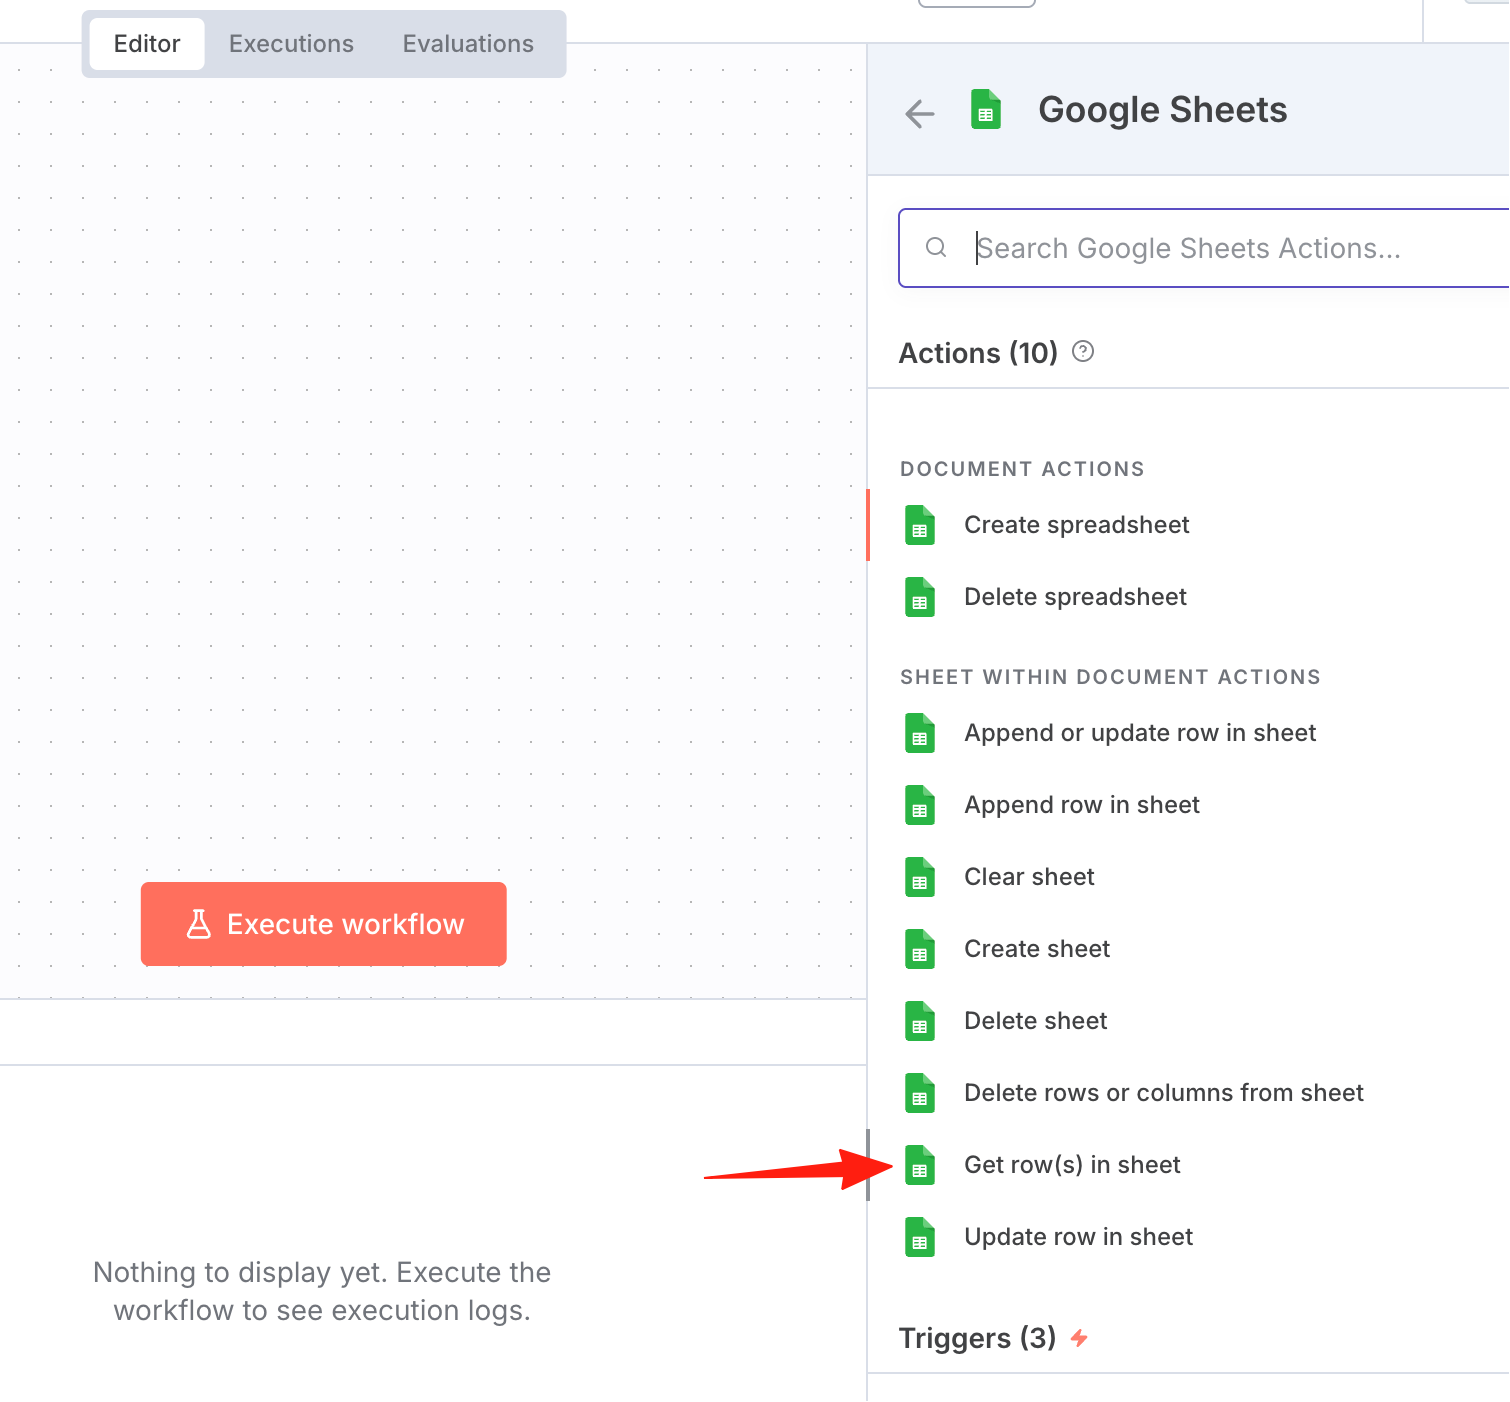
Add a Google Sheets node Since we want to read data, select this option:
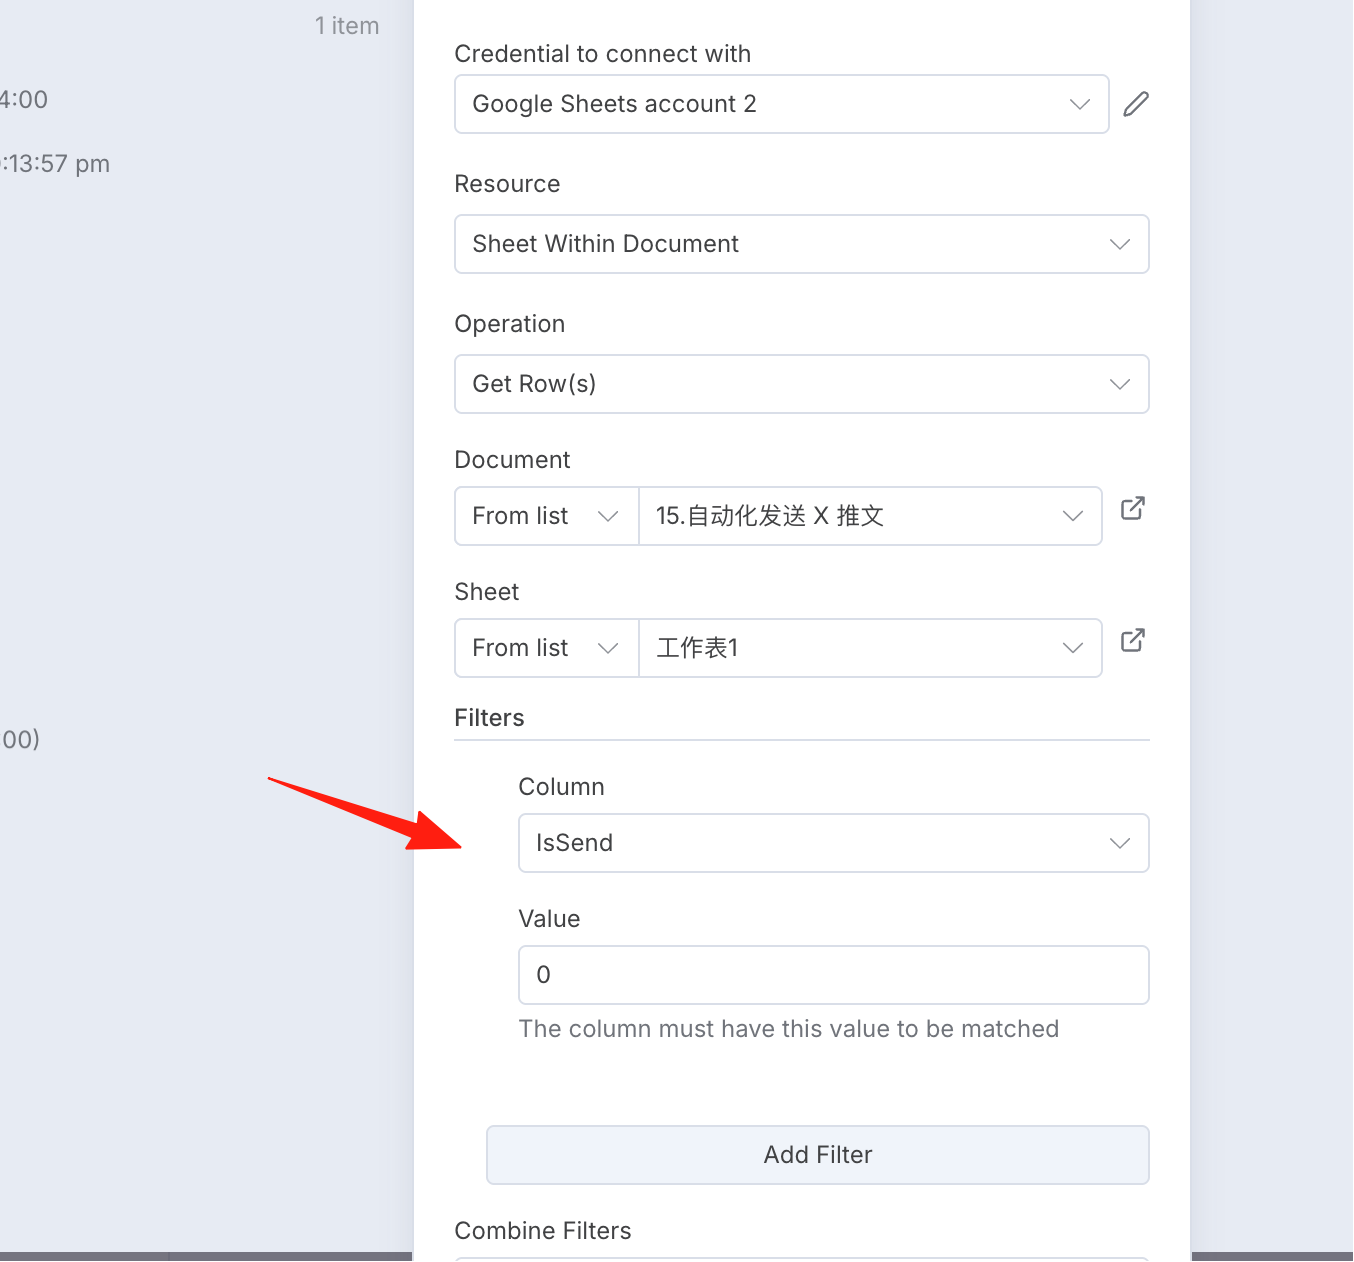
Here, select where IsSend equals 0, meaning data that hasn't been sent yet.
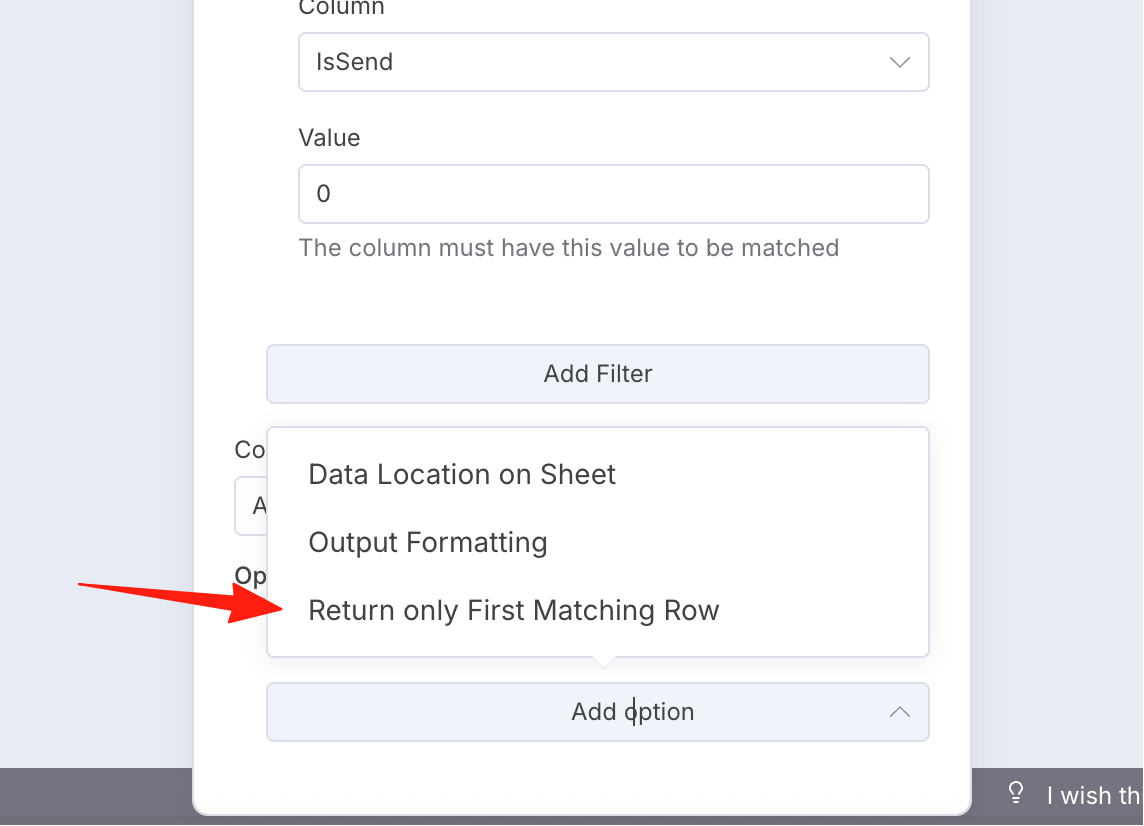
Select to return 1 row of data
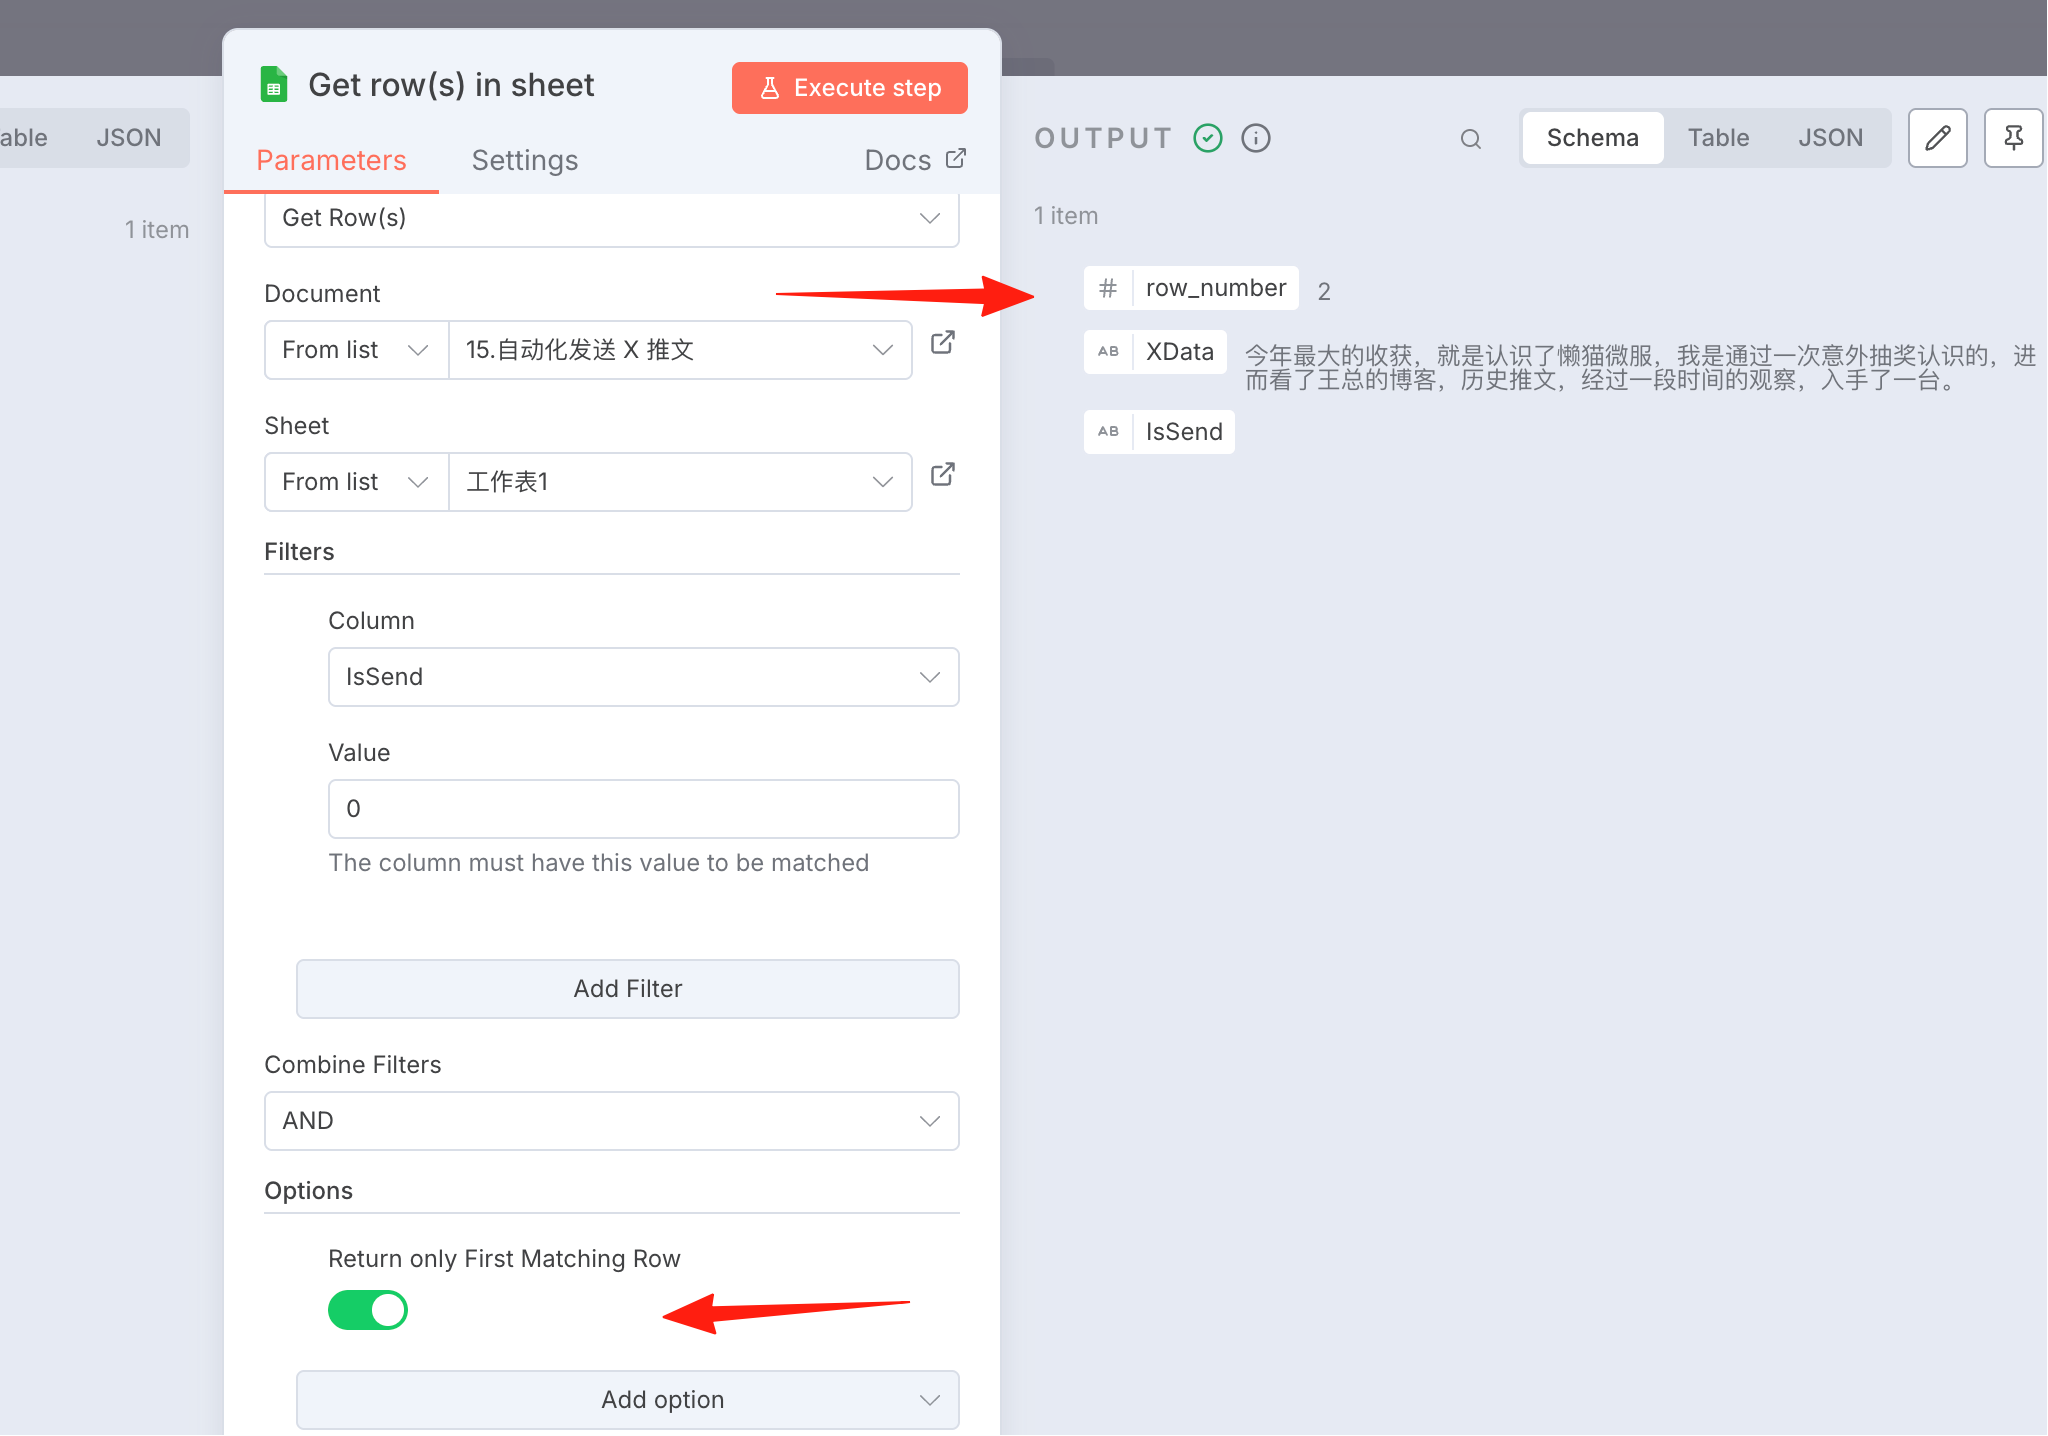
Click Execute. You can see it read my first data record.
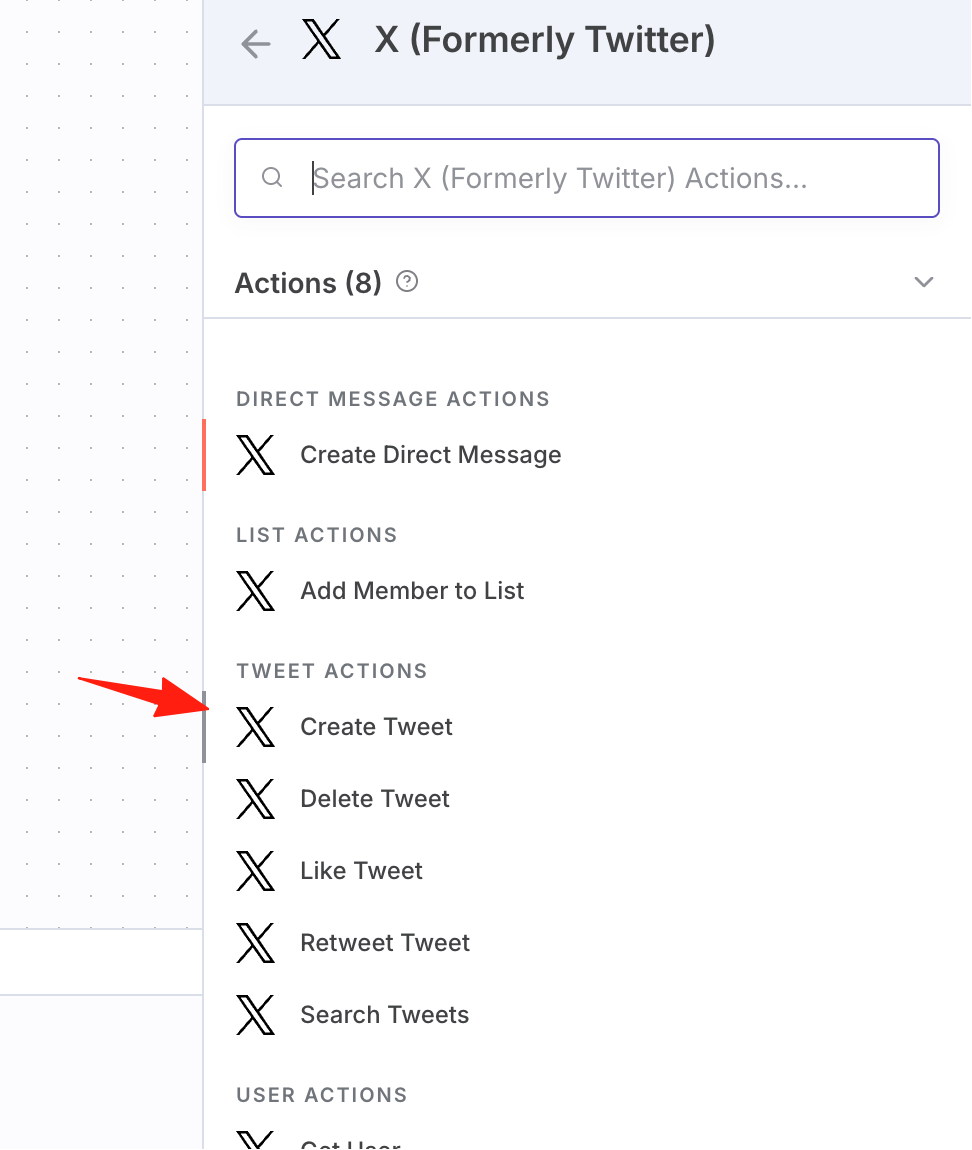
Next, add an X node. You can refer to the configuration from the previous guide.
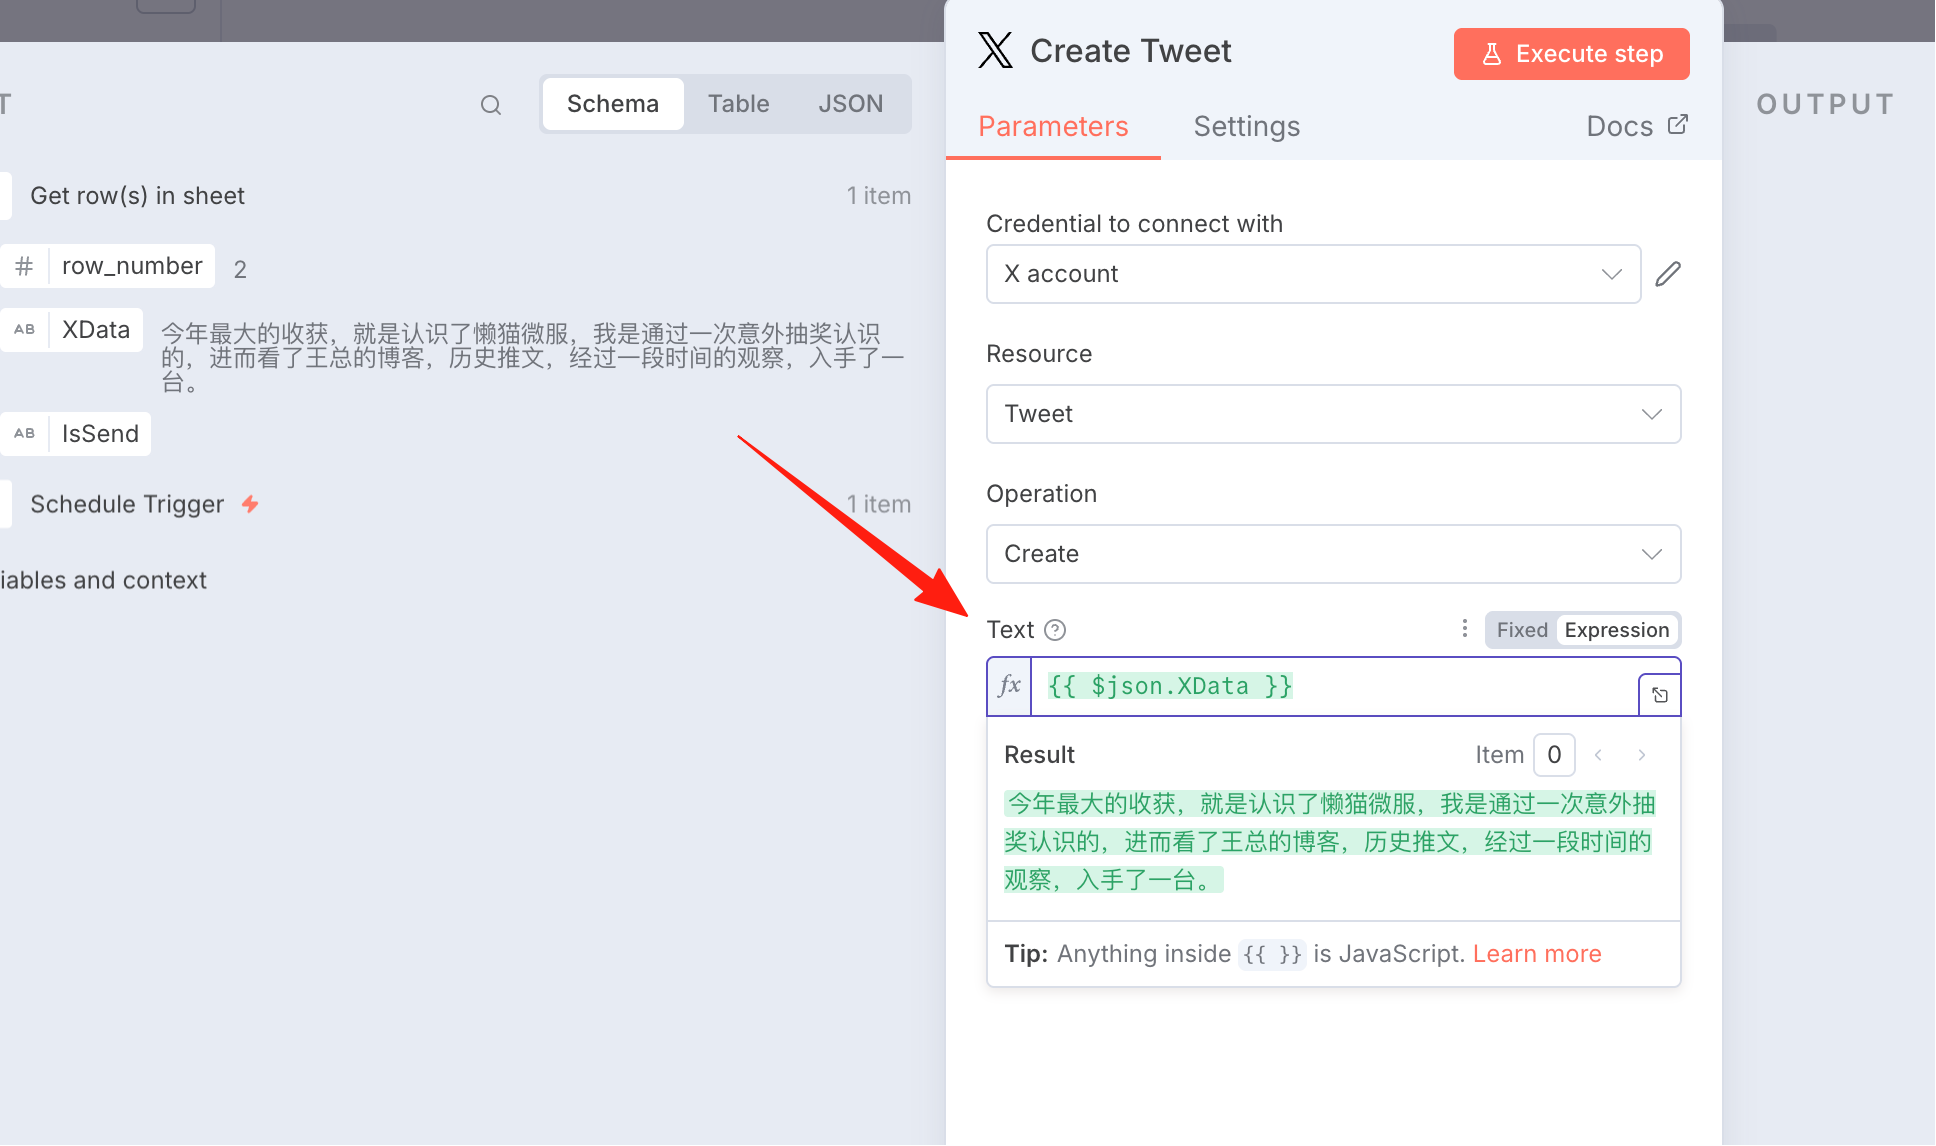
Drag the XData from the left panel into the Text field.
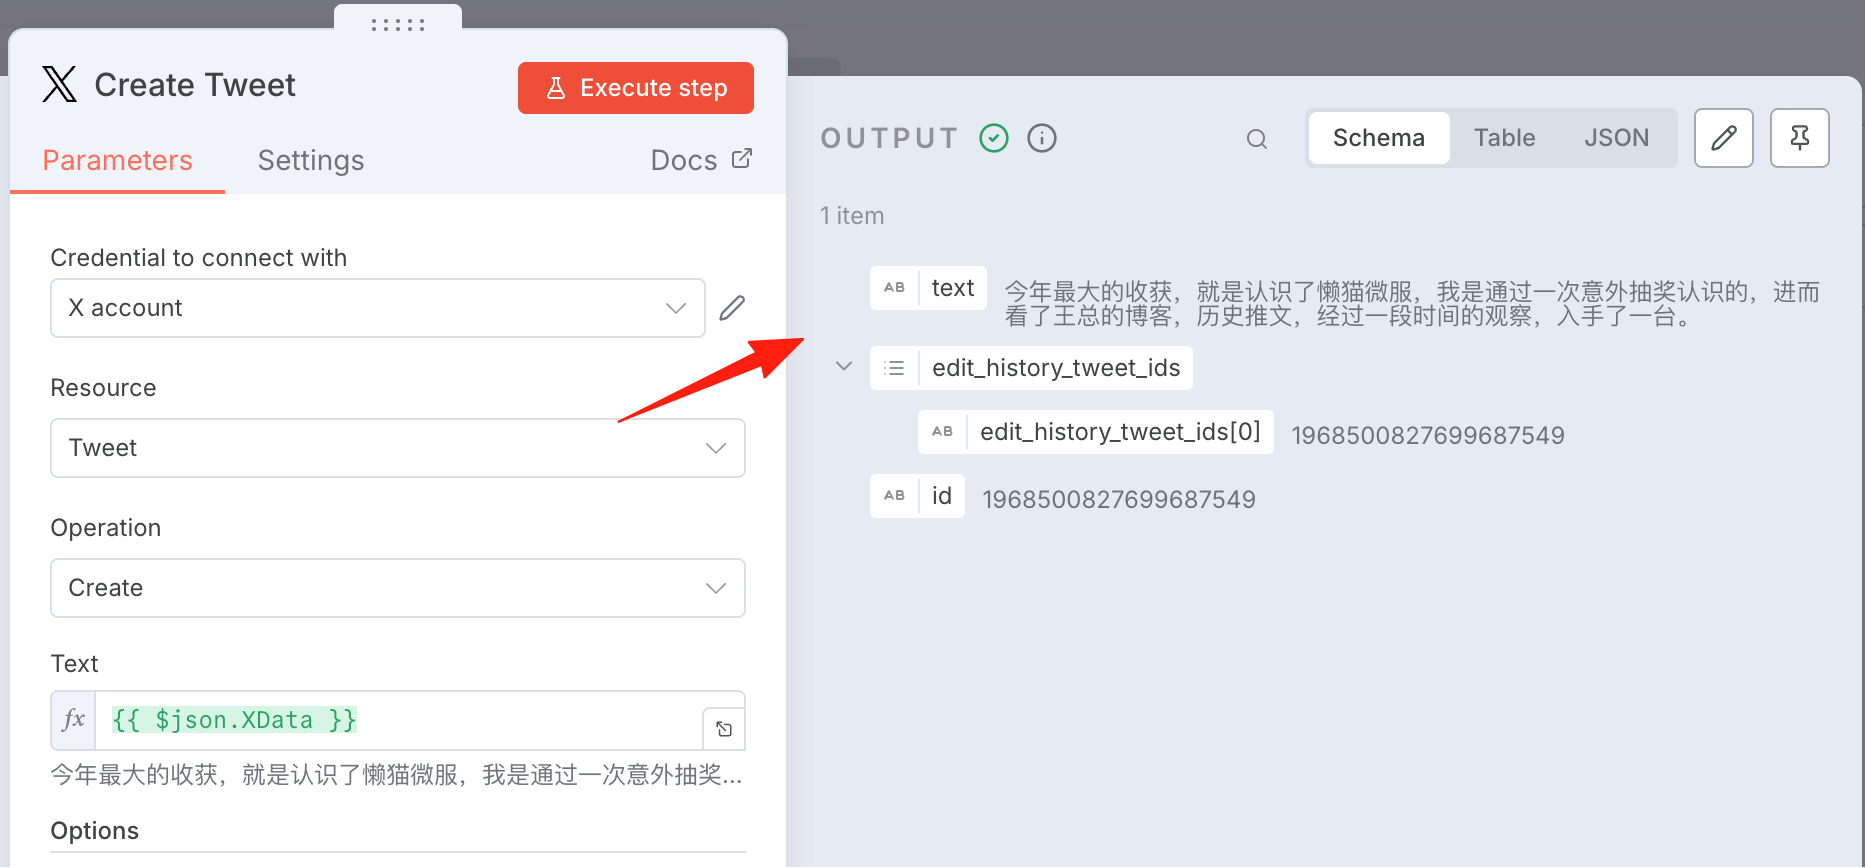
Click Execute to see the output result, then pin it.
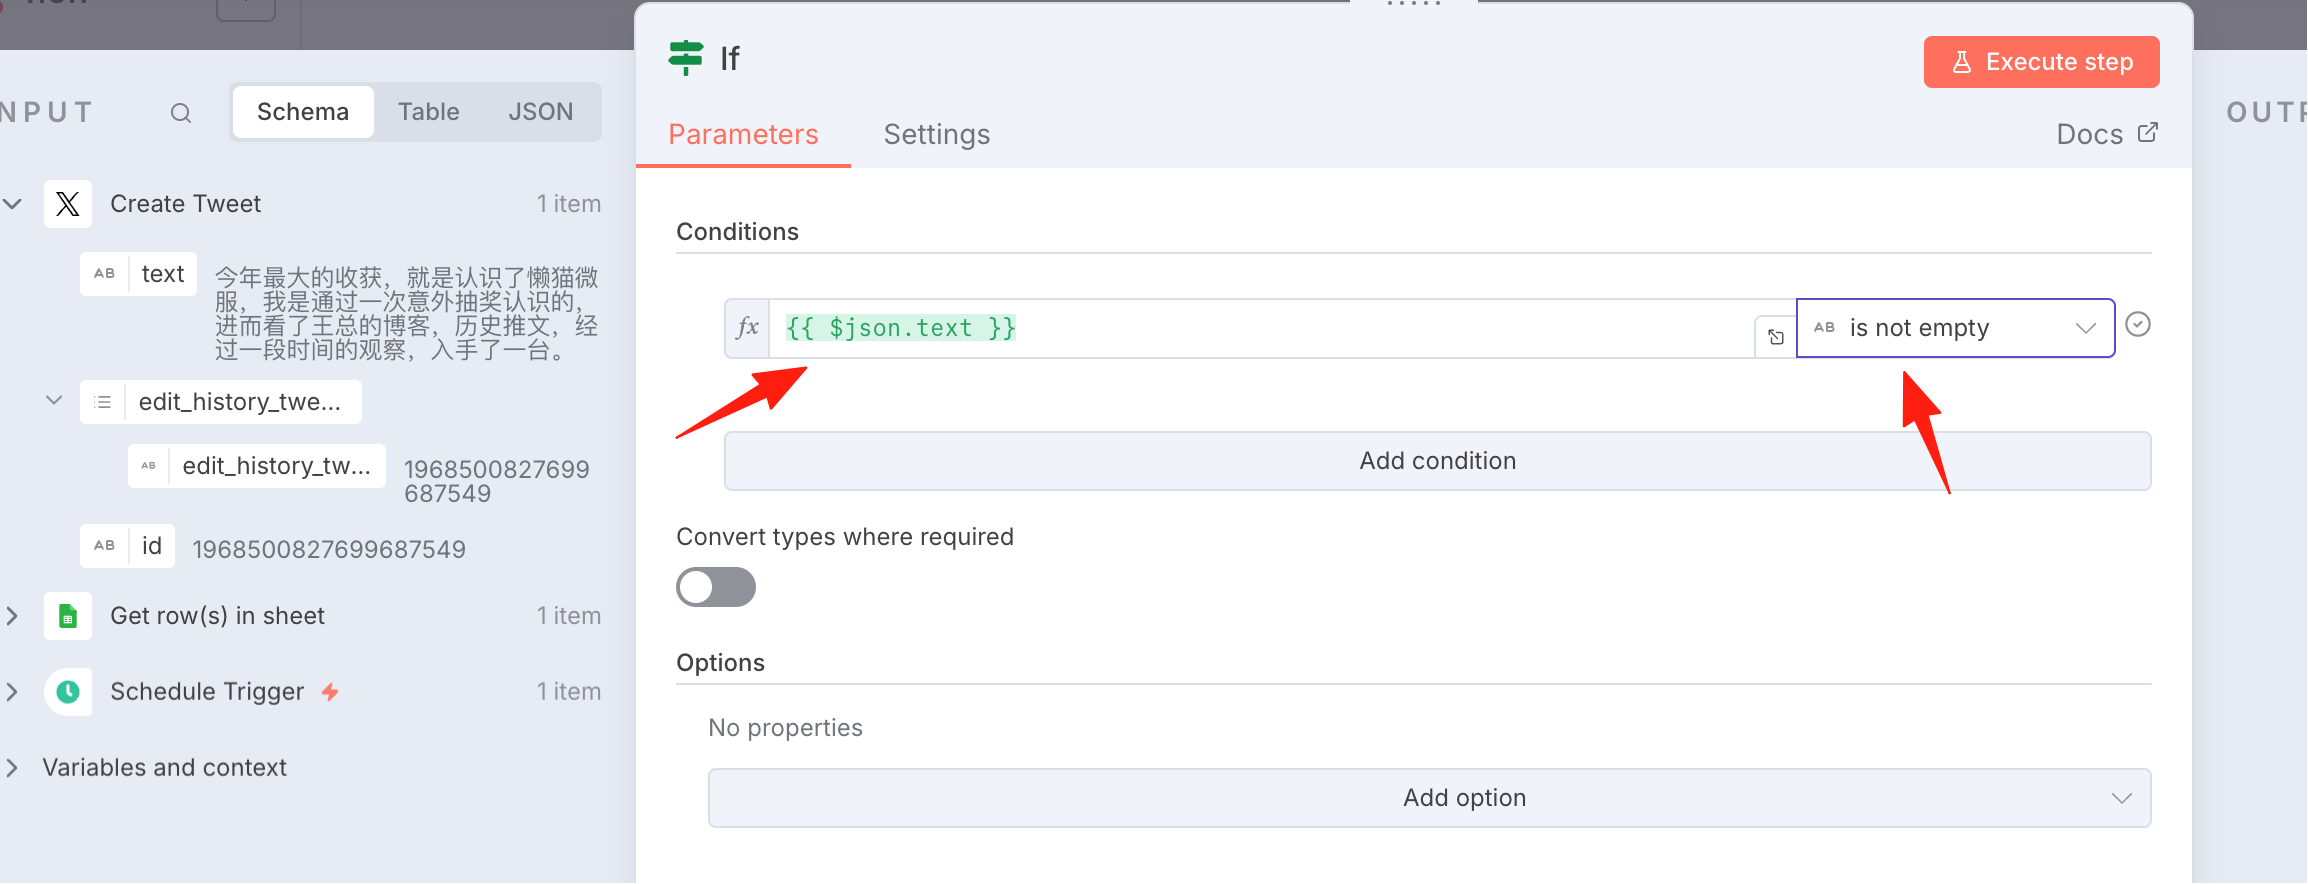
Add an IF node to check. If the return result has a value, it indicates the tweet was sent successfully.
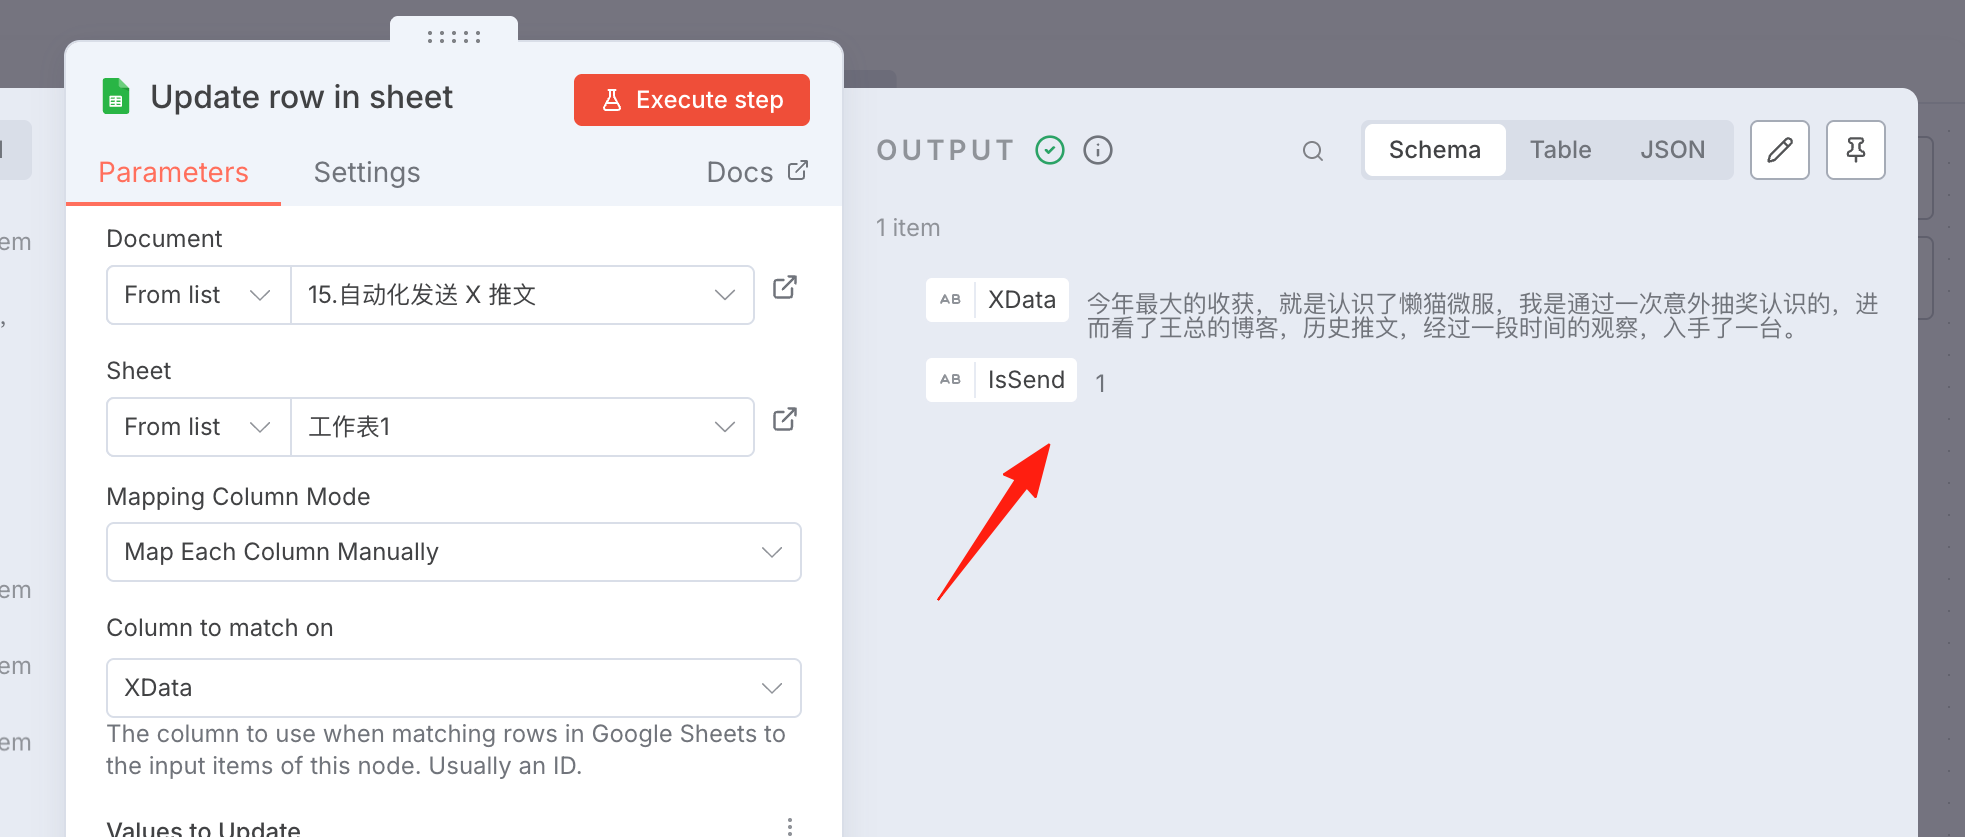
We need to update the 'is send' field in the Google Sheet.
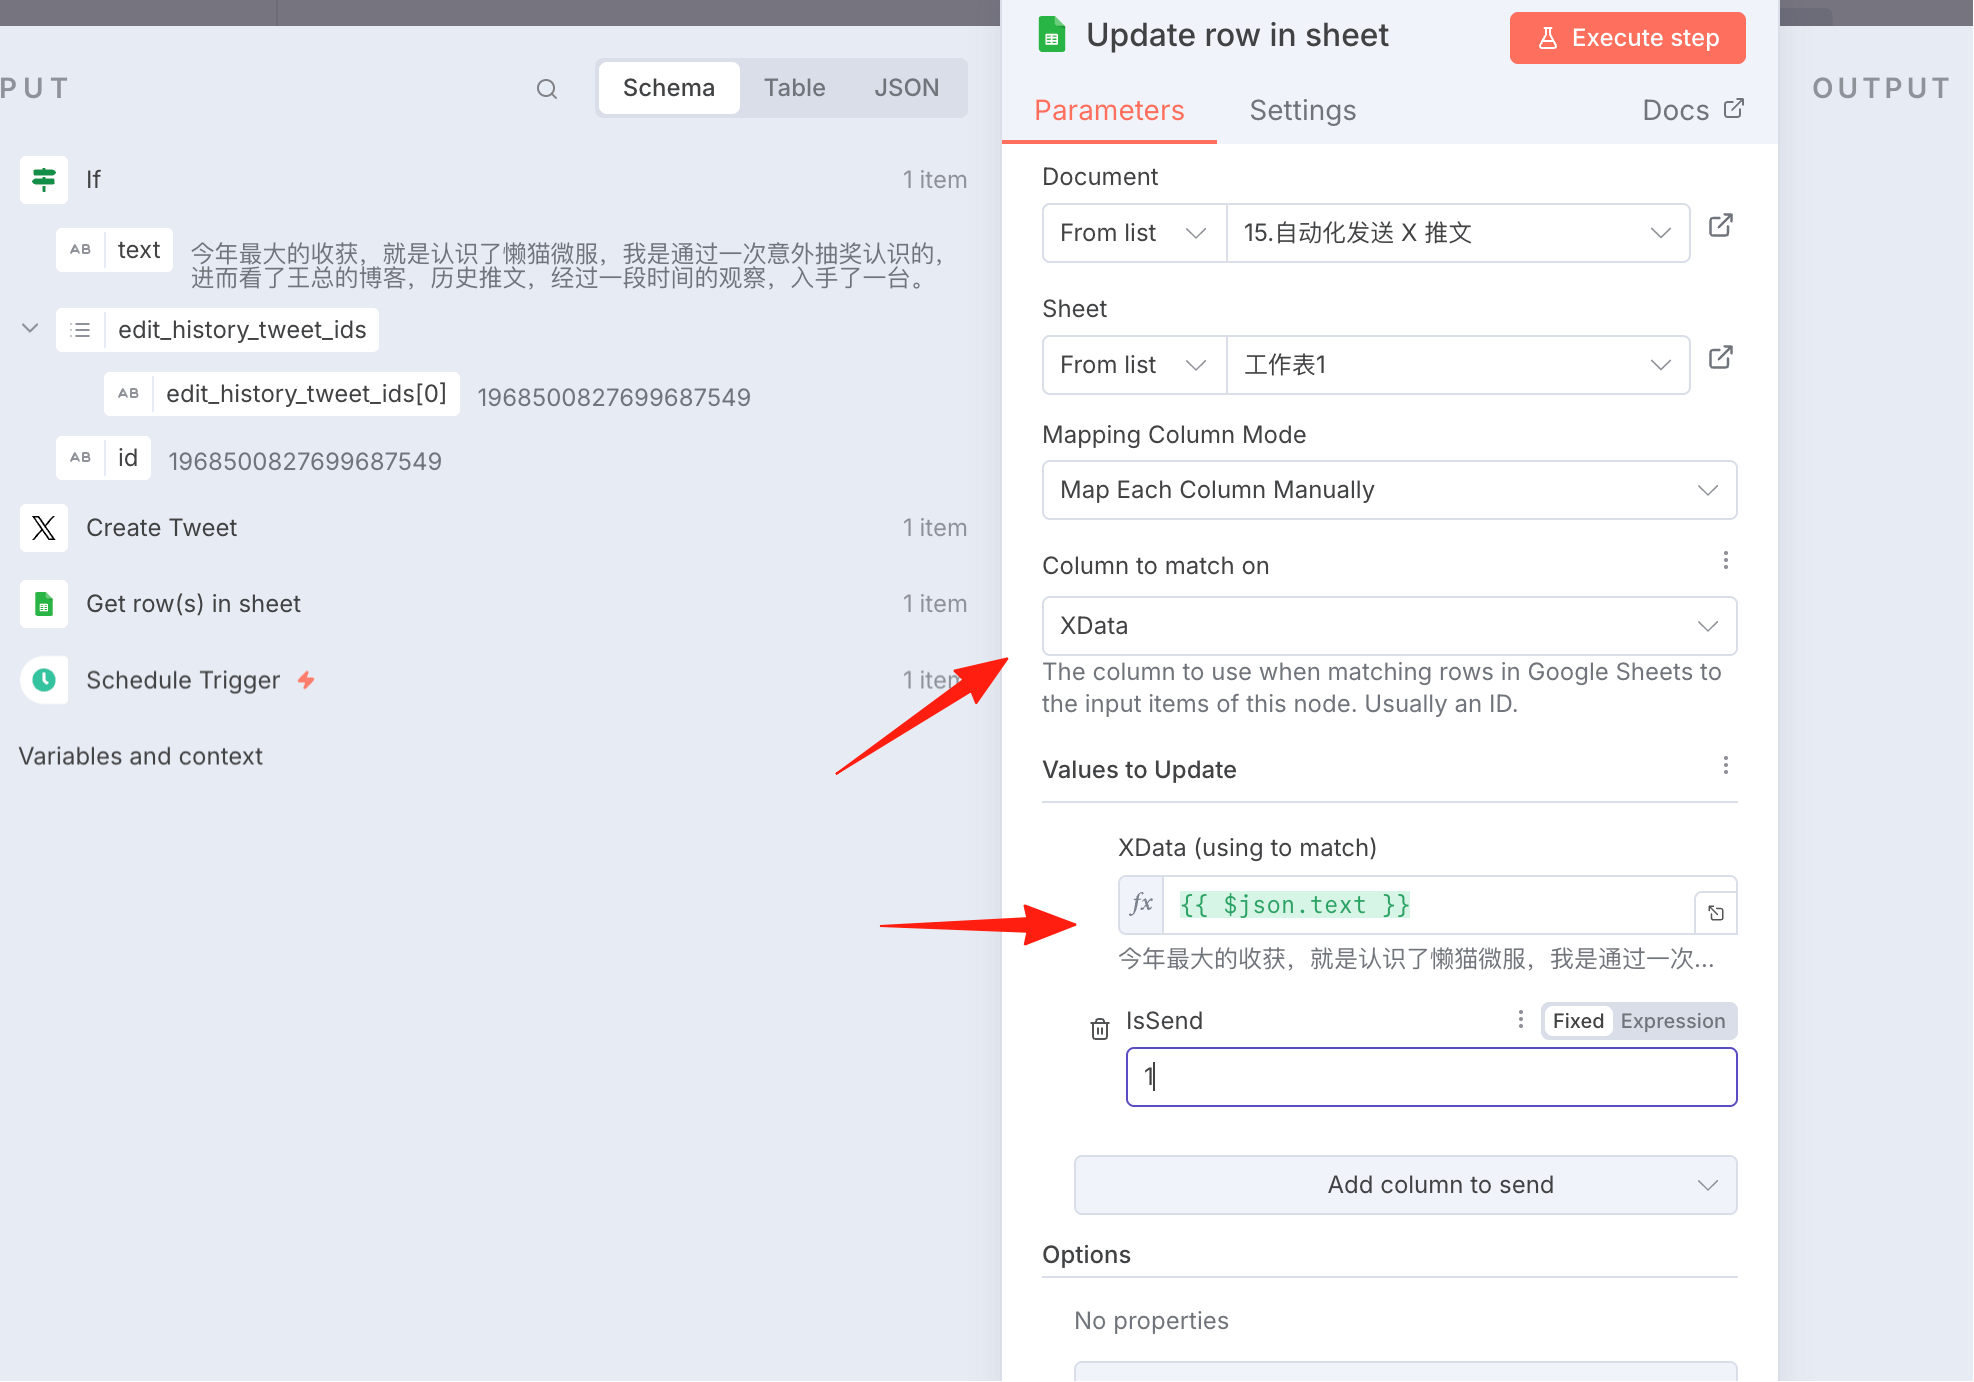
Execute the workflow to see the effect.
The data in the Google Sheet has also been updated.
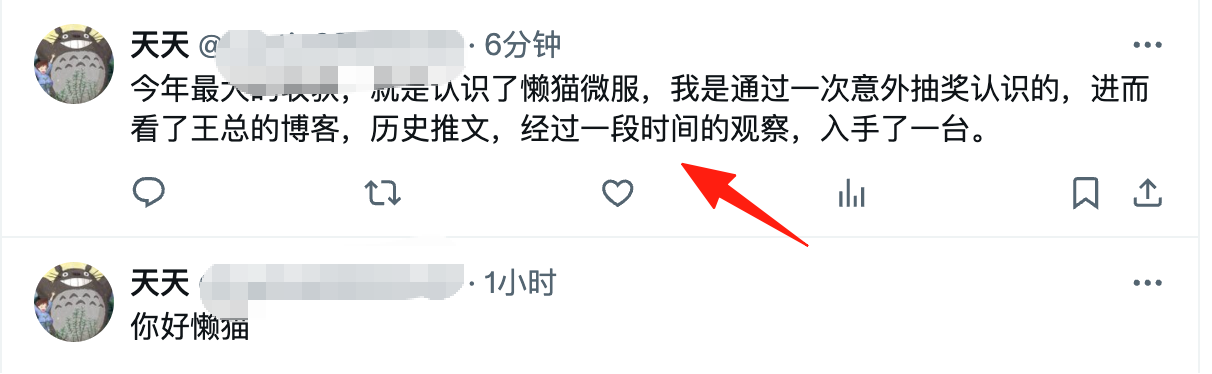
The X post is also successful.
With this workflow, you can schedule X posts. For routine product announcements, you no longer need to manually post them at specific times, which is very convenient.