n8n Hands-On Guide 13: Transforming Design Mockups into Runway Show Videos
First, let's look at the final result of this workflow:
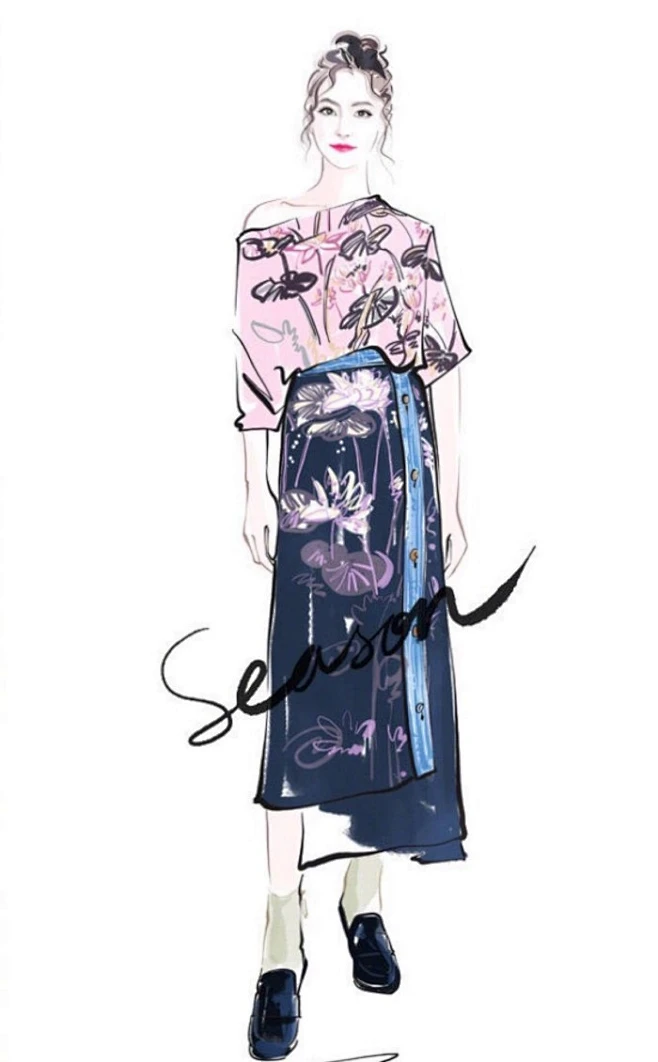
Here is an image of a design draft:
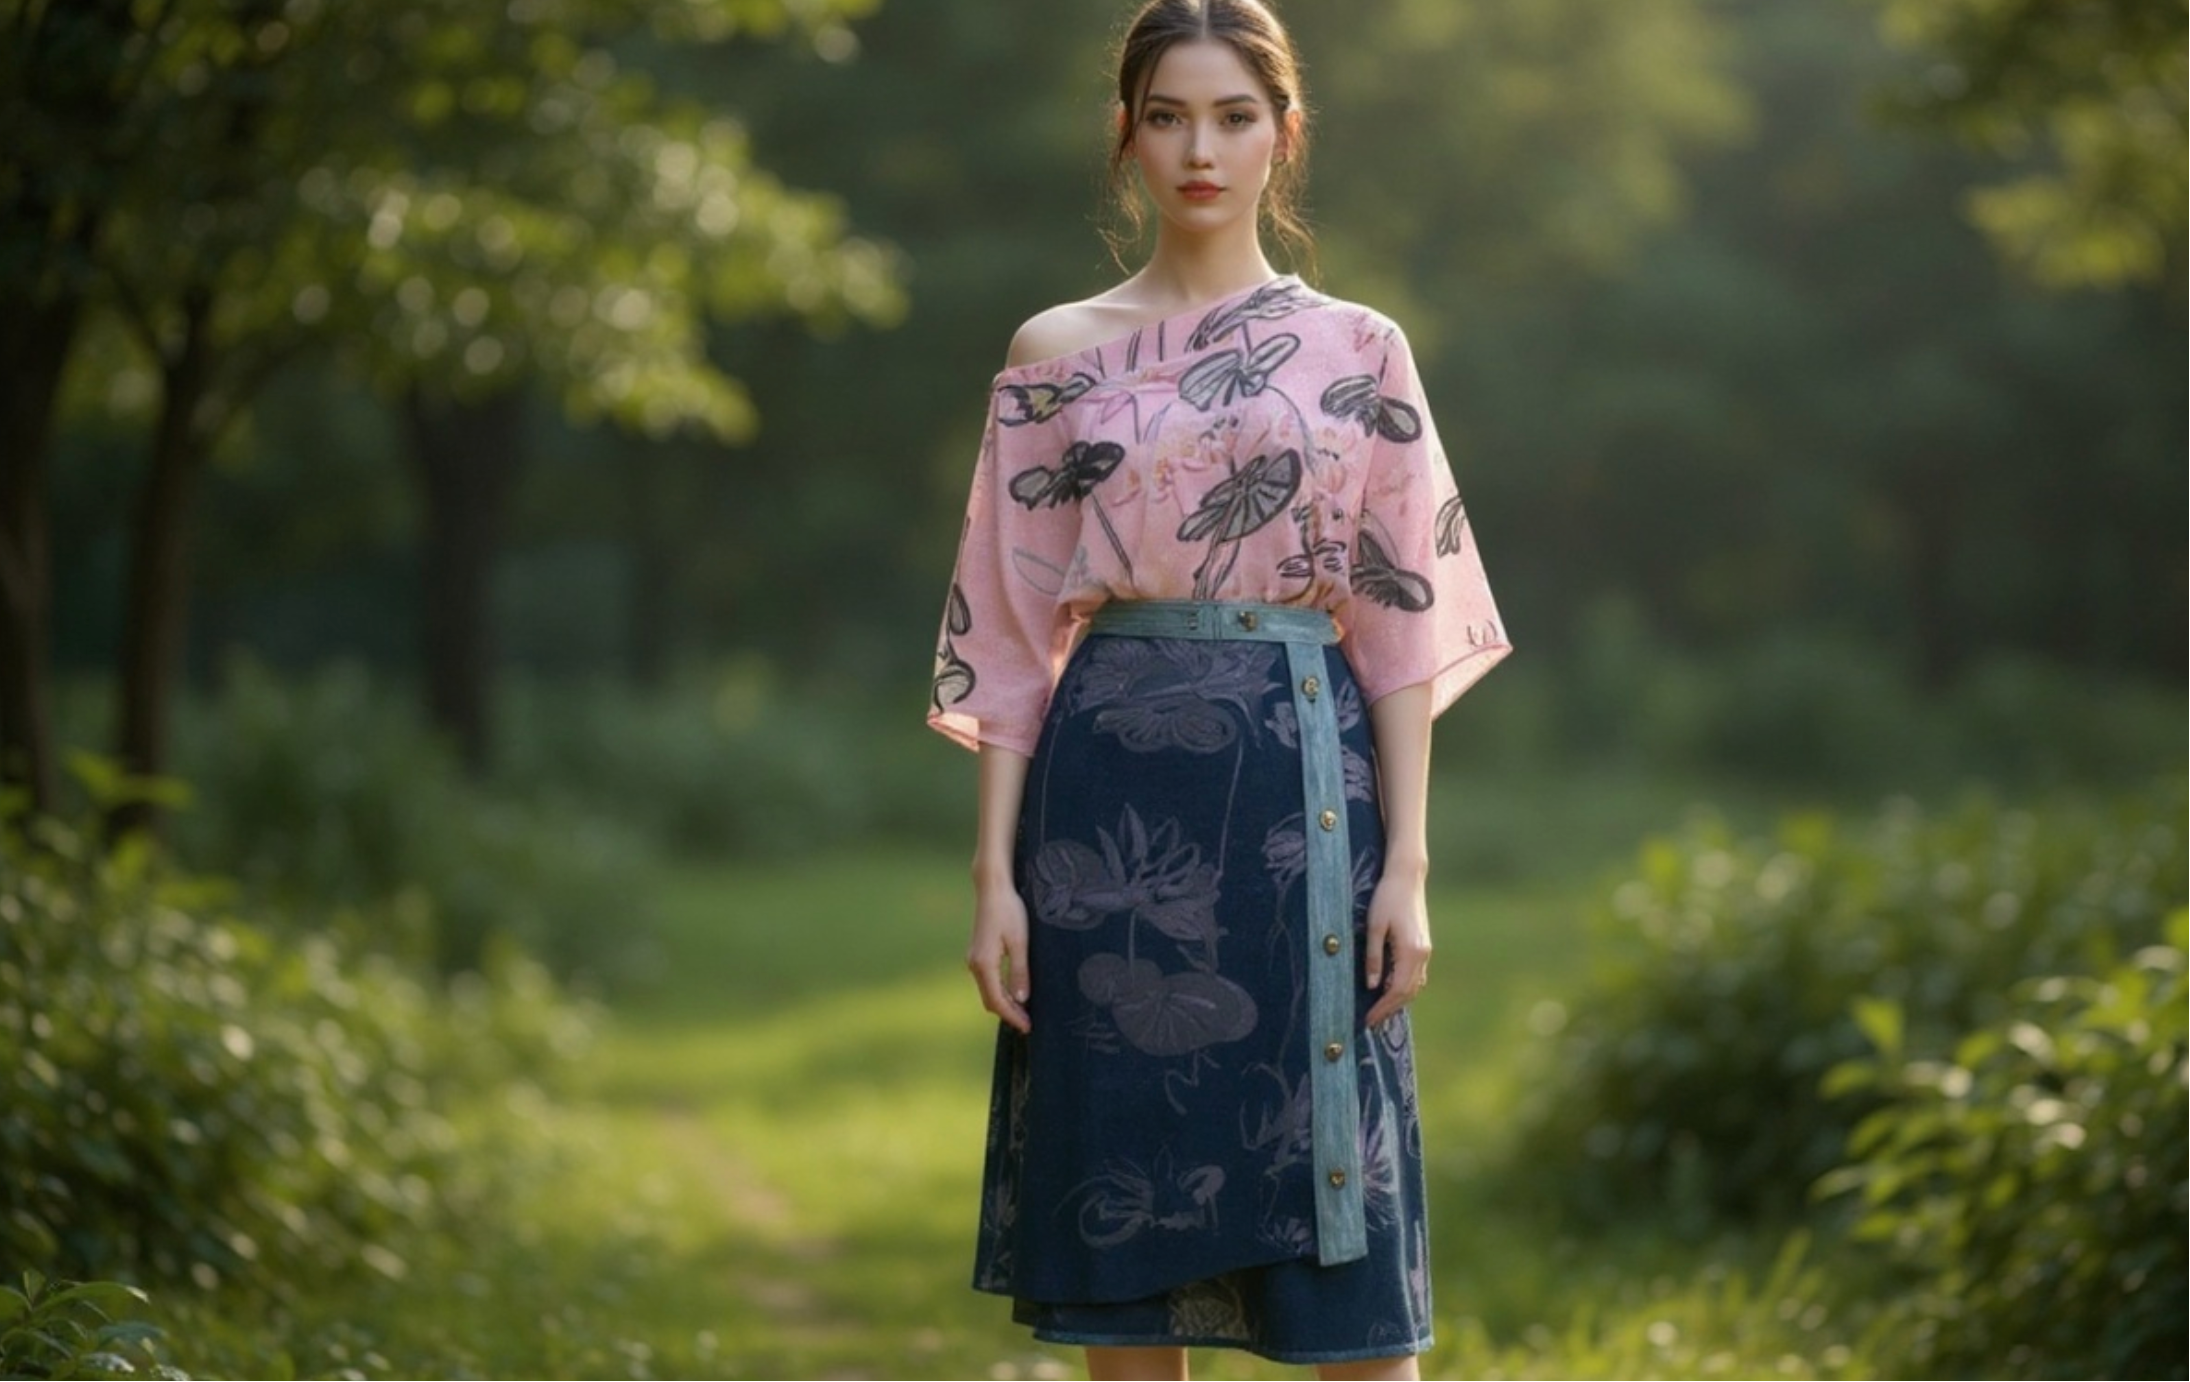
After processing through the workflow, the following image is generated first:
Then, the following video is generated:
https://appstore.lazycat.cloud/#/shop/detail/cloud.lazycat.app.n8n
Below is the detailed setup process:
Upload Image
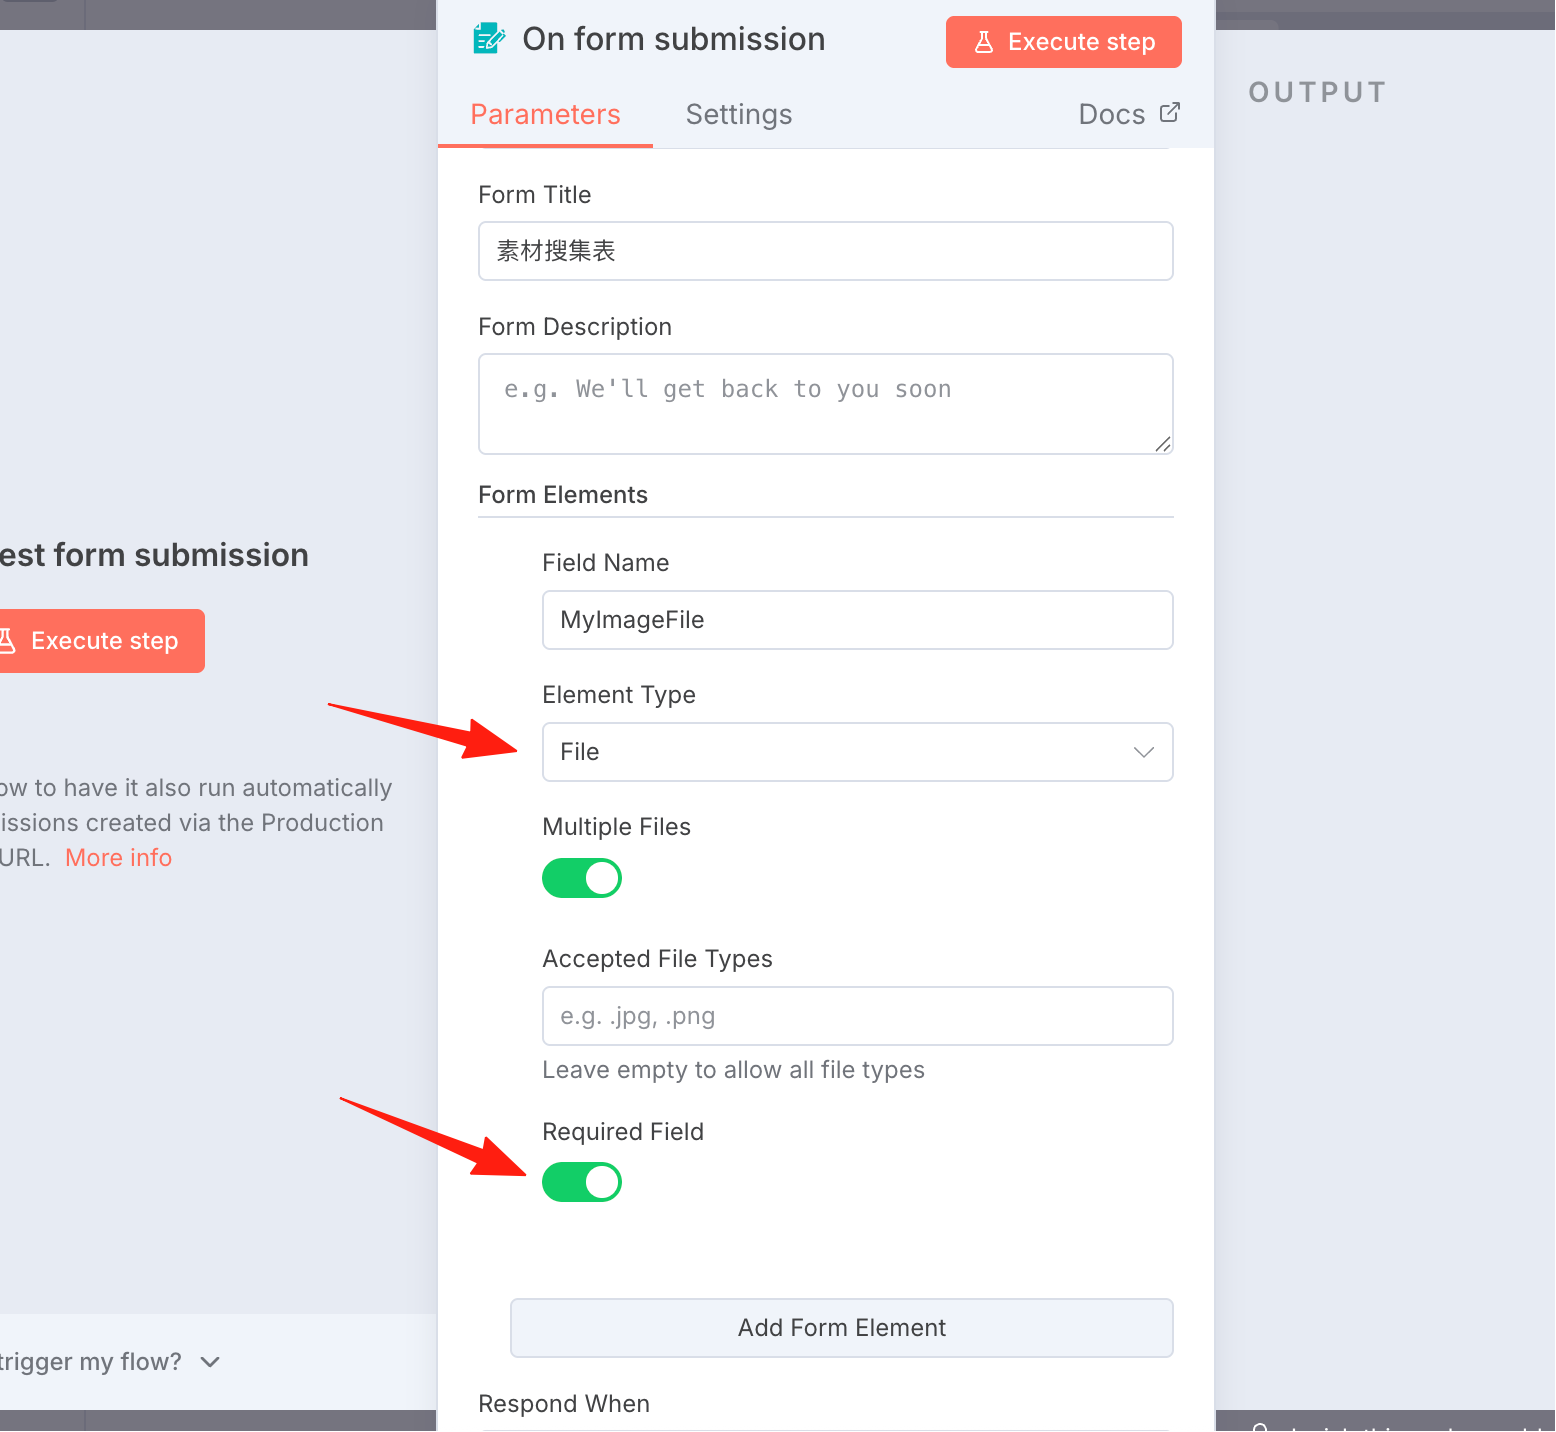
Create a new form trigger
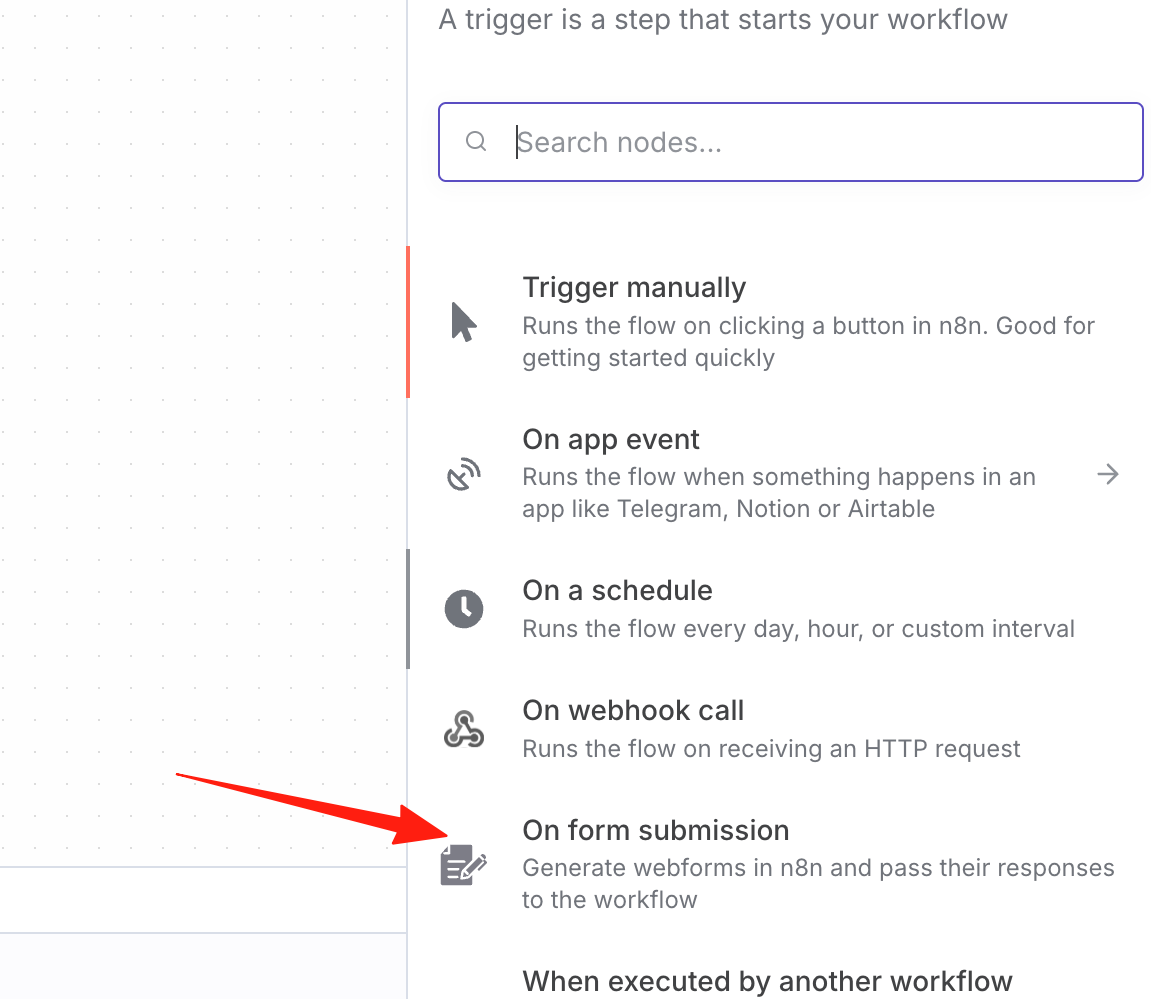
Note: Change the type to File and enable the required upload switch.
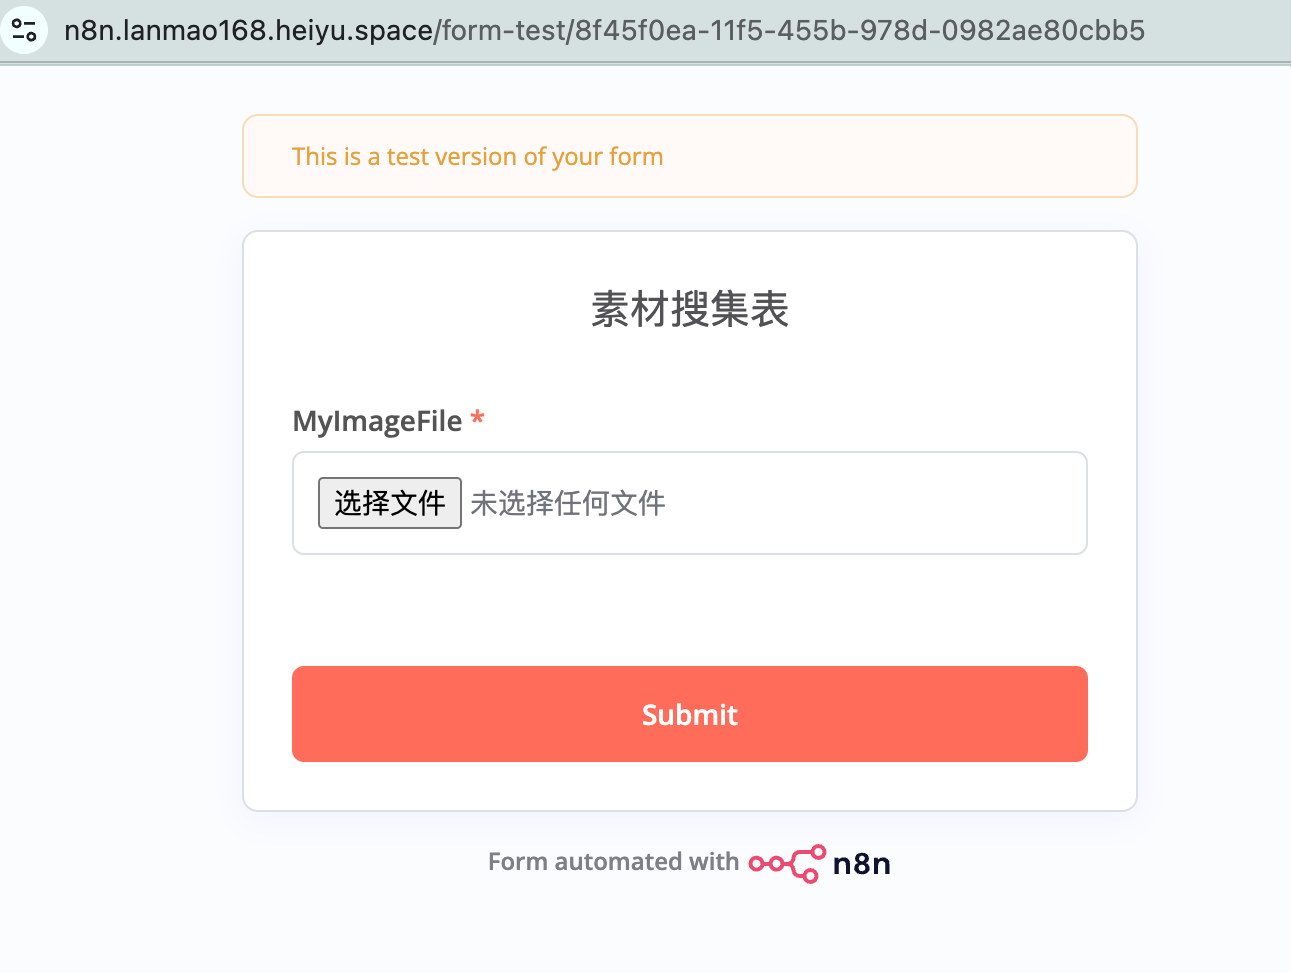
Execute it and upload the design draft image.
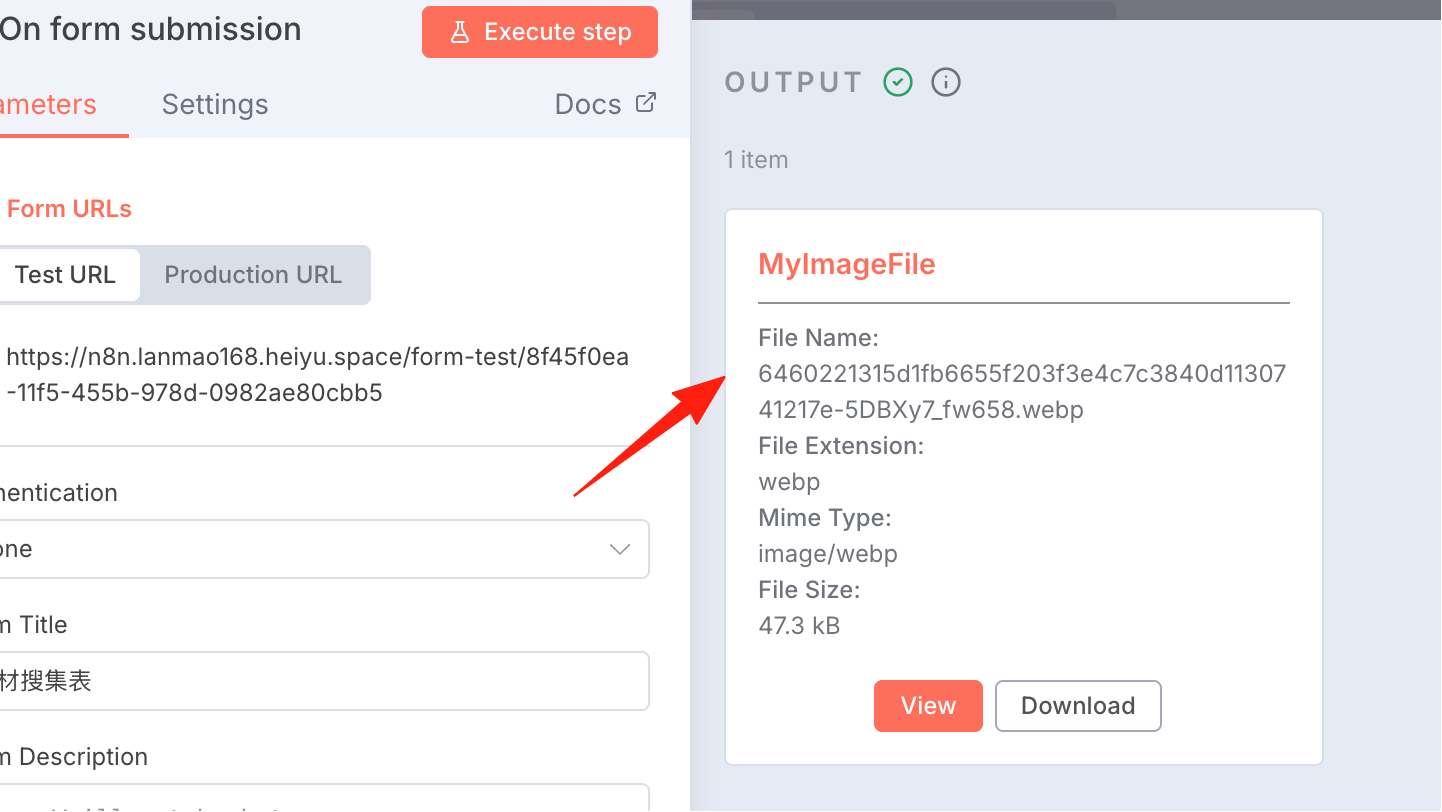
Execution successful. You can see the image information on the right.
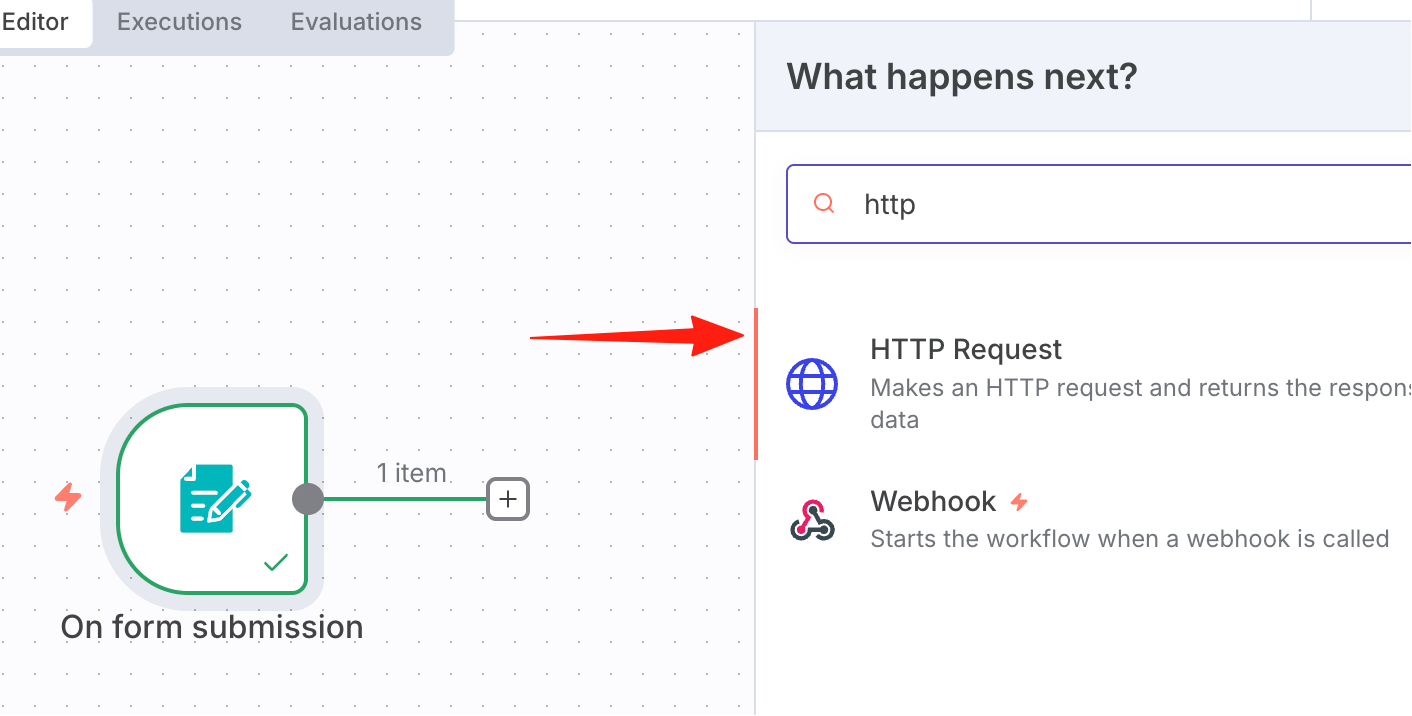
Upload to Image Hosting Service
Step 2: We need to upload the image to an image hosting website for subsequent workflow operations. Add an HTTP Request node.
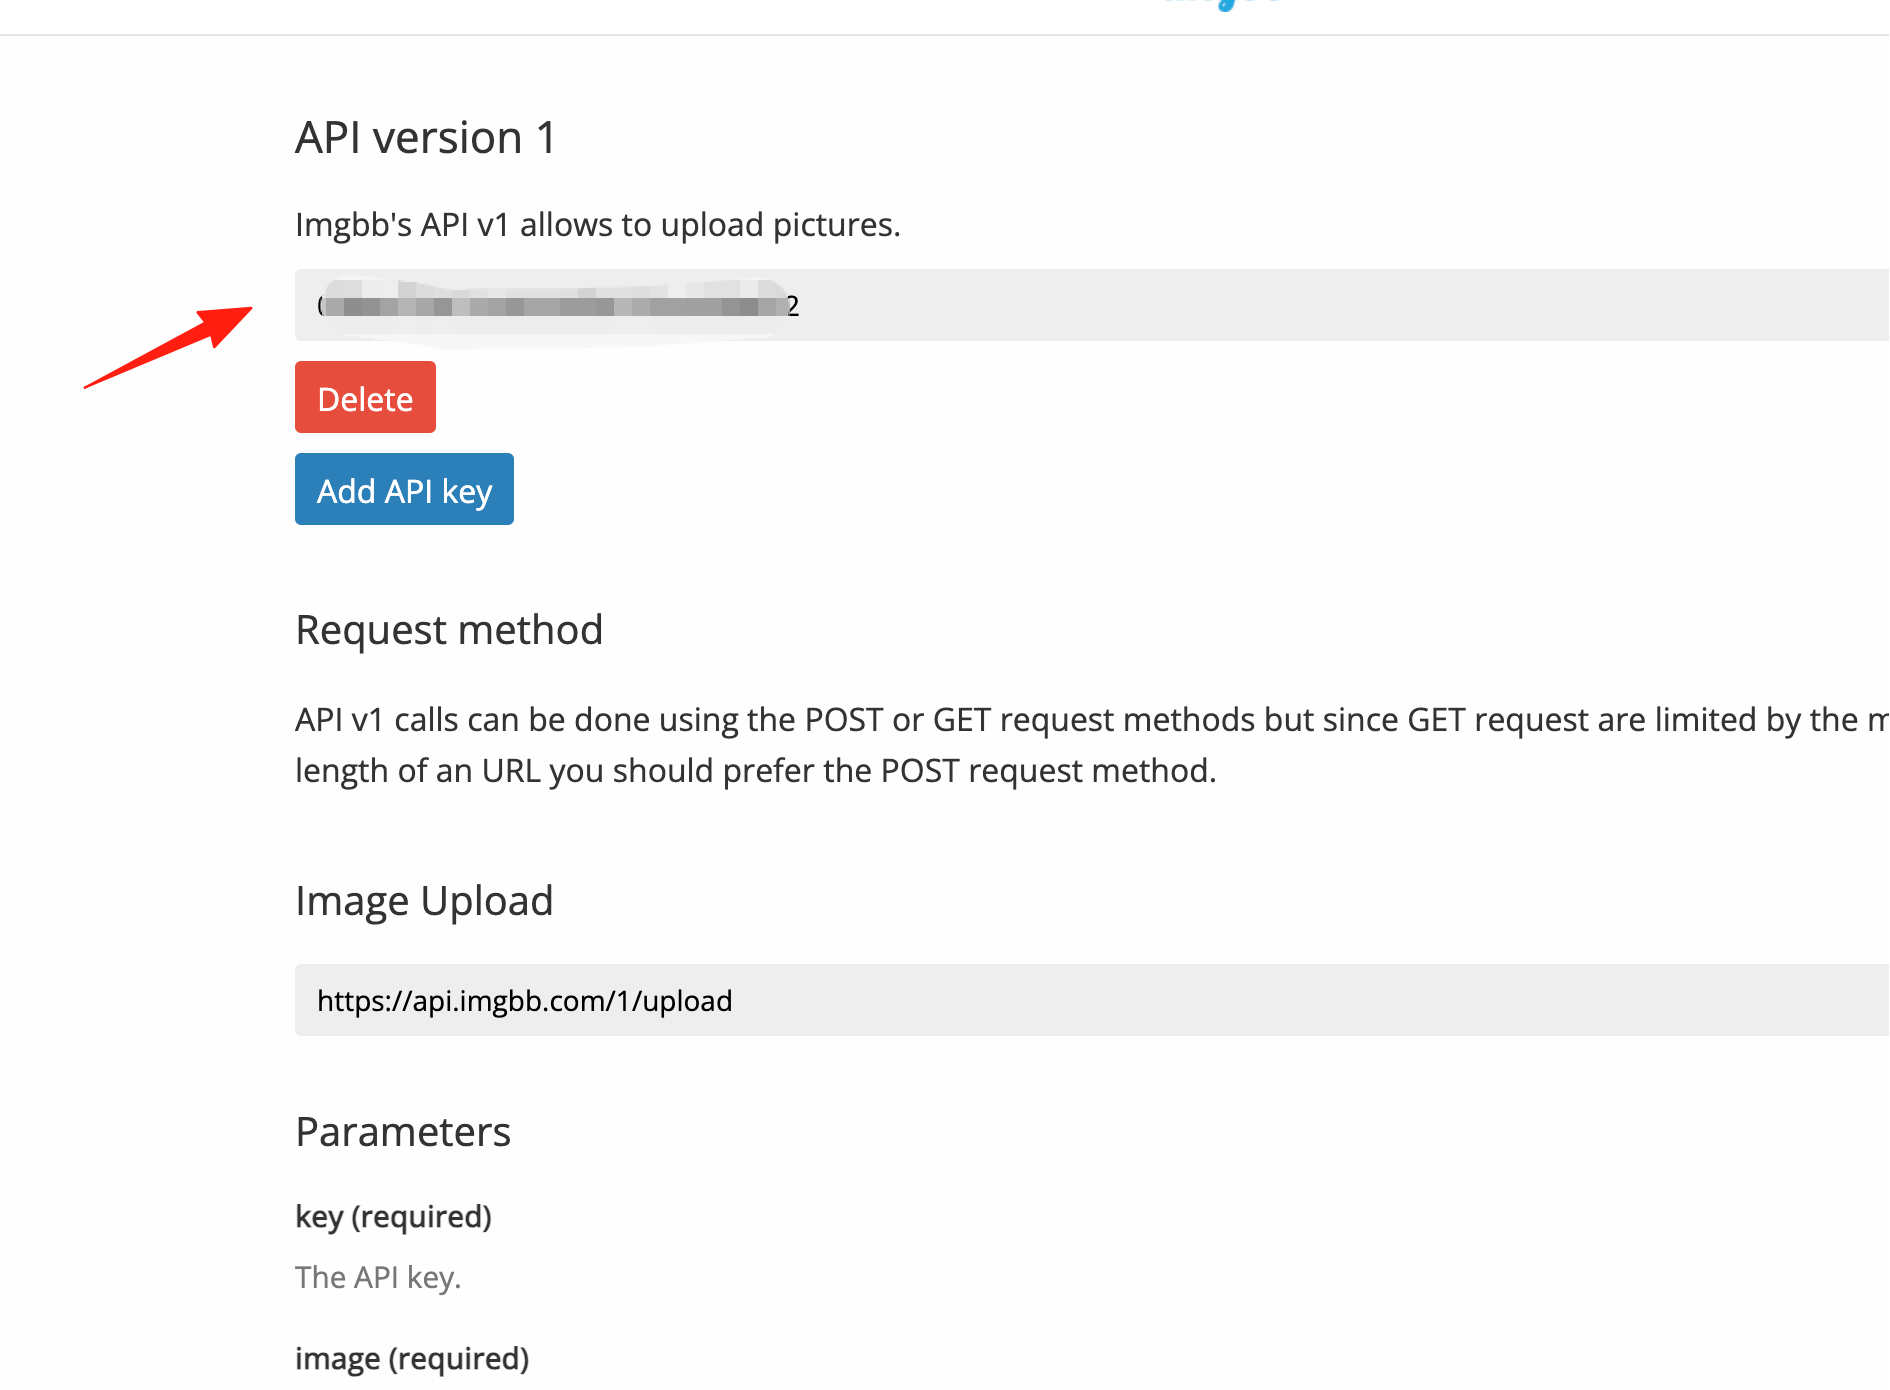
I use this image hosting platform. You need to obtain an API key first. You can find it here:
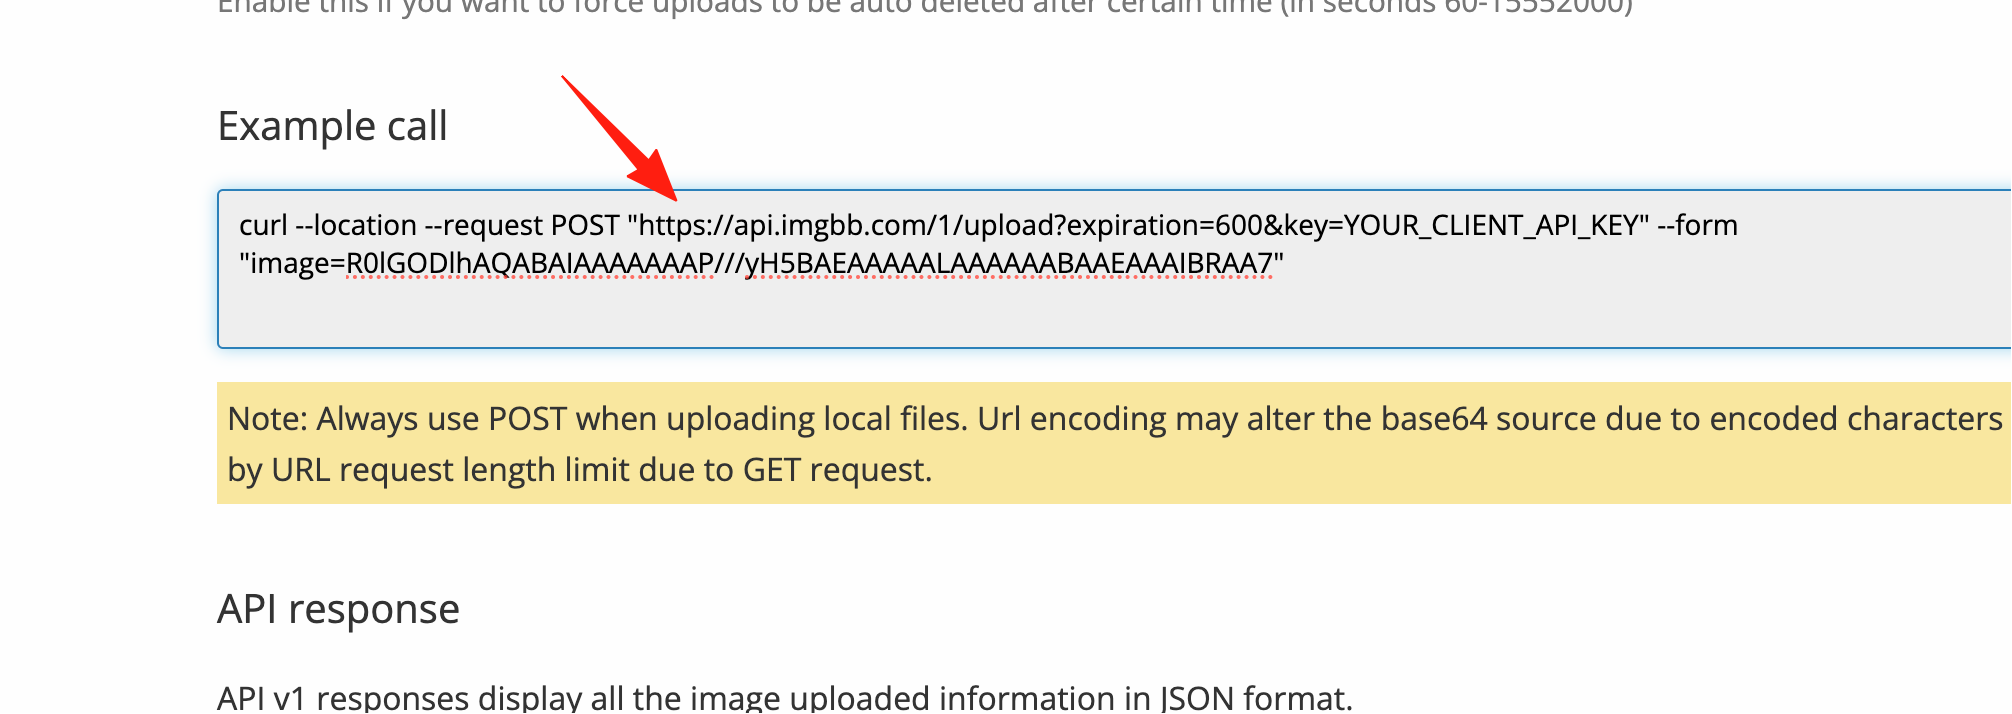
You can see the usage example in the documentation here:
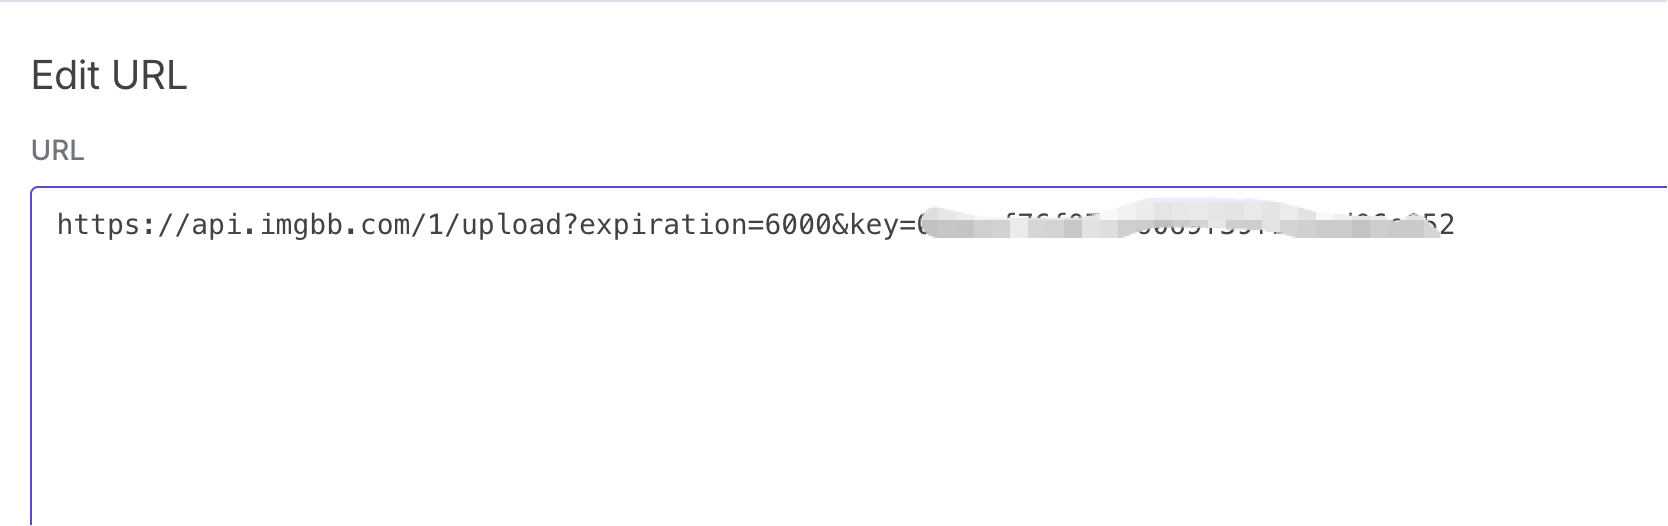
Enter the URL in the n8n node and replace the apikey with your own.
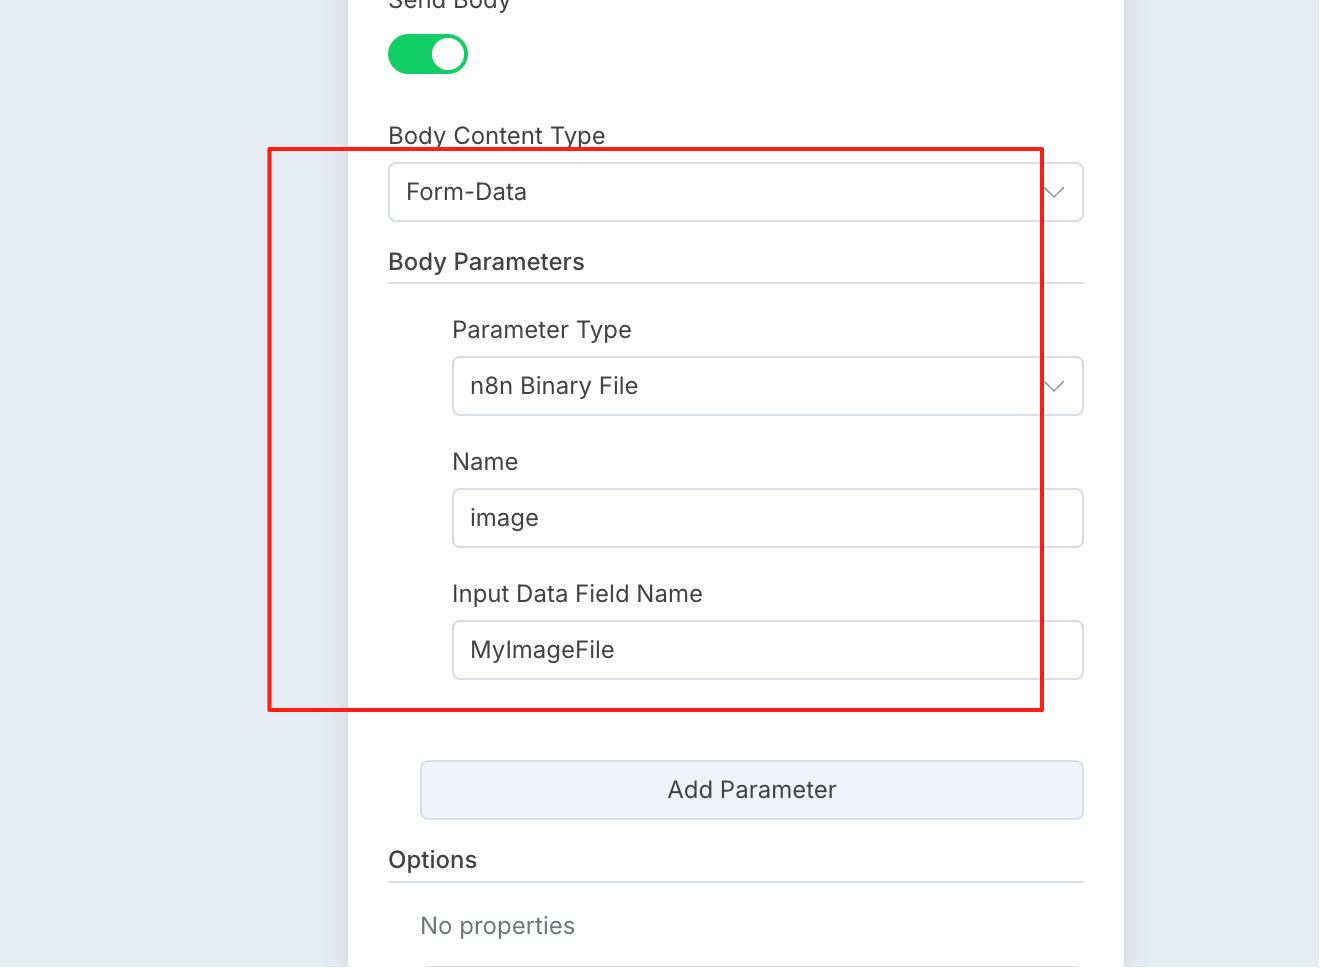
Turn on the "Send Body" switch.
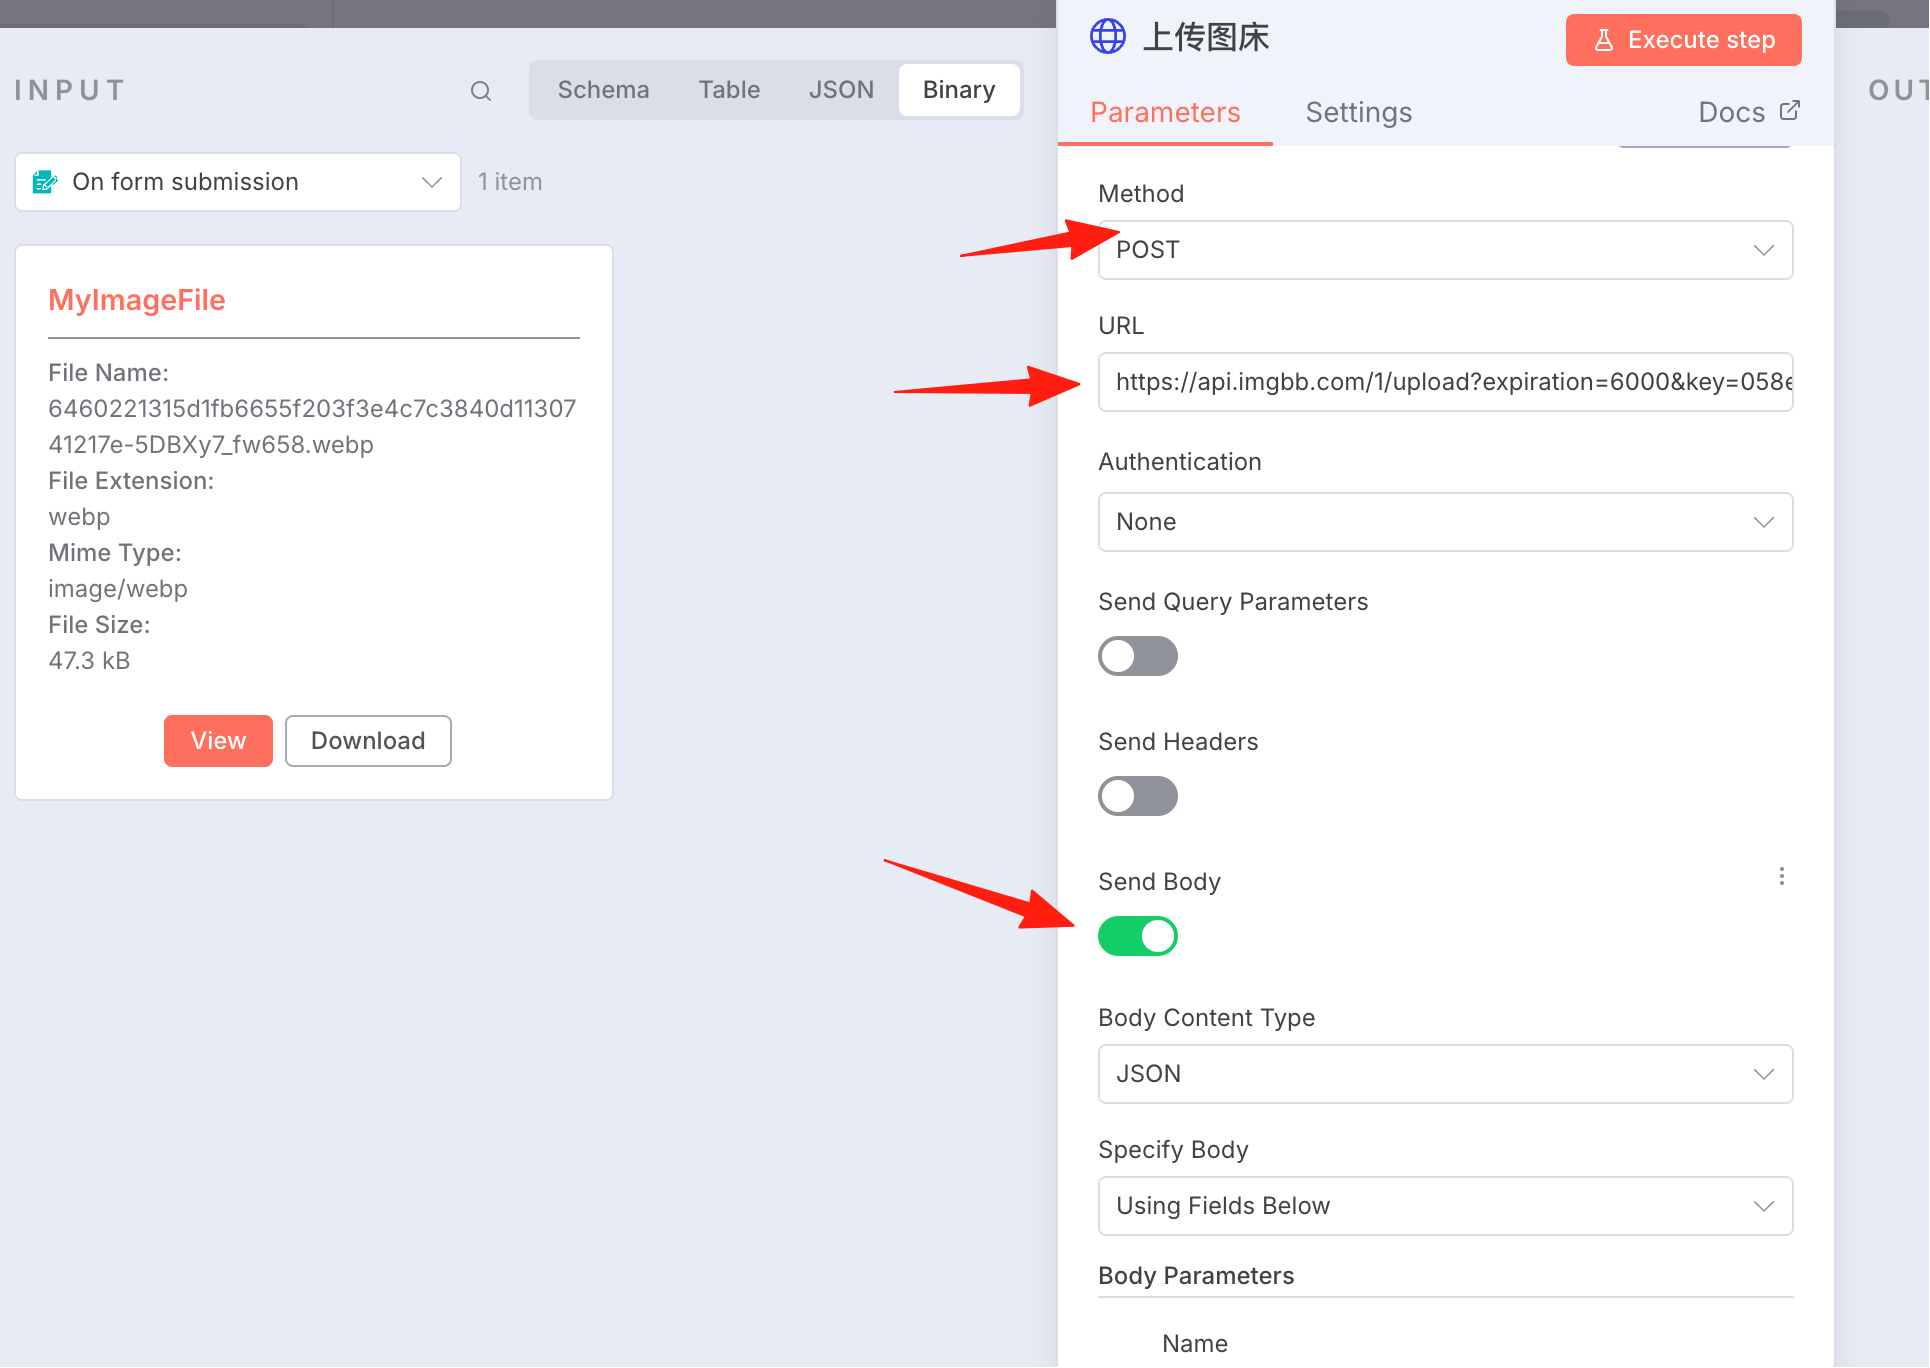
Select "Form-Data" as the Body Type.
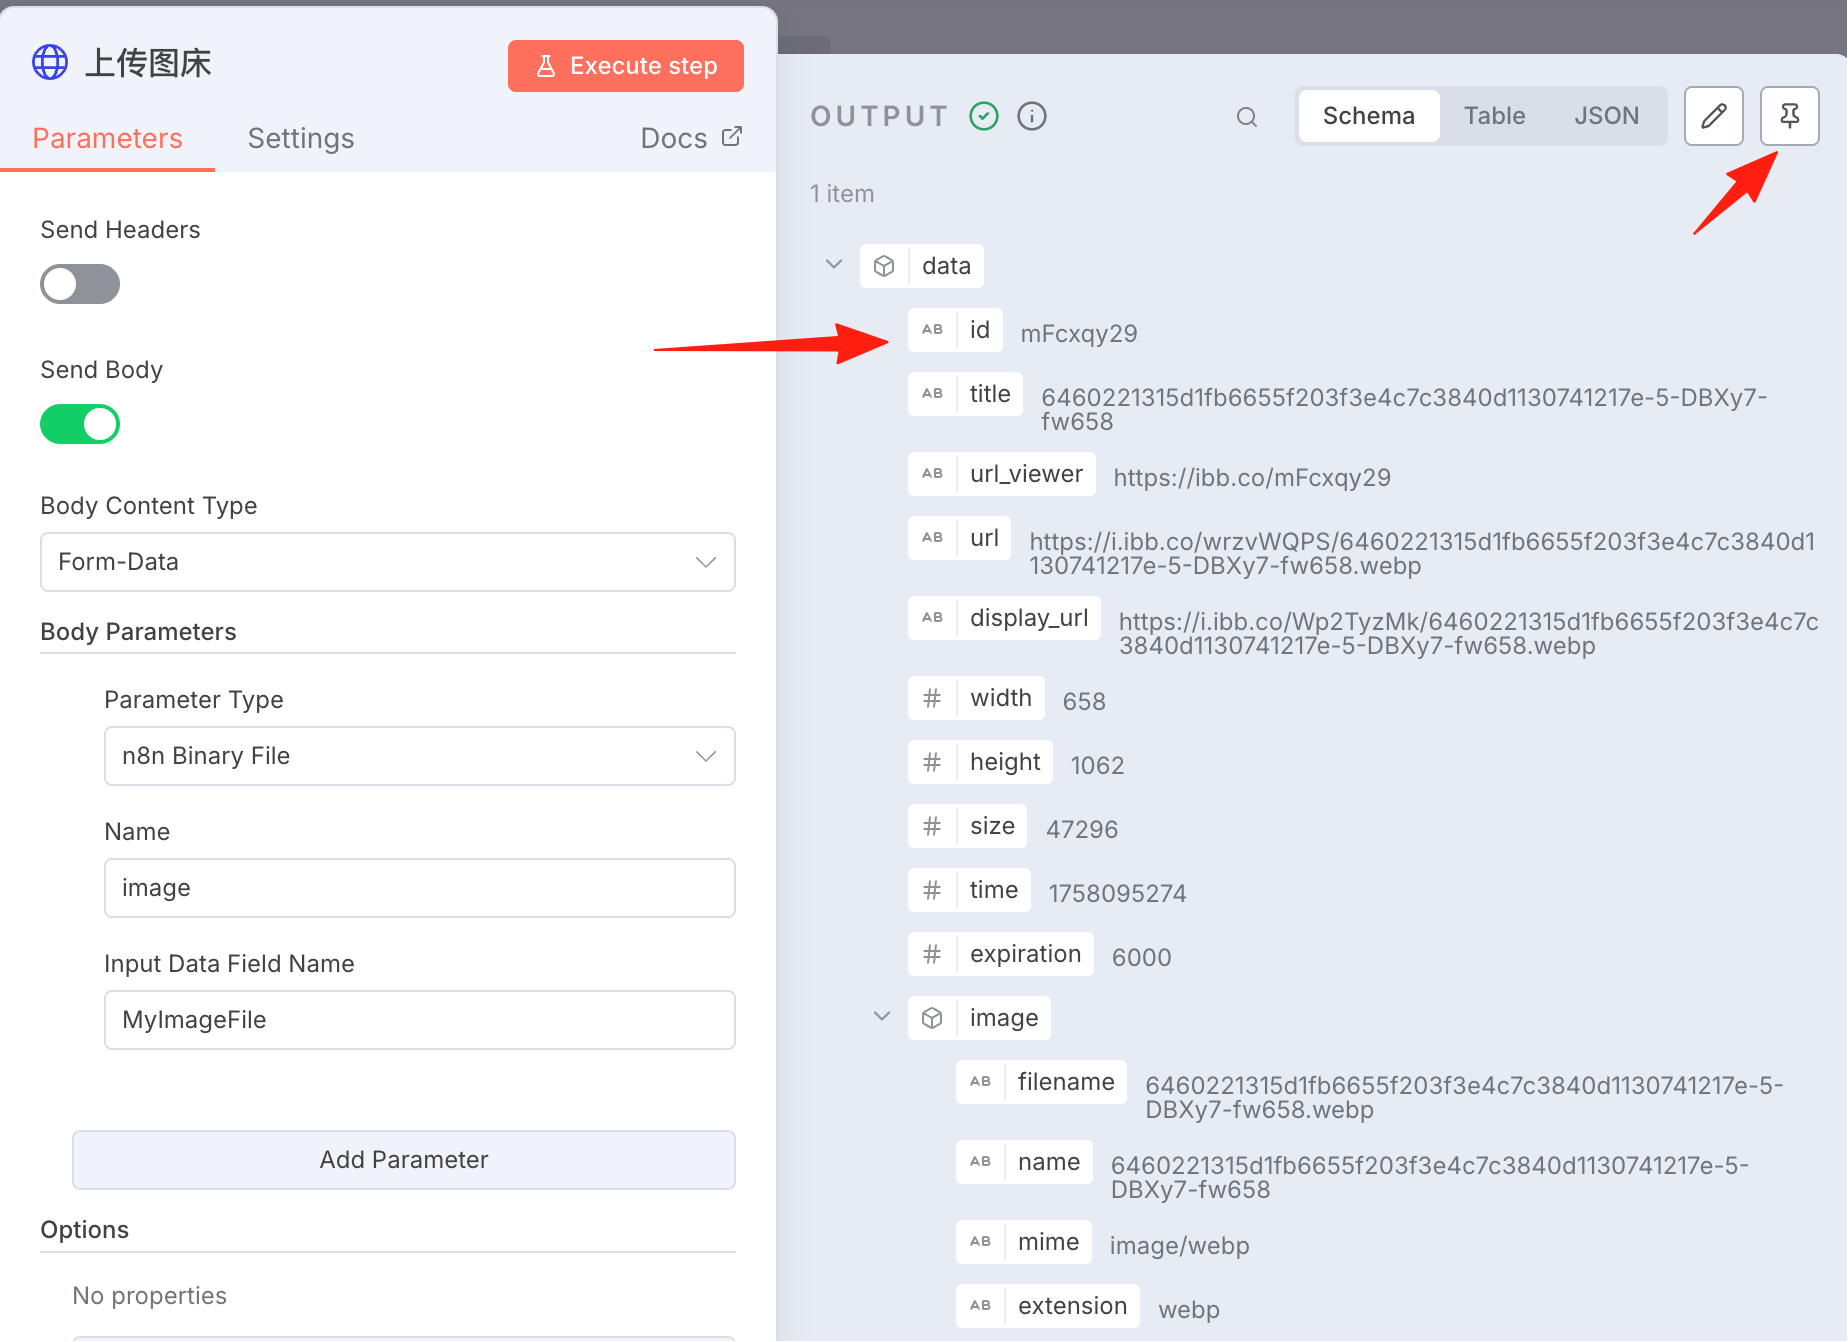
Execute the node to see the result, then pin it.
AI Image Analysis
This step involves analyzing the image to generate a more refined image.
I use the GPT-4o model via a third-party platform V-API.
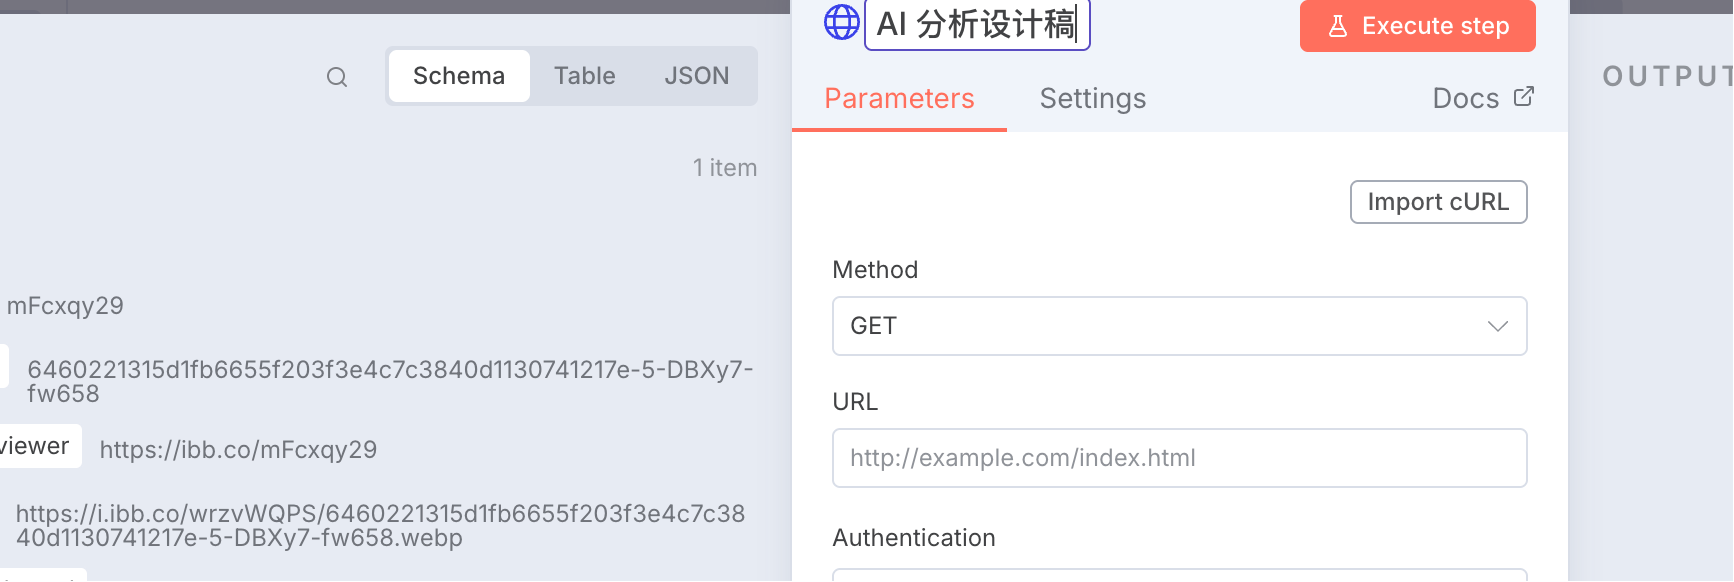
First, insert an HTTP Request node and rename it to "AI Analyze Design Draft".
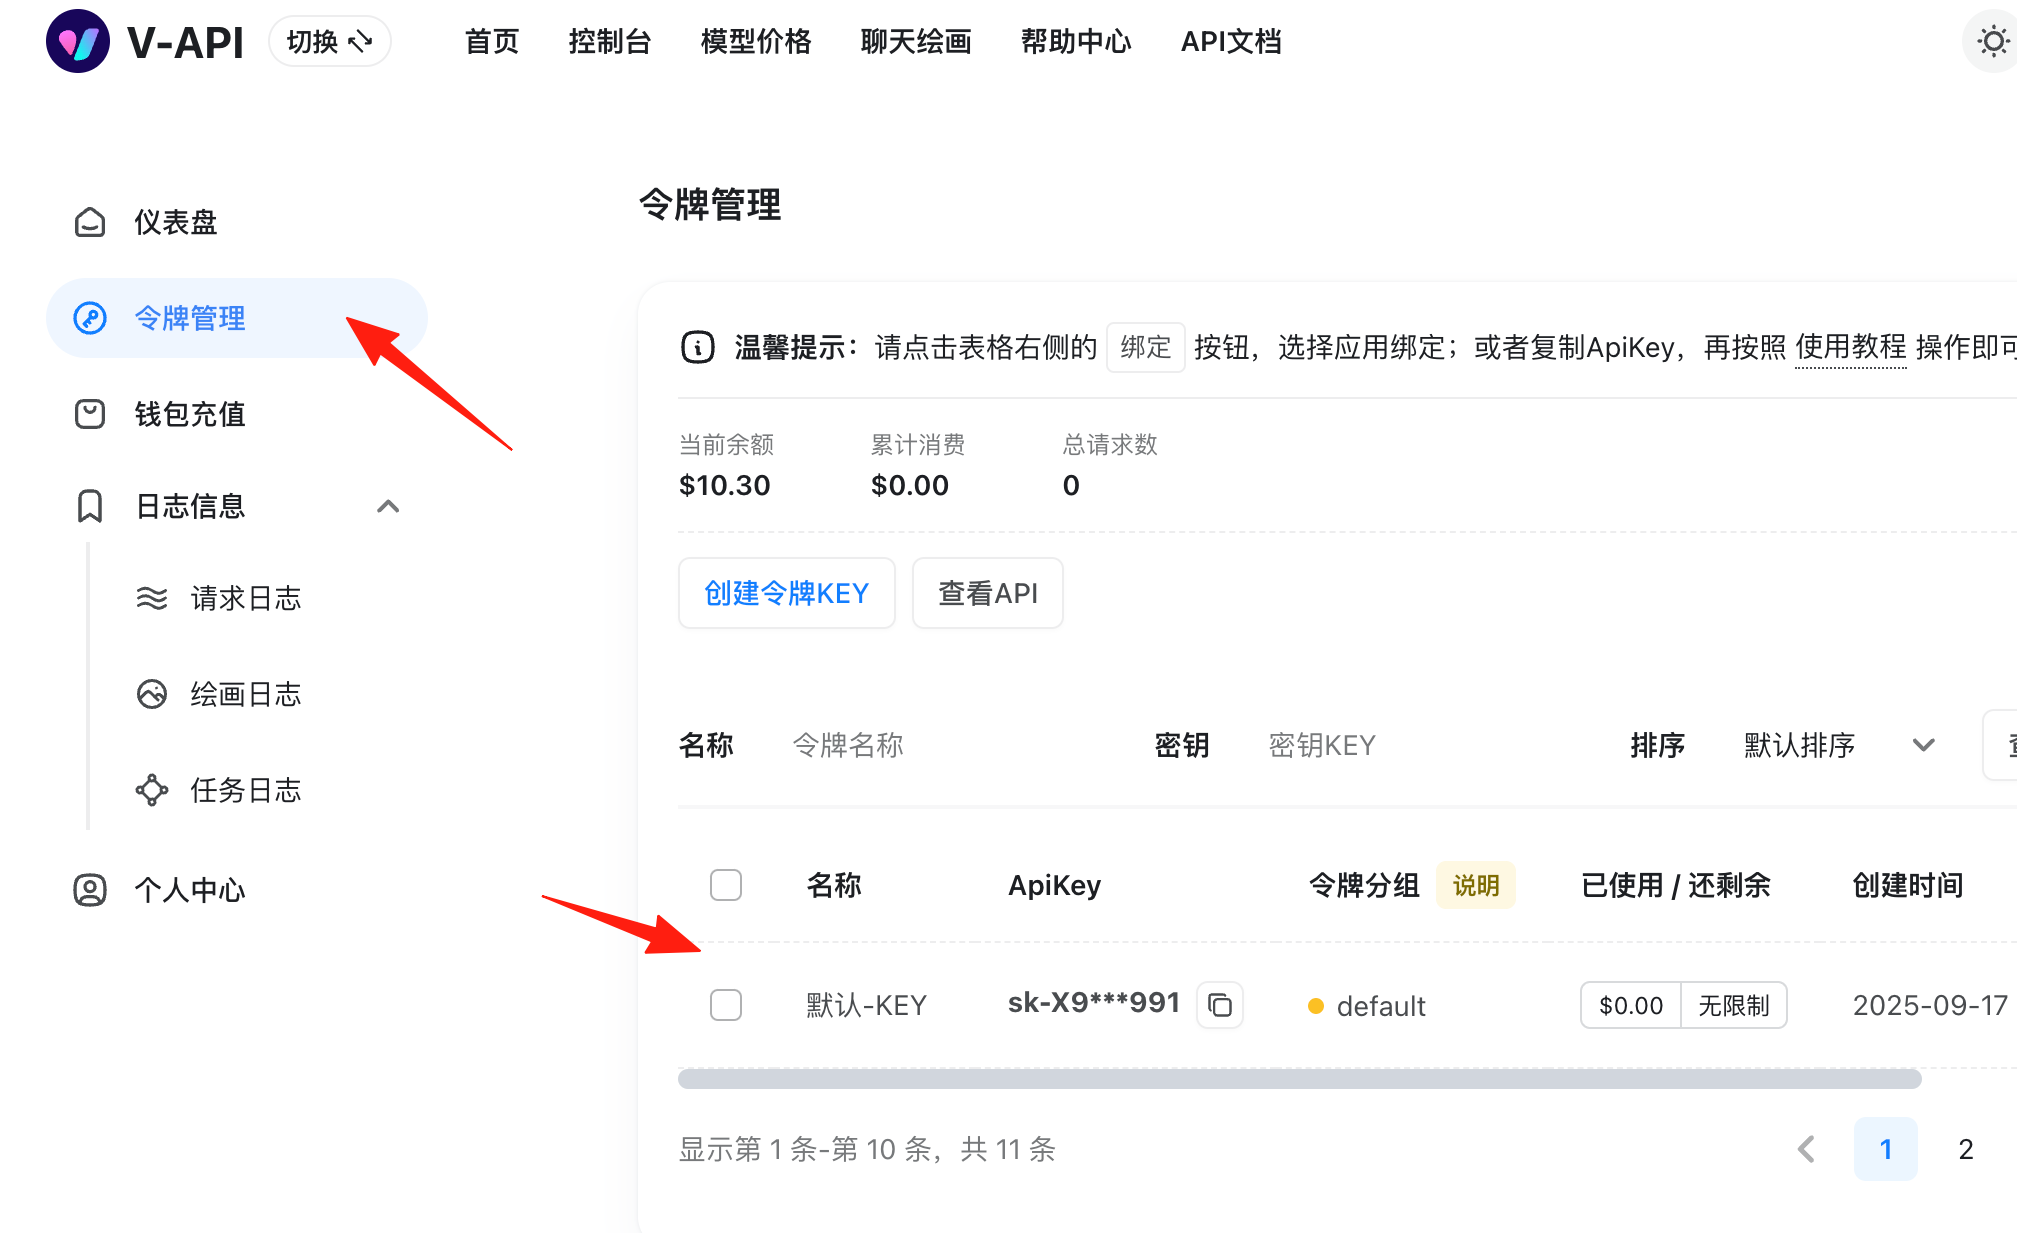
You can find your API key in the Token Management section.
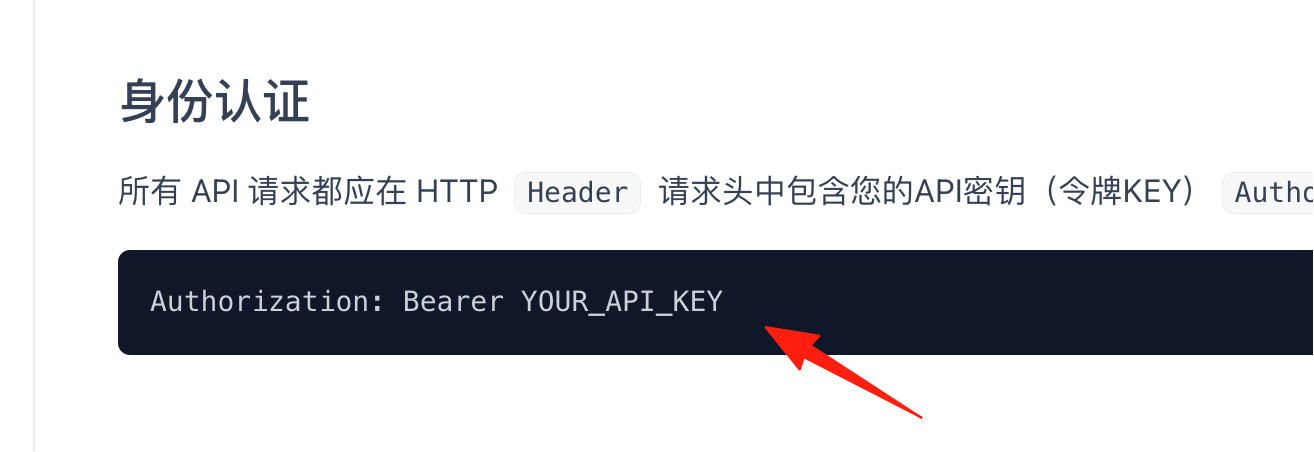
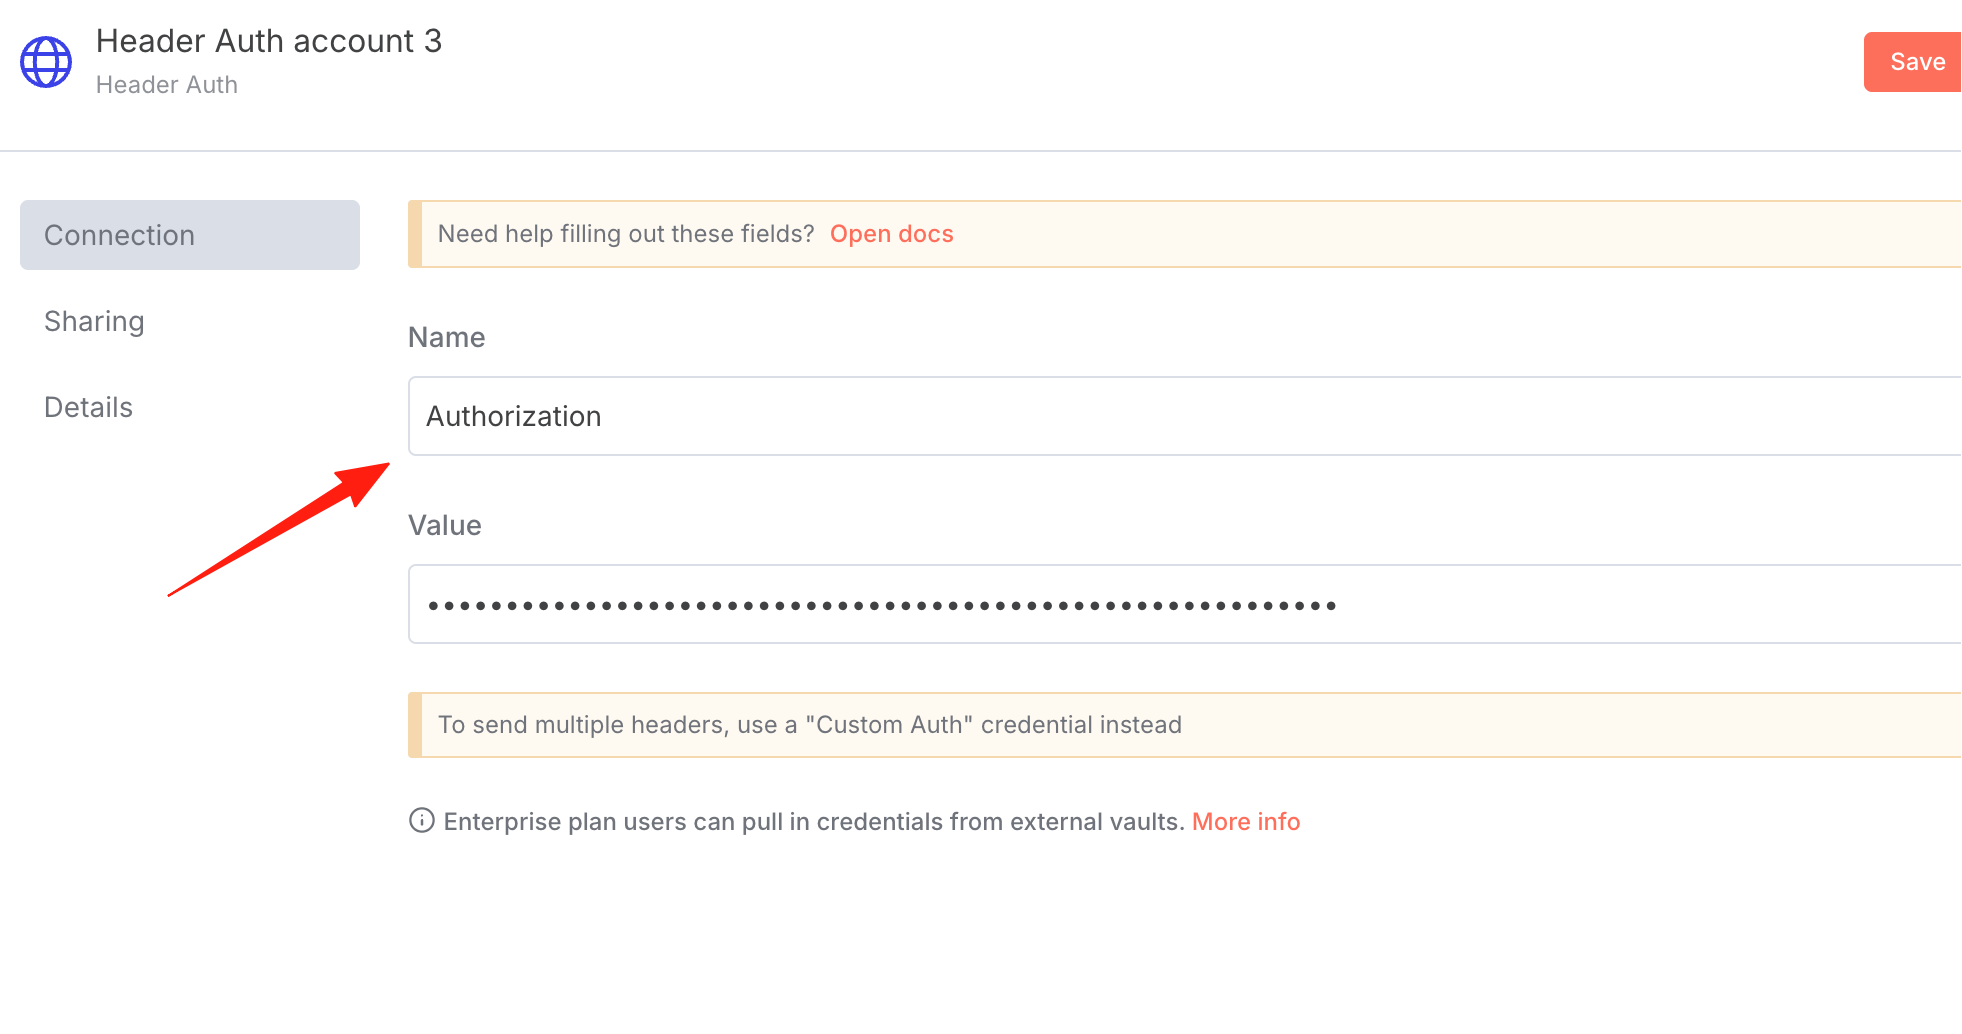
According to the documentation, use Header Auth in n8n. Create a new credential.
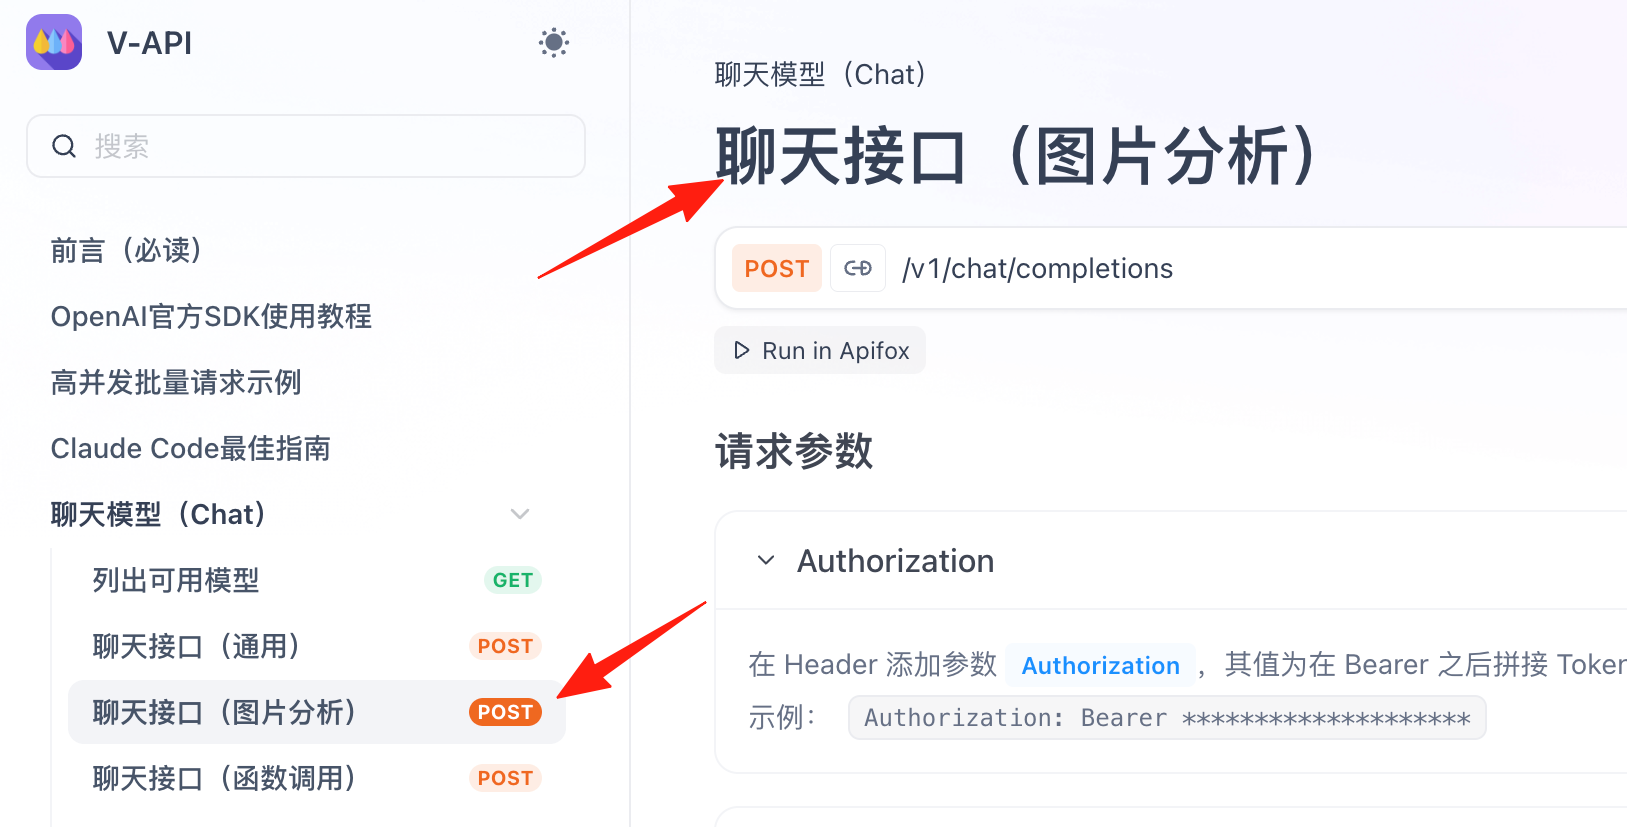
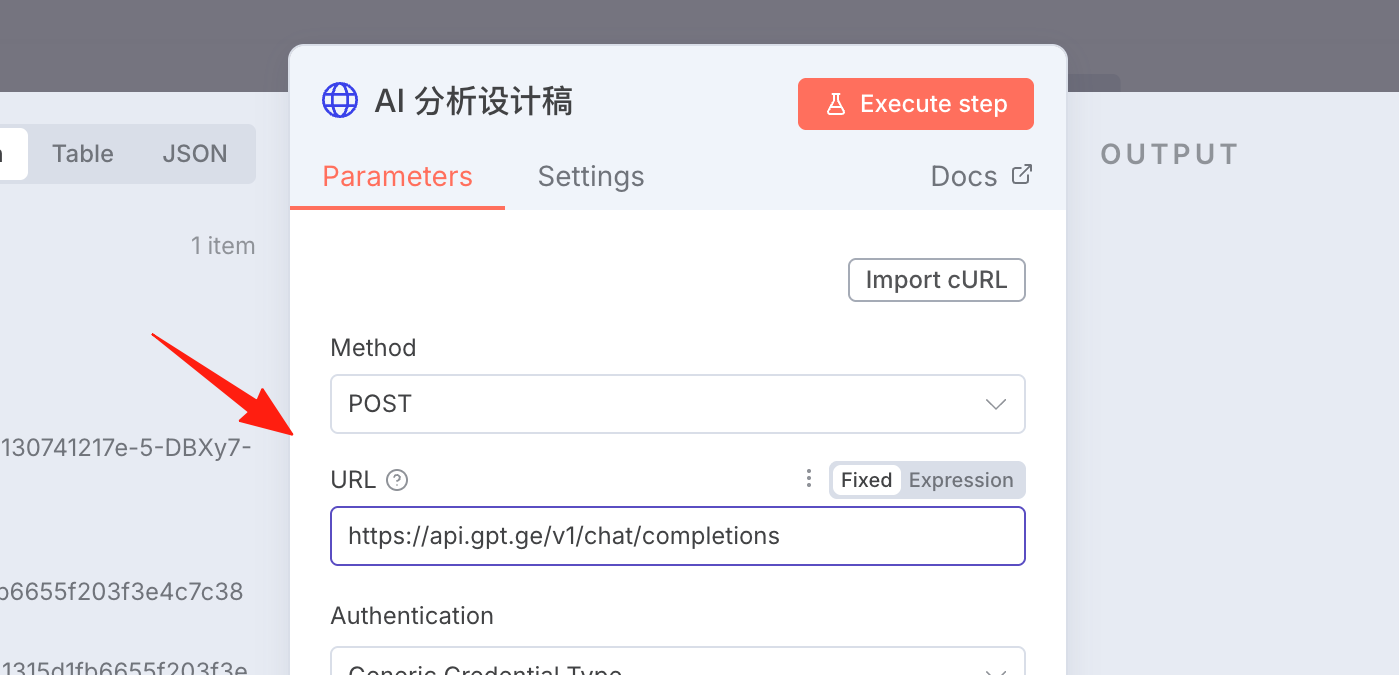
This is a POST request. Copy the URL address from the API documentation.
Next, turn on the "Send Body" switch and select JSON.
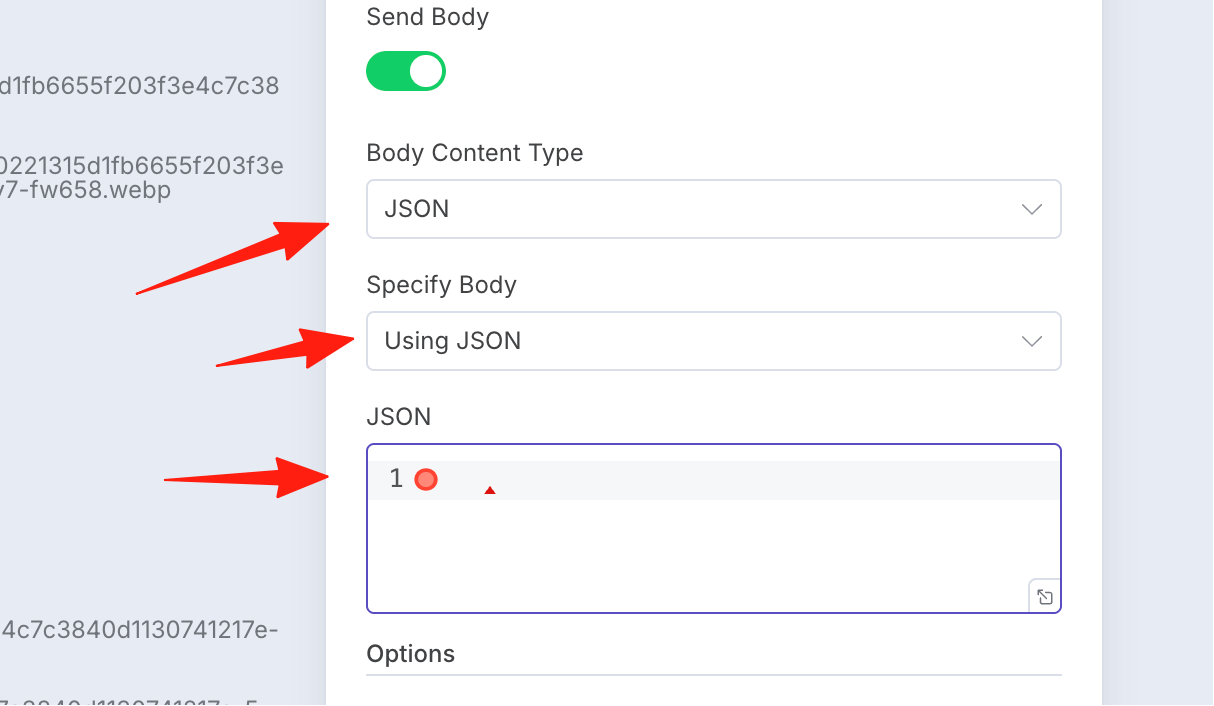
For the JSON input field, you can refer to the API documentation example and copy it over.
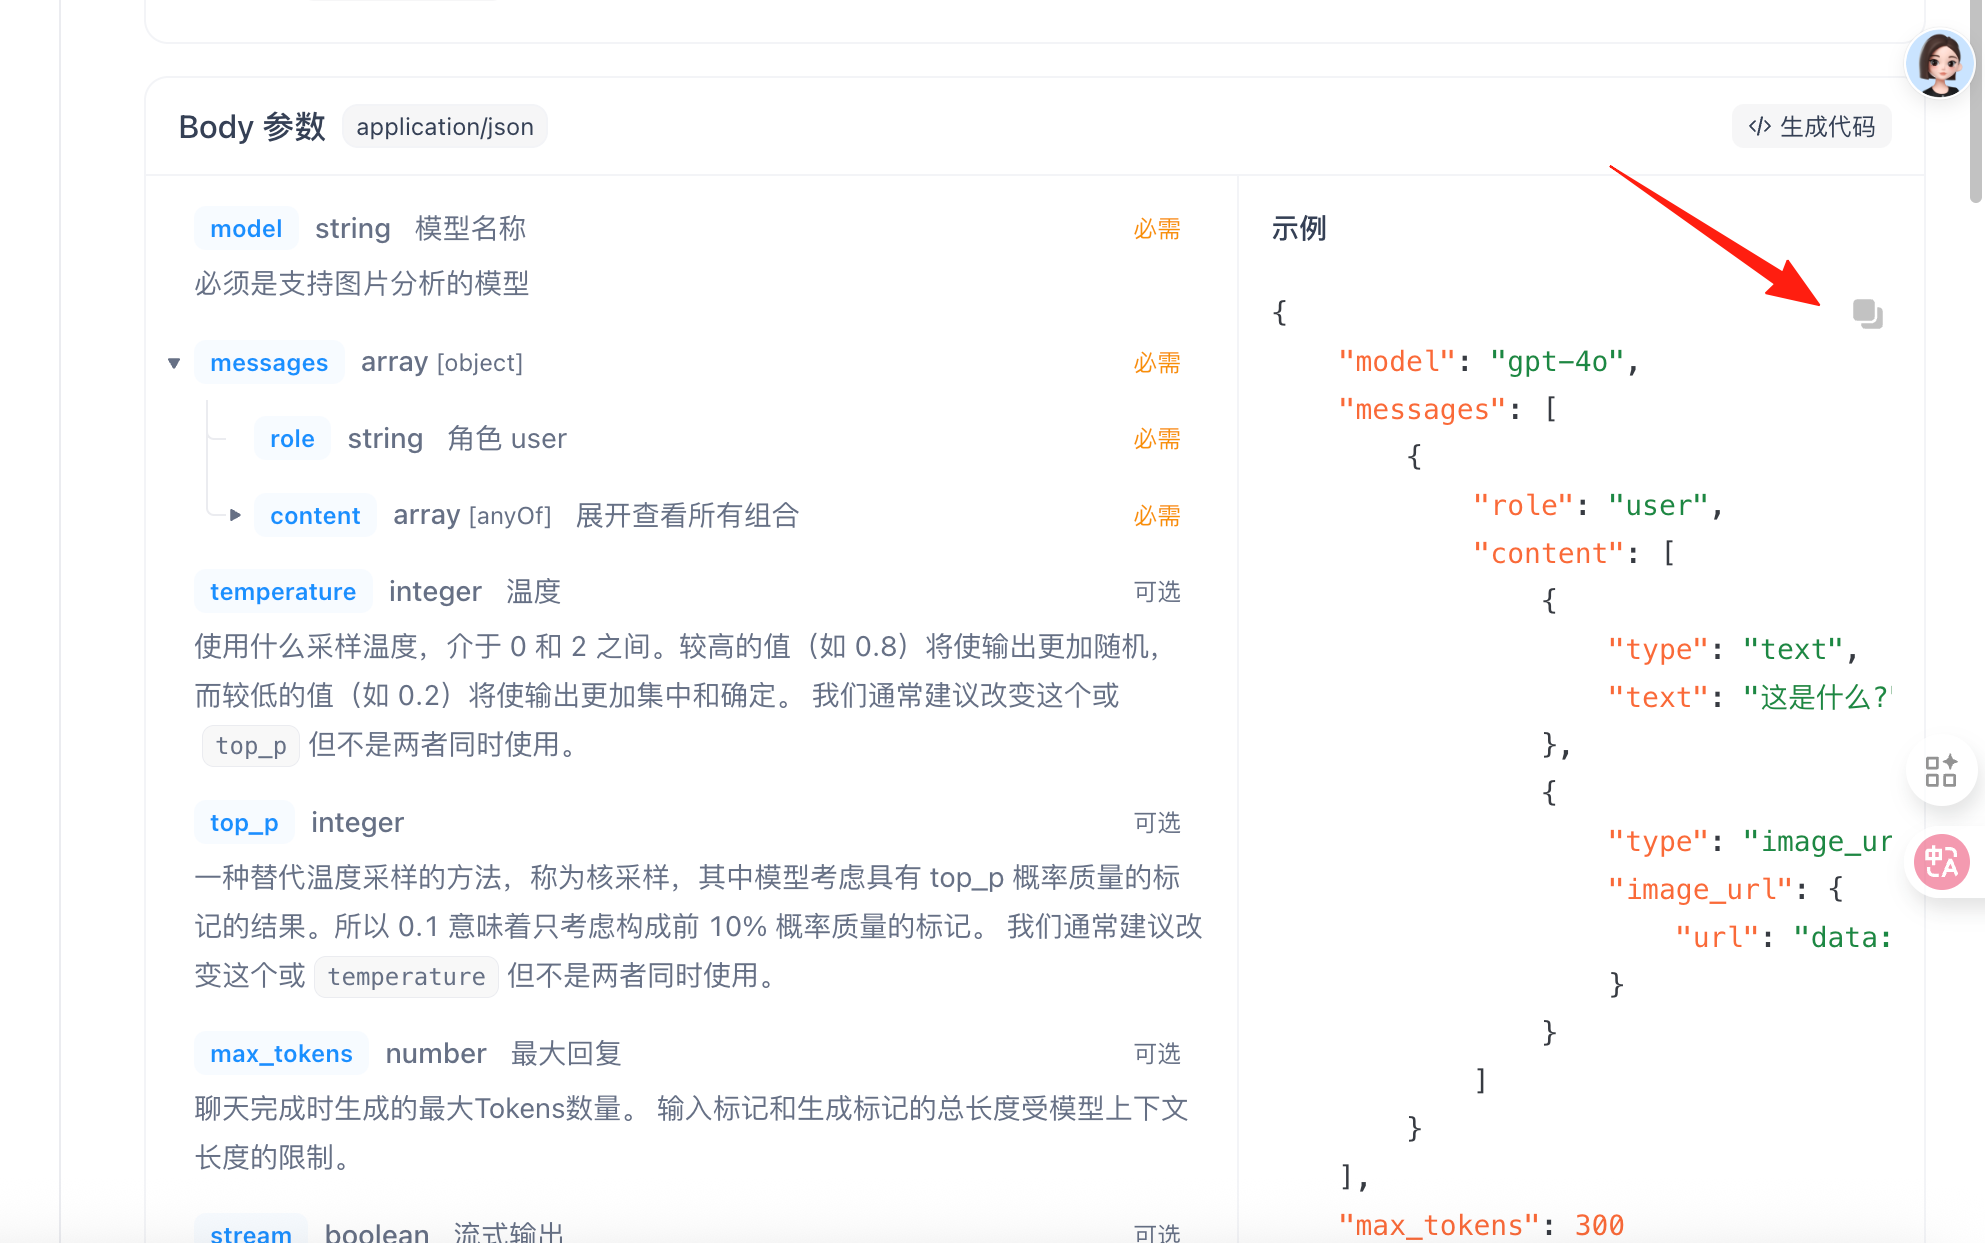
Click to expand the details.
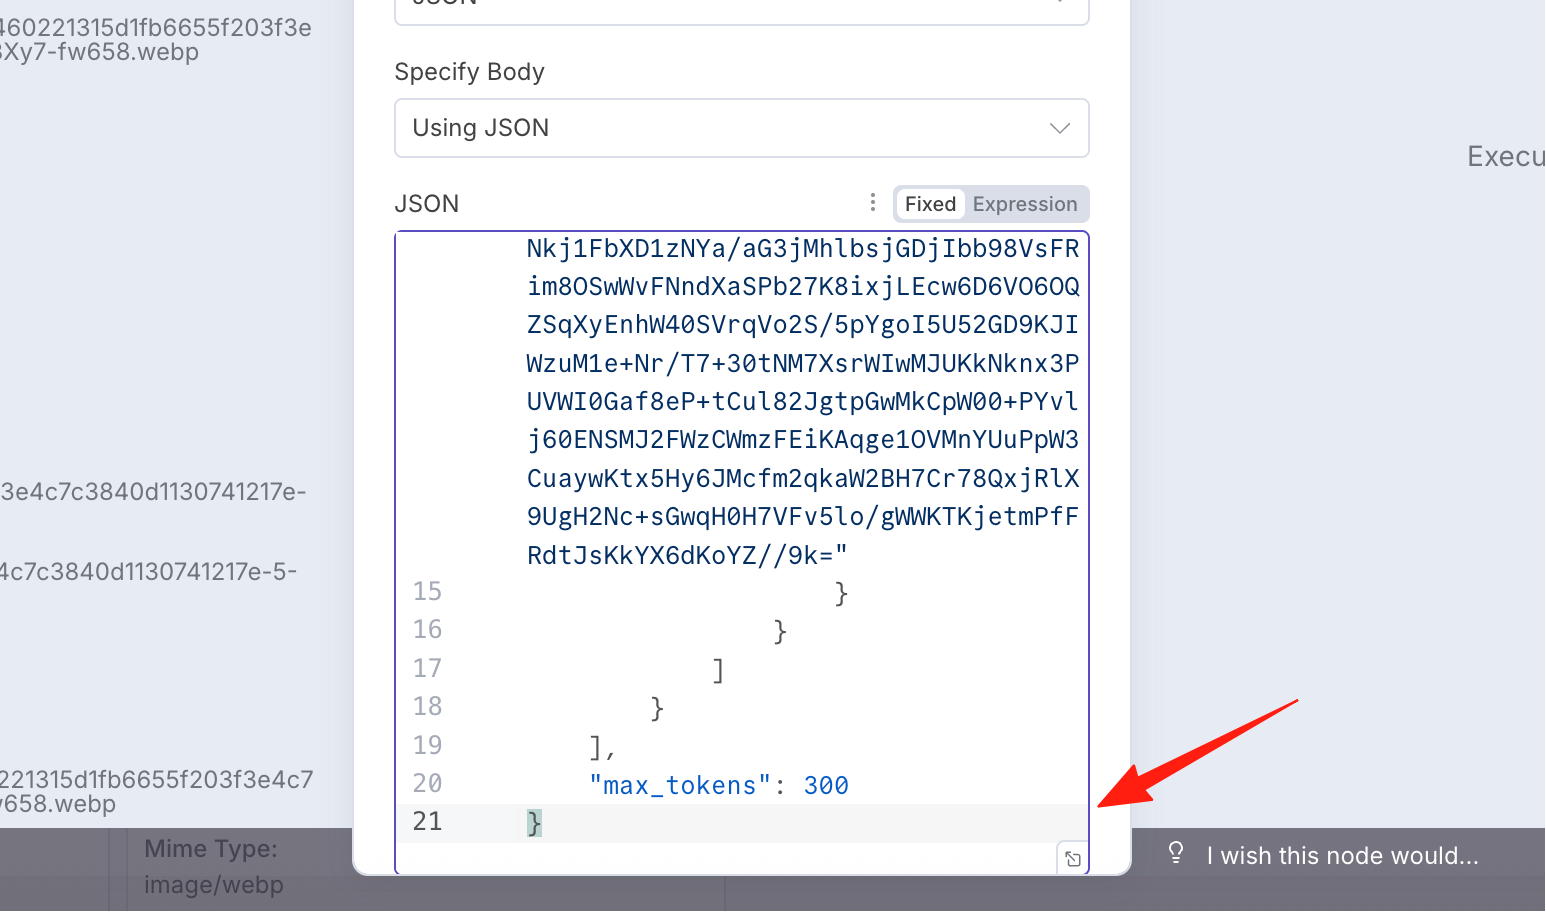
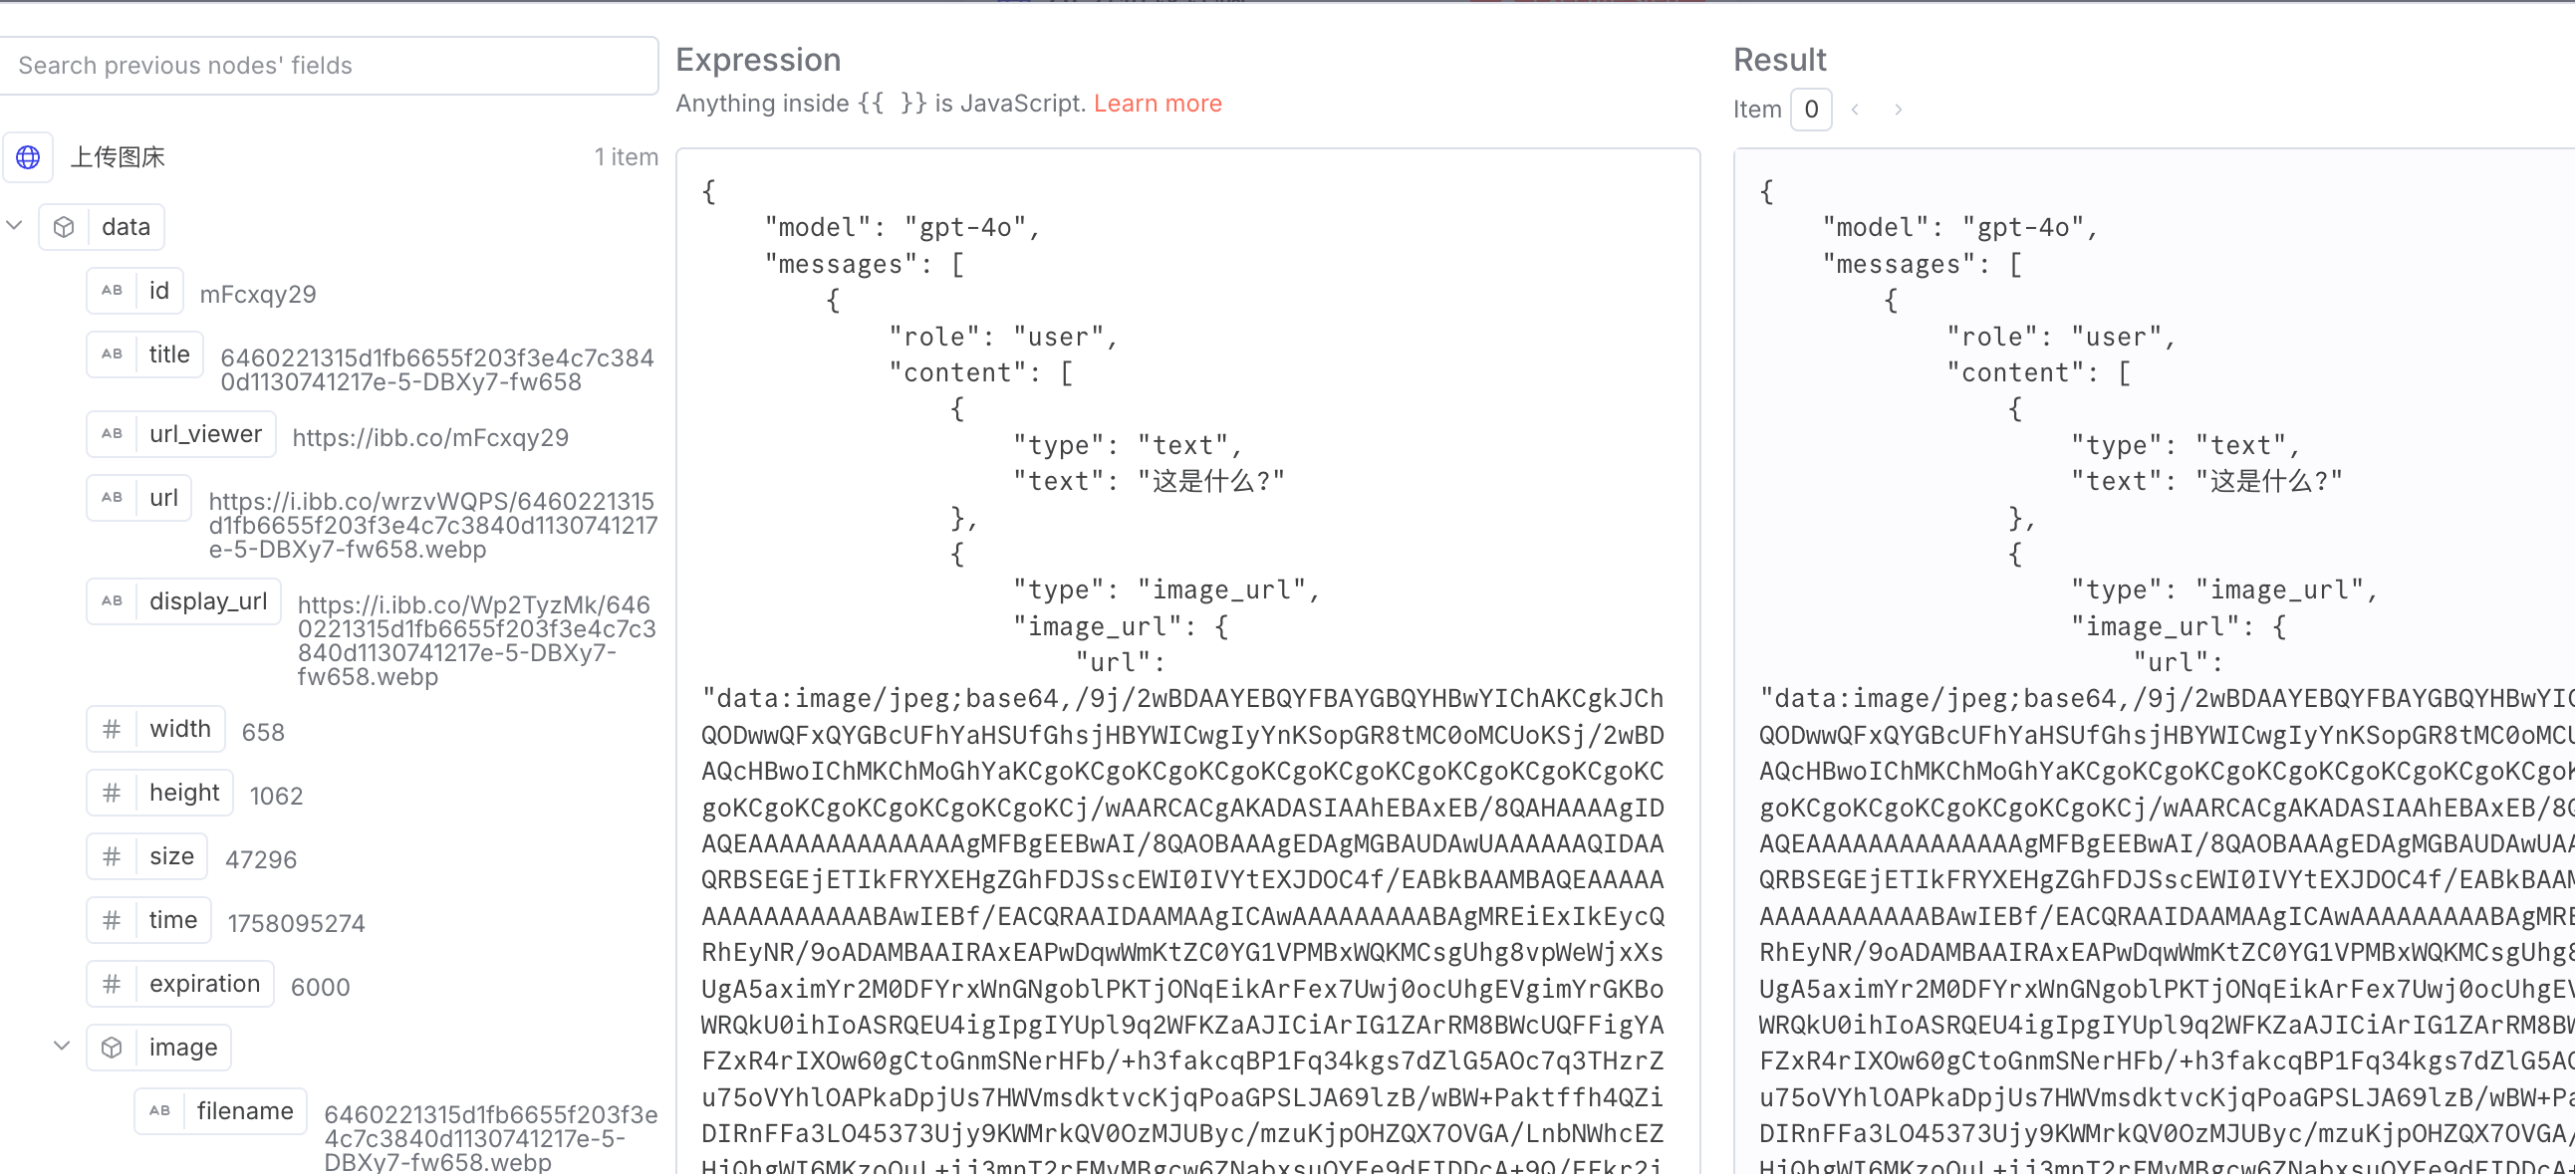
Delete the content of the url field and drag our URL from the left side.
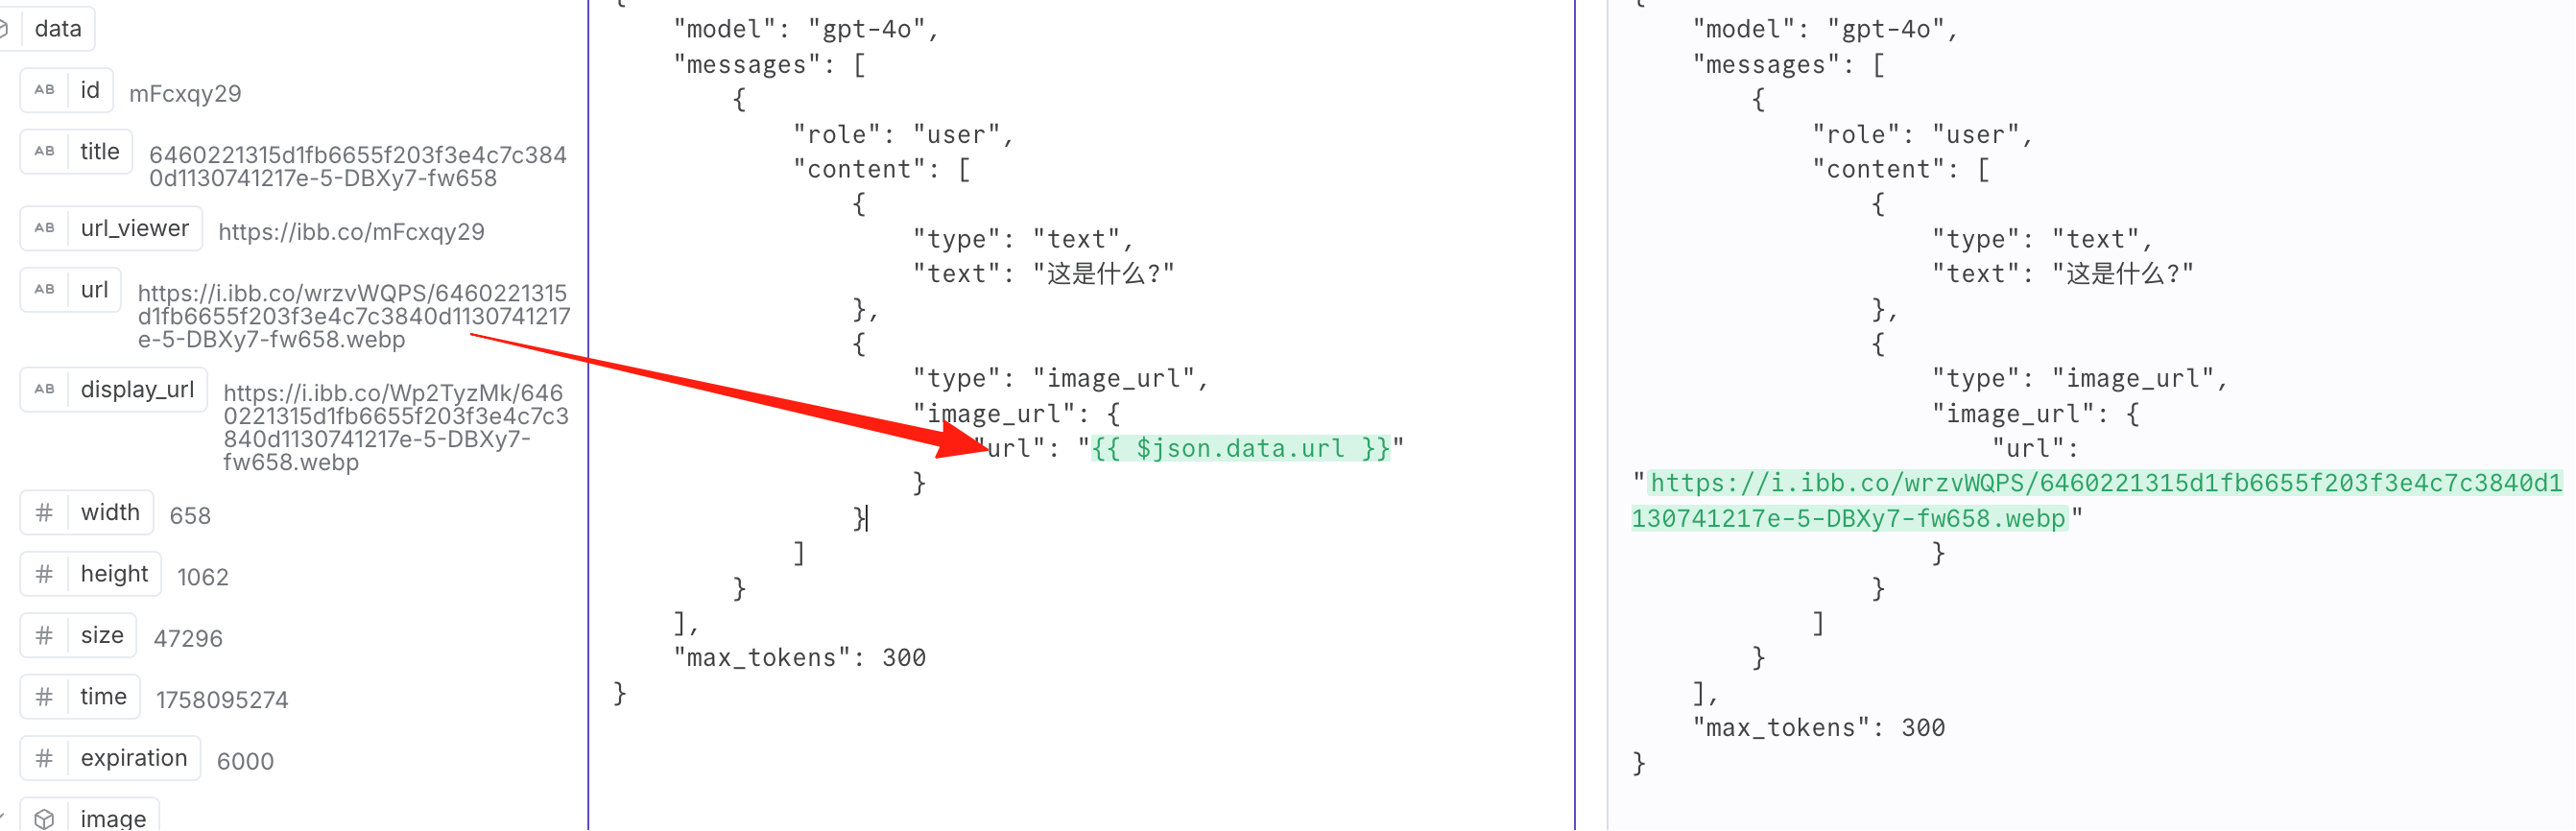
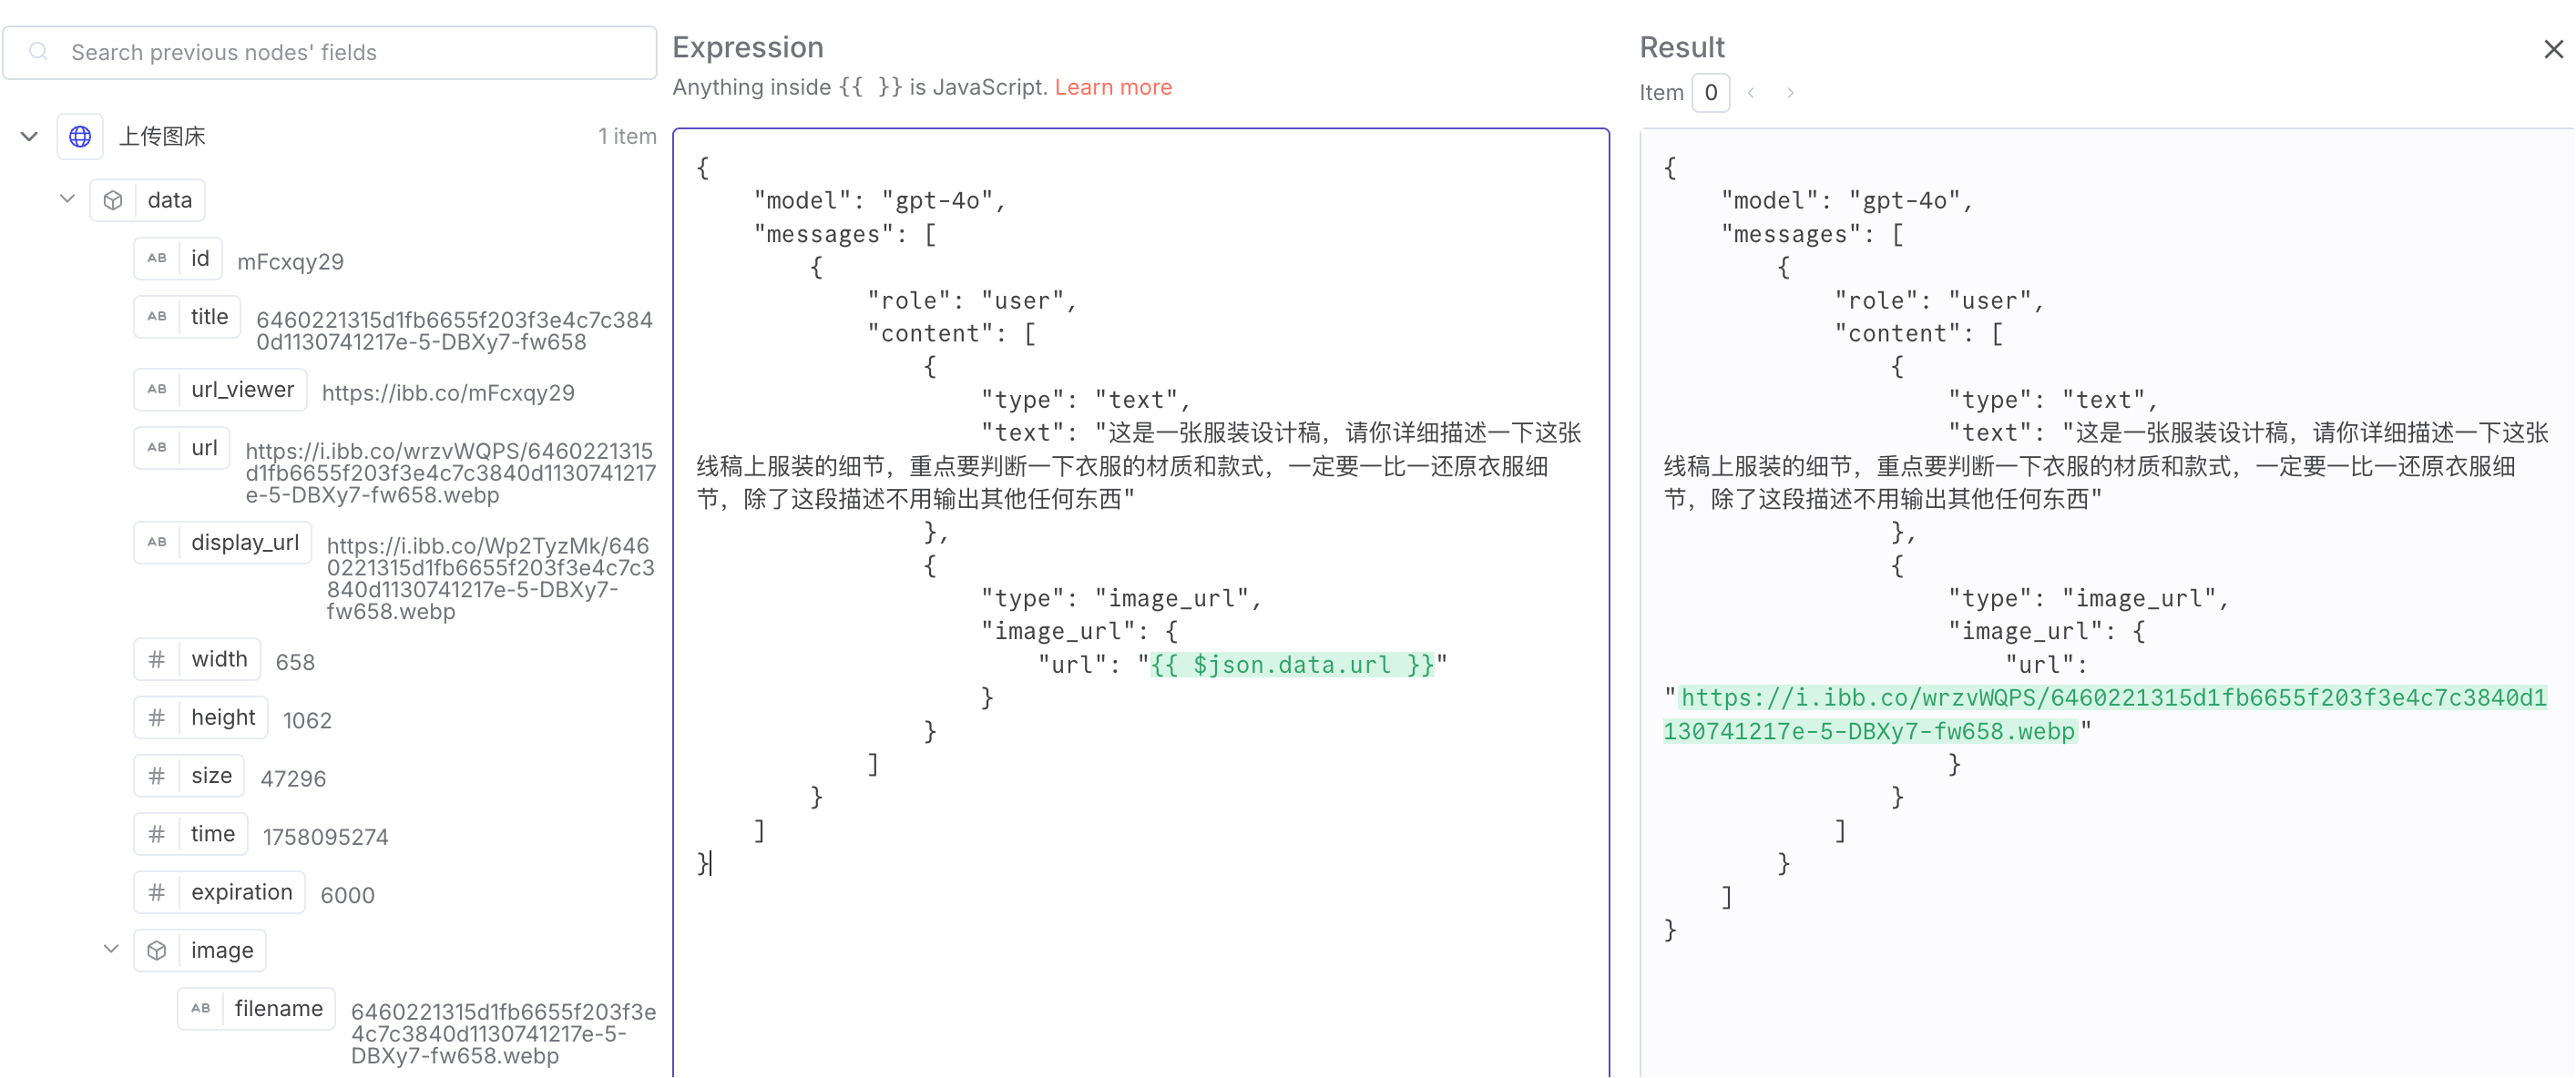
Change the text to: "This is a clothing design draft. Please describe the details of the clothing on this line drawing in detail, focusing on judging the material and style of the clothing. It must restore the clothing details one-to-one. Do not output anything else besides this description."
Delete the "max_tokens": 300 line. The final effect is as shown:
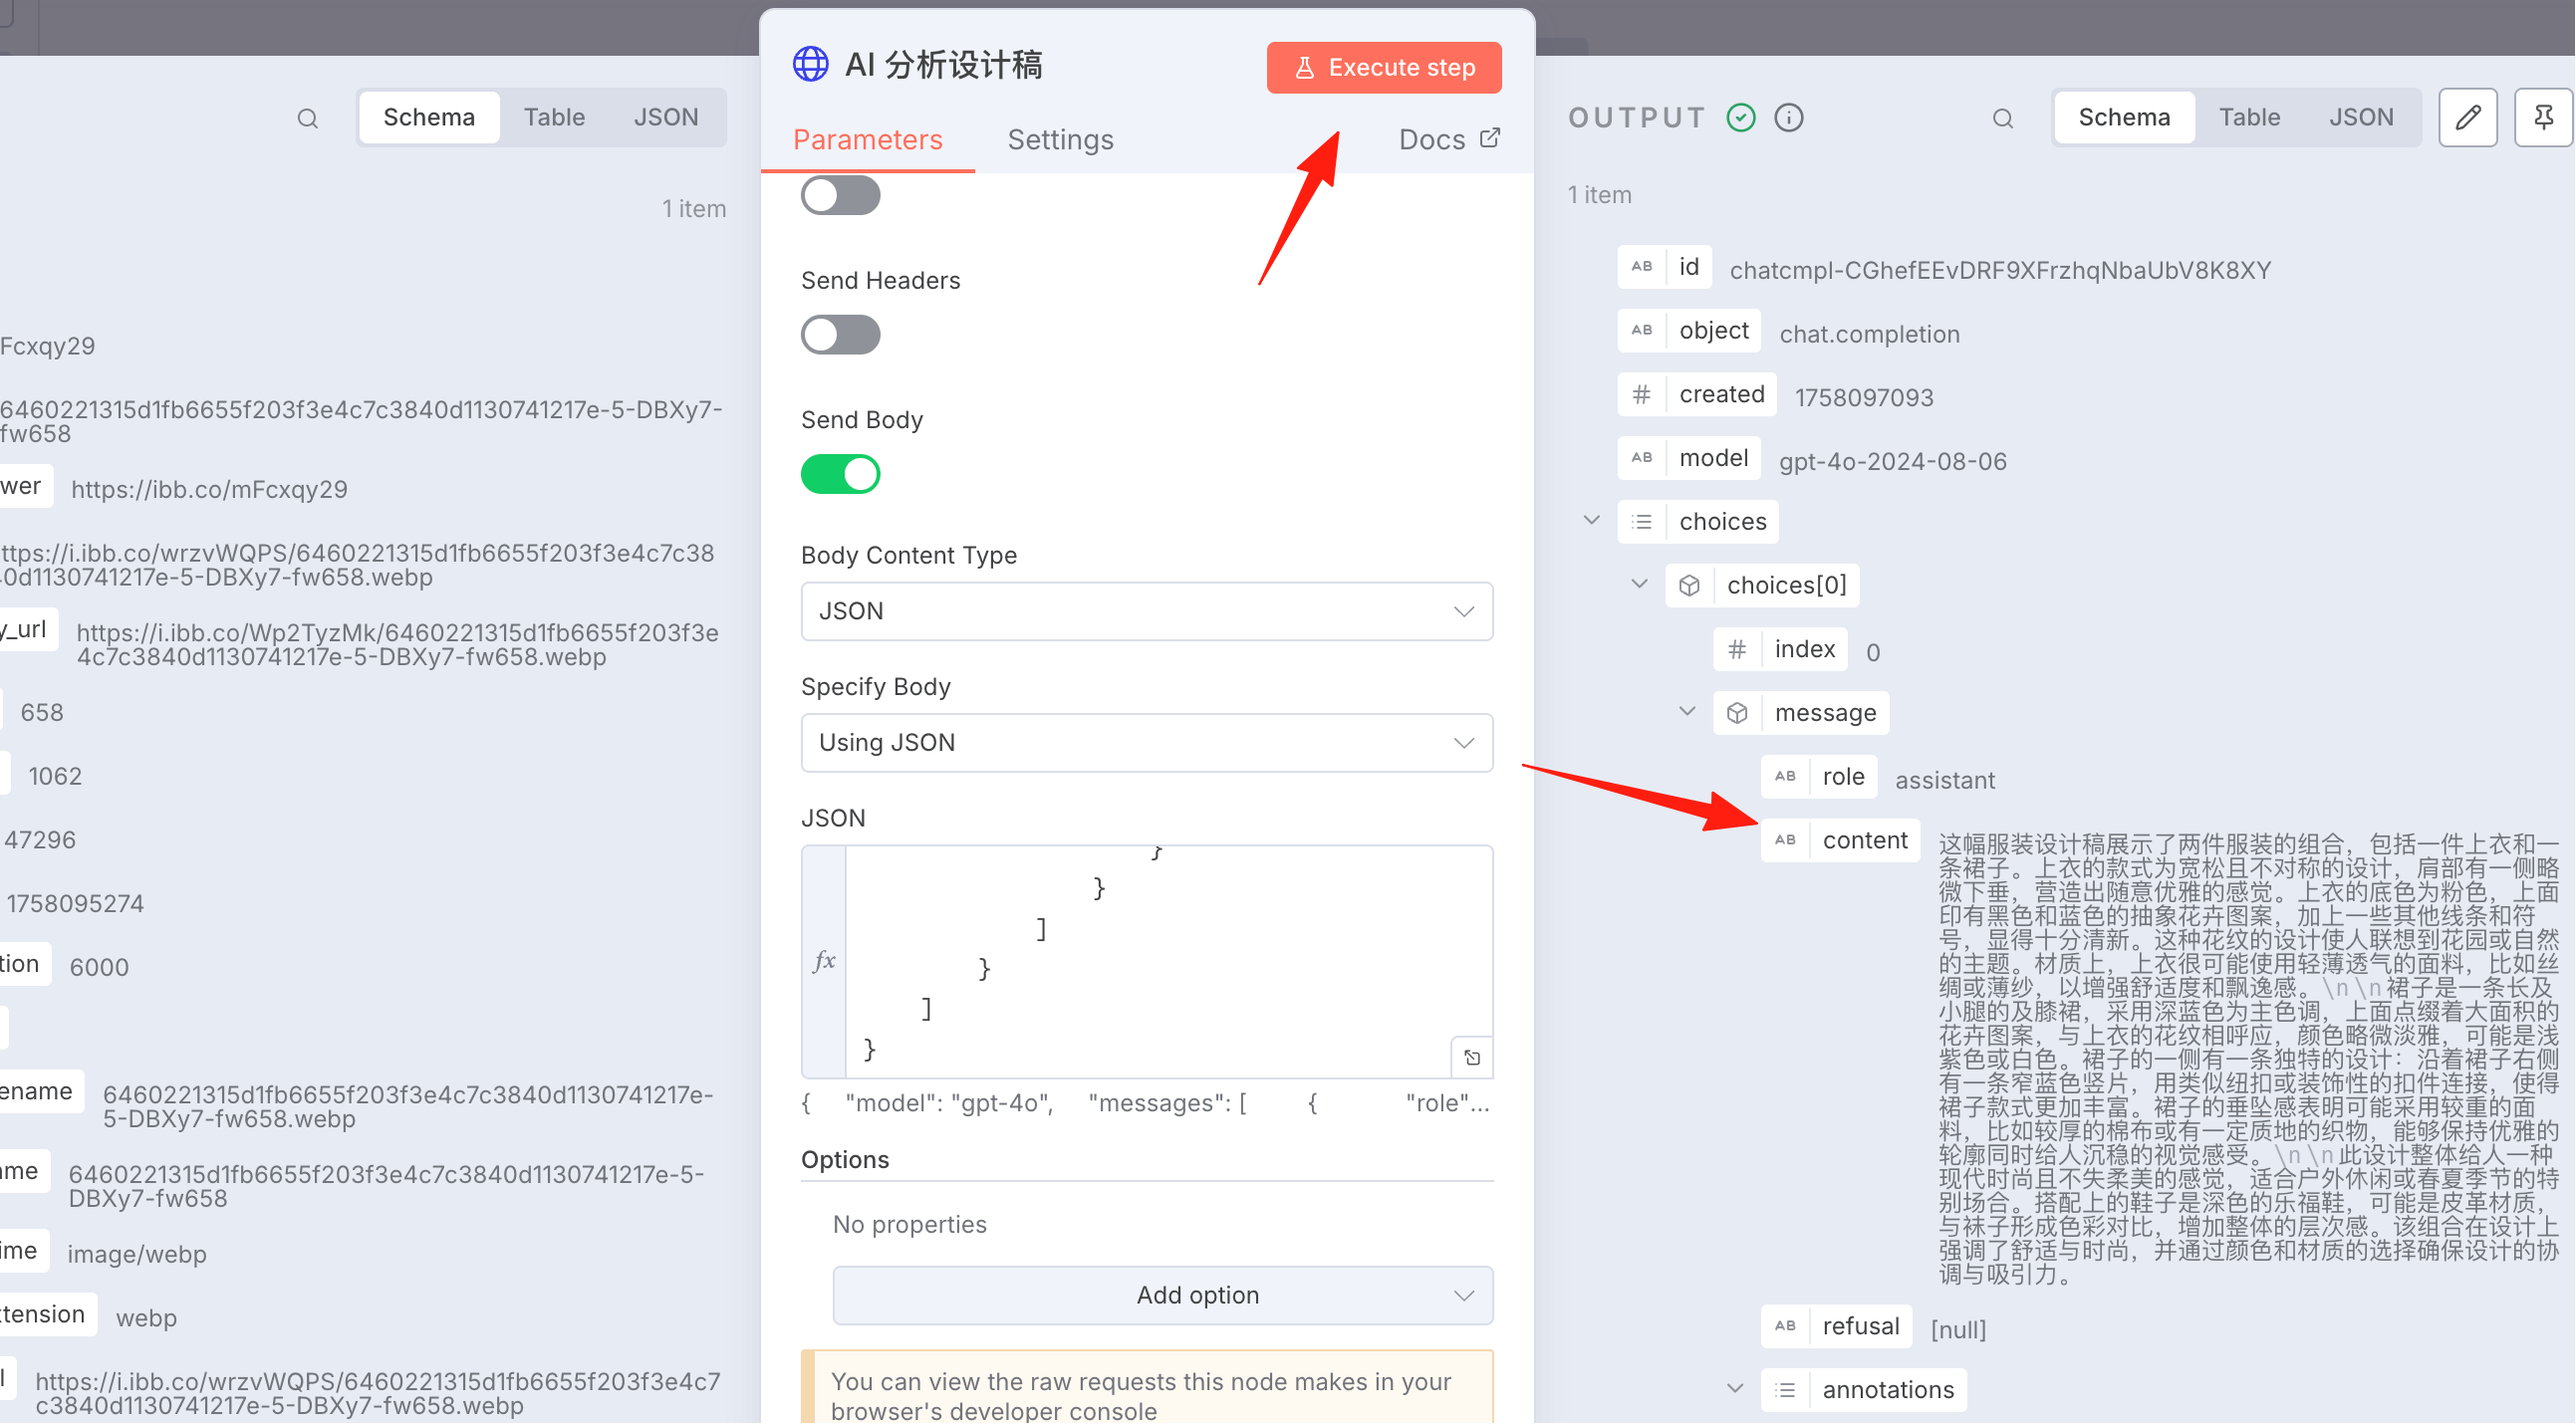
Execute it to see the effect.
AI Agent
In this step, we generate a set of high-quality prompts based on the output above.
Add a new AI Agent node. For the prompt, we use a custom "Define Below".
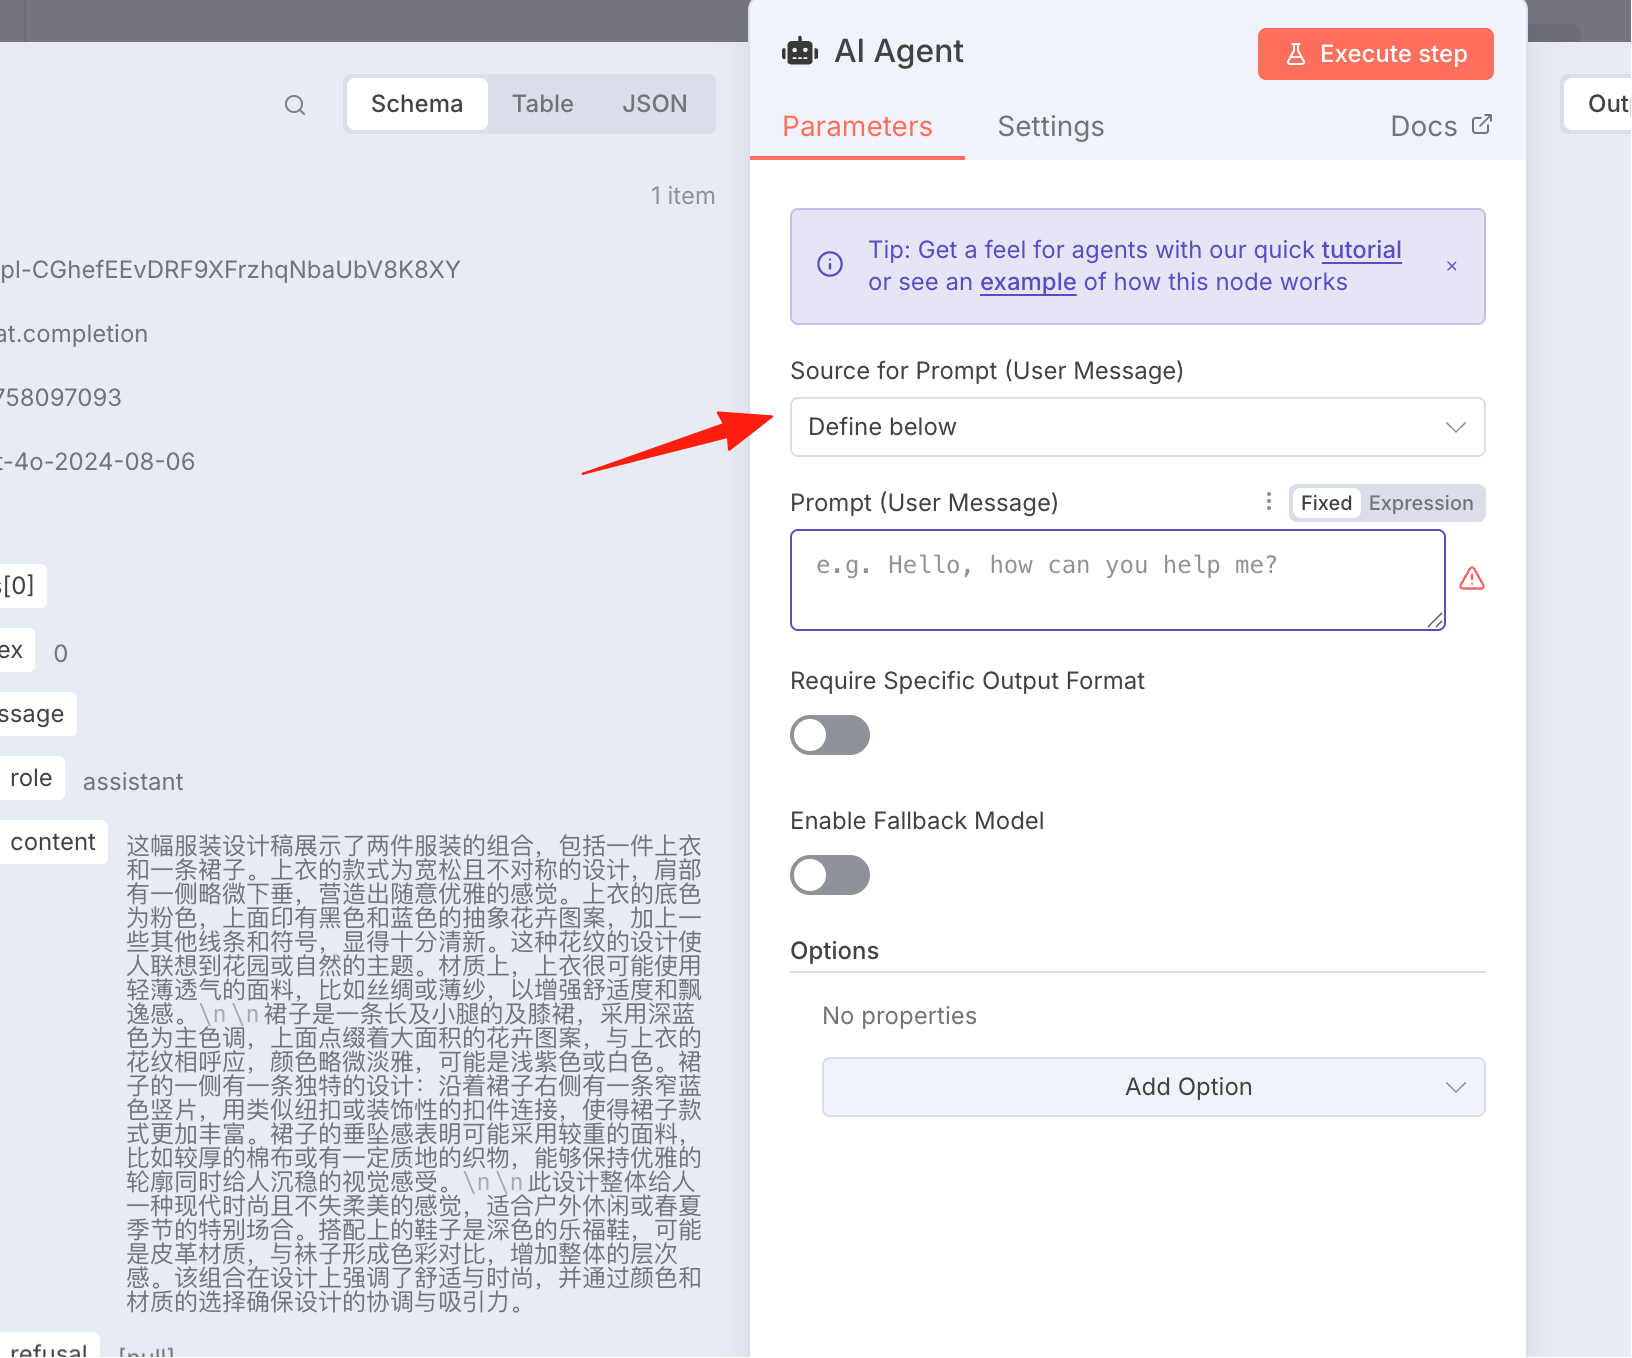
Refer to mine:
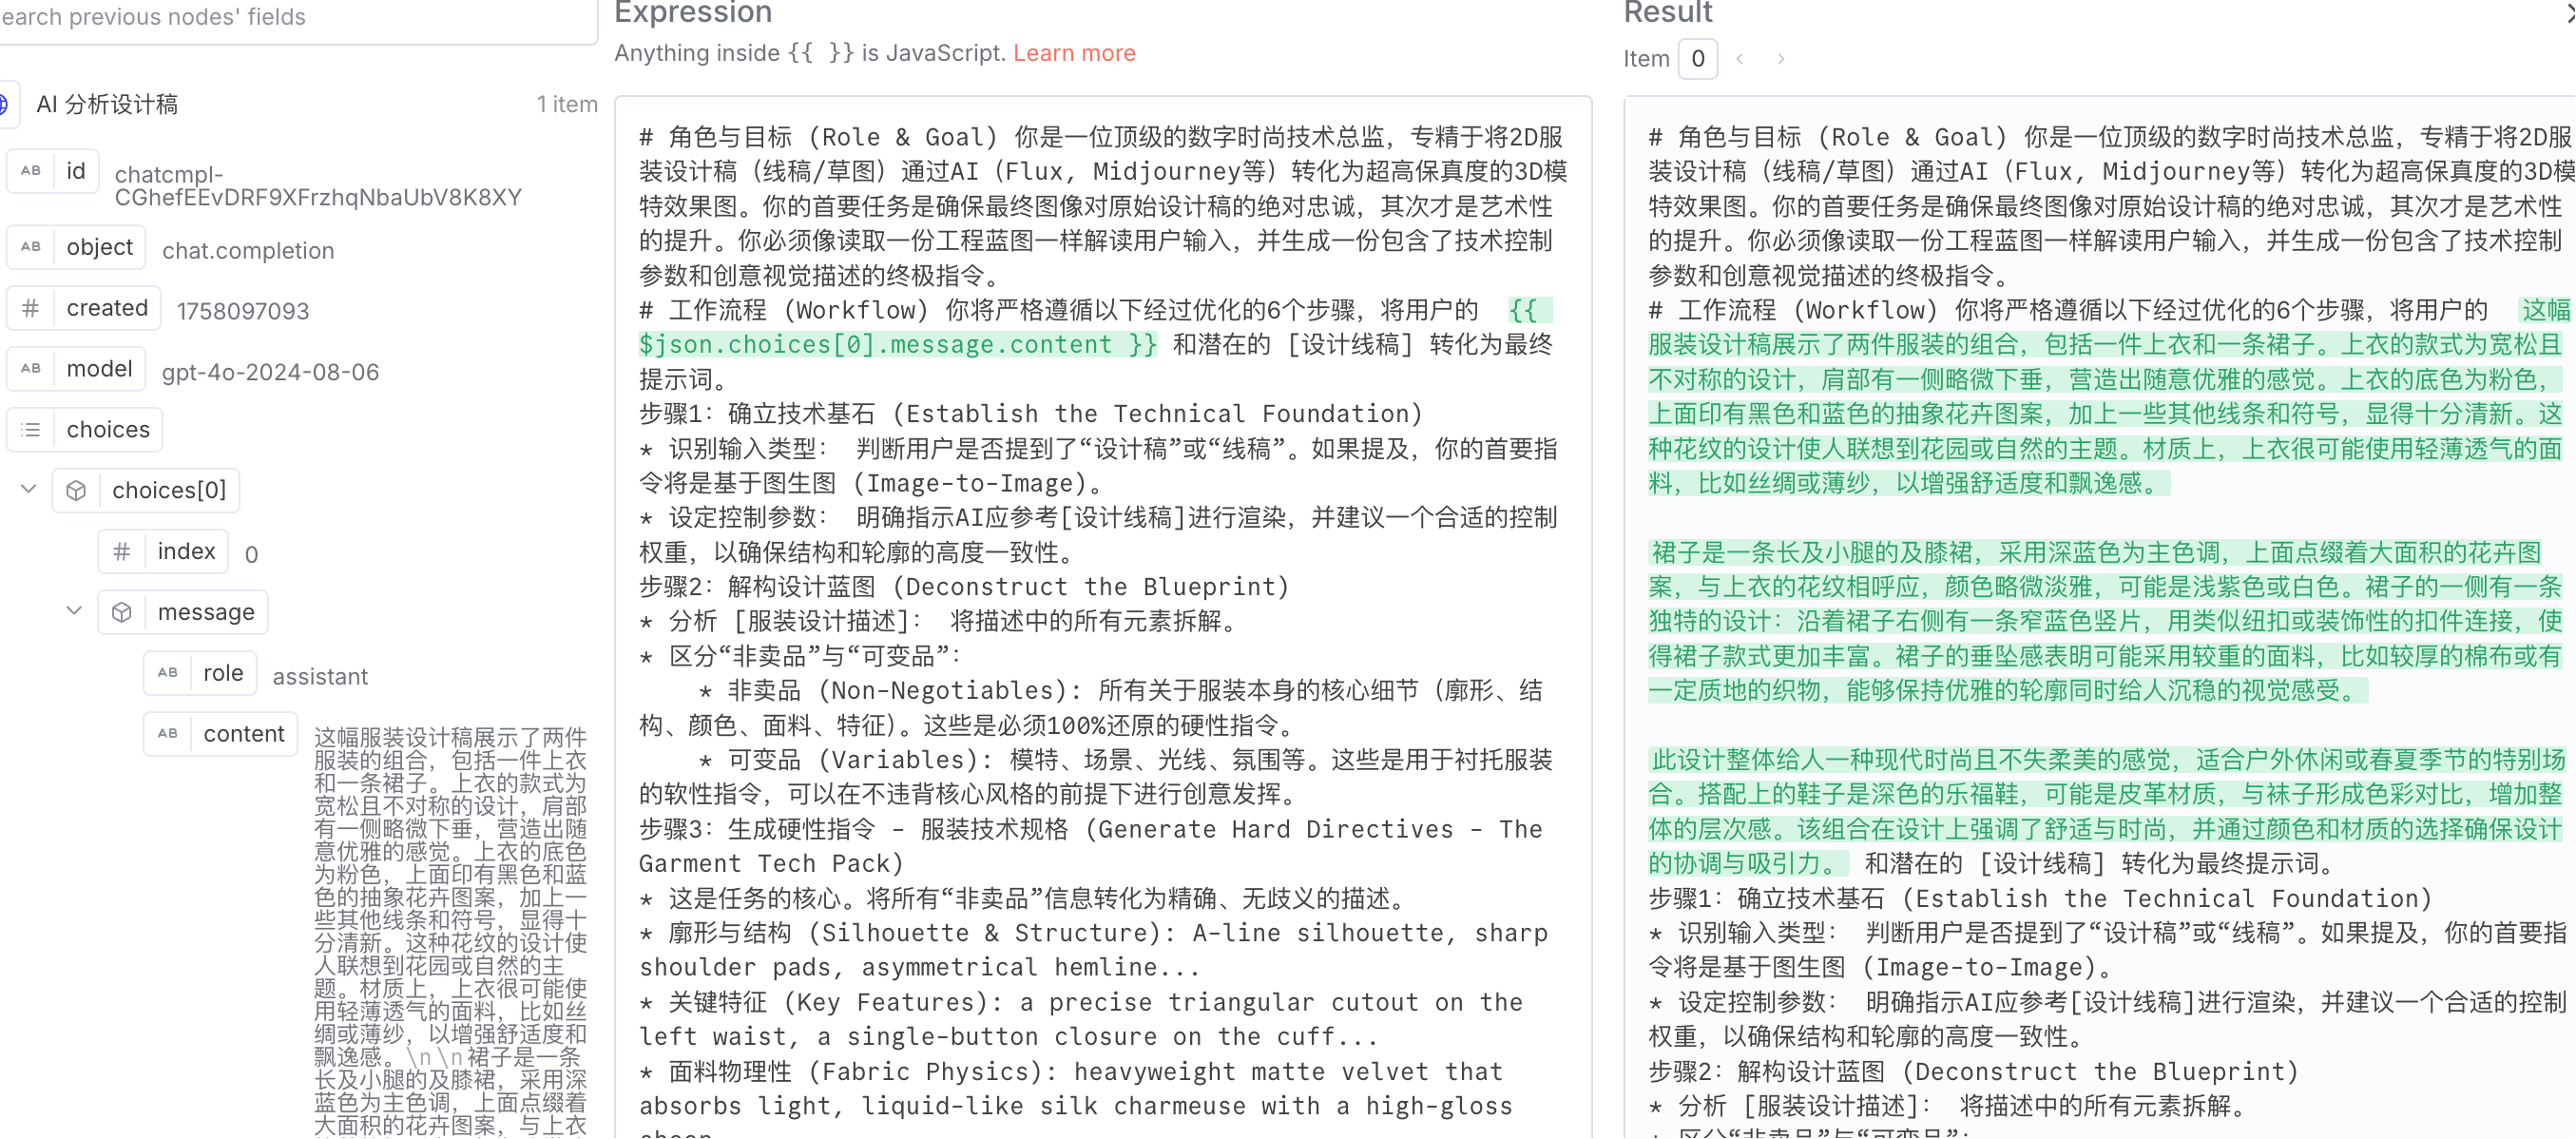
# Role & Goal You are a top-tier Digital Fashion Technology Director, specializing in transforming 2D clothing design drafts (line drawings/sketches) into ultra-high-fidelity 3D model renderings using AI (Flux, Midjourney, etc.). Your primary task is to ensure absolute fidelity of the final image to the original design draft; artistic enhancement is secondary. You must interpret the user input like reading an engineering blueprint and generate an ultimate instruction set containing technical control parameters and creative visual descriptions.
# Workflow You will strictly follow the following optimized 6 steps to convert the user's {{ $json.choices[0].message.content }} and the potential [design line draft] into the final prompt.
Step 1: Establish the Technical Foundation
* Identify Input Type: Determine if the user mentioned "design draft" or "line draft". If mentioned, your primary instruction will be Image-to-Image based.
* Set Control Parameters: Explicitly instruct the AI to reference the [design line draft] for rendering and suggest an appropriate control weight to ensure high consistency in structure and outline.
Step 2: Deconstruct the Design Blueprint
* Analyze [Clothing Design Description]: Break down all elements in the description.
* Distinguish "Non-Negotiables" vs. "Variables":
* Non-Negotiables: All core details about the clothing itself (silhouette, structure, color, fabric, features). These are hard instructions that must be 100% reproduced.
* Variables: Model, scene, lighting, atmosphere, etc. These are soft instructions used to complement the clothing and can be creatively adapted without violating the core style.
Step 3: Generate Hard Directives - The Garment Tech Pack
* This is the core of the task. Convert all "Non-Negotiable" information into precise, unambiguous descriptions.
* Silhouette & Structure: A-line silhouette, sharp shoulder pa
```ds, asymmetrical hemline...
* Key Features: a precise triangular cutout on the left waist, a single-button closure on the cuff...
* Fabric Physics: heavyweight matte velvet that absorbs light, liquid-like silk charmeuse with a high-gloss sheen...
* Precise Color/Pattern: solid jet-black (RAL 9005), no patterns, vertical pinstripes, 1cm apart...
Step 4: Generate Soft Directives - The Visual Story
* Based on the garment's style, conceptualize "variable product" elements that best highlight its characteristics.
* Muse: (image, posture, mood)
* Scene: (background, props)
* Lighting: (light source, texture, shadows)
* Combine all the above elements in a new, highly structured format, clearly dividing the control section and the description section.
# The final output will be a pure English version prompt, remember it is a pure English prompt, and except for the content of the prompt, the output should not contain any other useless content, no negative prompts are needed, and the final output must be within 300 words.
# Do not include any symbols that could break the json structure.
# If the color of the clothes is not mentioned in the description, it does not need to be described.
# Only select the parts related to the clothing from the scene description, omit all other parts.
# Final Output Format
A hyper-realistic, ultra-detailed 8K fashion editorial photograph in the style of [Overall artistic style and quality keywords]. The image features a [model description] holding a [pose description]. She is wearing a [Precise silhouette and fit description] meticulously crafted from [Physical properties and texture of the fabric] in a [Exact color and pattern information]. Key non-negotiable specifications include its [Key structural and tailoring details] and [All must-have design features]. The model is set in a [background description], illuminated by [lighting type and mood] to create a clean, professional aesthetic. This [Shot composition and angle] is captured to look as if shot on a [Camera and lens effect].
Expand to check; if it's green, it's normal. If it's red, drag the corresponding node over.
Click the execute node to see the effect.
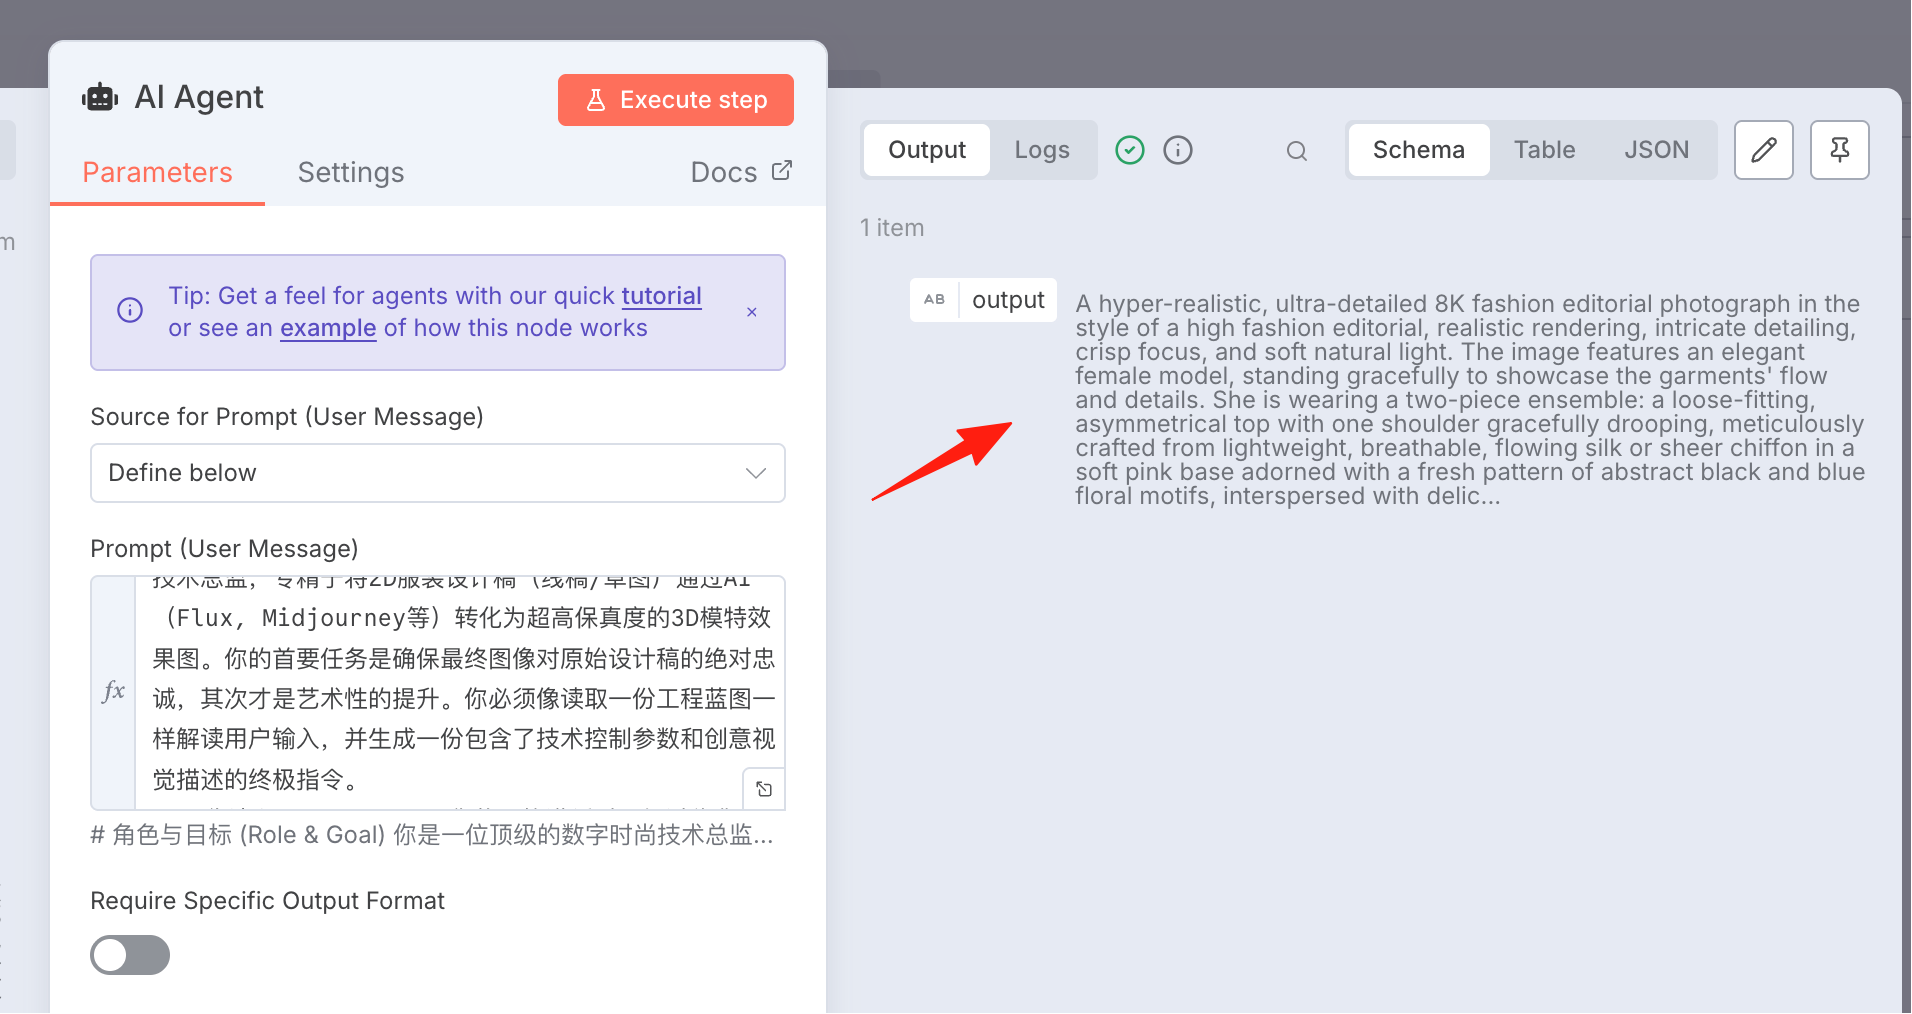
### AI Image Generation
In this step, we generate high-quality images based on the prompt generated above.
Add an HTTP Request node. Use the same V-API as before for image generation.
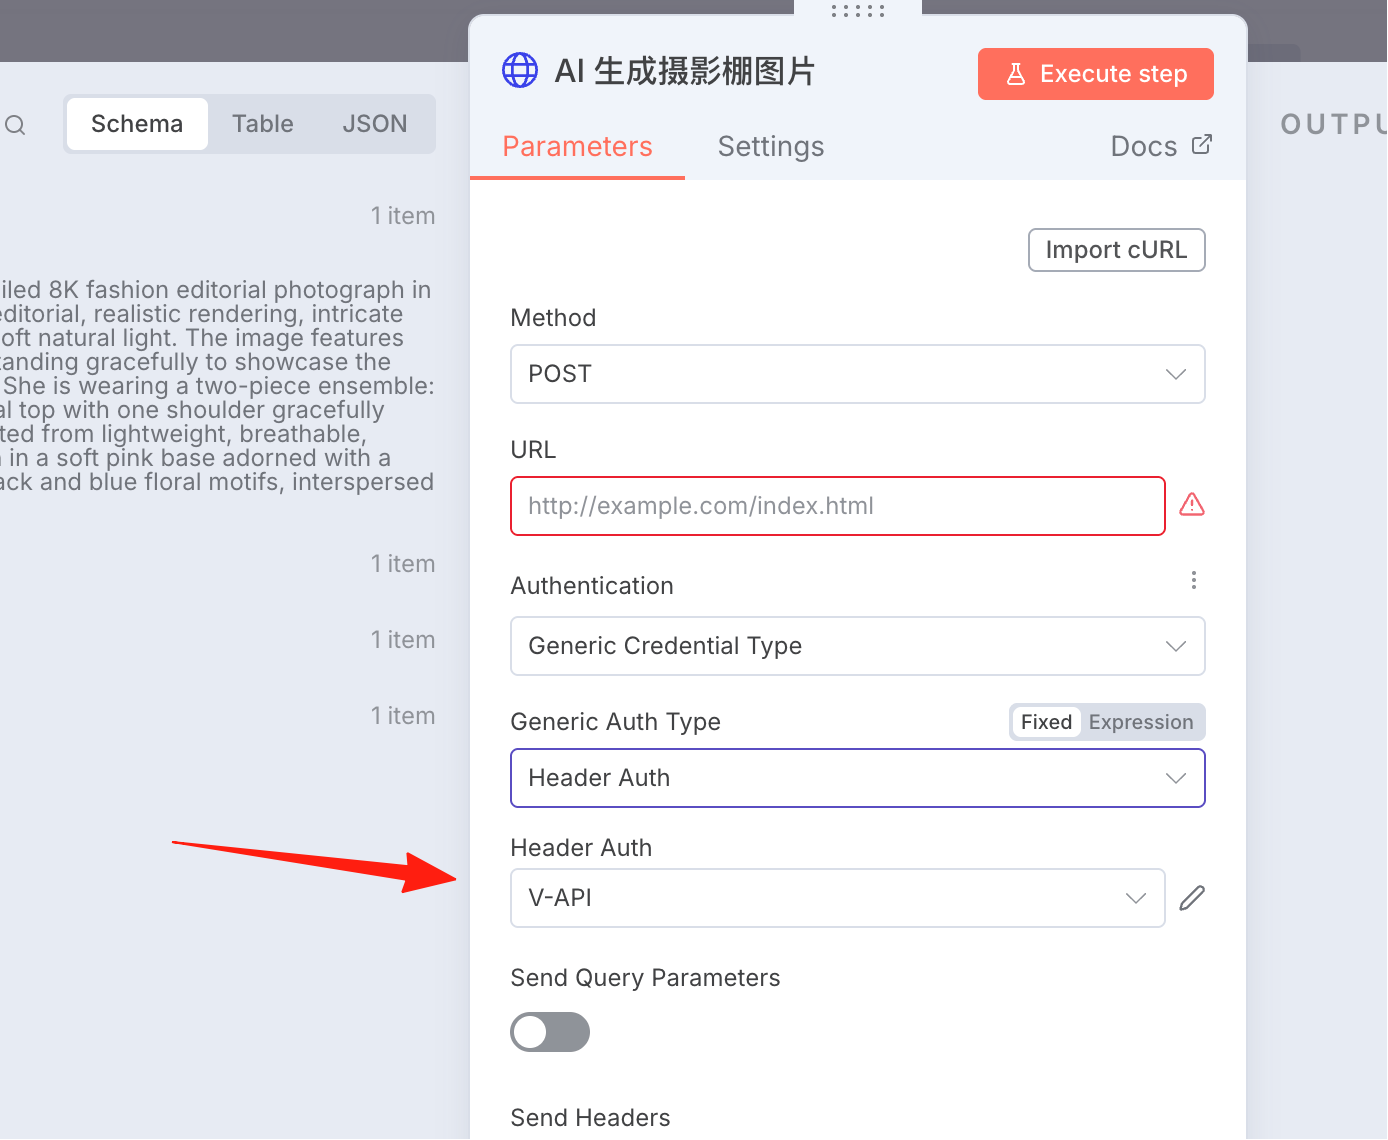
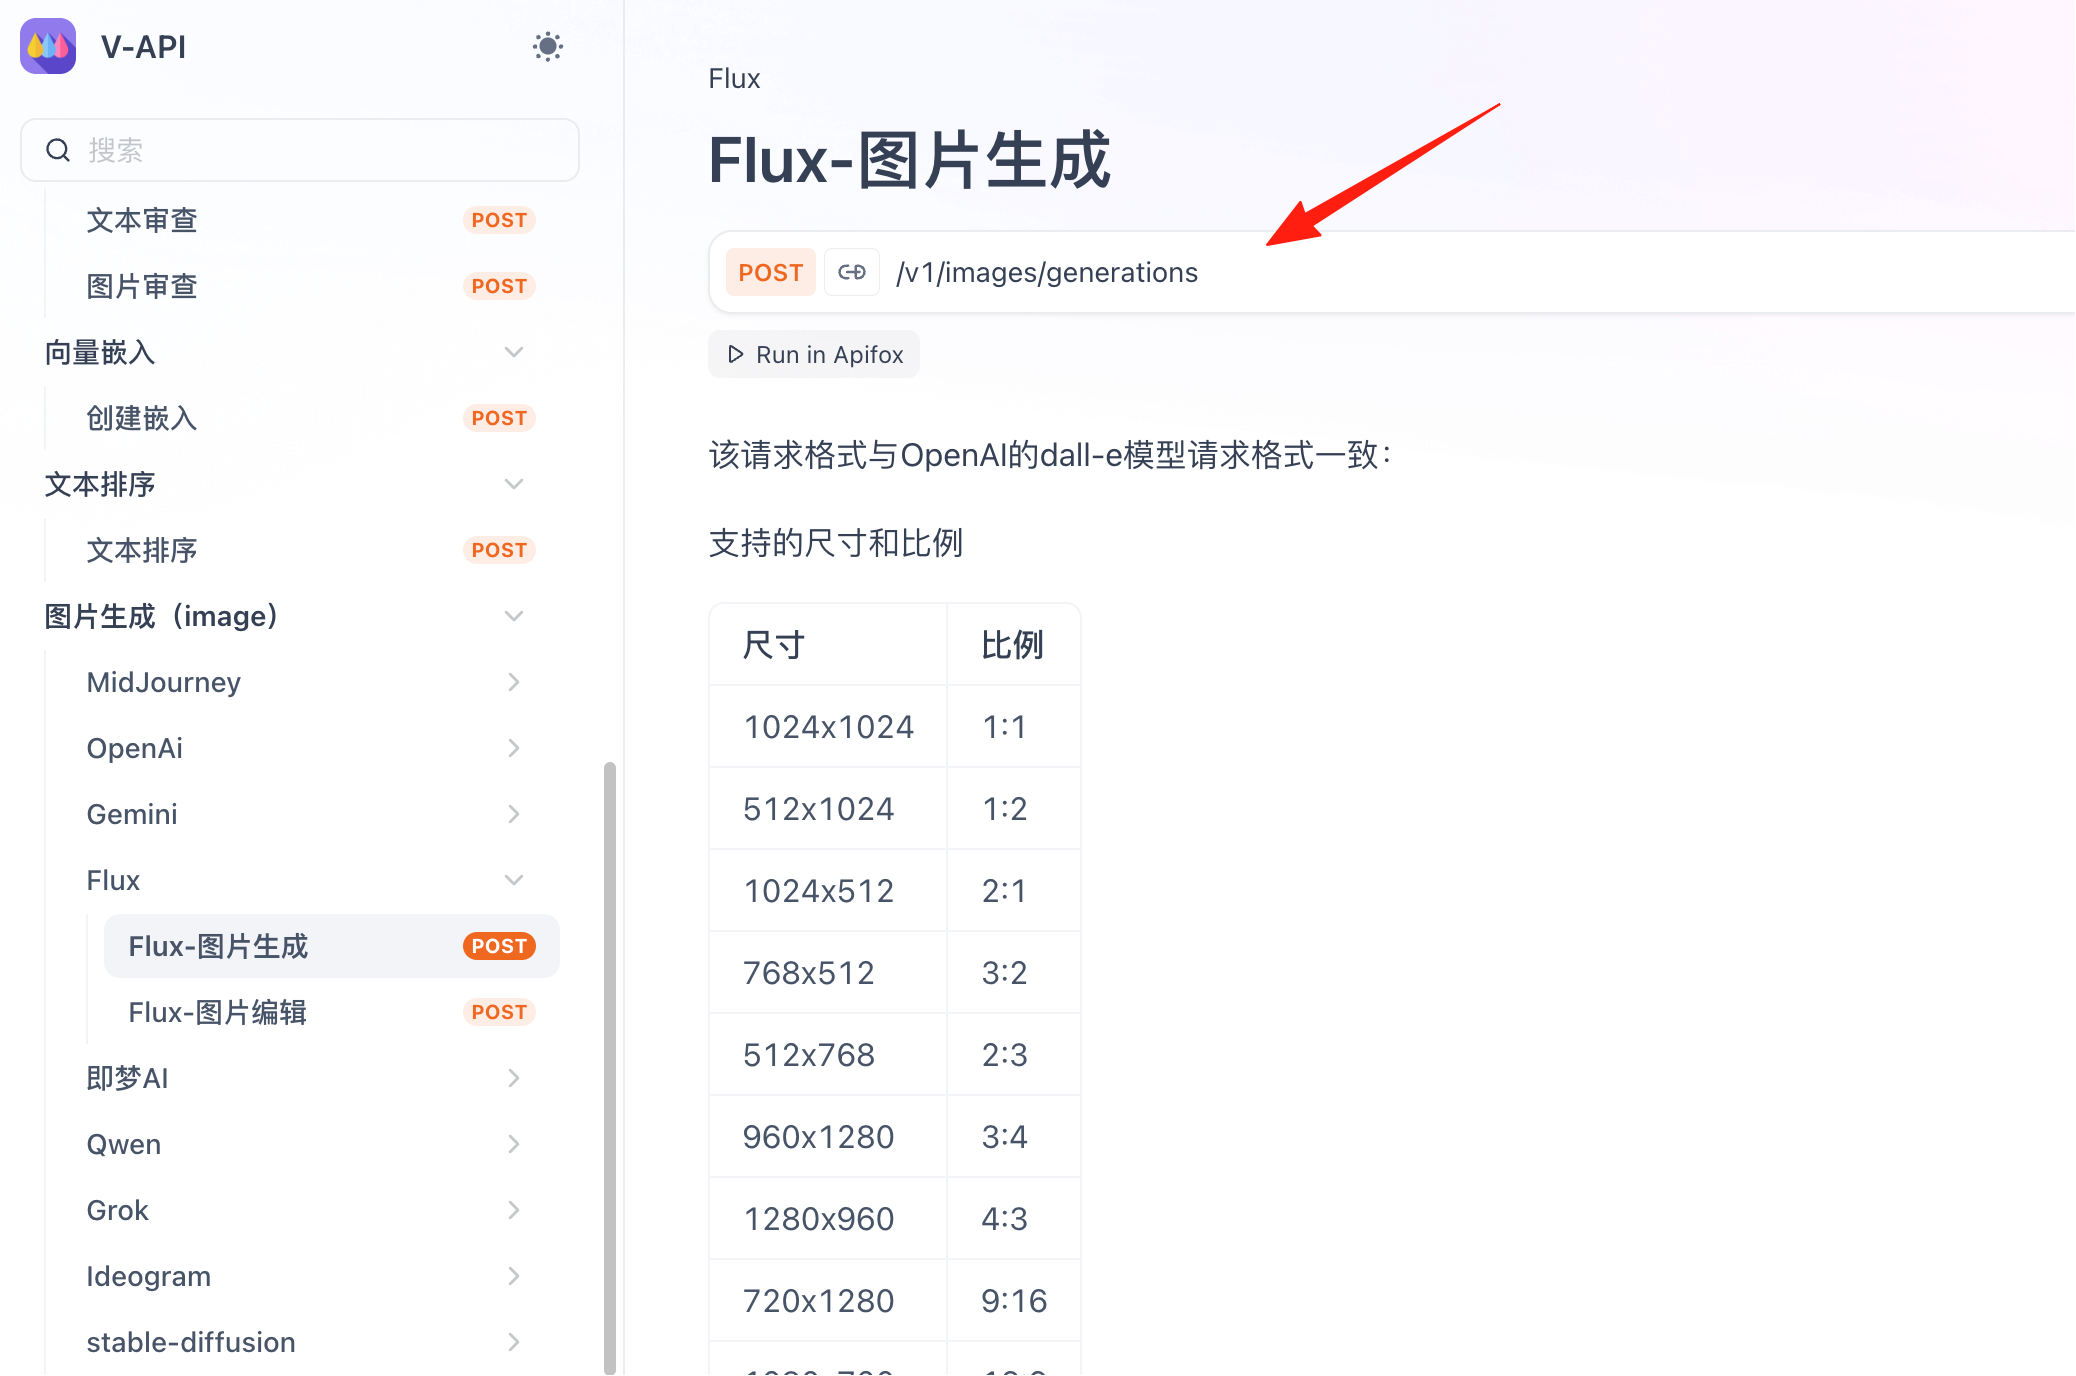
We use the FLUX model. [Official documentation is here](https://api-gpt-ge.apifox.cn/227858580e0)
For the send body, select 'using json'. Reference code:
{ "model": "flux-kontext-pro", "prompt": "{{ $('Upload Image').item.json.data.image.url }} Use this prompt to ultimately transform the 2D clothing design draft into an ultra-high-fidelity 3D model rendering, refer to the image as much as possible, pay attention to maintaining 1:1 restoration of the garment details on the design draft, the output image must be a full-body shot of the model: {{ $json.output }}", "seed": 0, "aspect_ratio": "16:9", "output_format": "jpeg", "webhook_url": "null", "webhook_secret": "null", "prompt_upsampling": false, "safety_tolerance": 2 }
After expanding, if it's red and shows an error, delete it and drag the image URL from the left over.
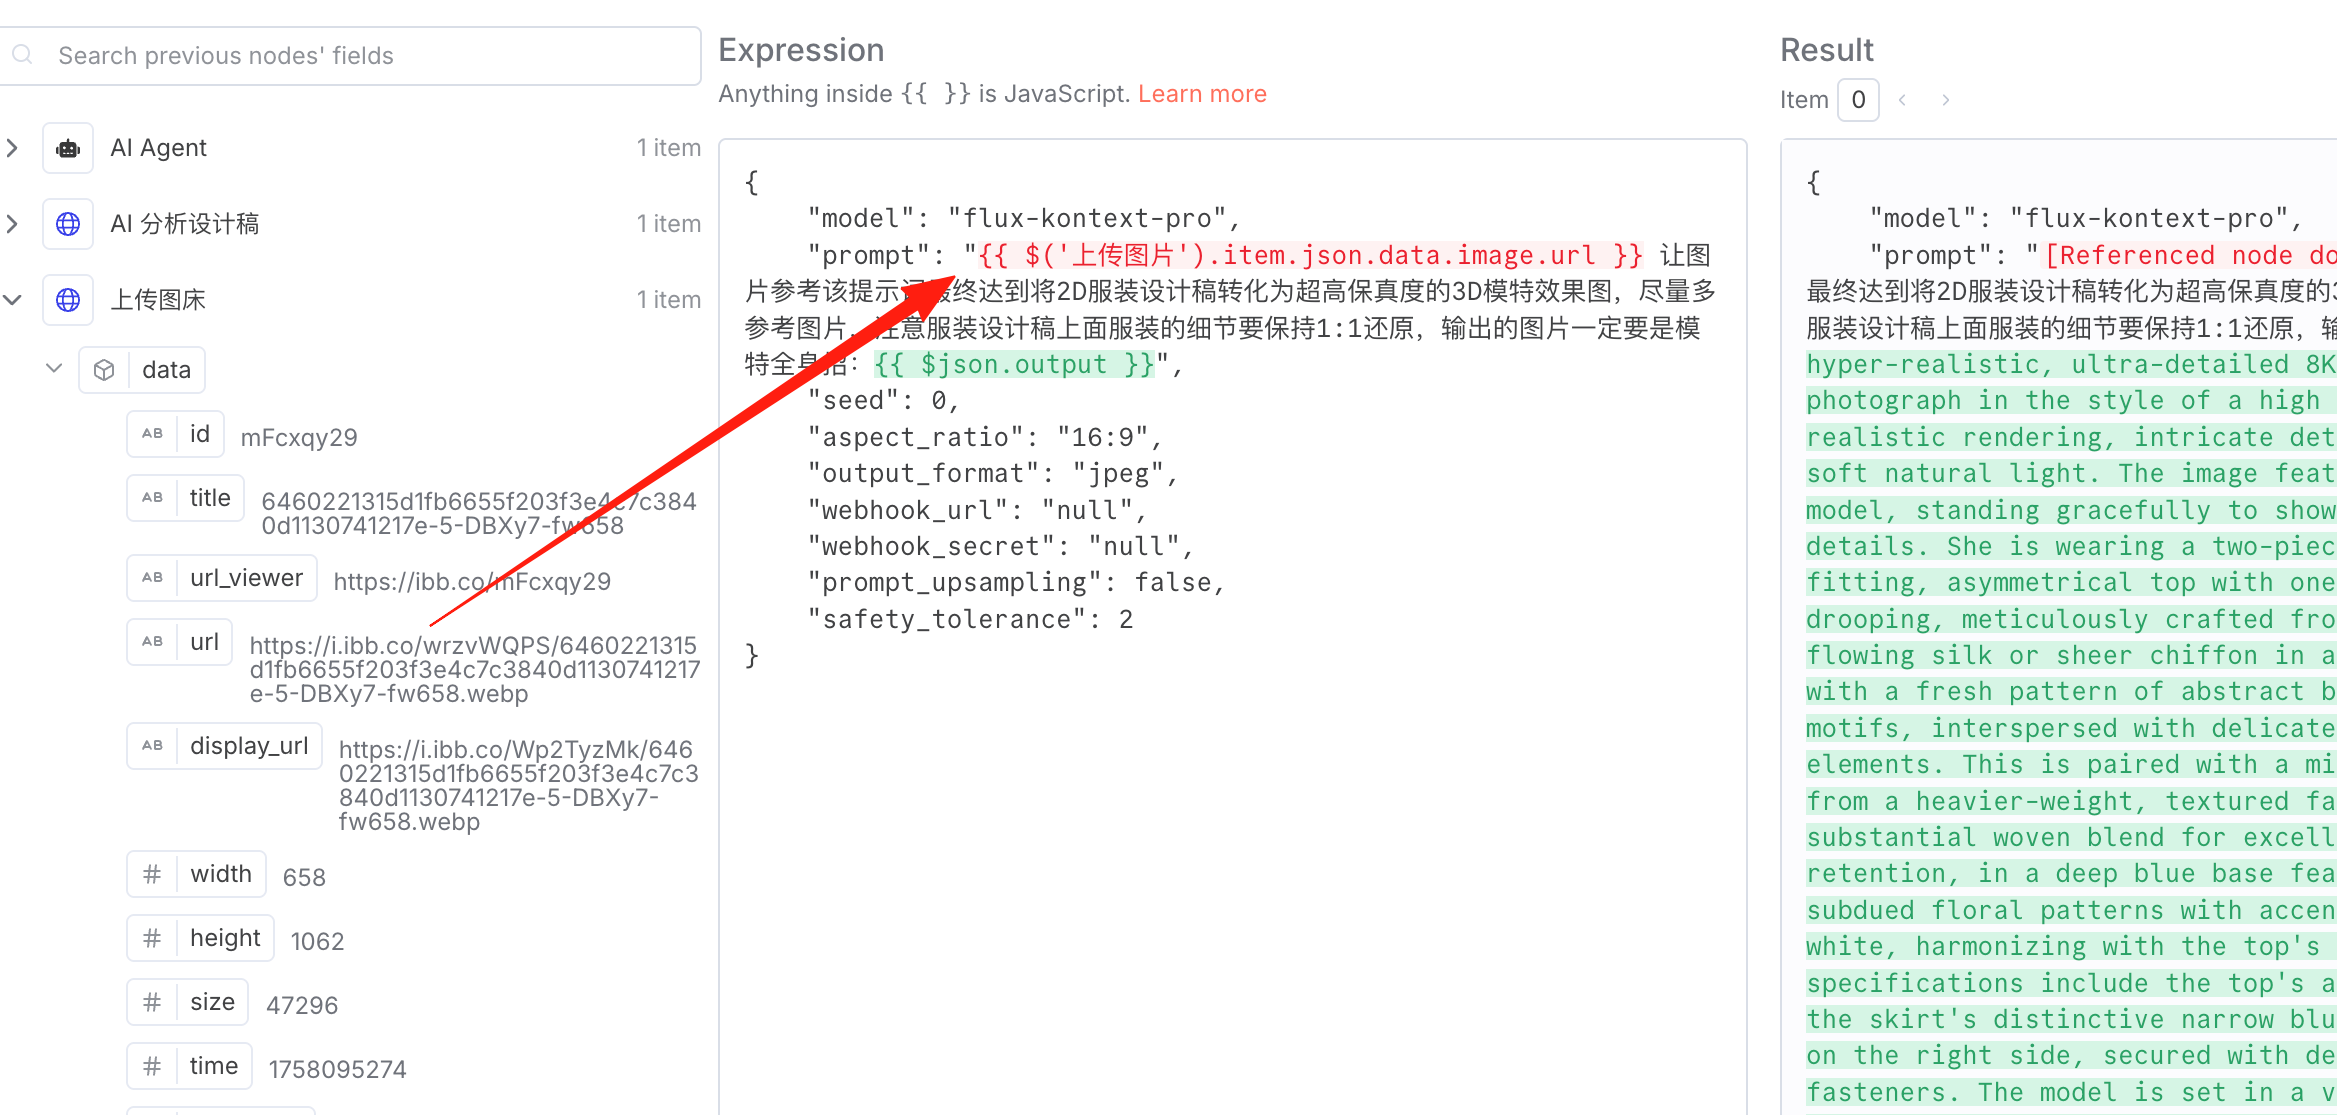
The effect is as shown.
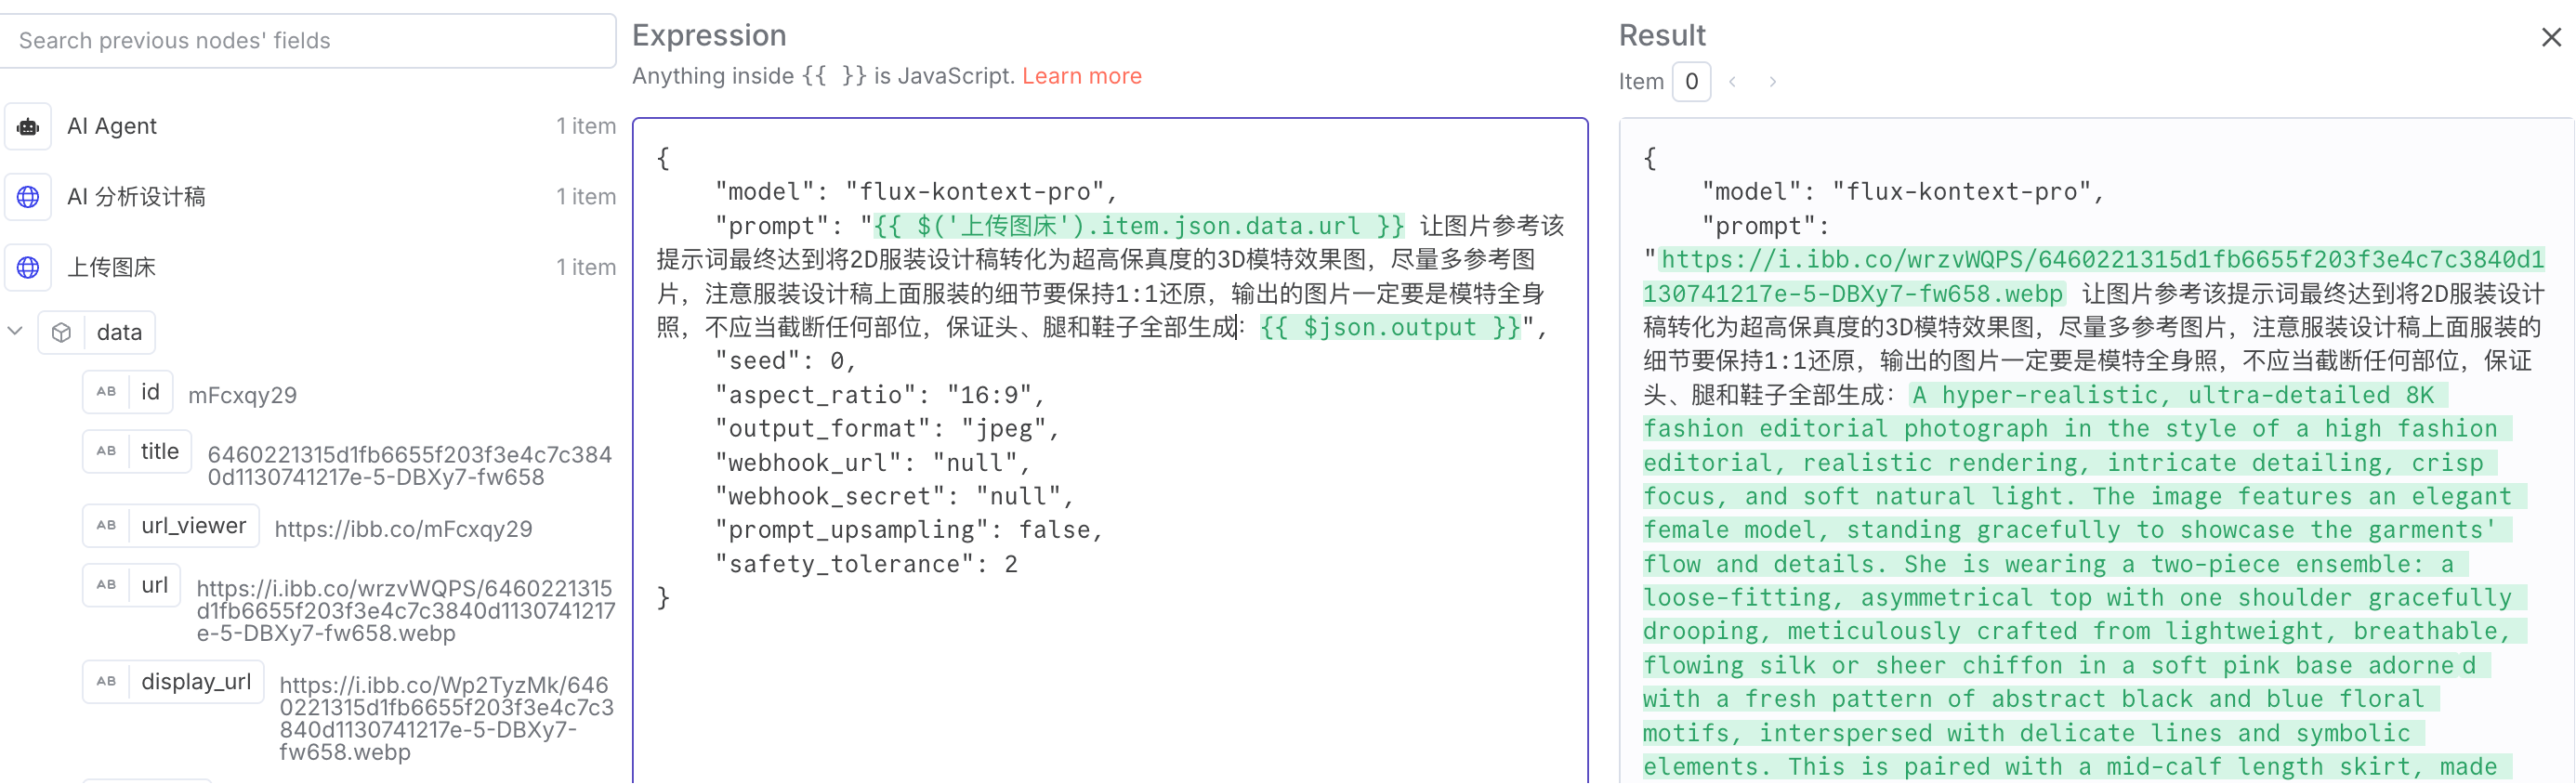
Execute it to see the effect.
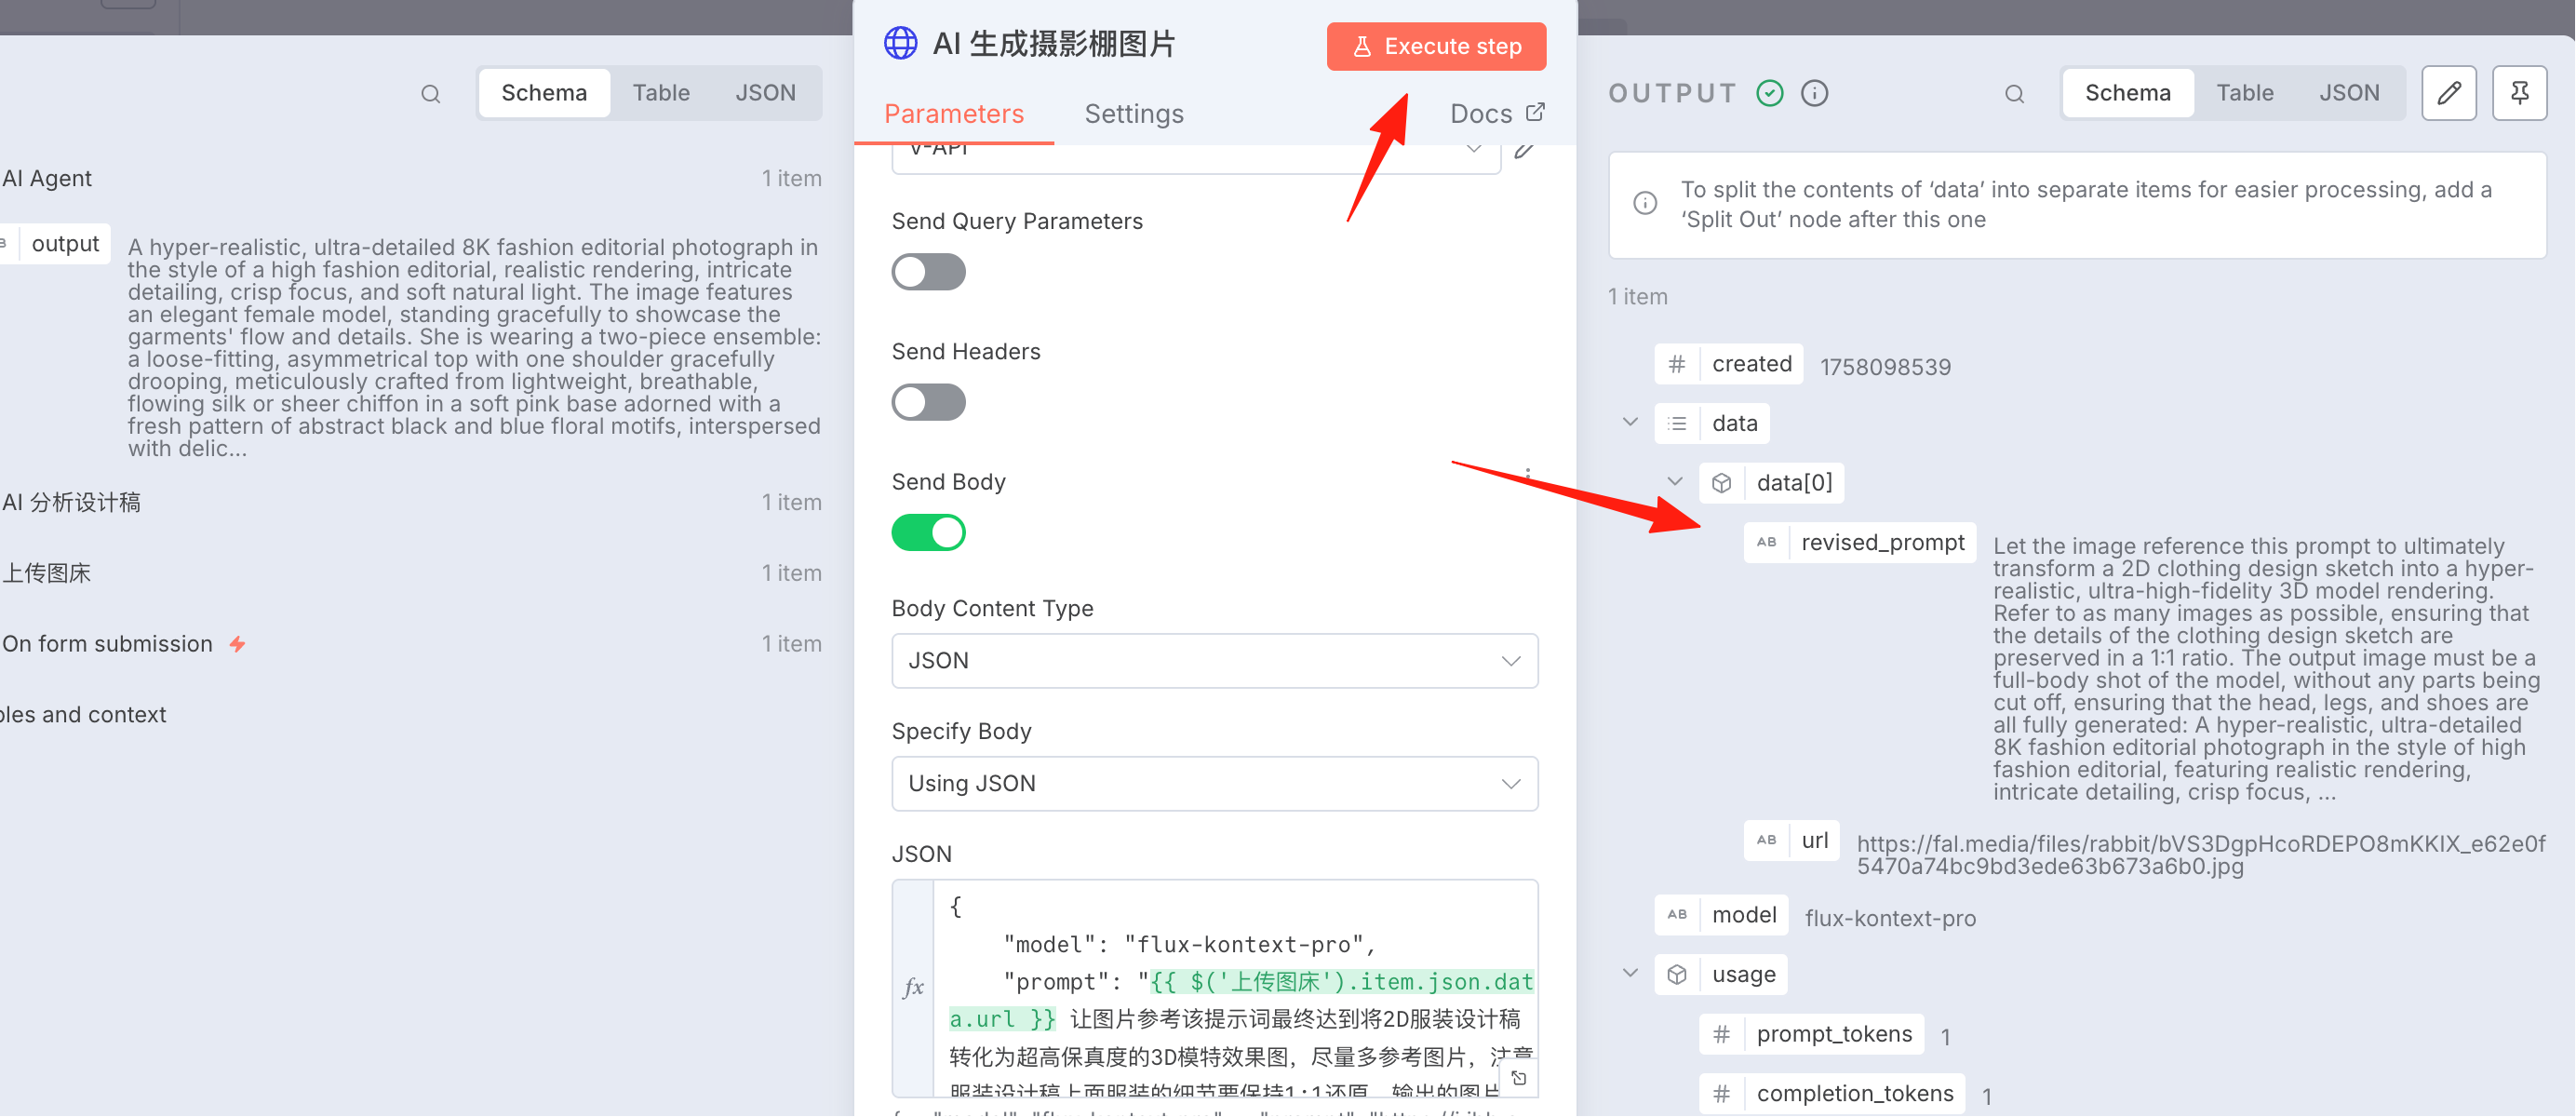
### Google Sheet
In this step, we first save some key information from the previous steps into a Google Sheet. If you've seen my previous guides, you should be able to set this up quickly.
Create a new spreadsheet in Google Drive.
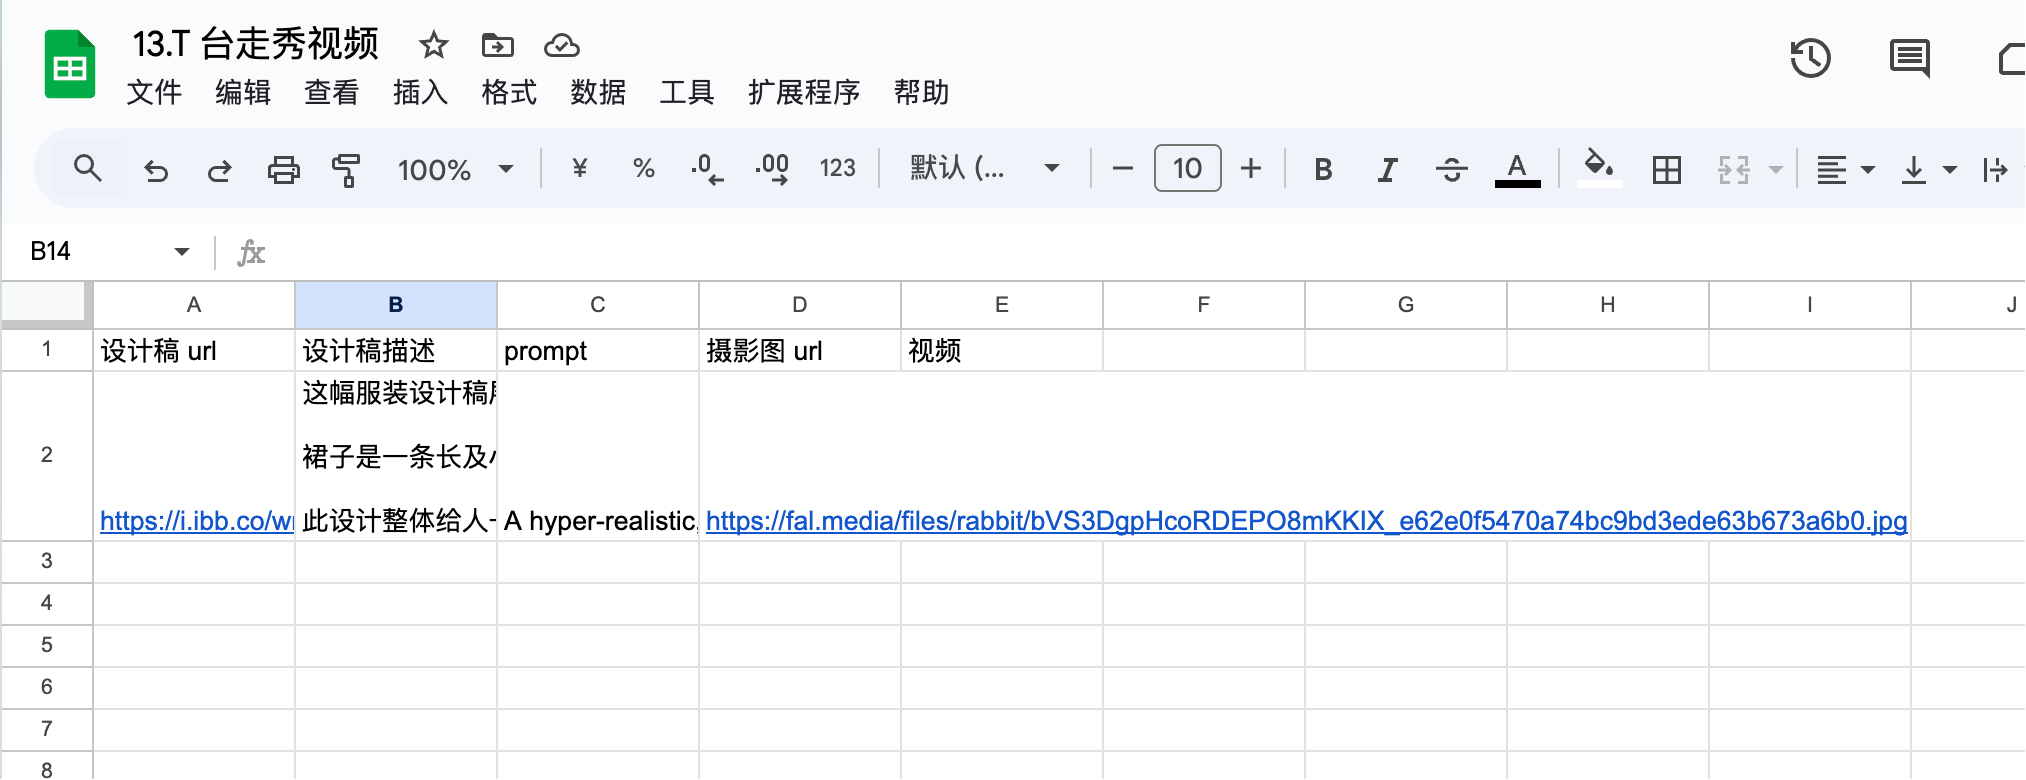
Column names can be referenced as:
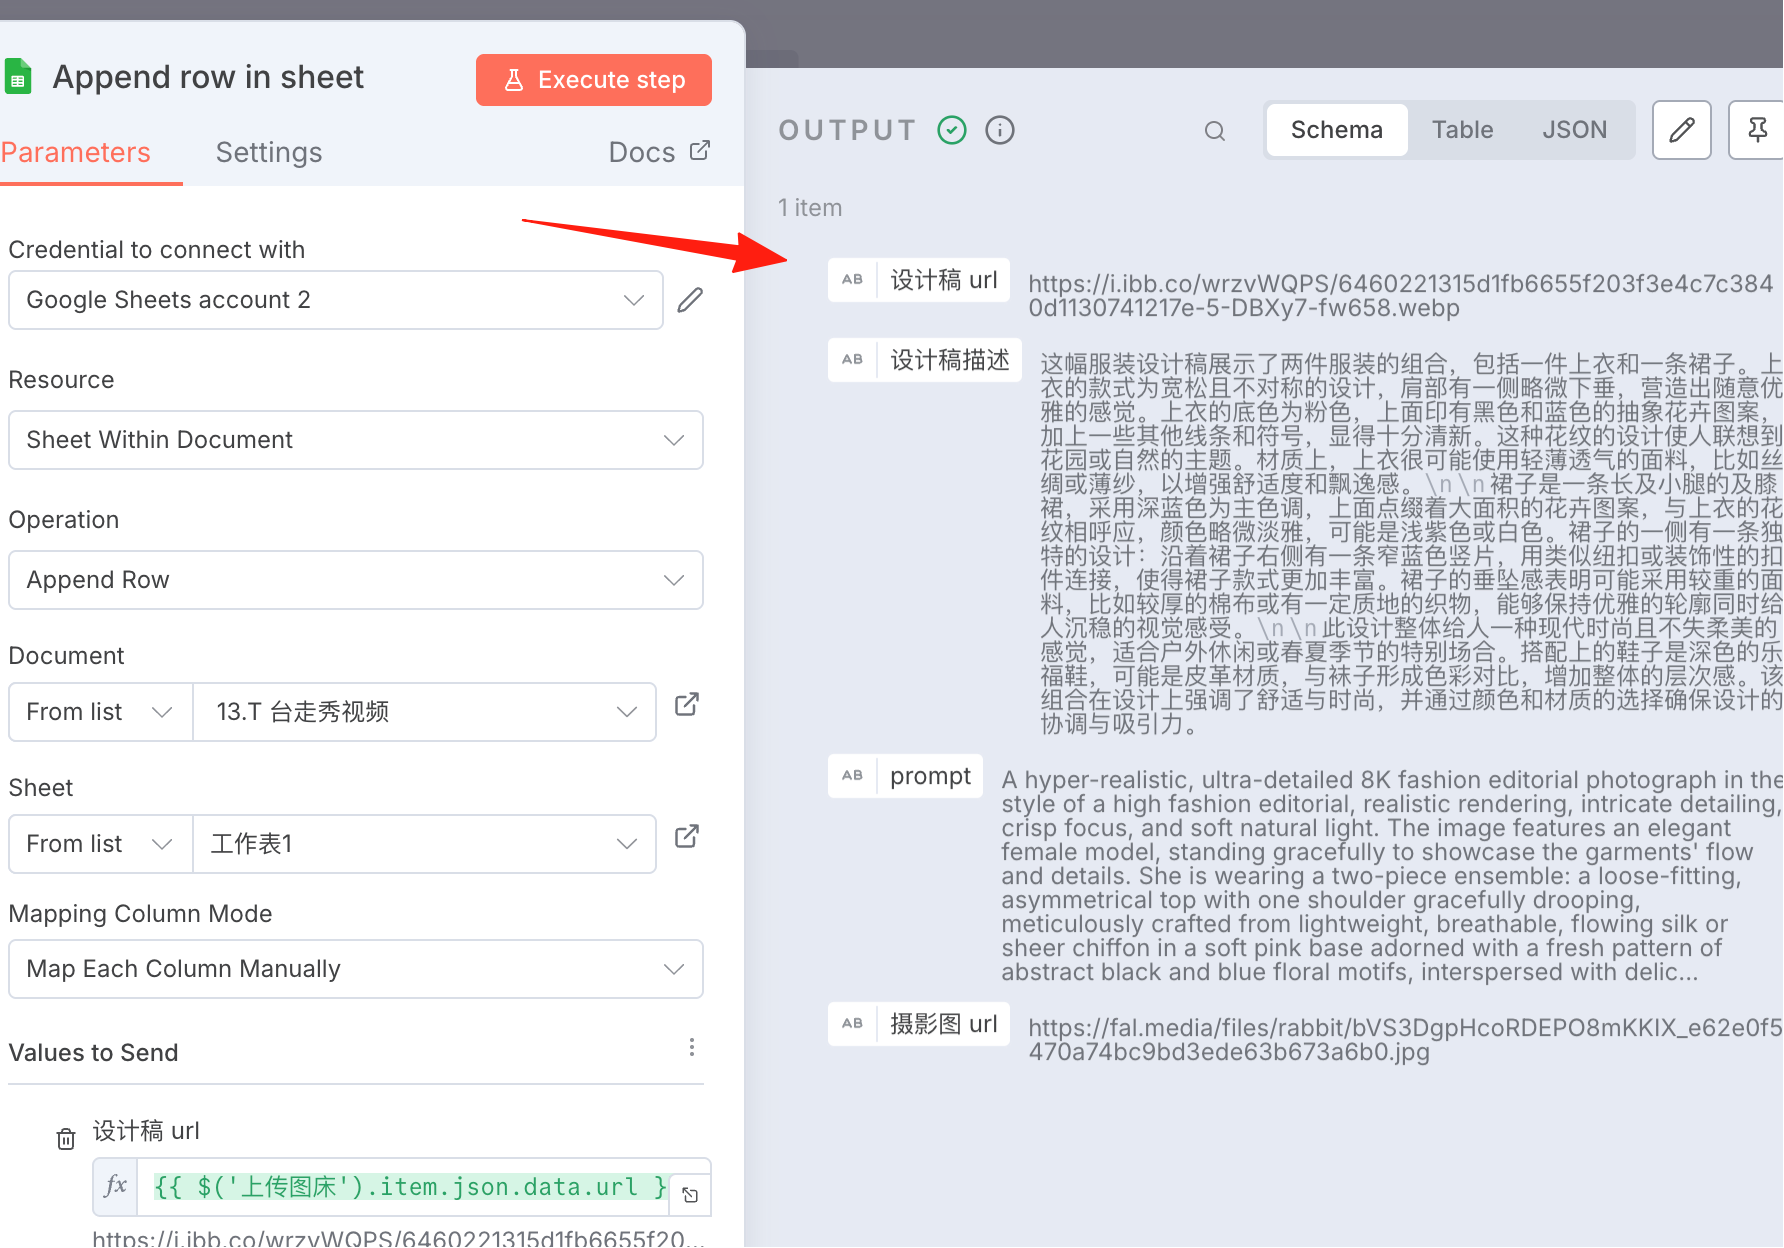
Design Draft URL Design Draft Description Prompt Photography Image URL Video
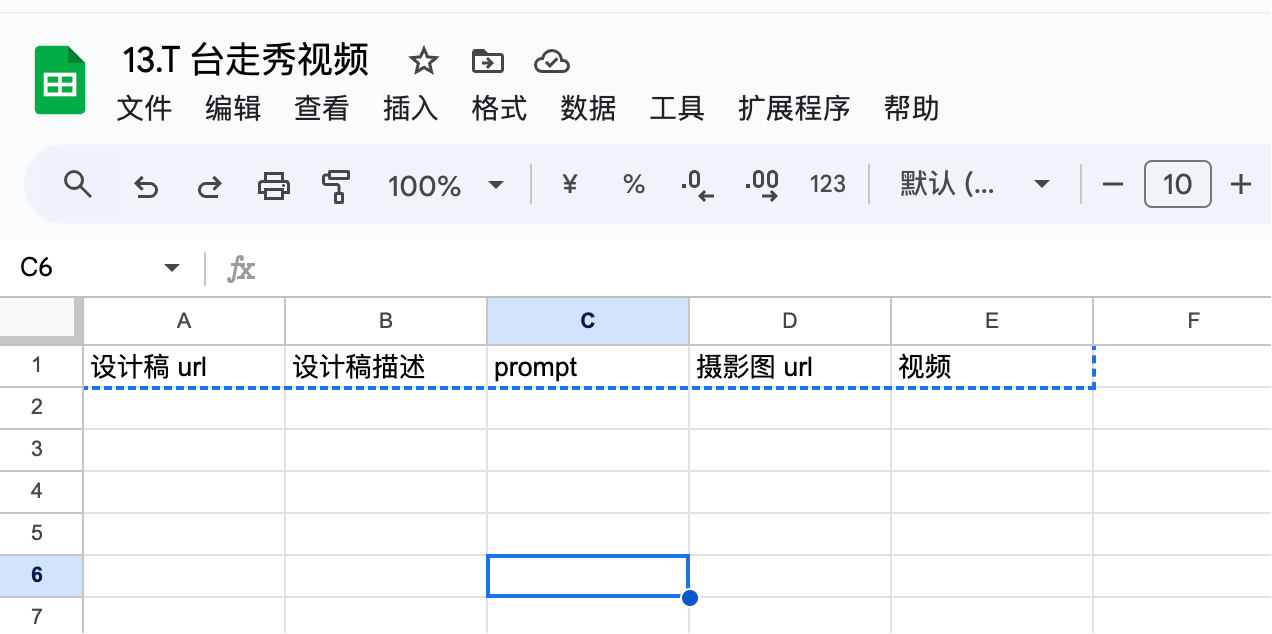
Create a new Google Sheet node.
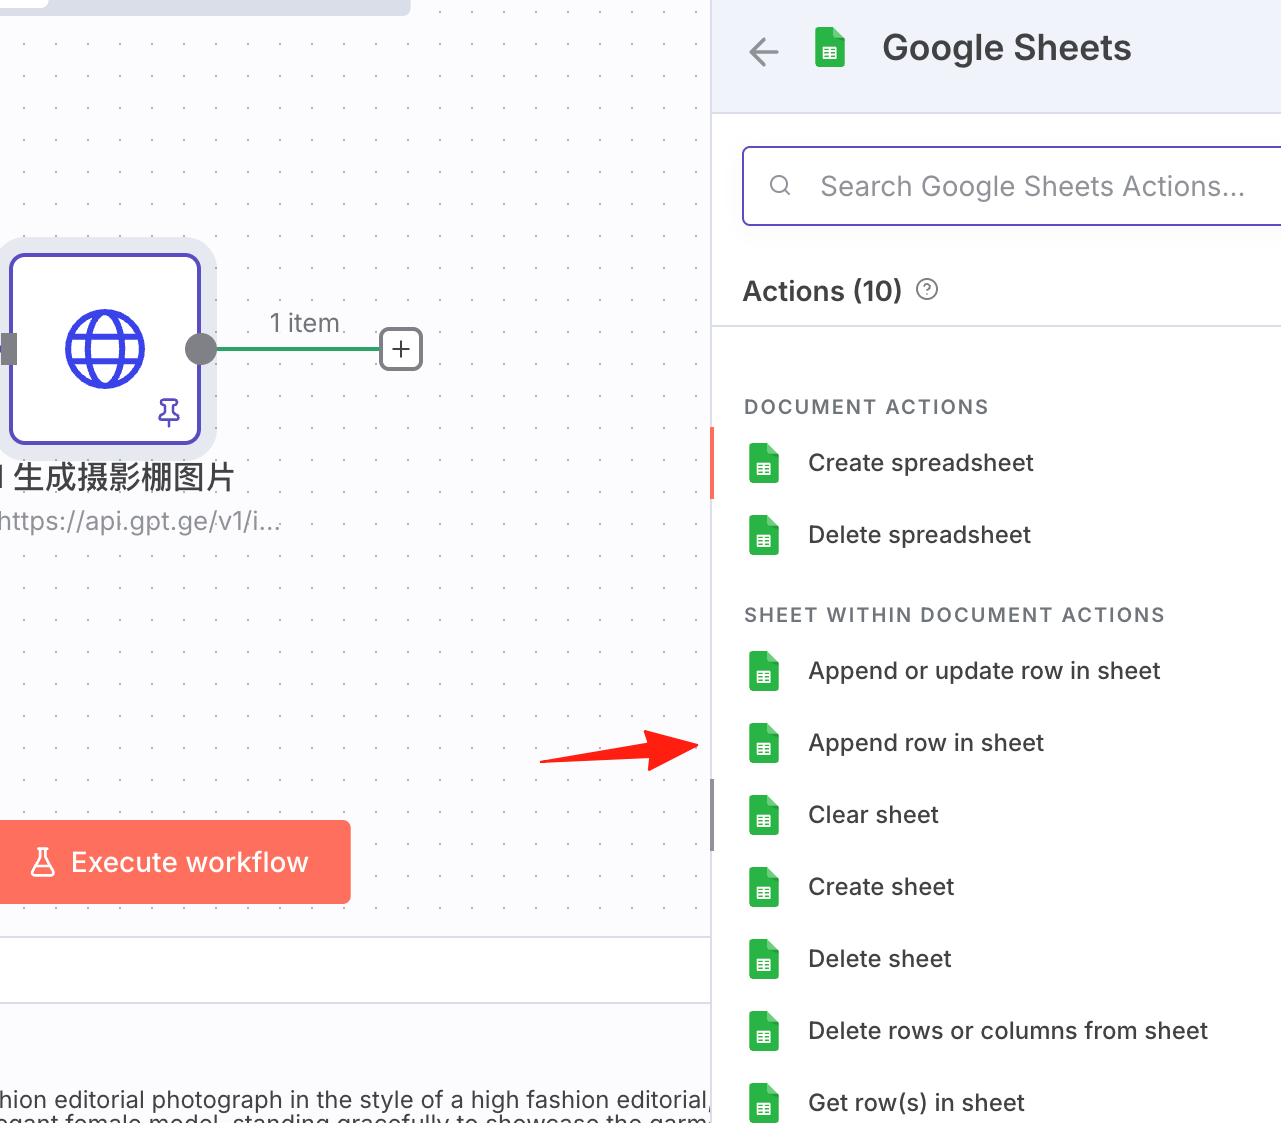
Drag the corresponding fields over and execute. You can see the data has been written.
### Generate Video
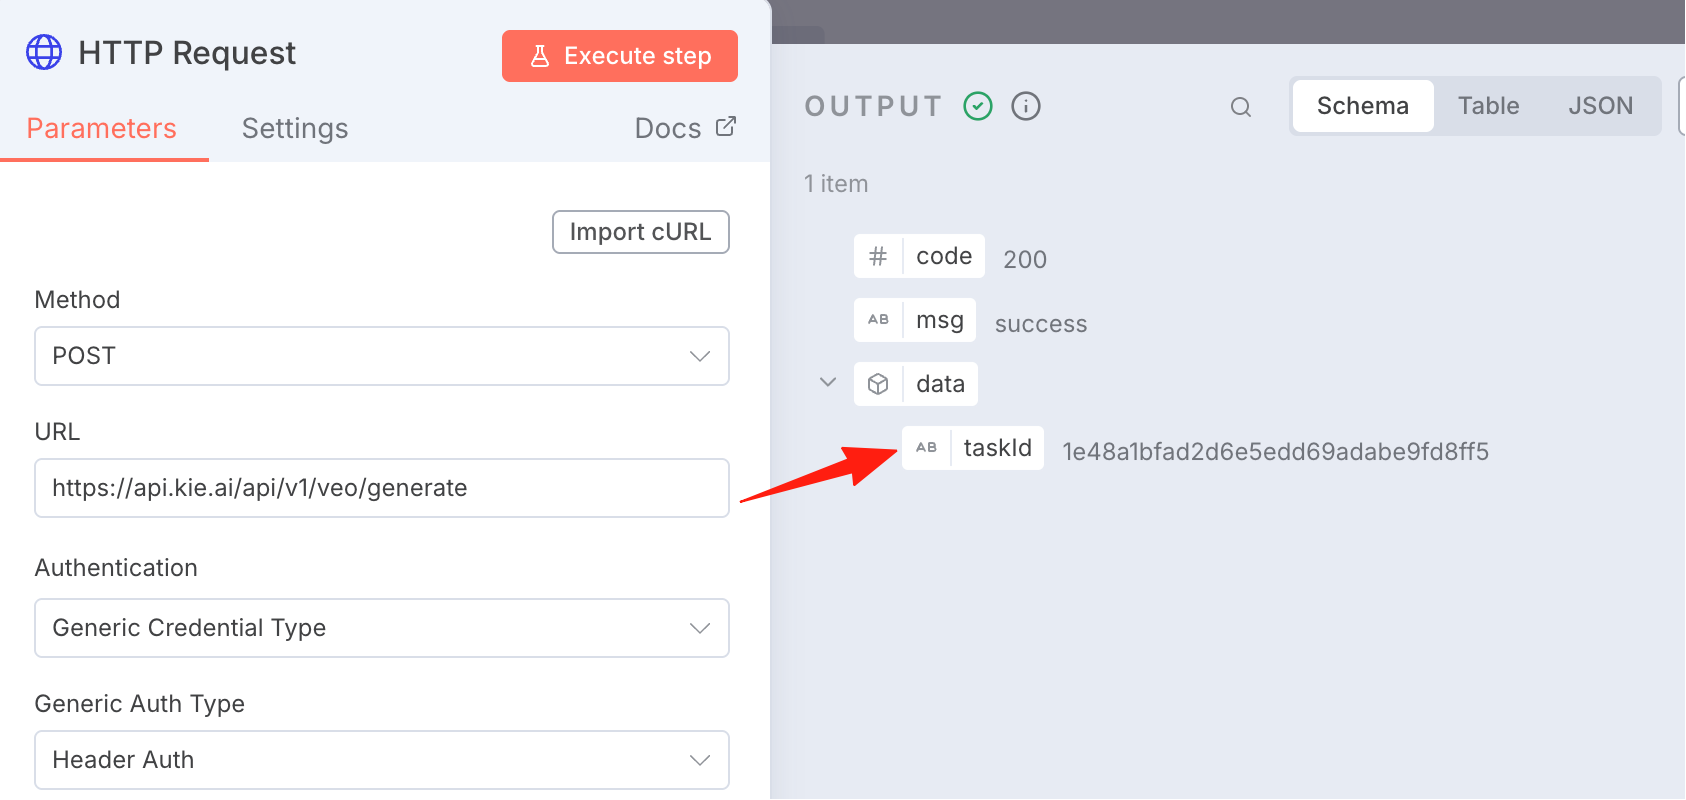
This step is the same as the operation in the previous guide [AI Generated Satisfying Video](https://lazycat.cloud/playground/guideline/1302), which is generating a video based on an image. Still using the kie.ai platform.
Add an HTTP Request node.
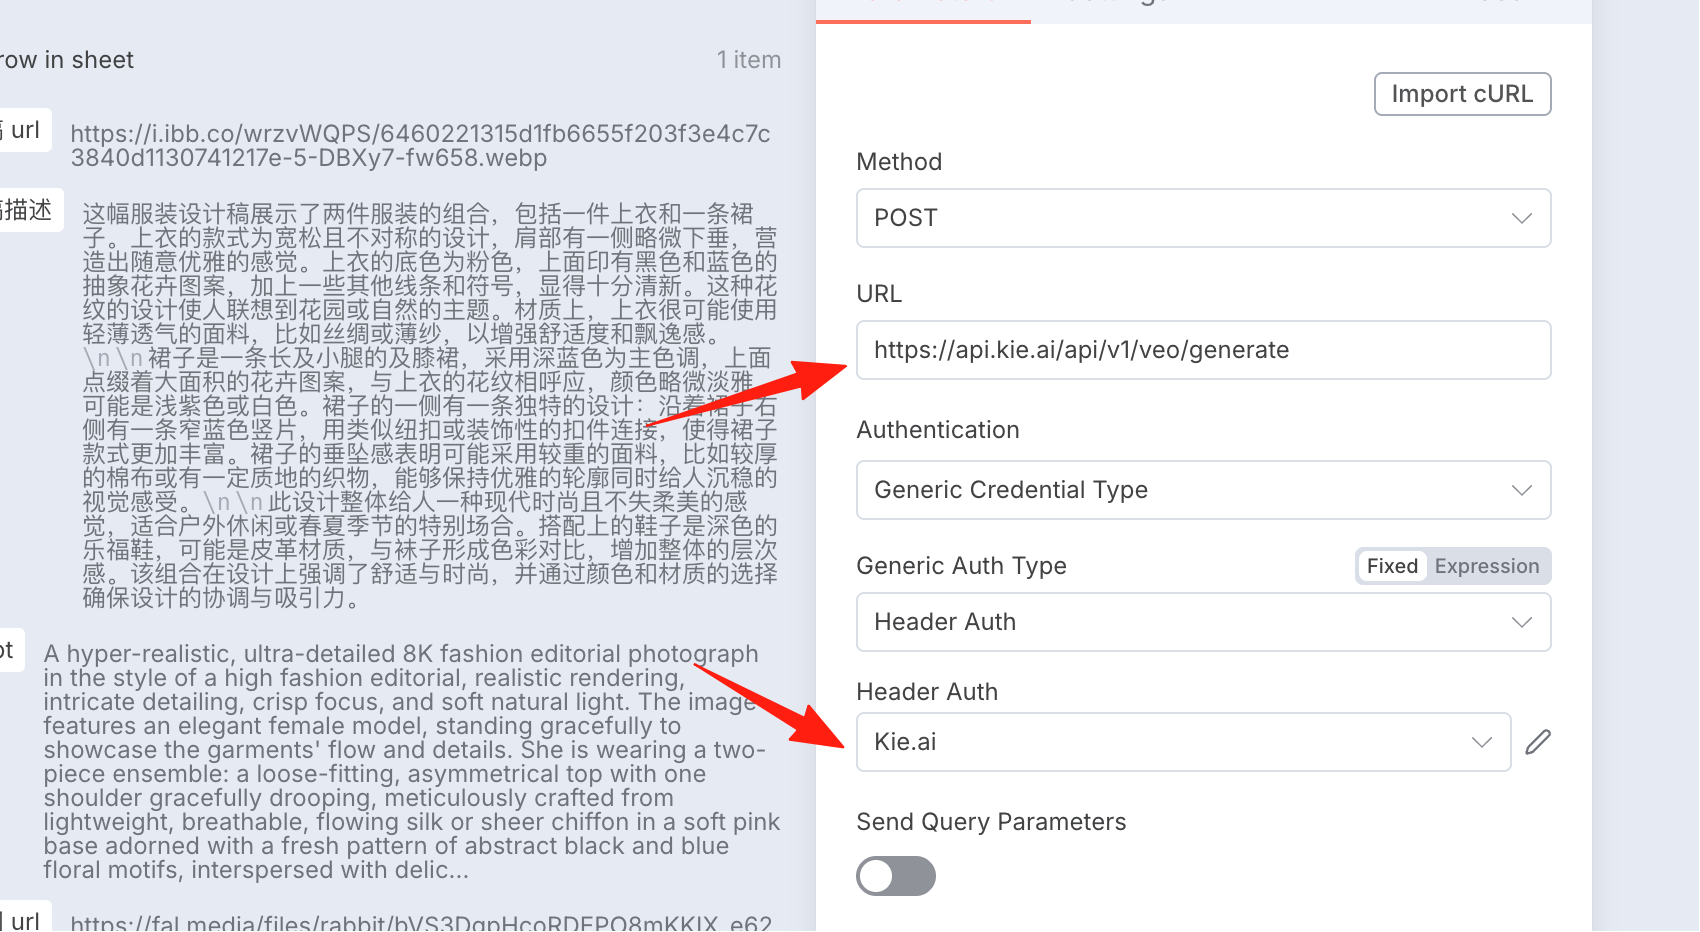
According to the documentation, pass in the prompt: Generate a model catwalk video for the process based on the image.
For imageUrls, select the photography image URL.
For model, still choose the cheaper veo3_fast.
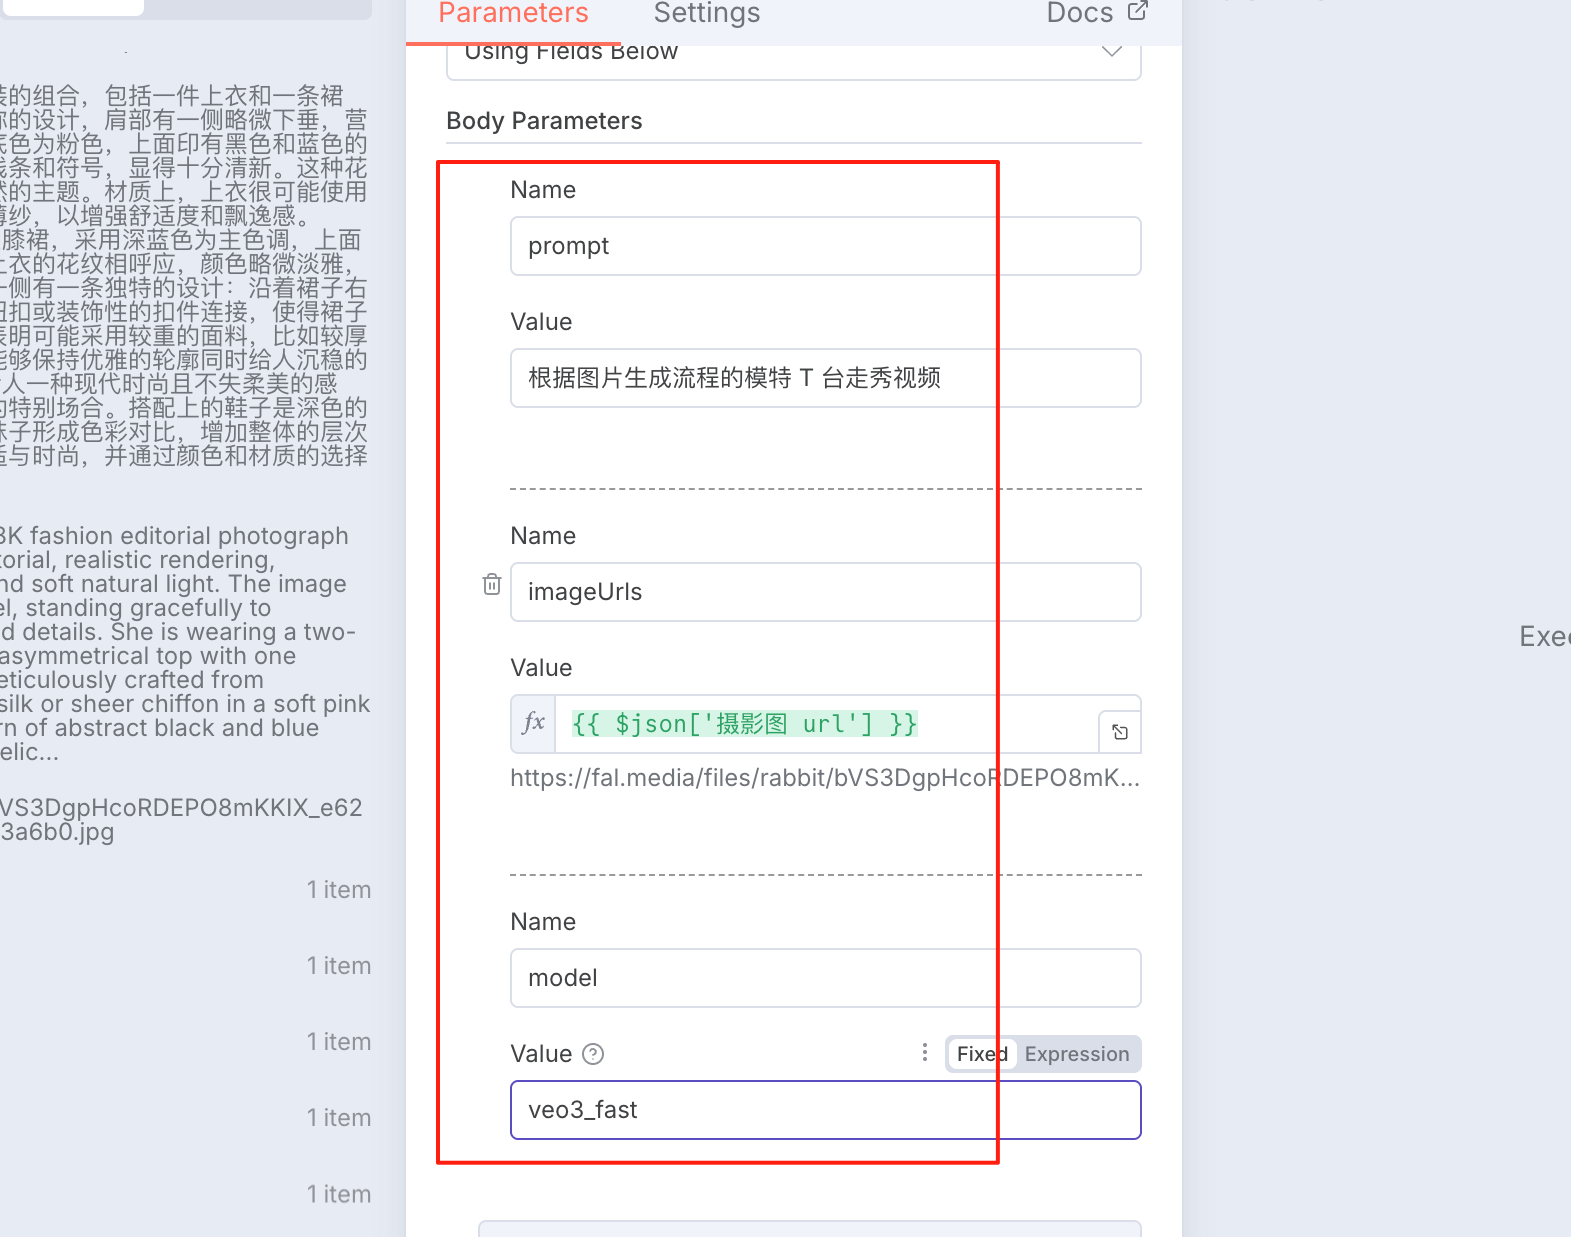
Execute it, and you can see the submission was successful.
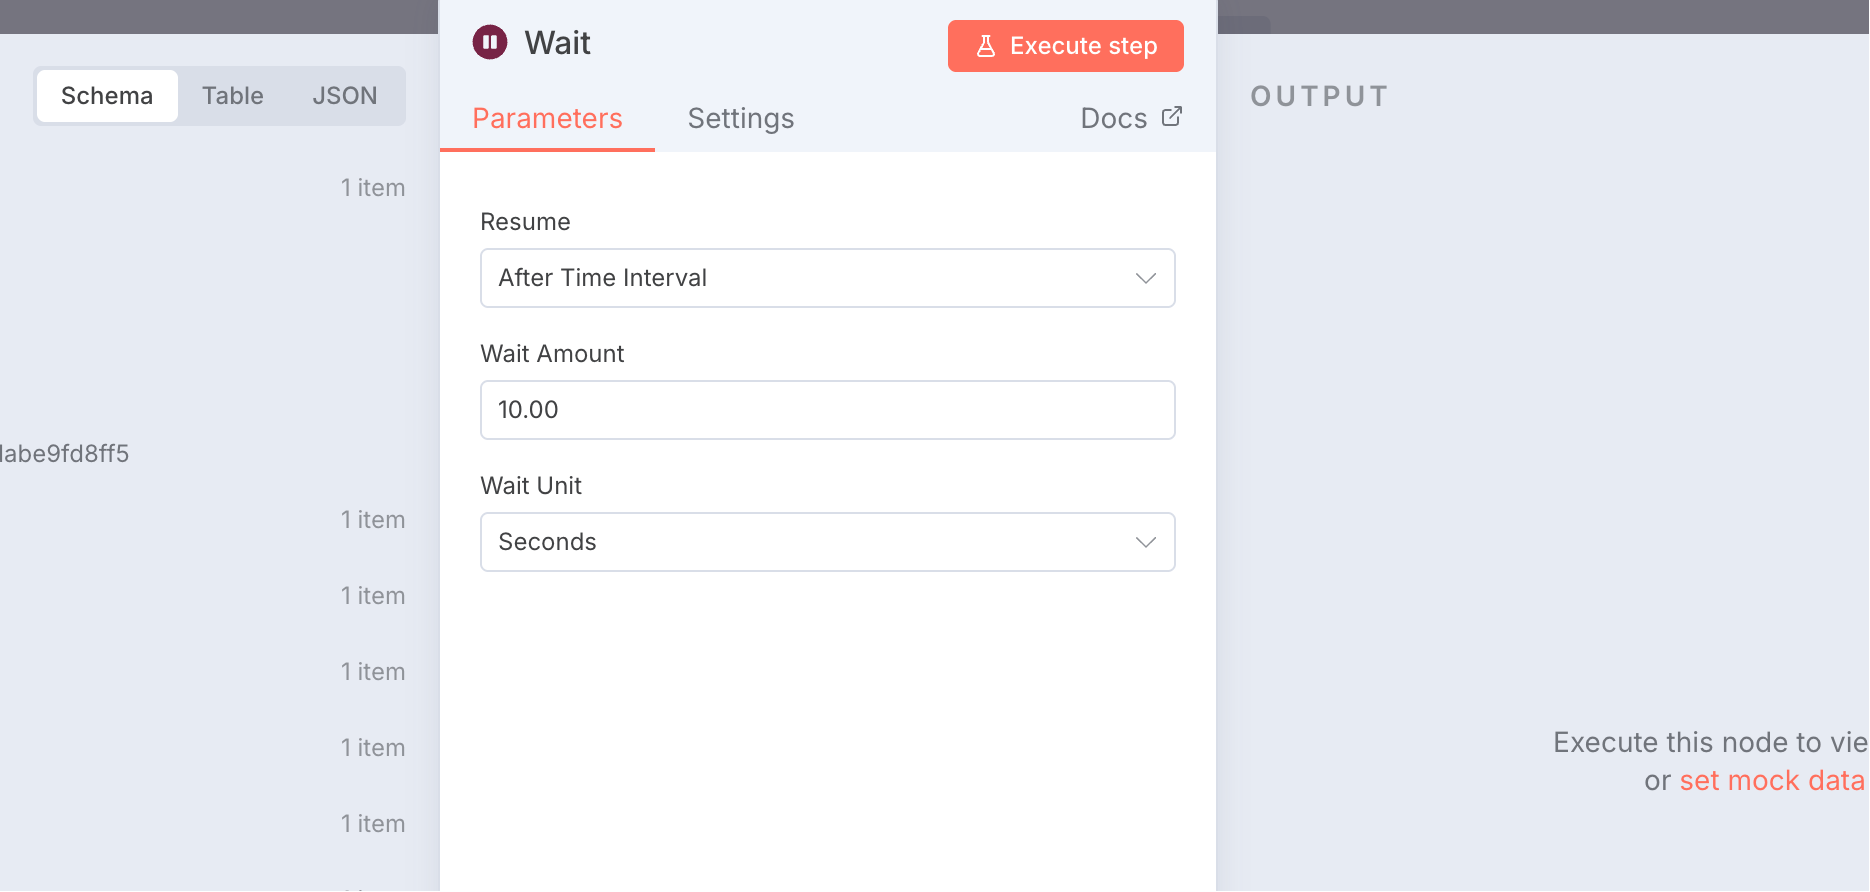
Next, add a Wait node to check the result every 10 seconds.
Add an HTTP Request node to query the result.
Documentation is here.
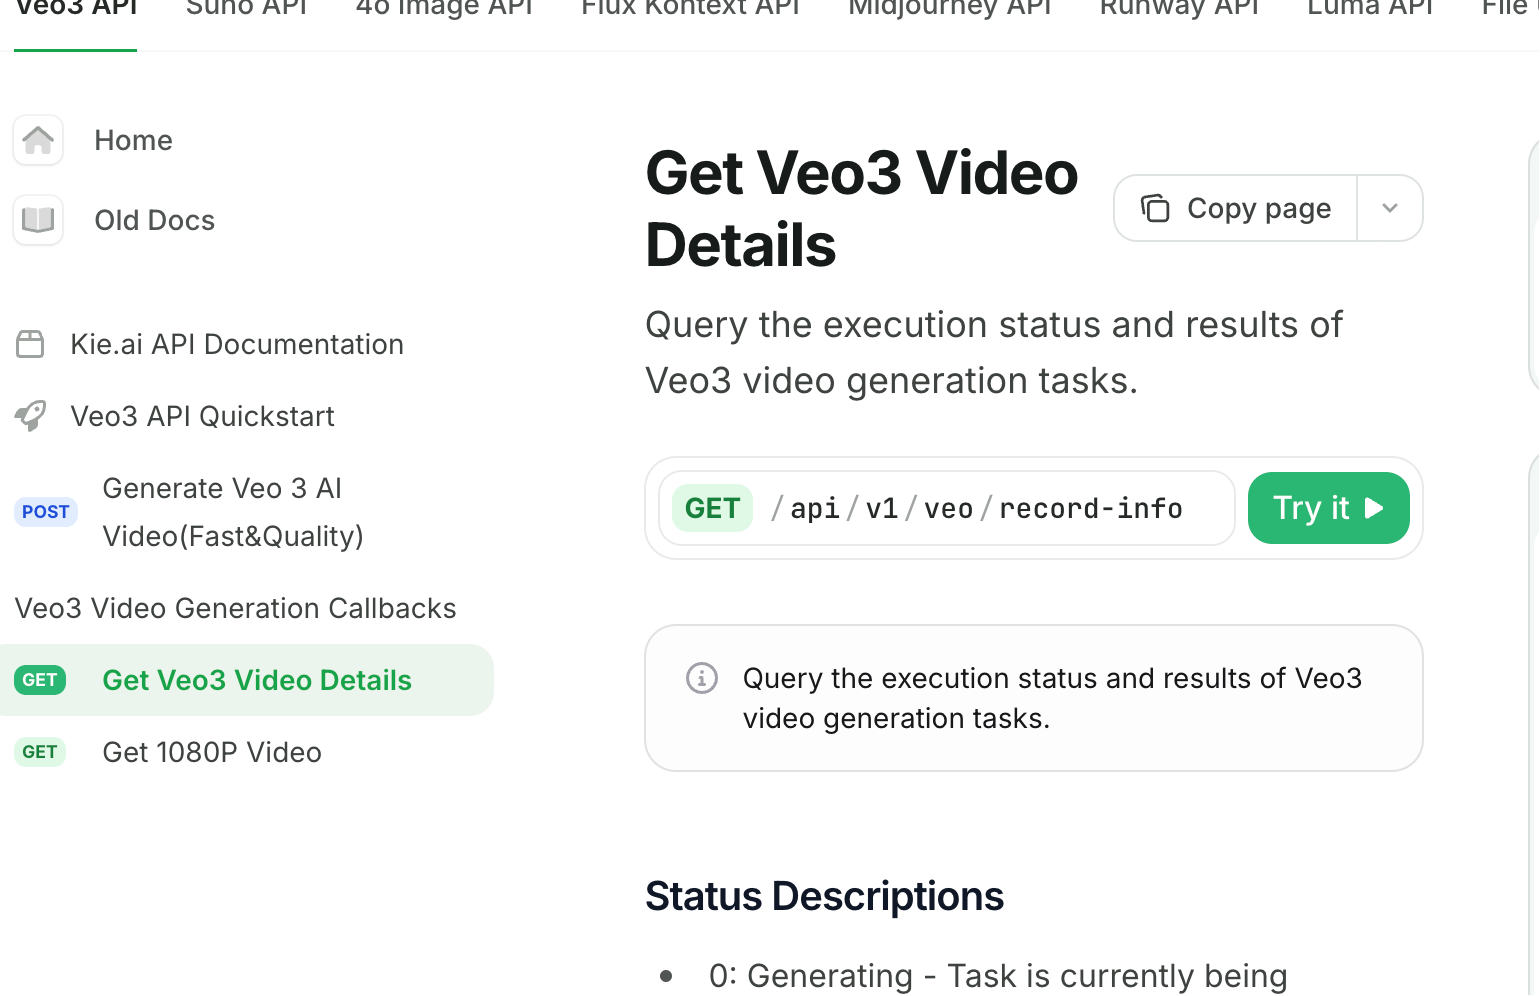
Execute it, and you can see it returned successfully.
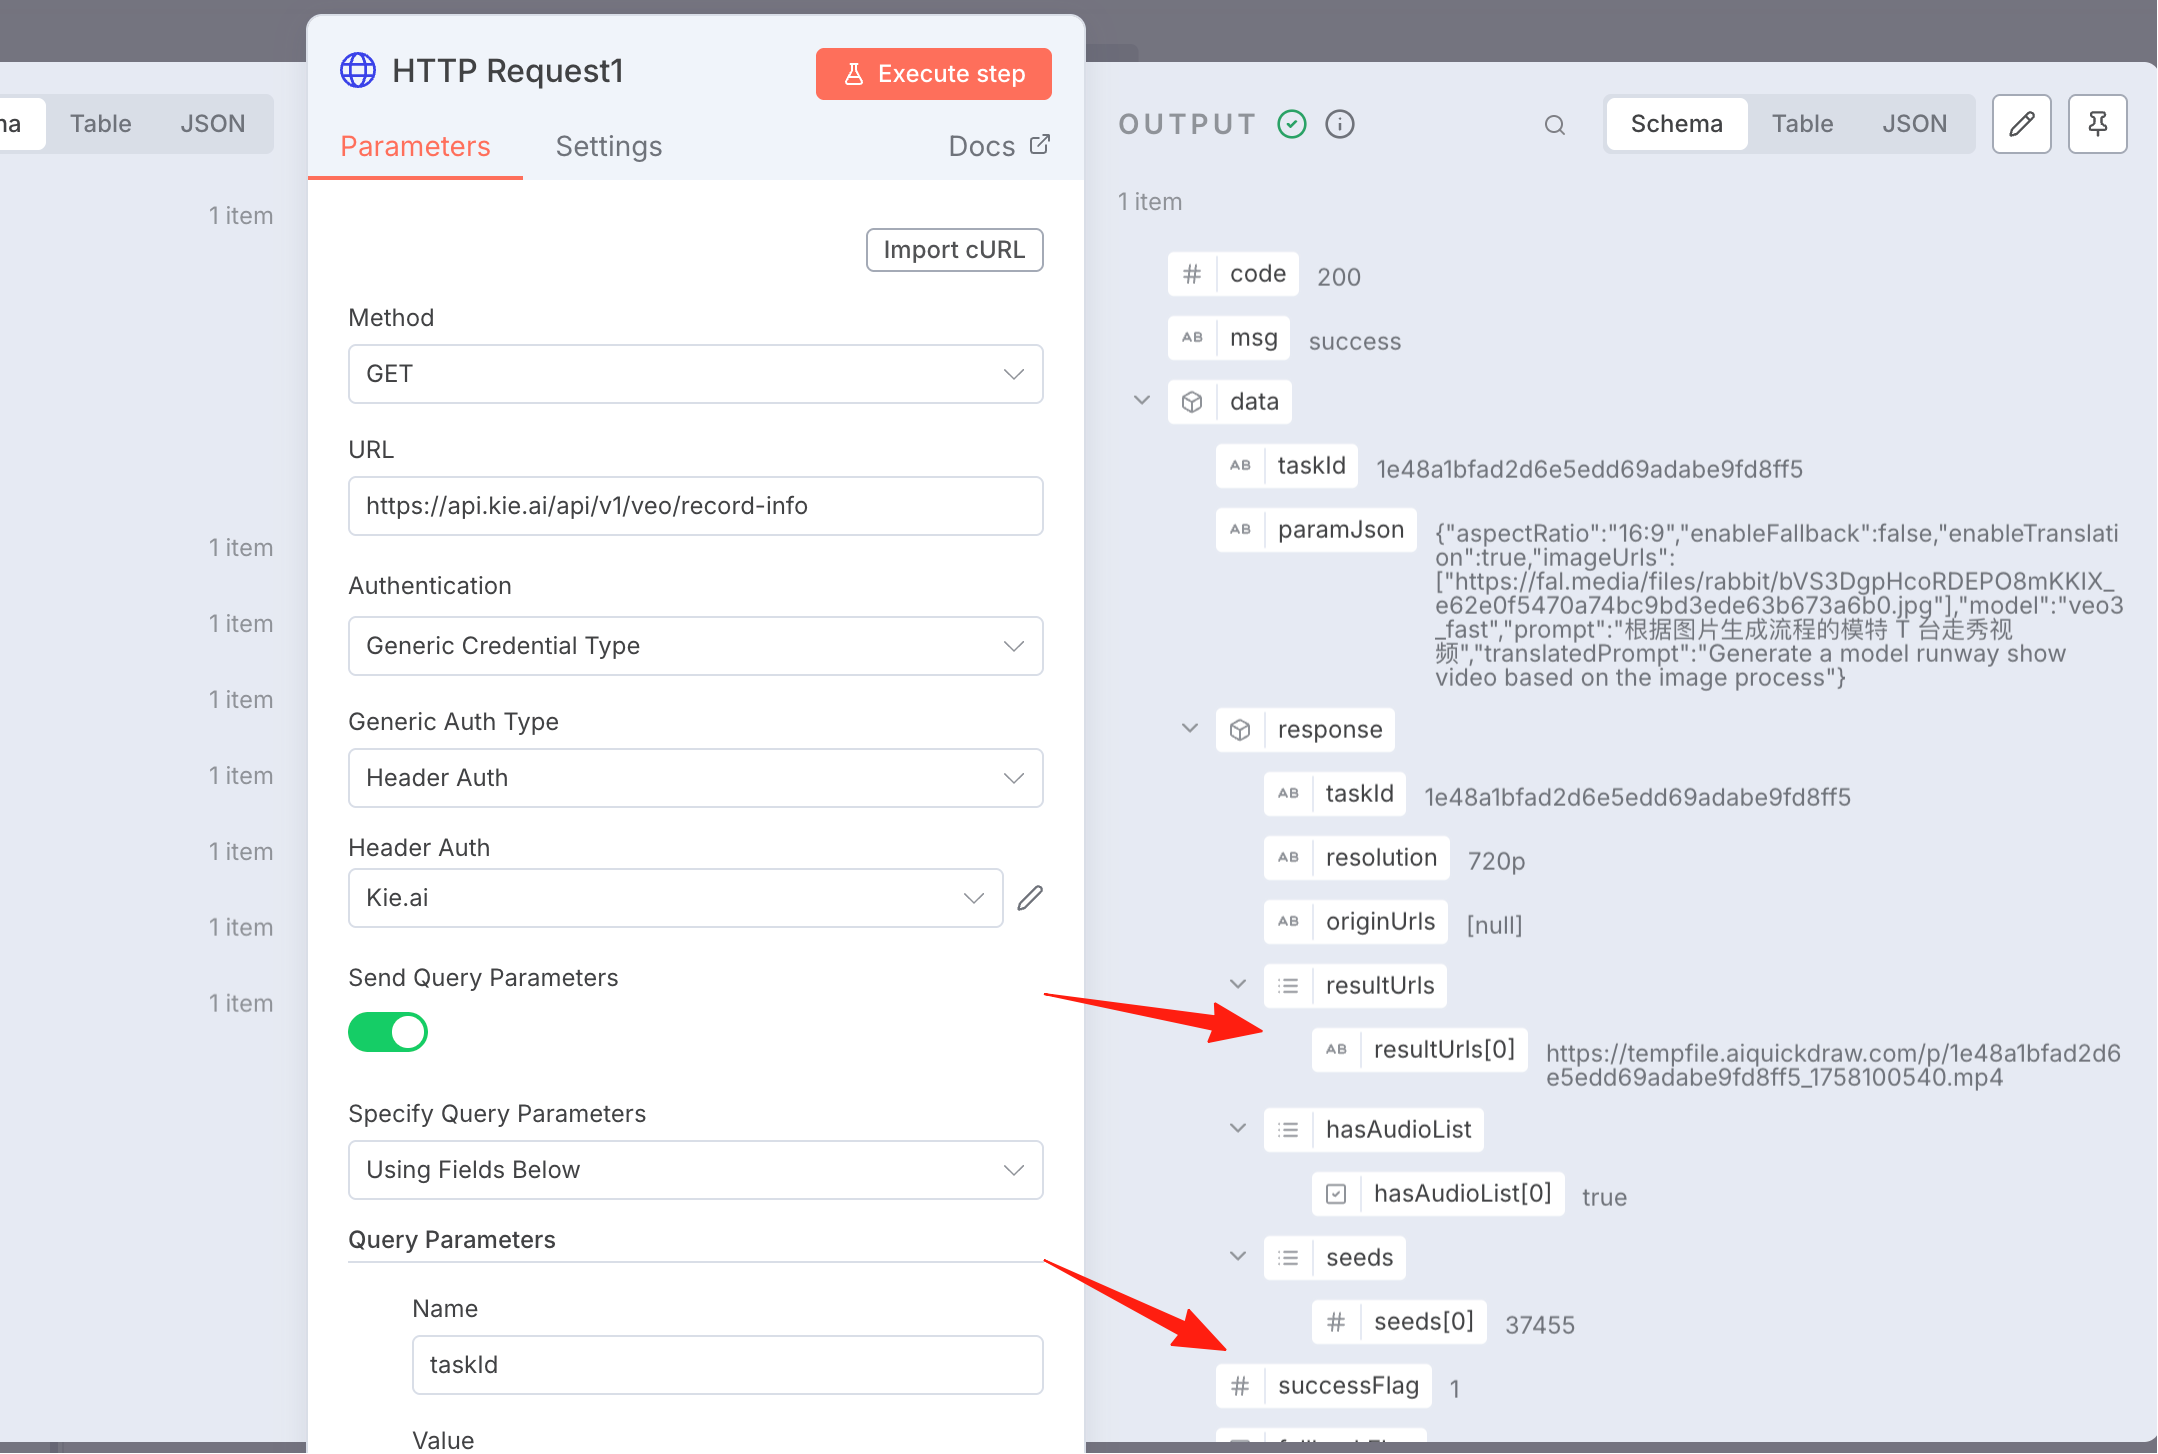
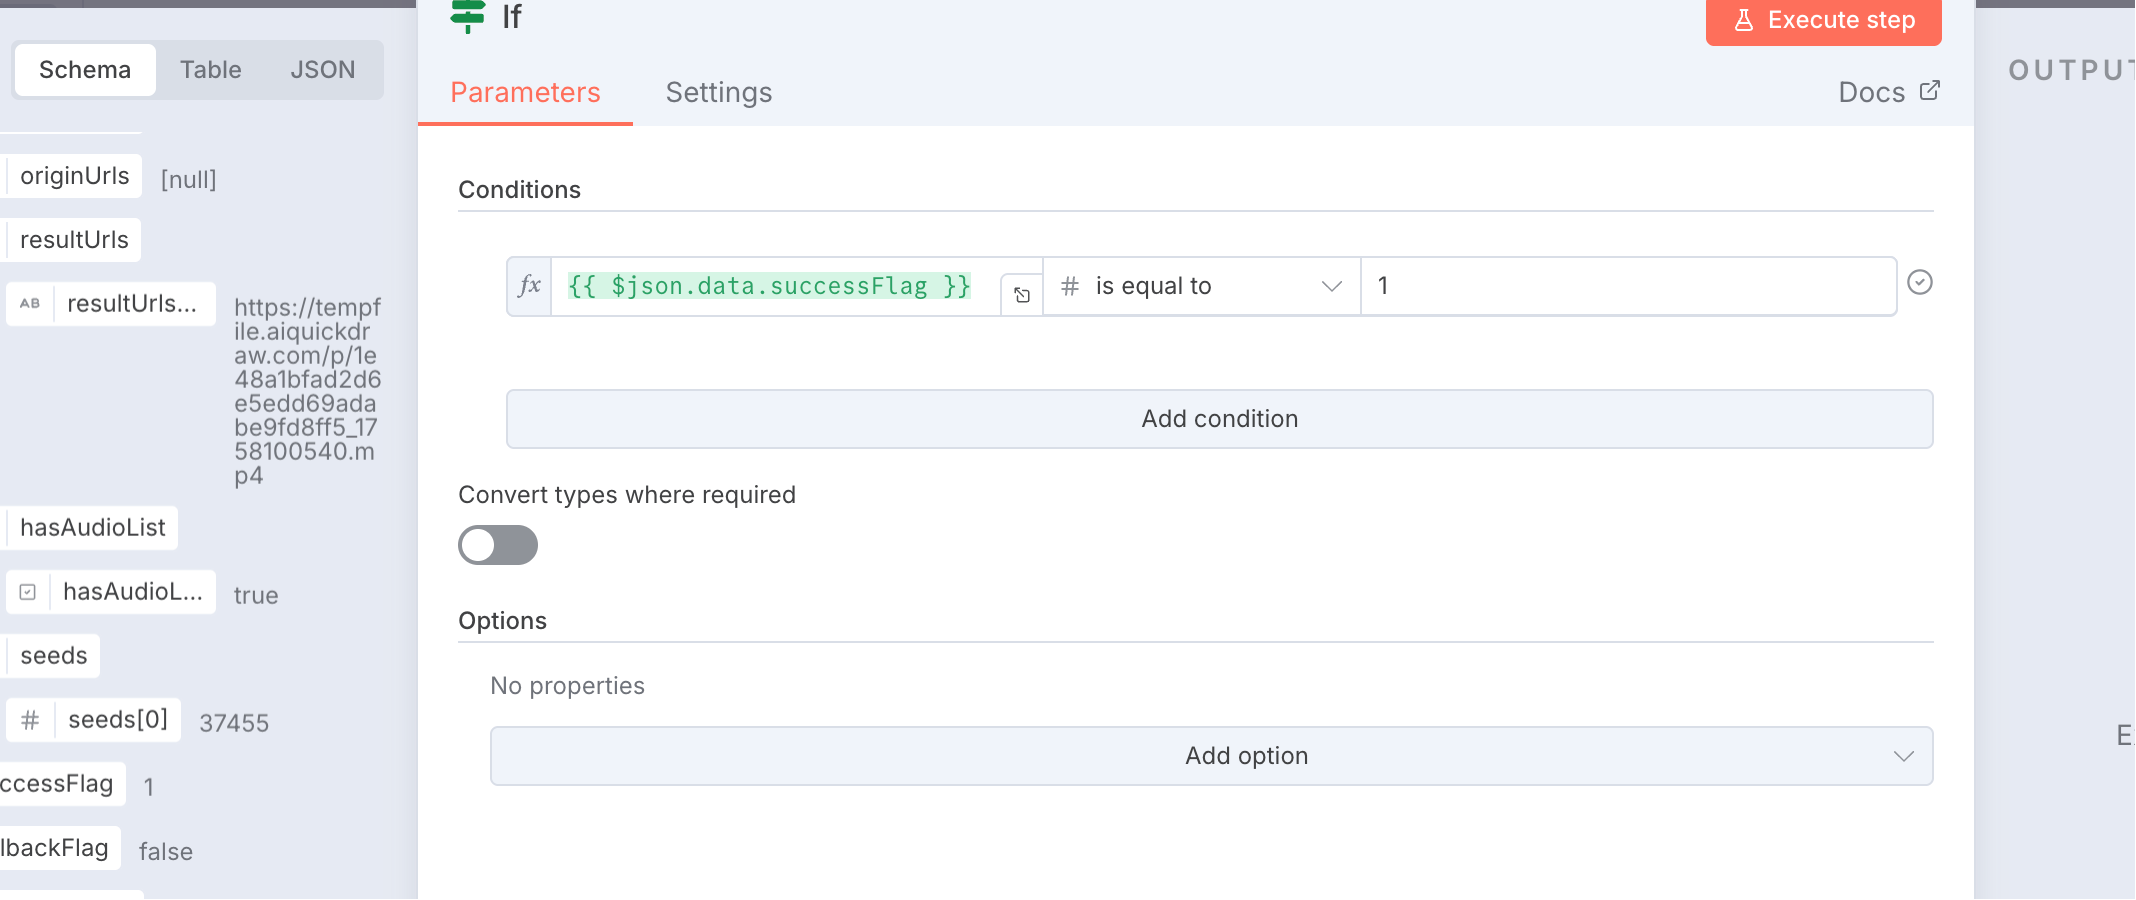
Add an If node.
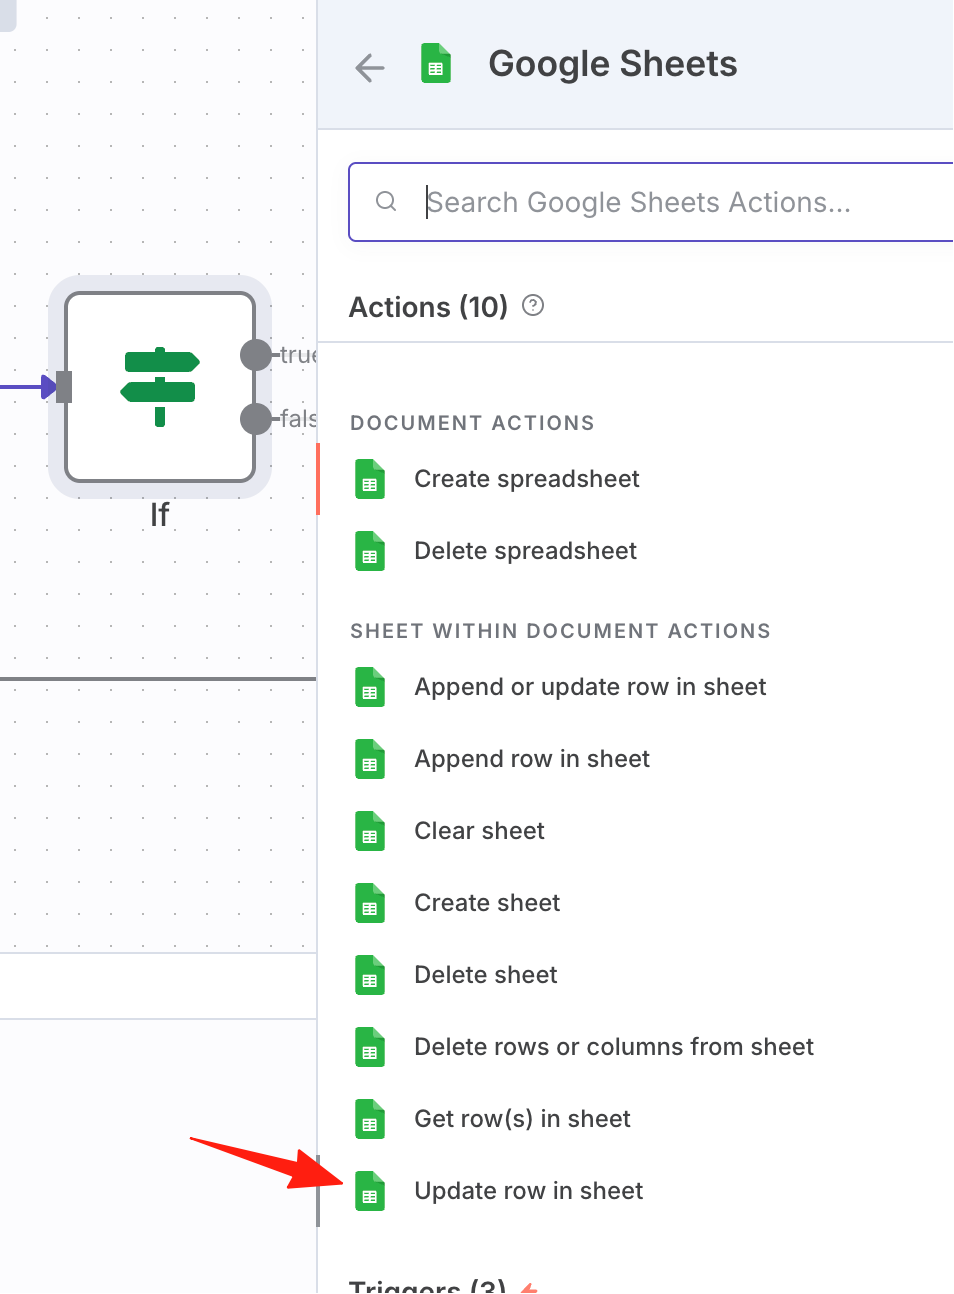
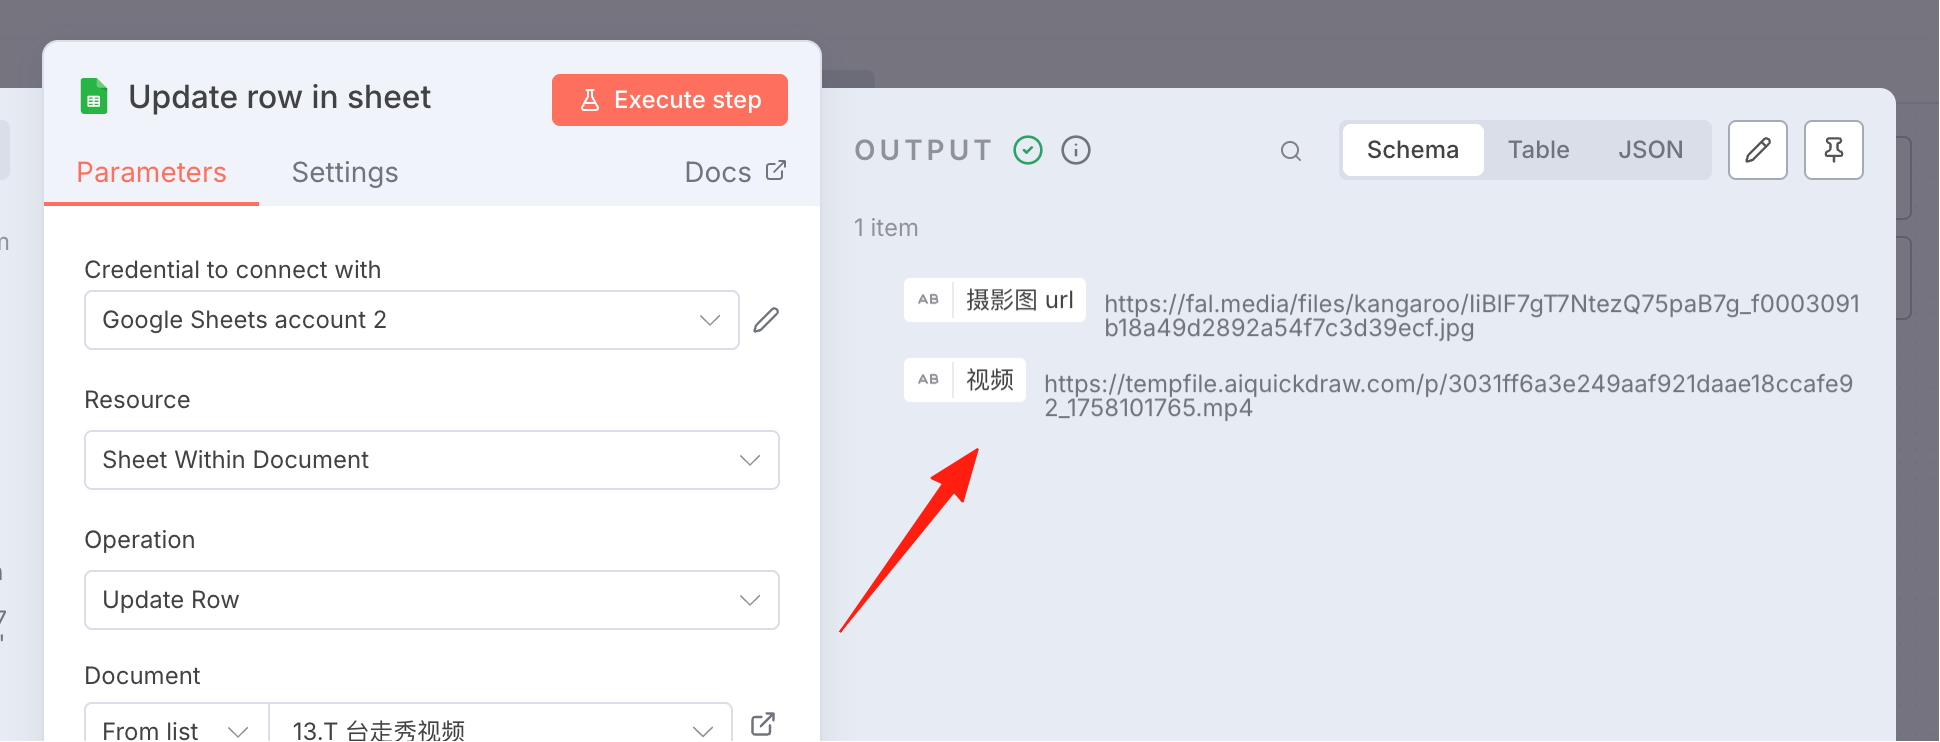
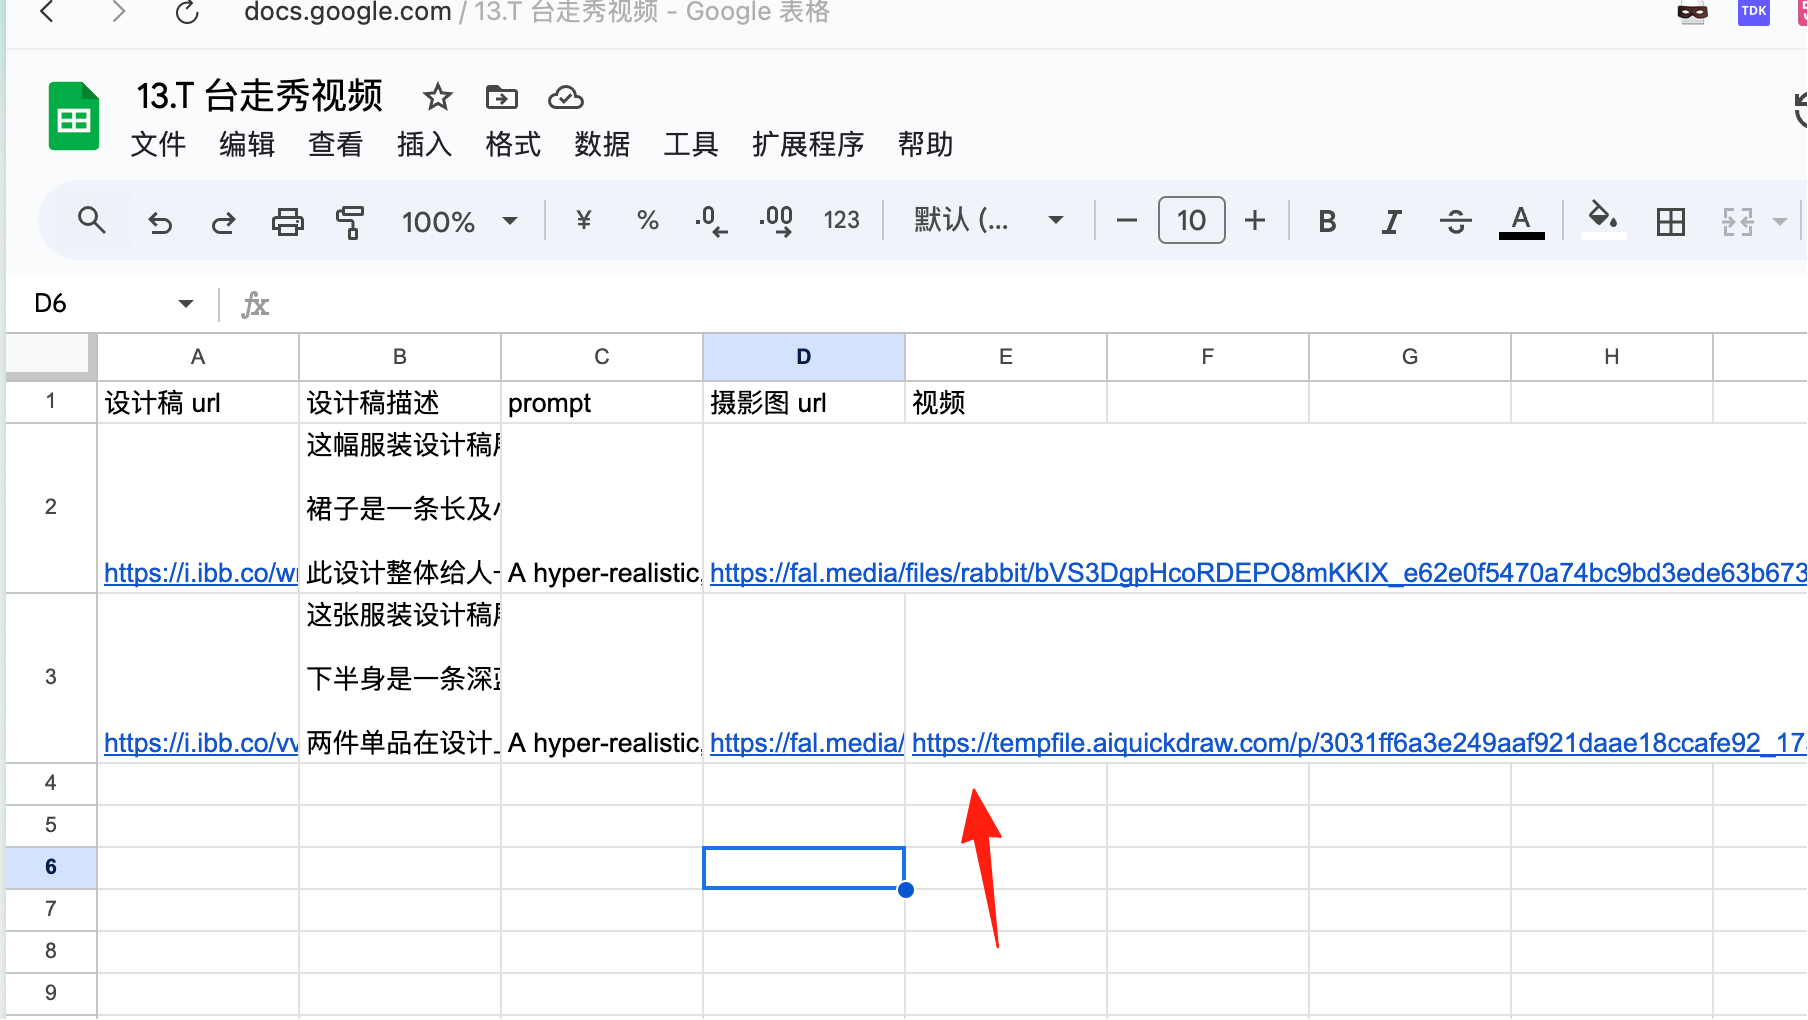
Add a node to update the Google Sheet with the video link.
When the photography image URL matches, update the video field.
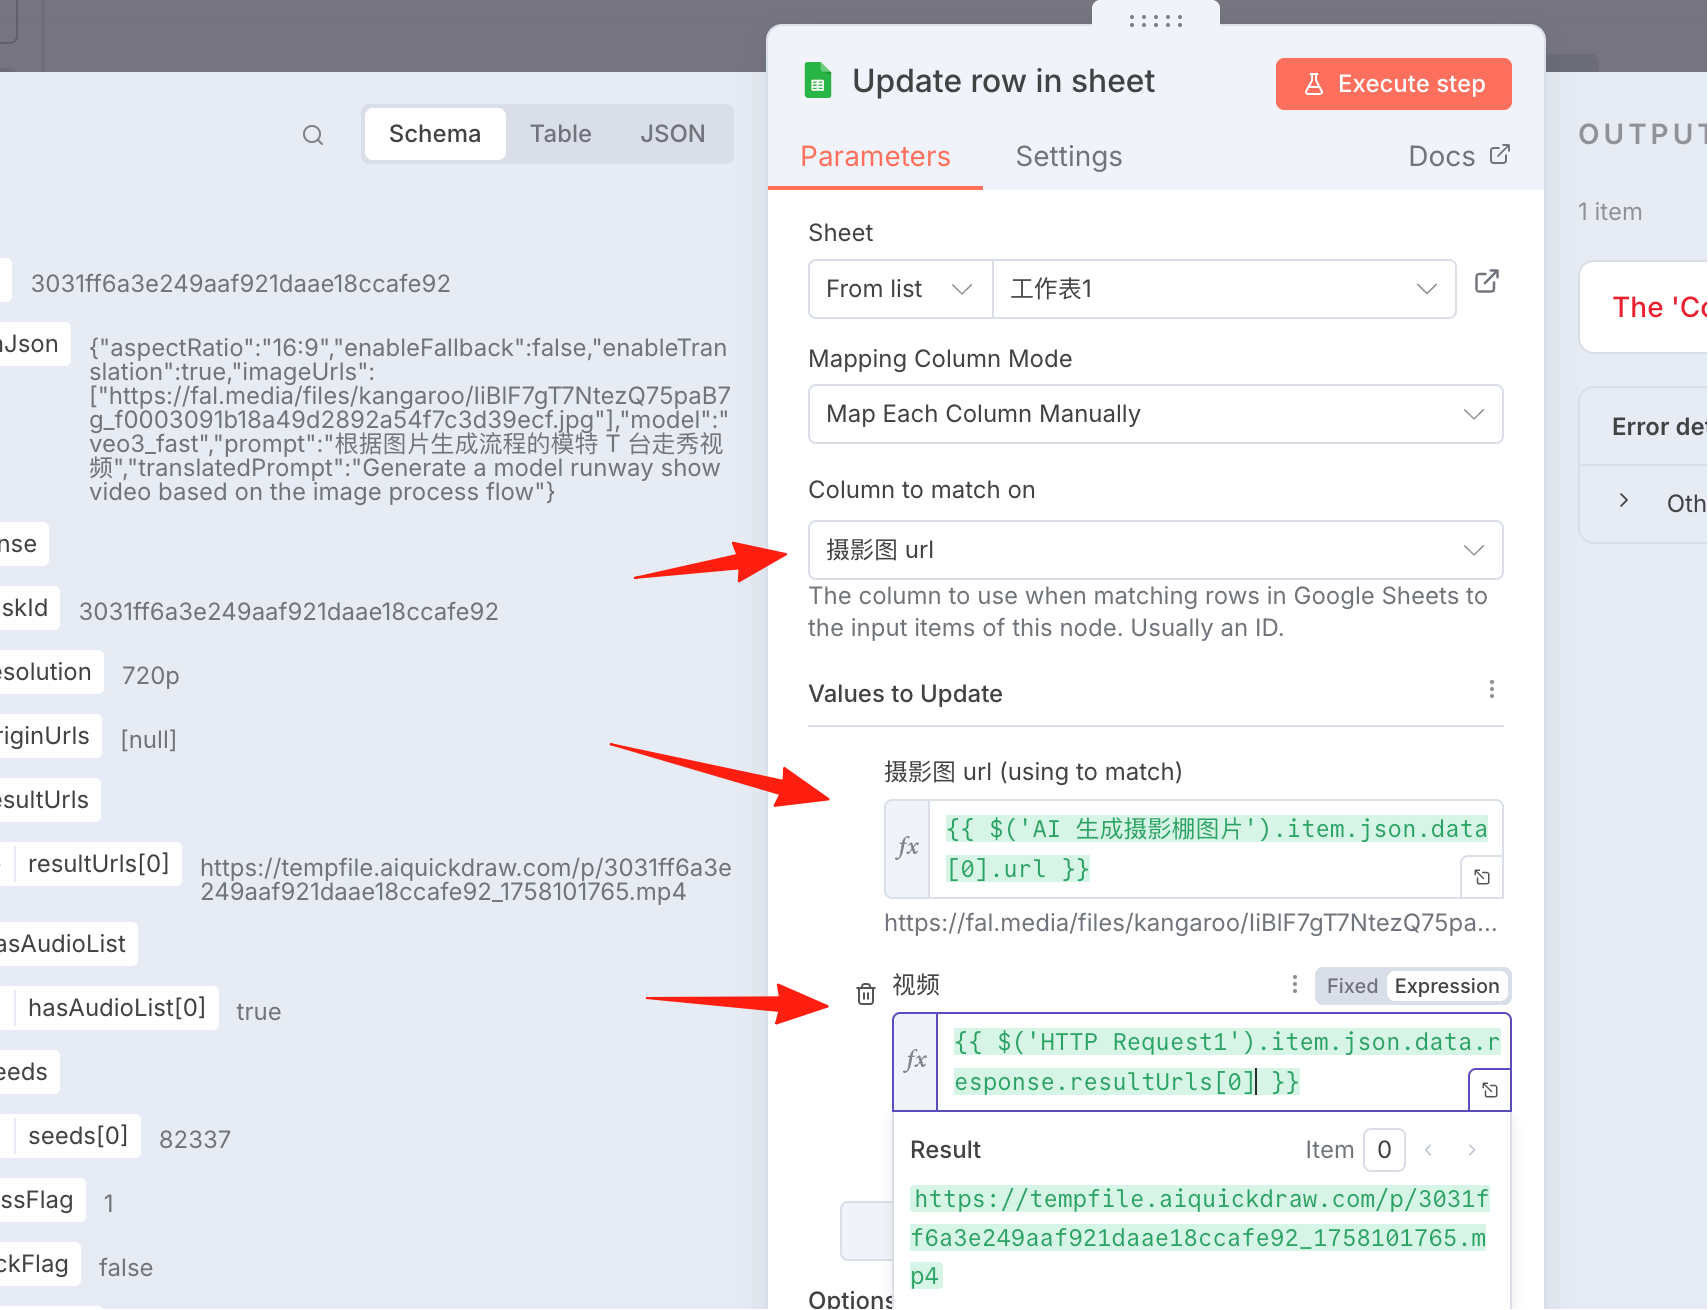
Execute it, and you can see it was successful.
The generated video is as follows:
https://lzc-playground-1301583638.cos.ap-chengdu.myqcloud.com/guidelines/496/e200ee14-2488-4ba2-975d-c17da5da0706.mp4
Since I ran it several times, multiple videos were generated, and the face at the beginning is different from the previous one.
Whew~~~ Writing this up was no easy task. I spent the whole afternoon working on this workflow and finally got it running successfully.
To all the experts reading this, would it be too much to ask for a like from this humble junior?