
n8n Hands-On Guide 12: Building a WeChat Official Account Article Rewriting Workflow
This workflow is designed to perform AI-based secondary creation on WeChat public account articles for convenient content output.
https://appstore.lazycat.cloud/#/shop/detail/cloud.lazycat.app.n8n
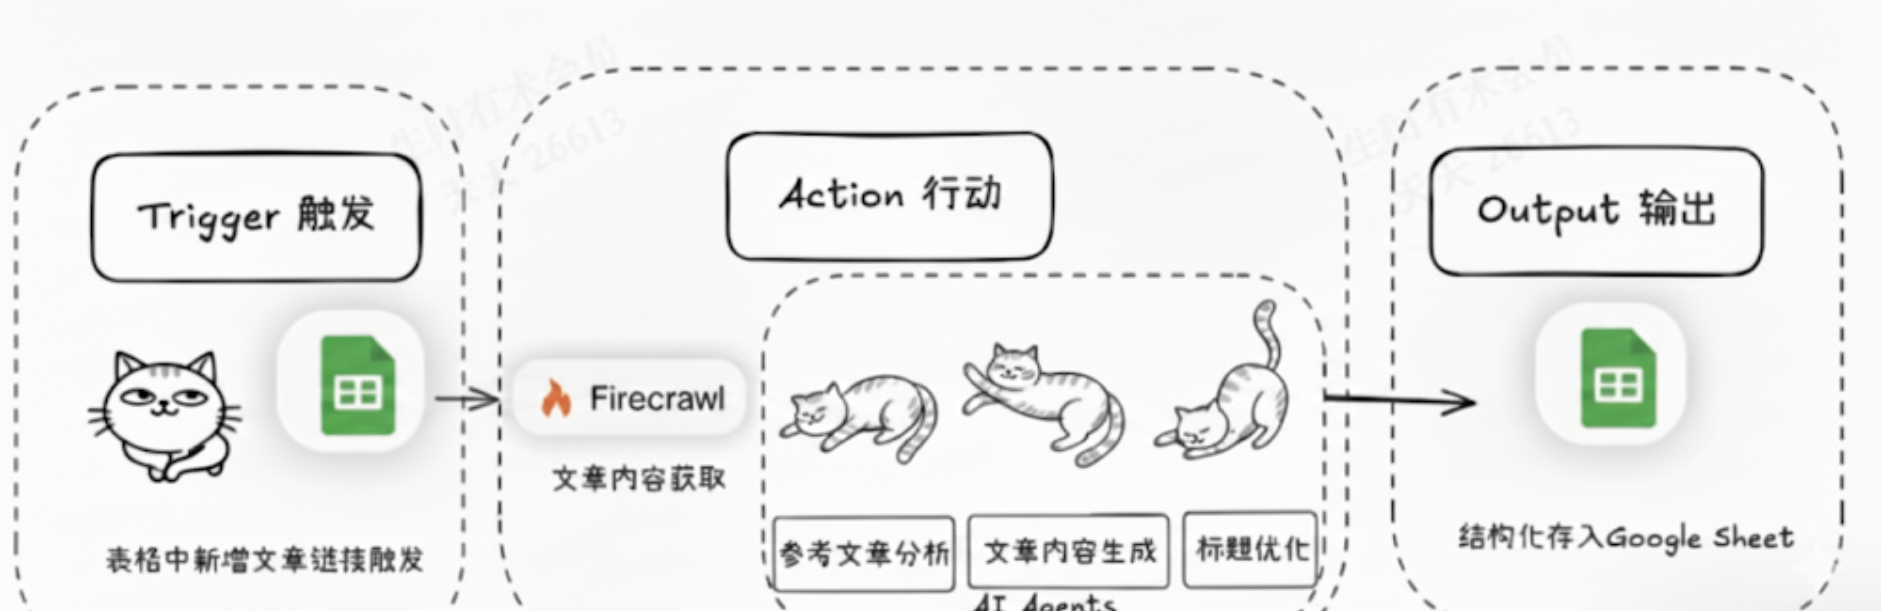
First, let's look at the overall flowchart:
Quickly Set Up All Nodes
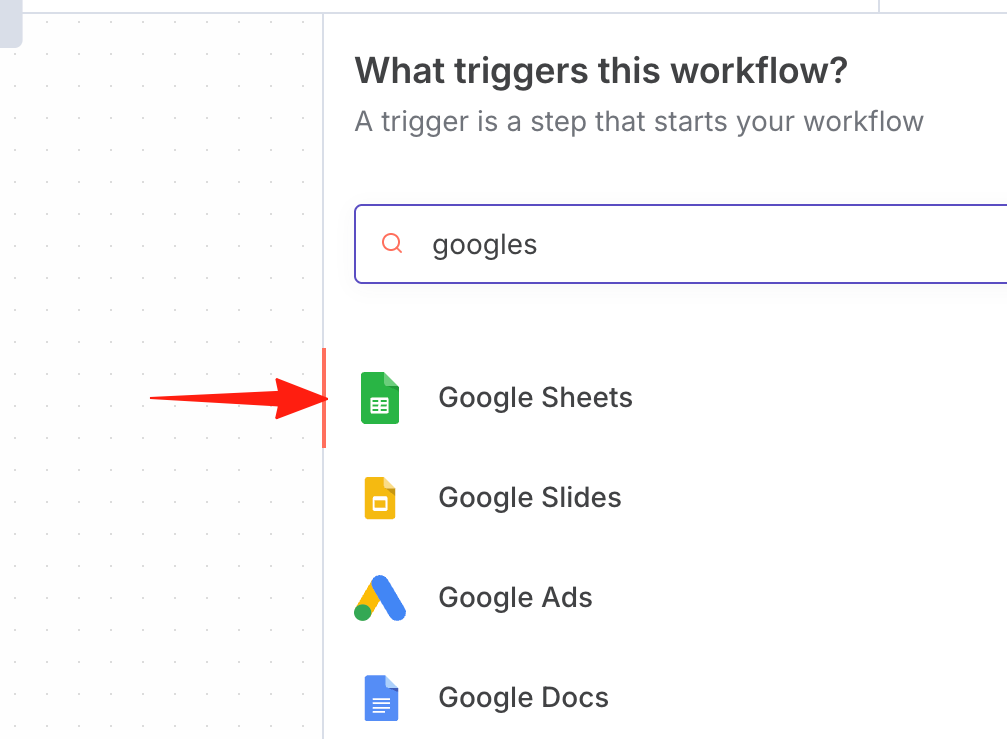
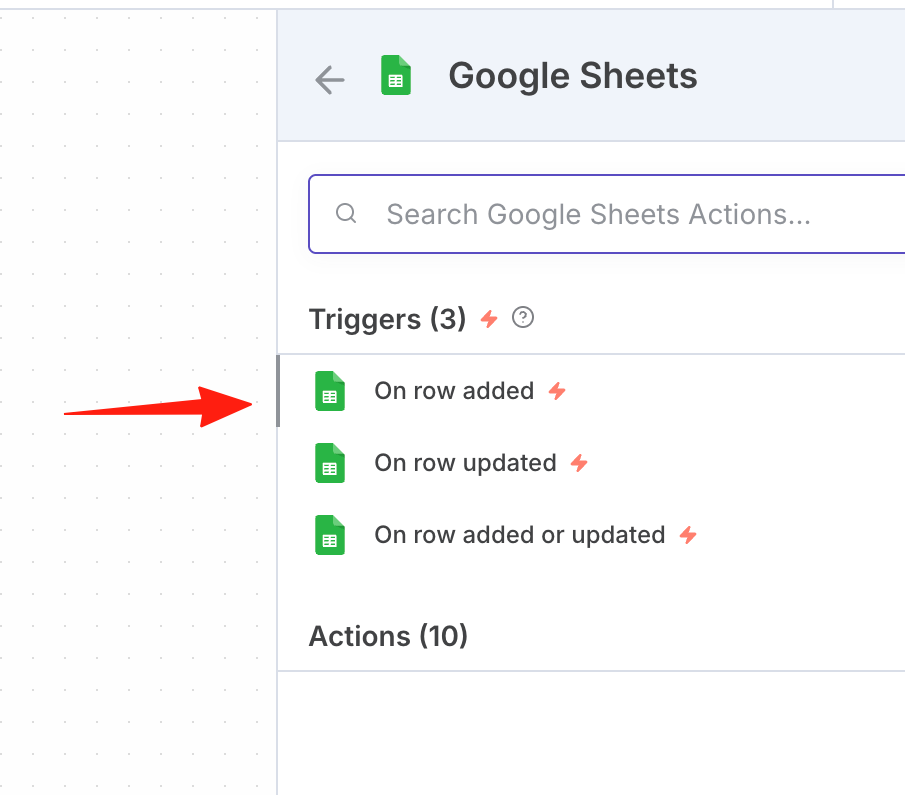
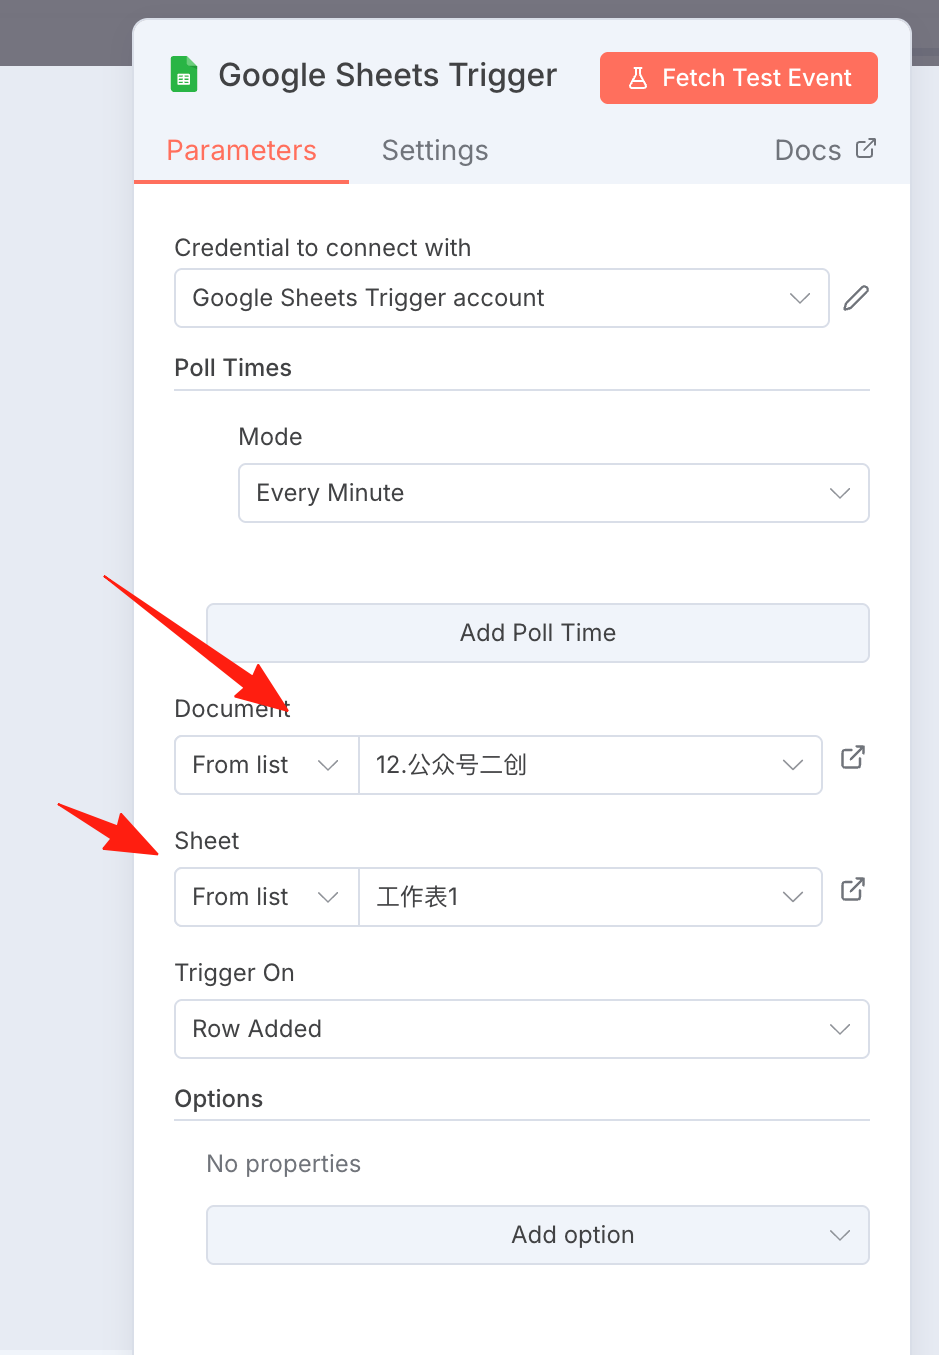
I have a Google Sheet containing links to some WeChat public account articles. I want the workflow to be triggered by new records added to this Google Sheet, so let's add this Trigger first:
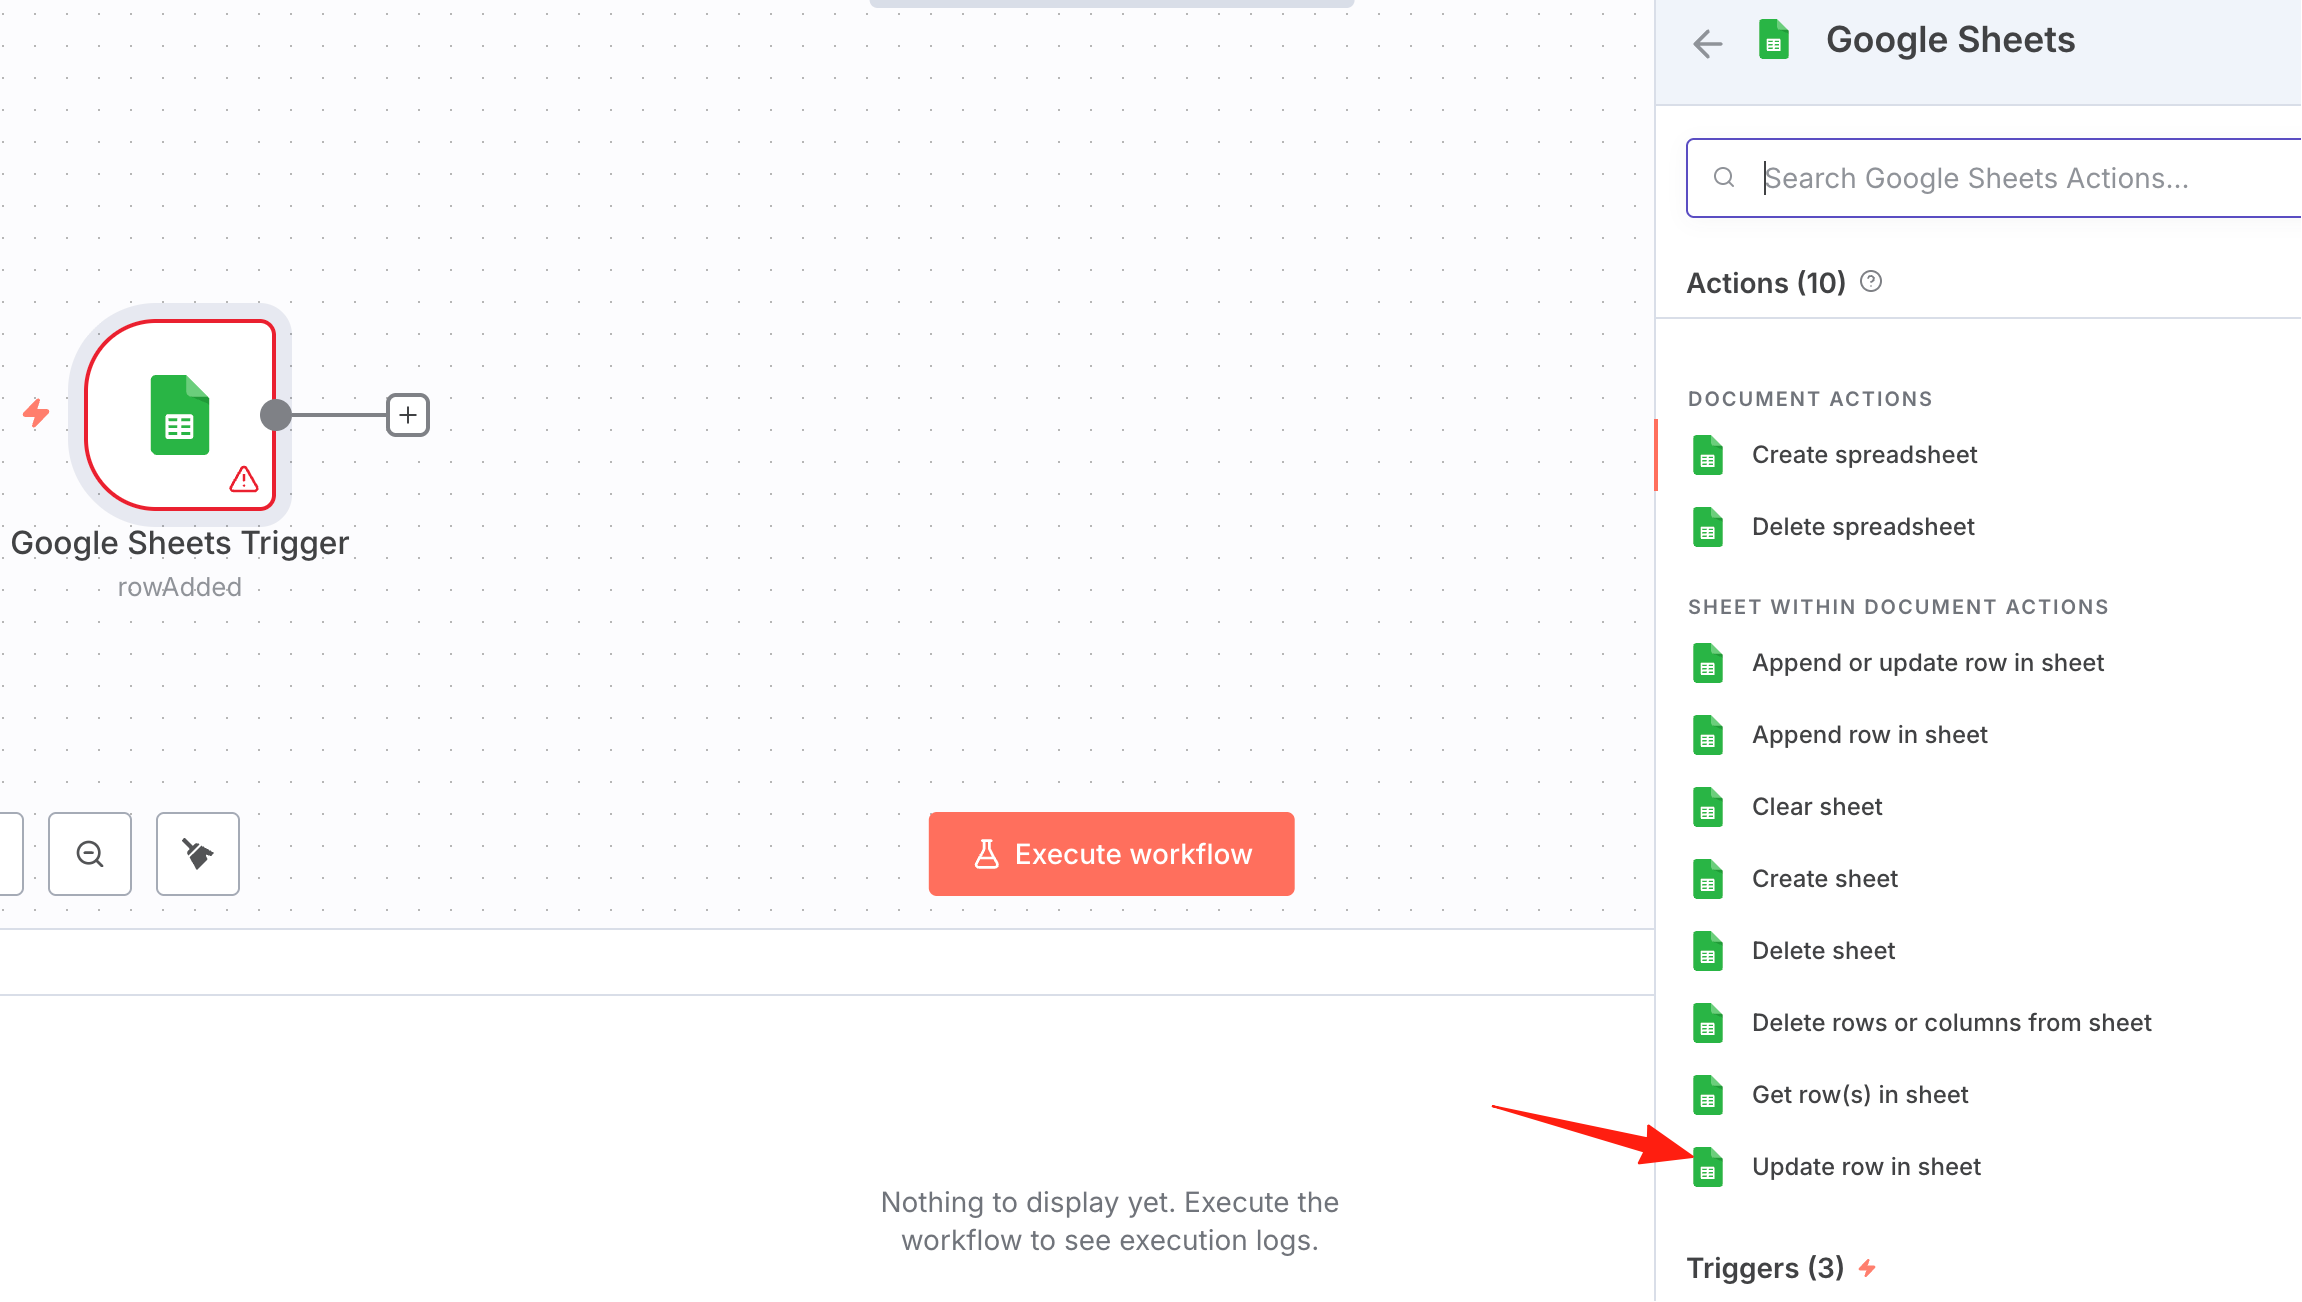
When this row is updated, add a node to mark the status as "Processing"
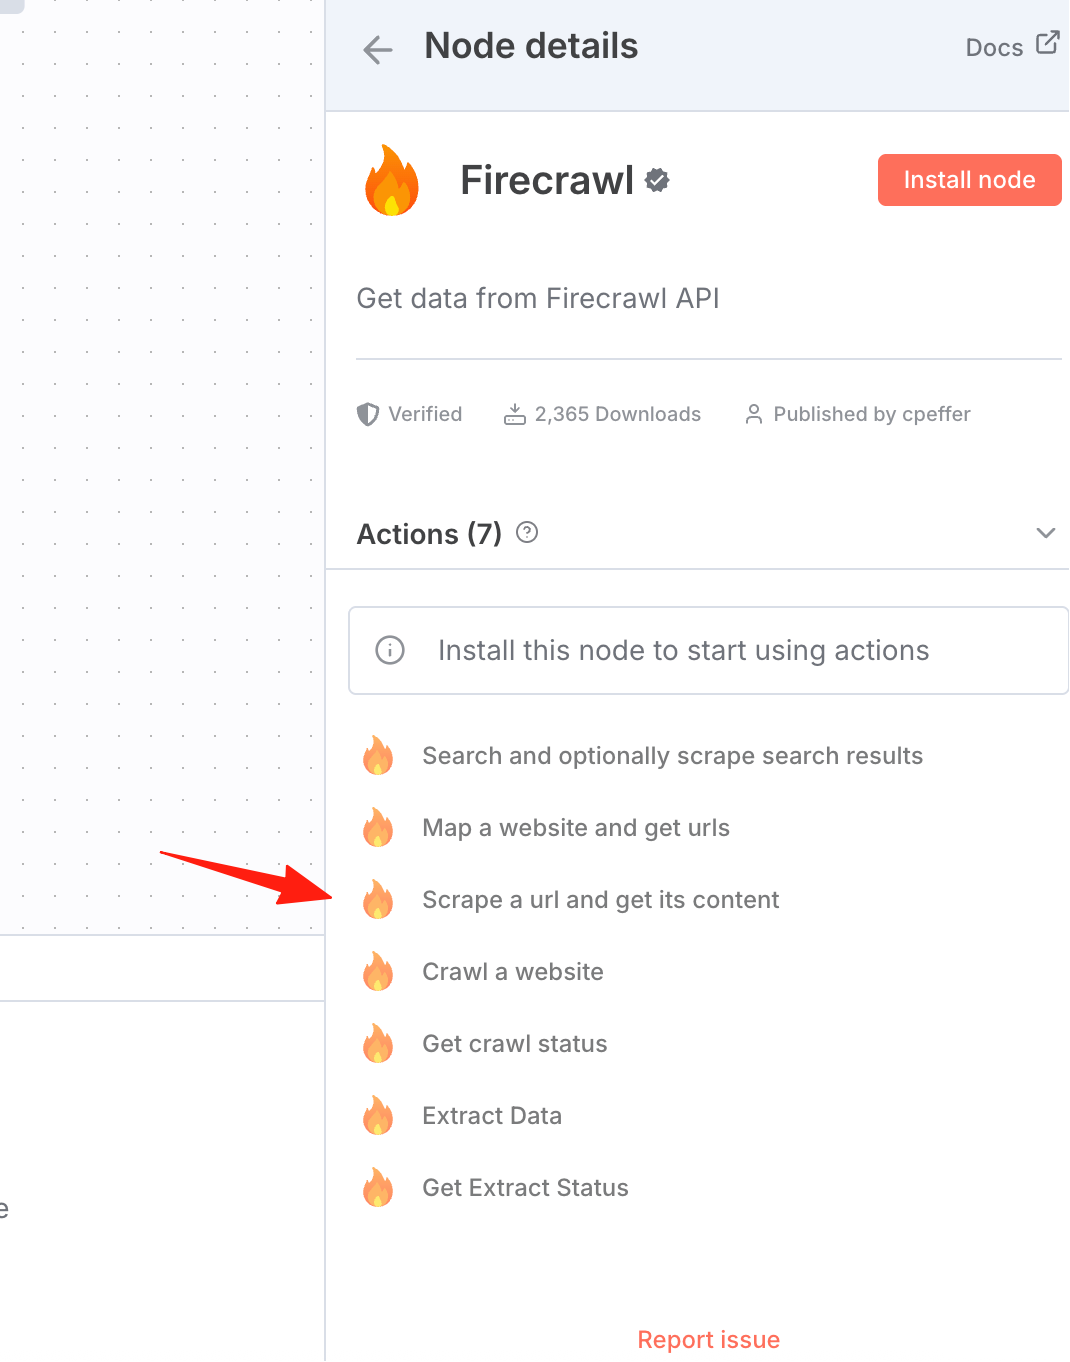
Next, we need to use a node for scraping articles. To install it, go to Settings -> Community Nodes.
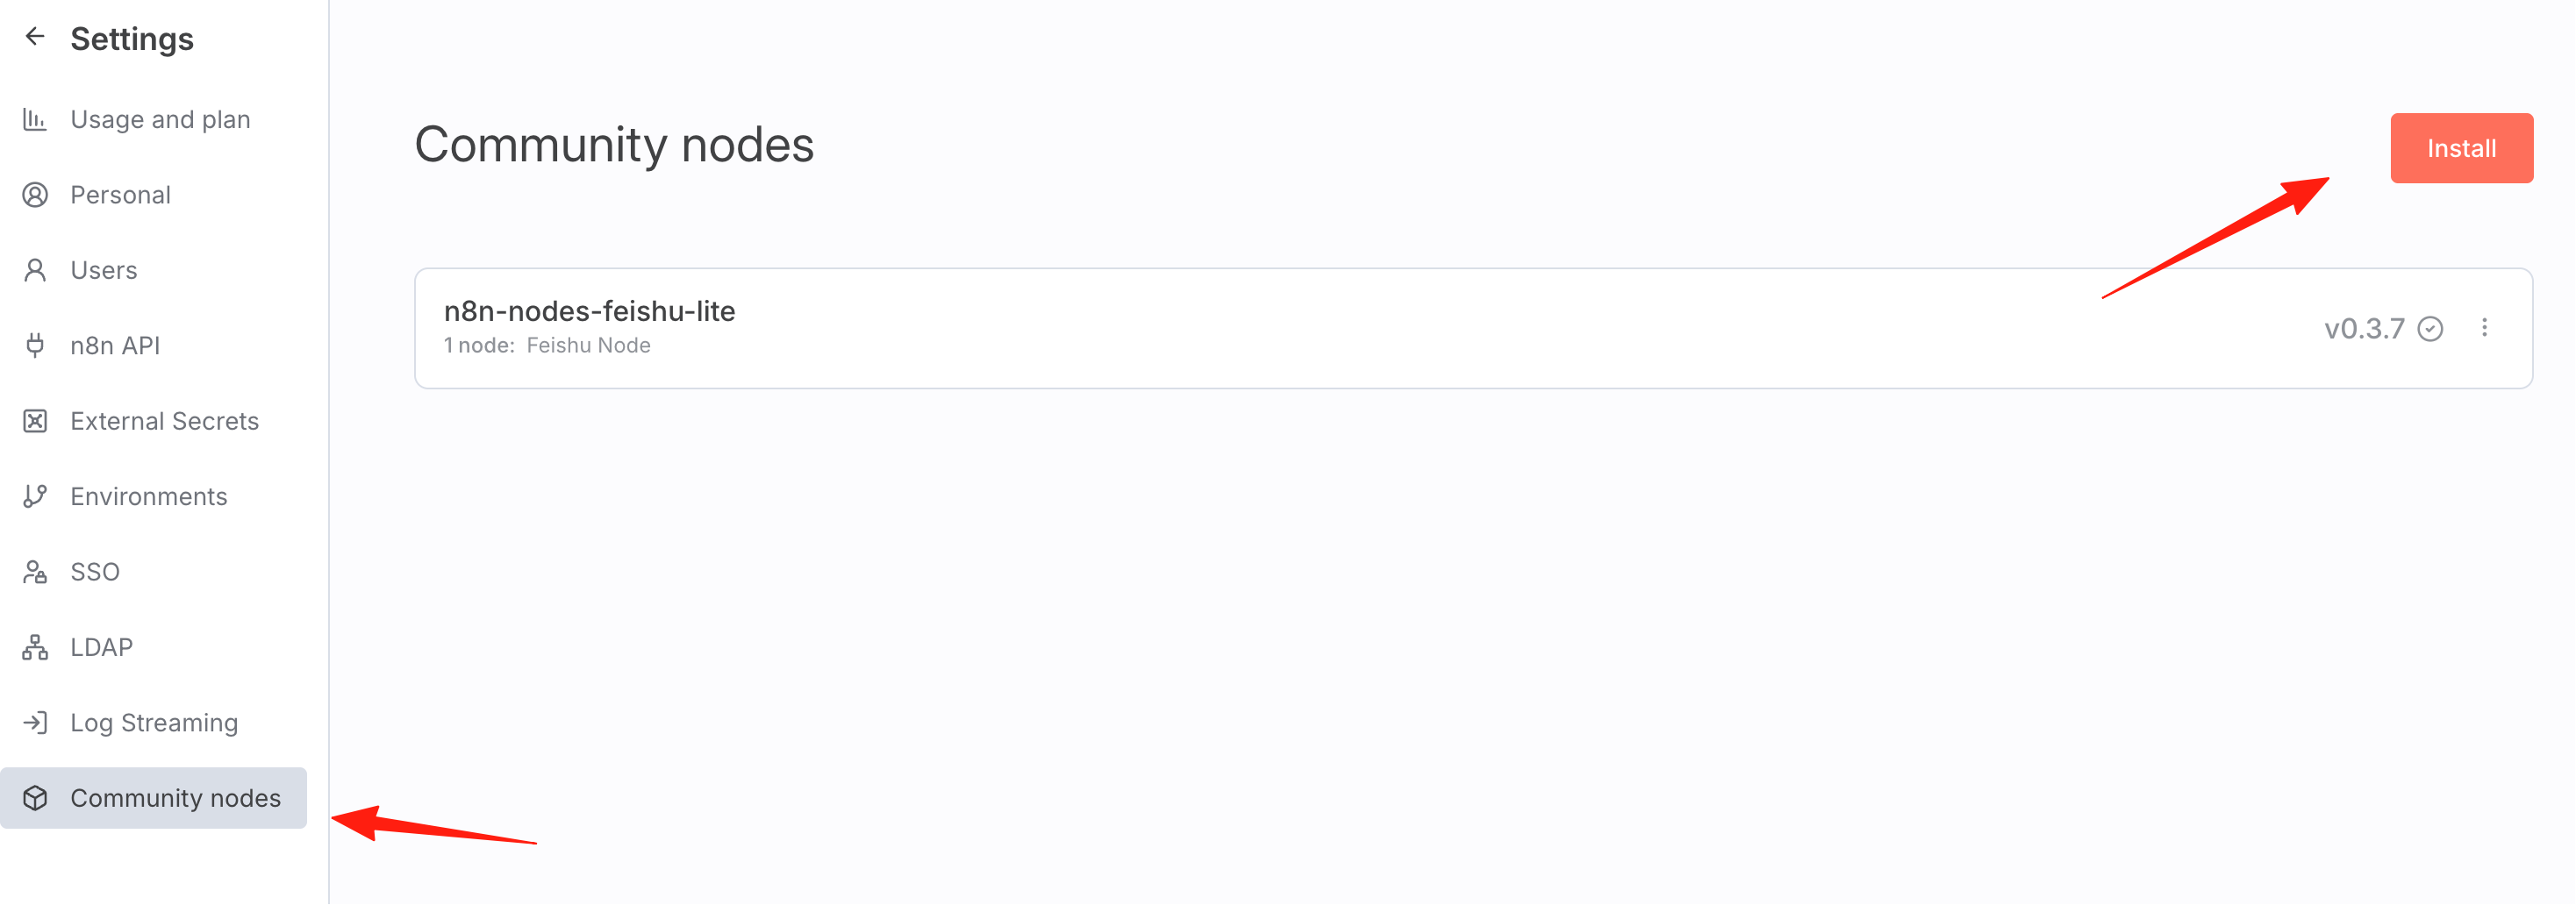
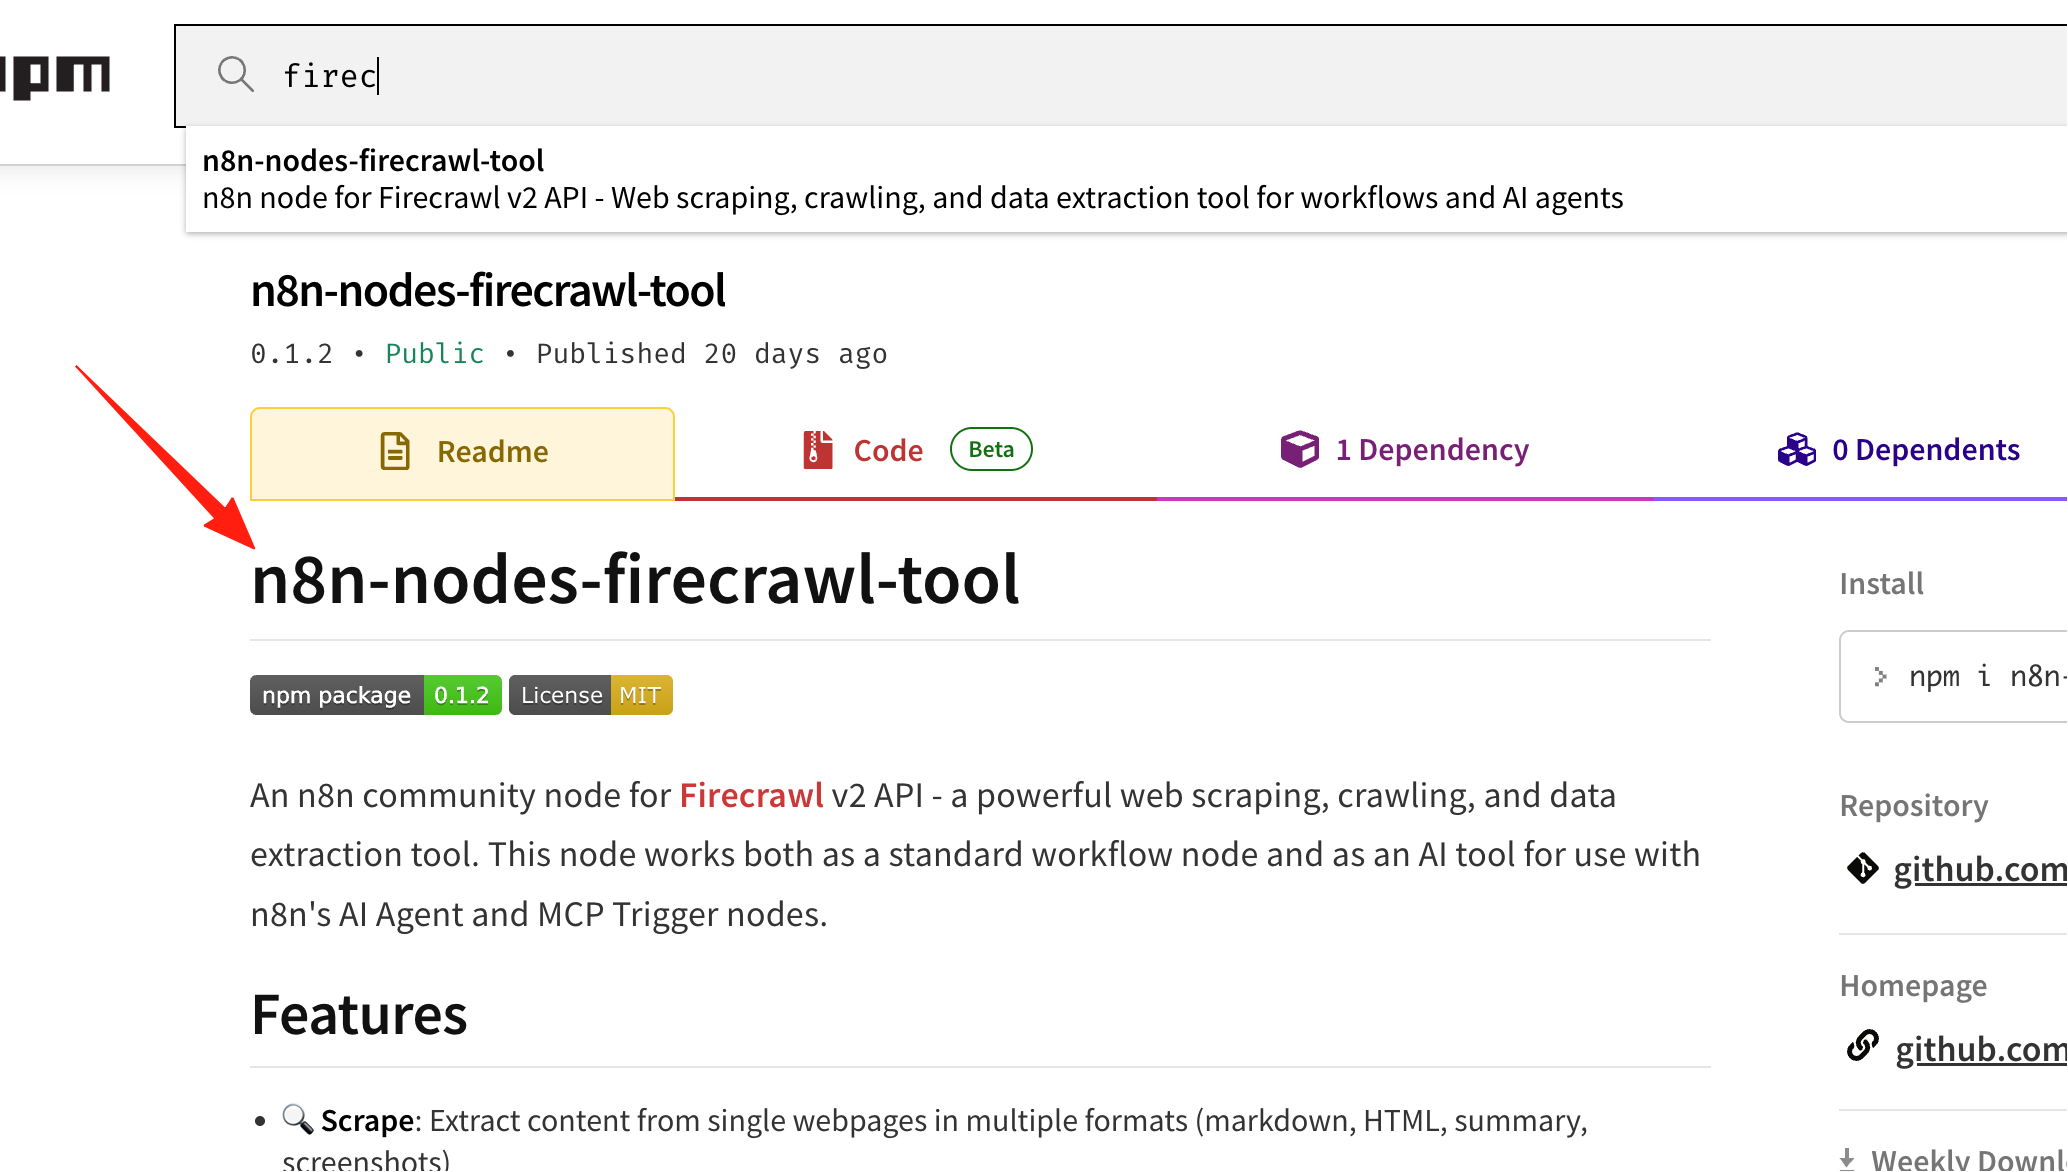
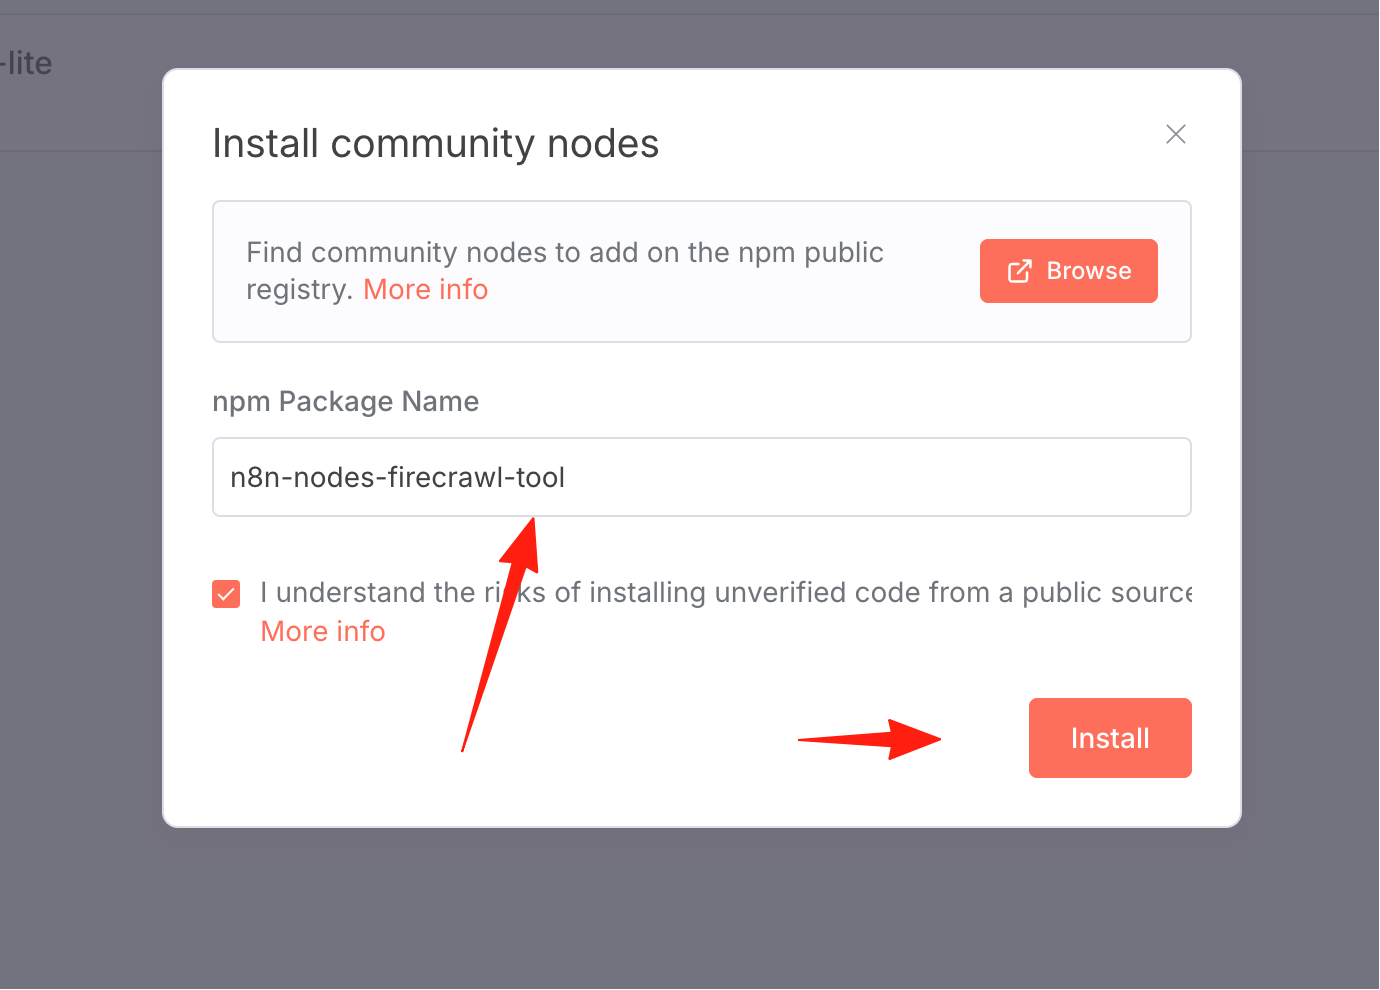
Search for "firecraw" and install this node.
Return to the canvas and search for "firecrawl" – you should now see this node.
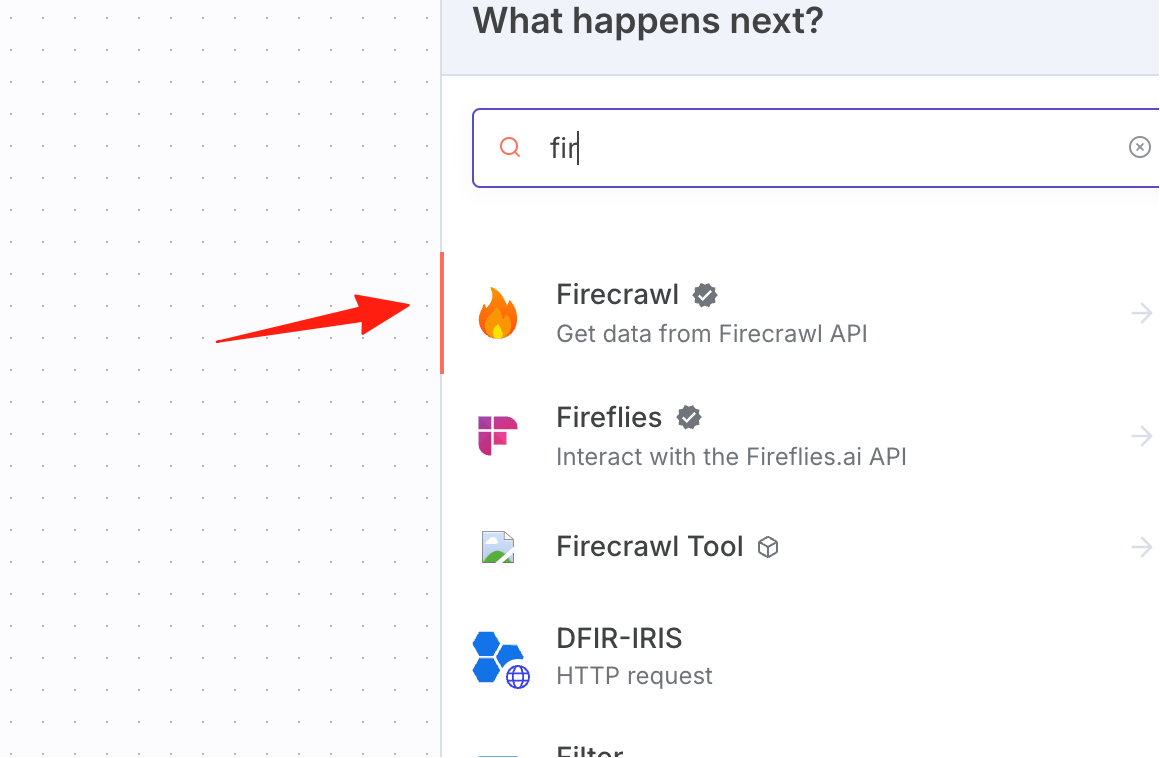
Select the third option: "Scrape content by URL".
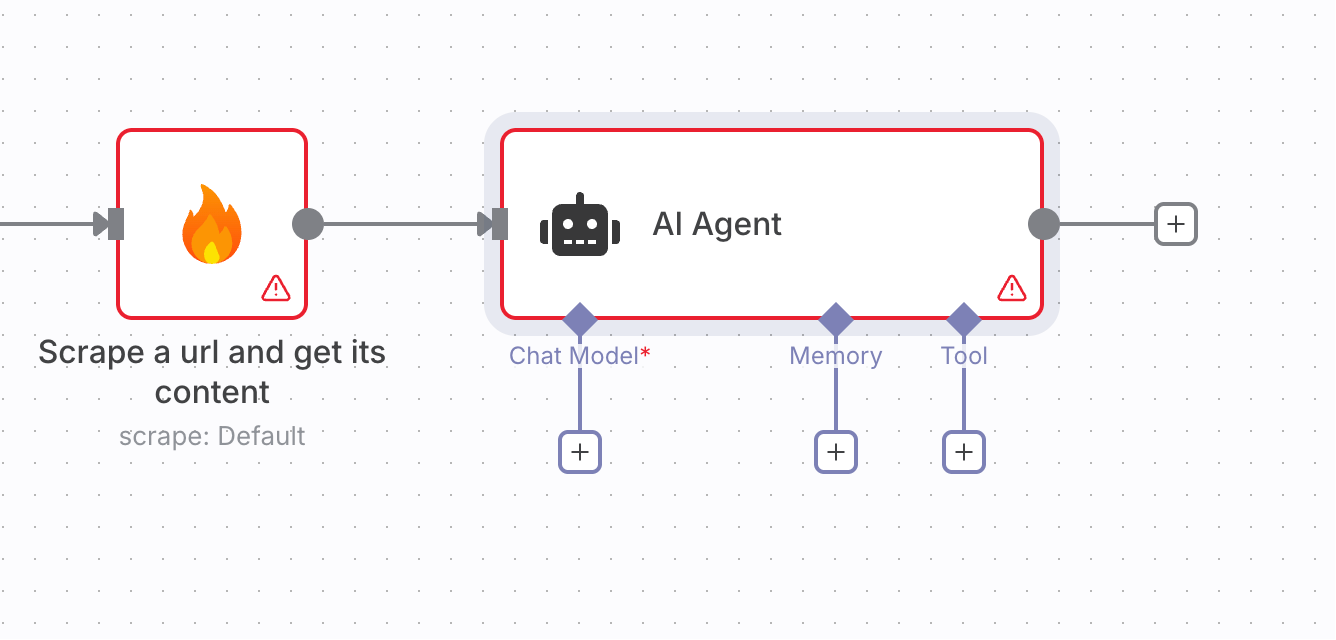
After the content is scraped, send it to an AI agent for analysis and article modification.
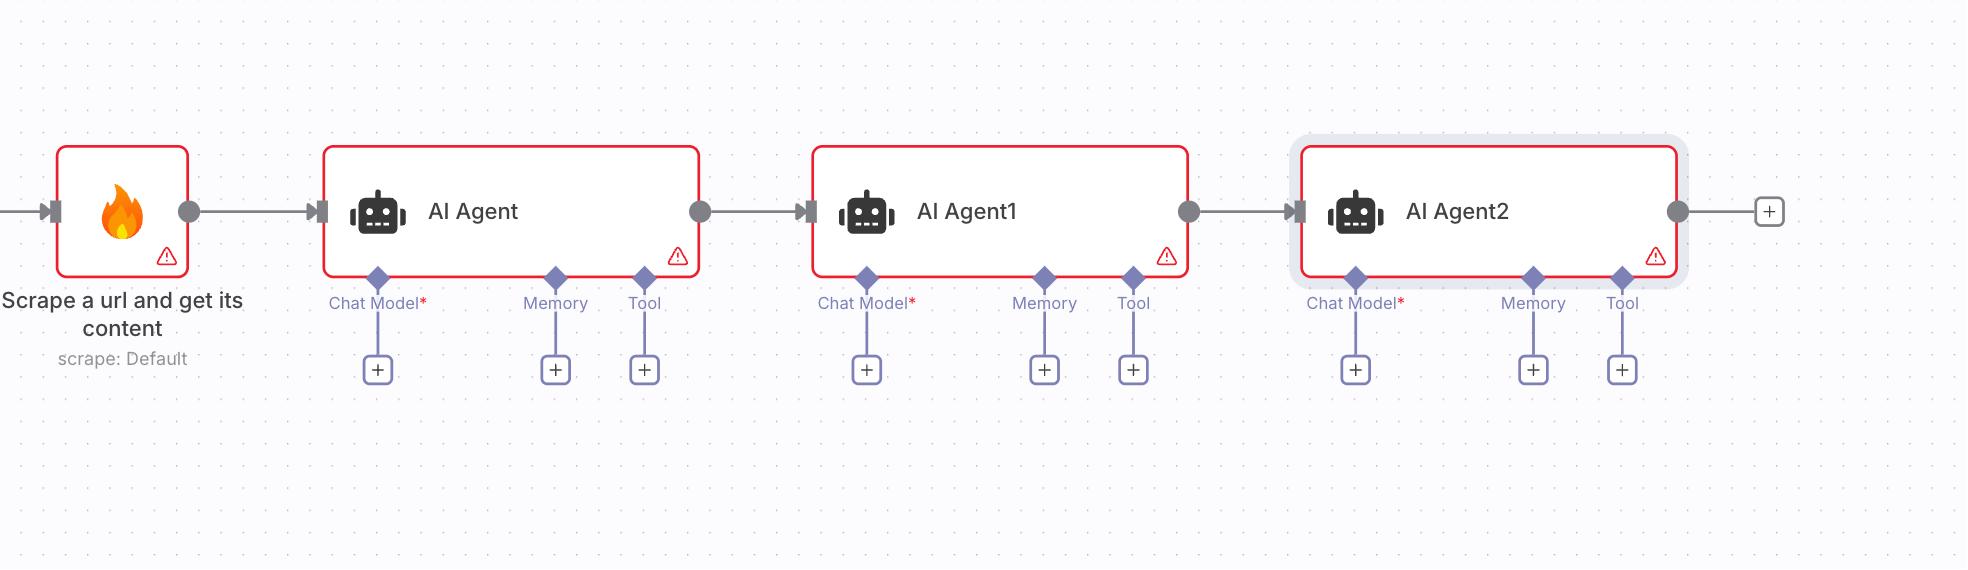
According to the flowchart, we need 3 agents, so let's add 2 more.
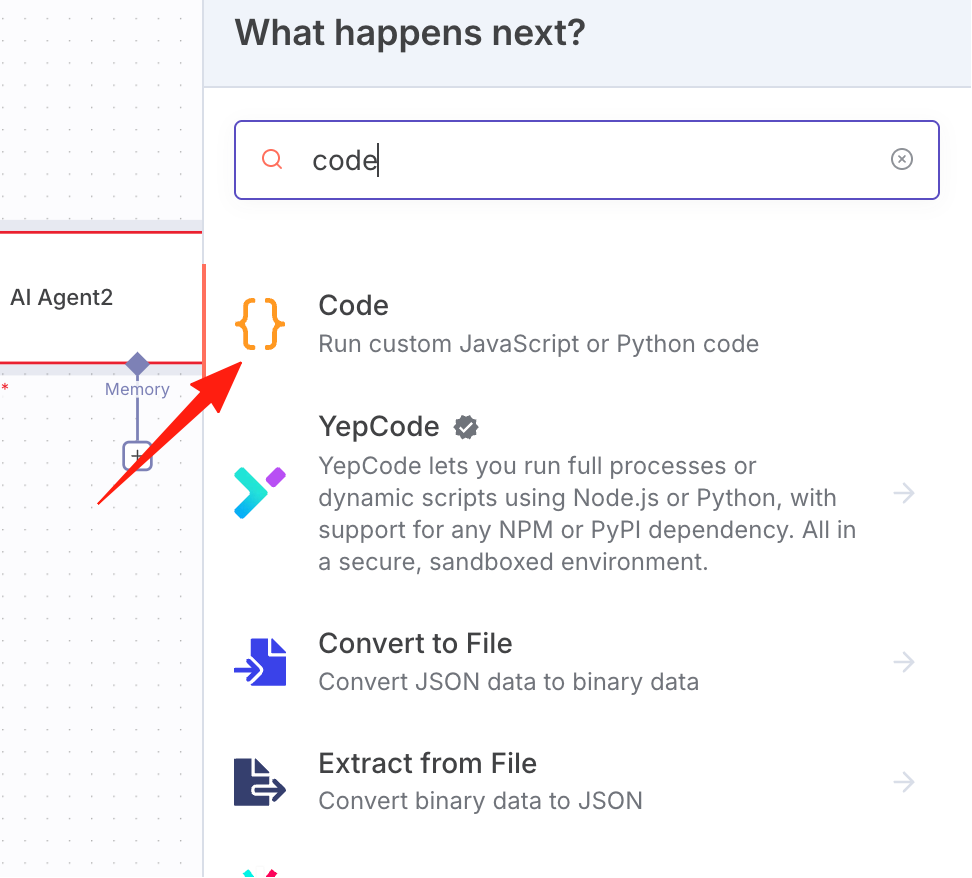
Add a Code node to clean the output results.
After cleaning, update the content back to the Google Sheet.
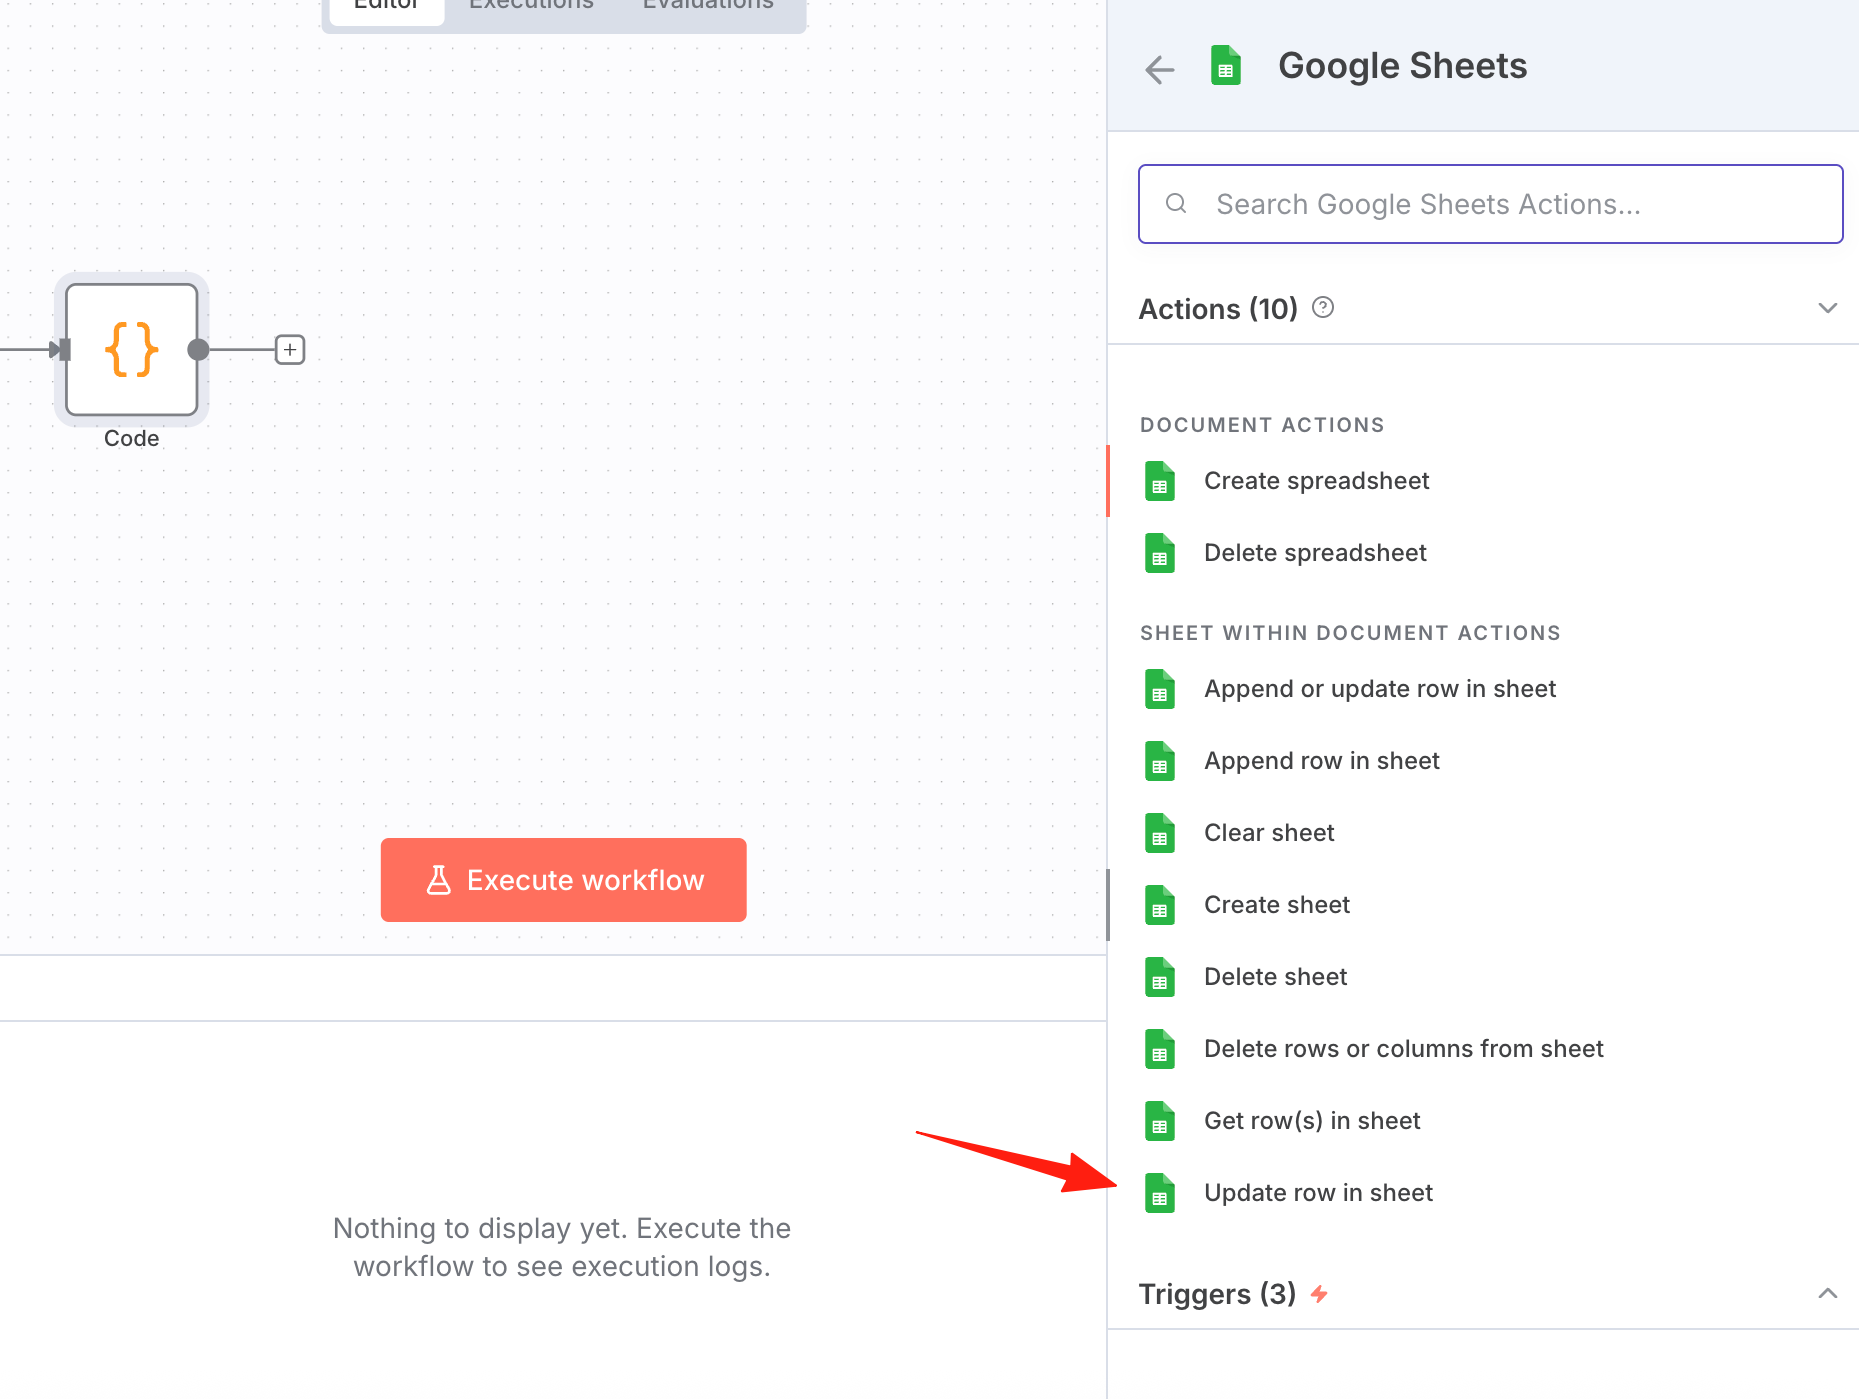
The above outlines the overall framework of the workflow. The detailed configuration follows.
Google Sheet
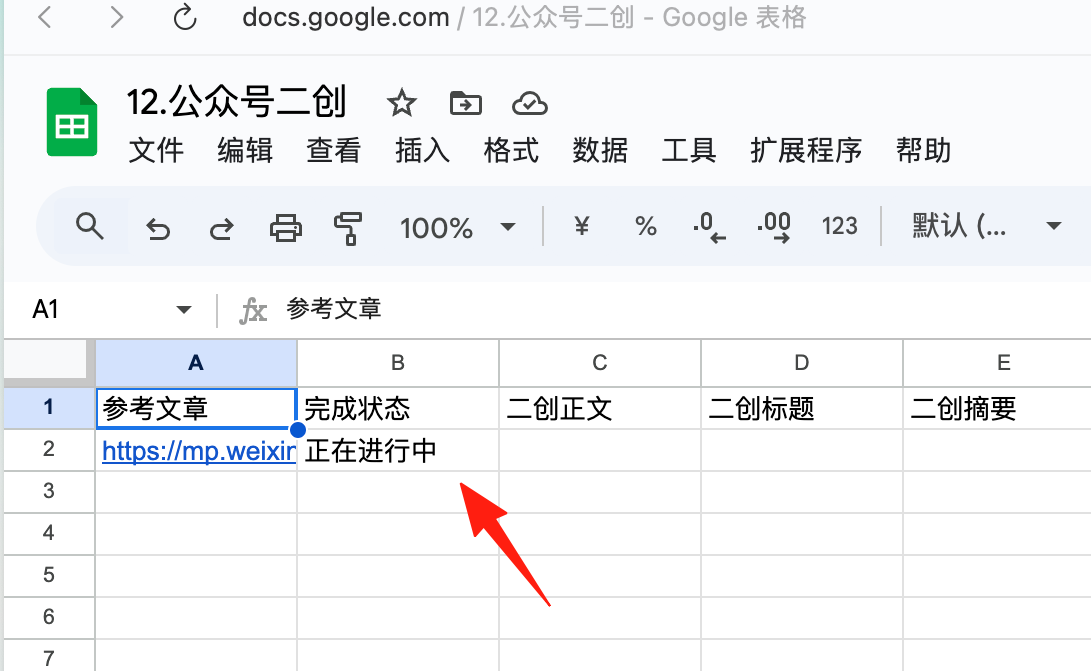
First, create a new Google Sheet. You can use the following column names as a reference:
Reference Article Completion Status Rewritten Content Rewritten Title Rewritten Summary
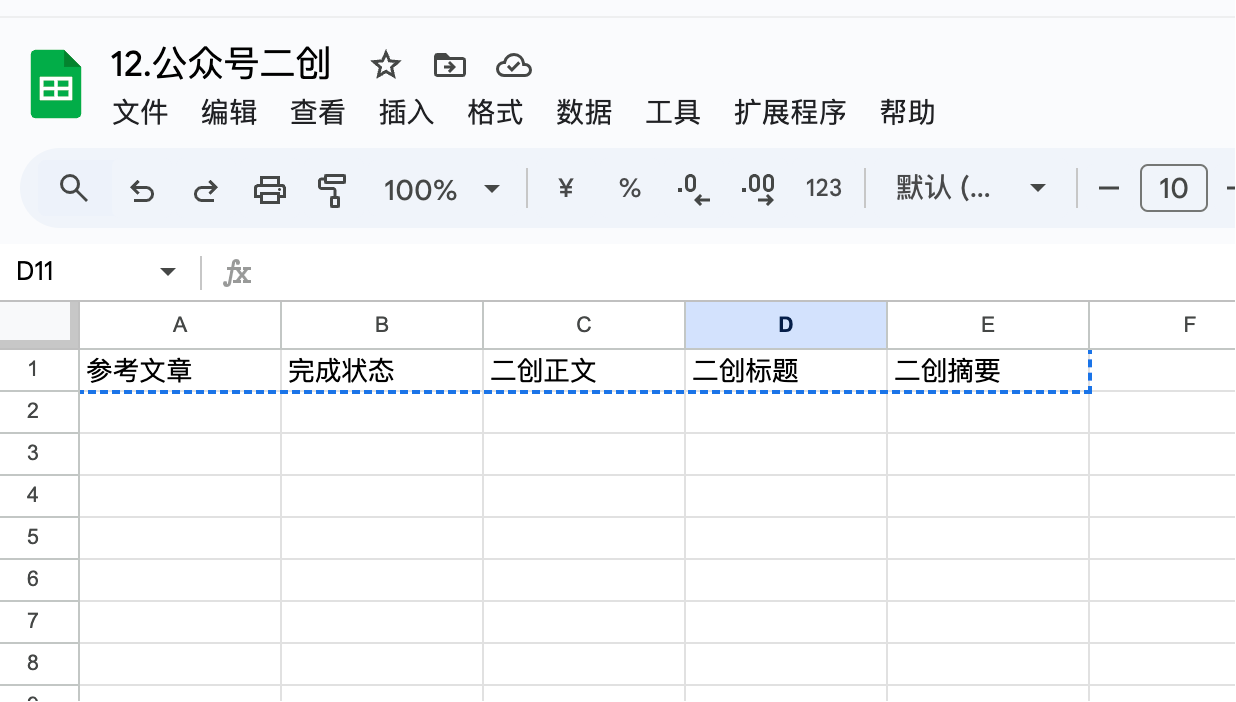
Authorization configuration can refer to previous guides and won't be detailed here.
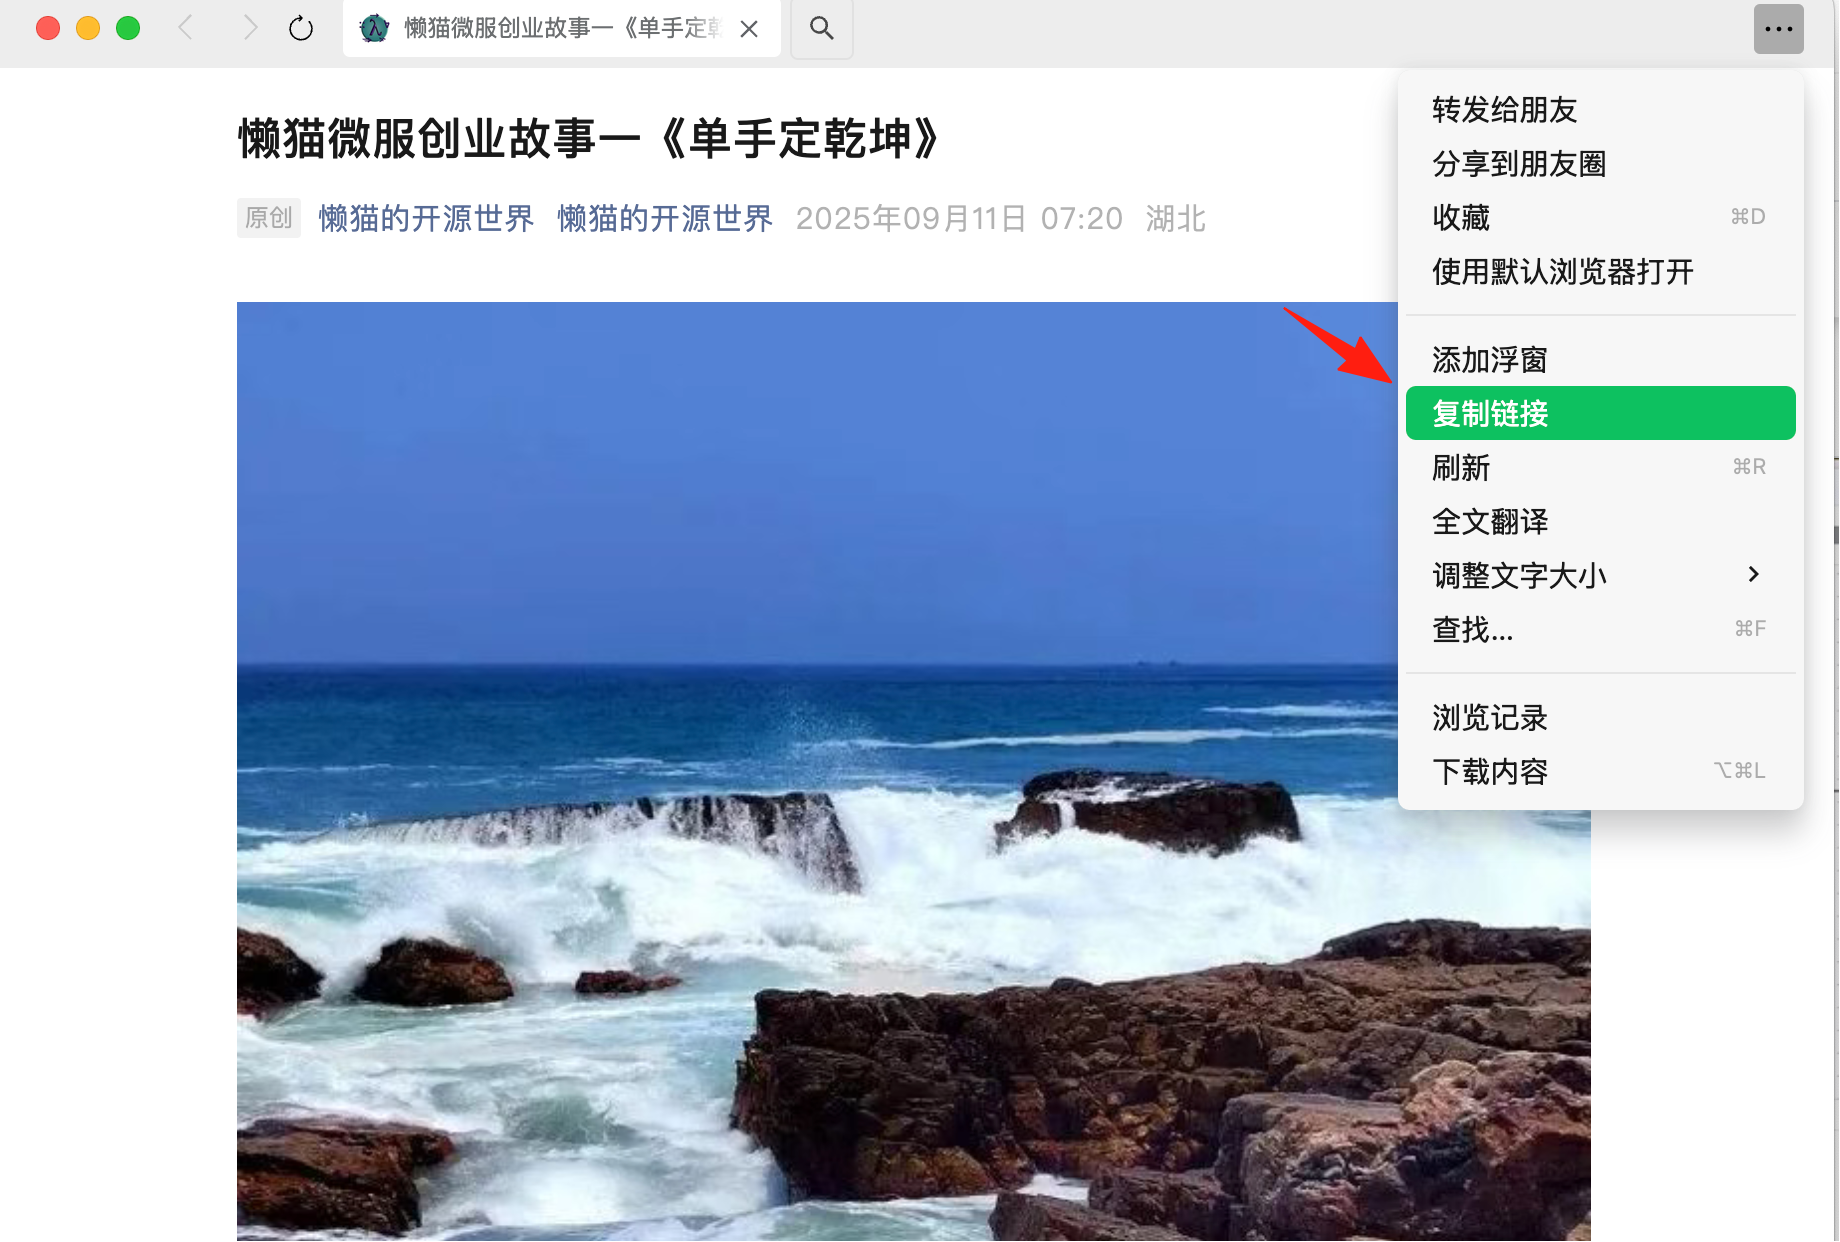
Copy a WeChat public account article link and paste it into the Google Sheet.
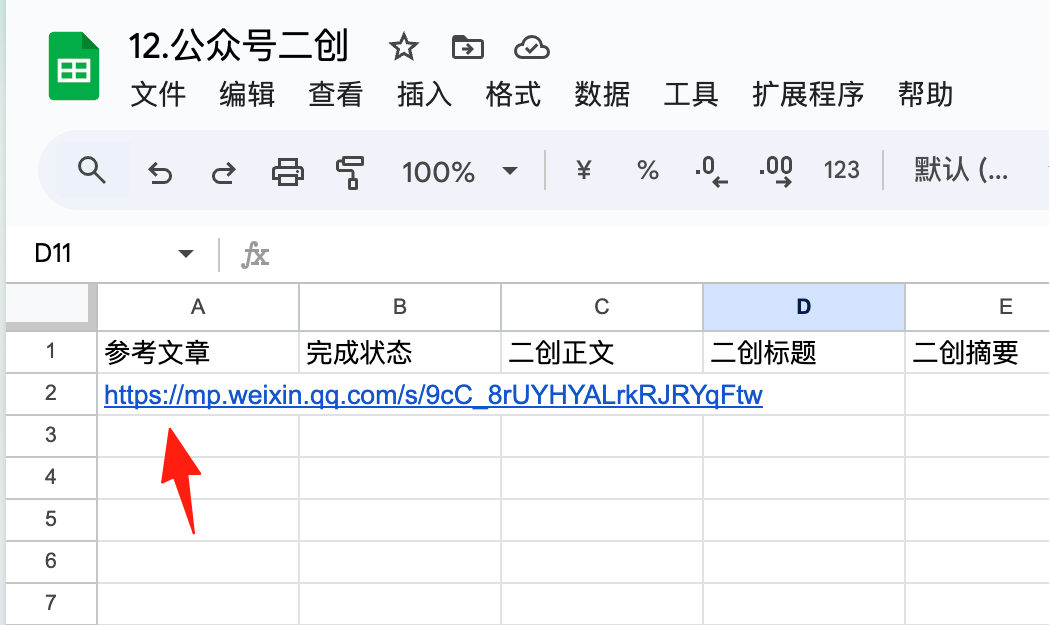
Then, execute the node in n8n. You can see it has retrieved the content from the sheet.
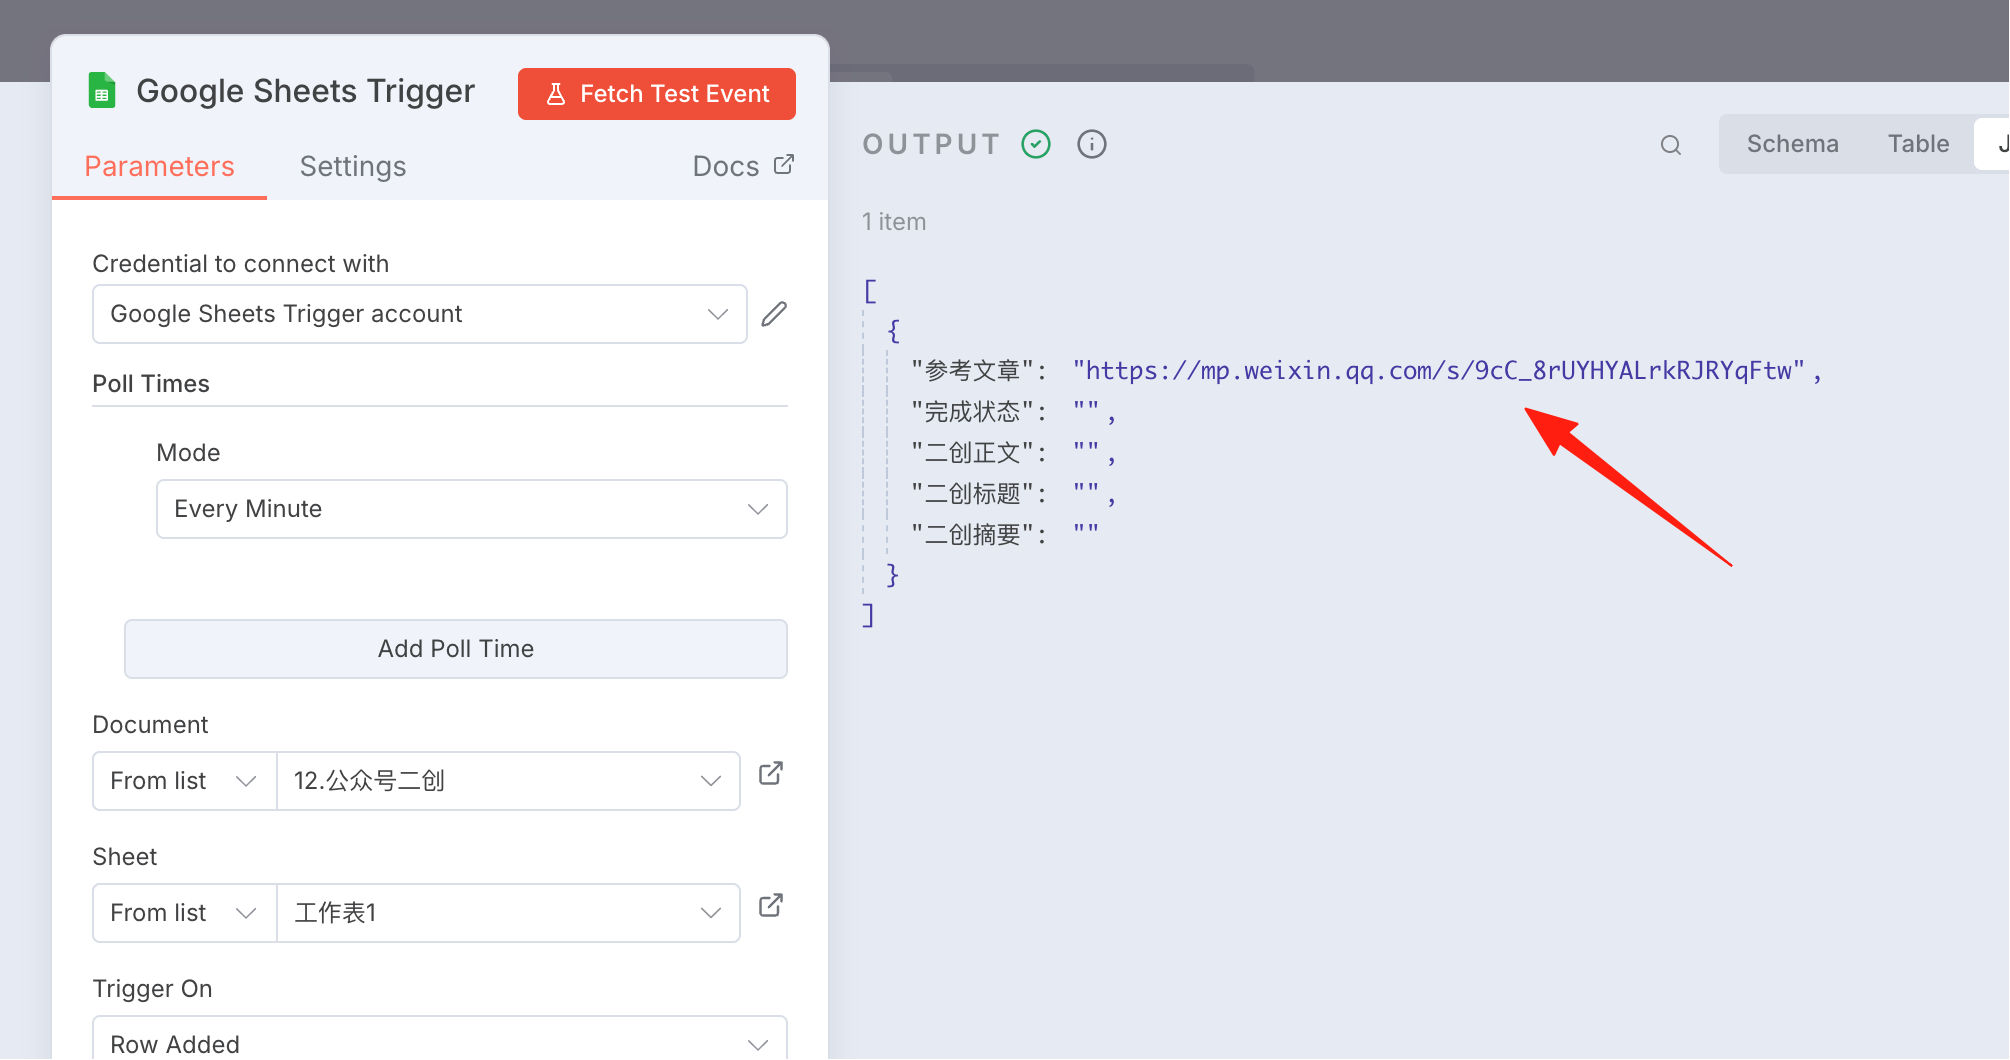
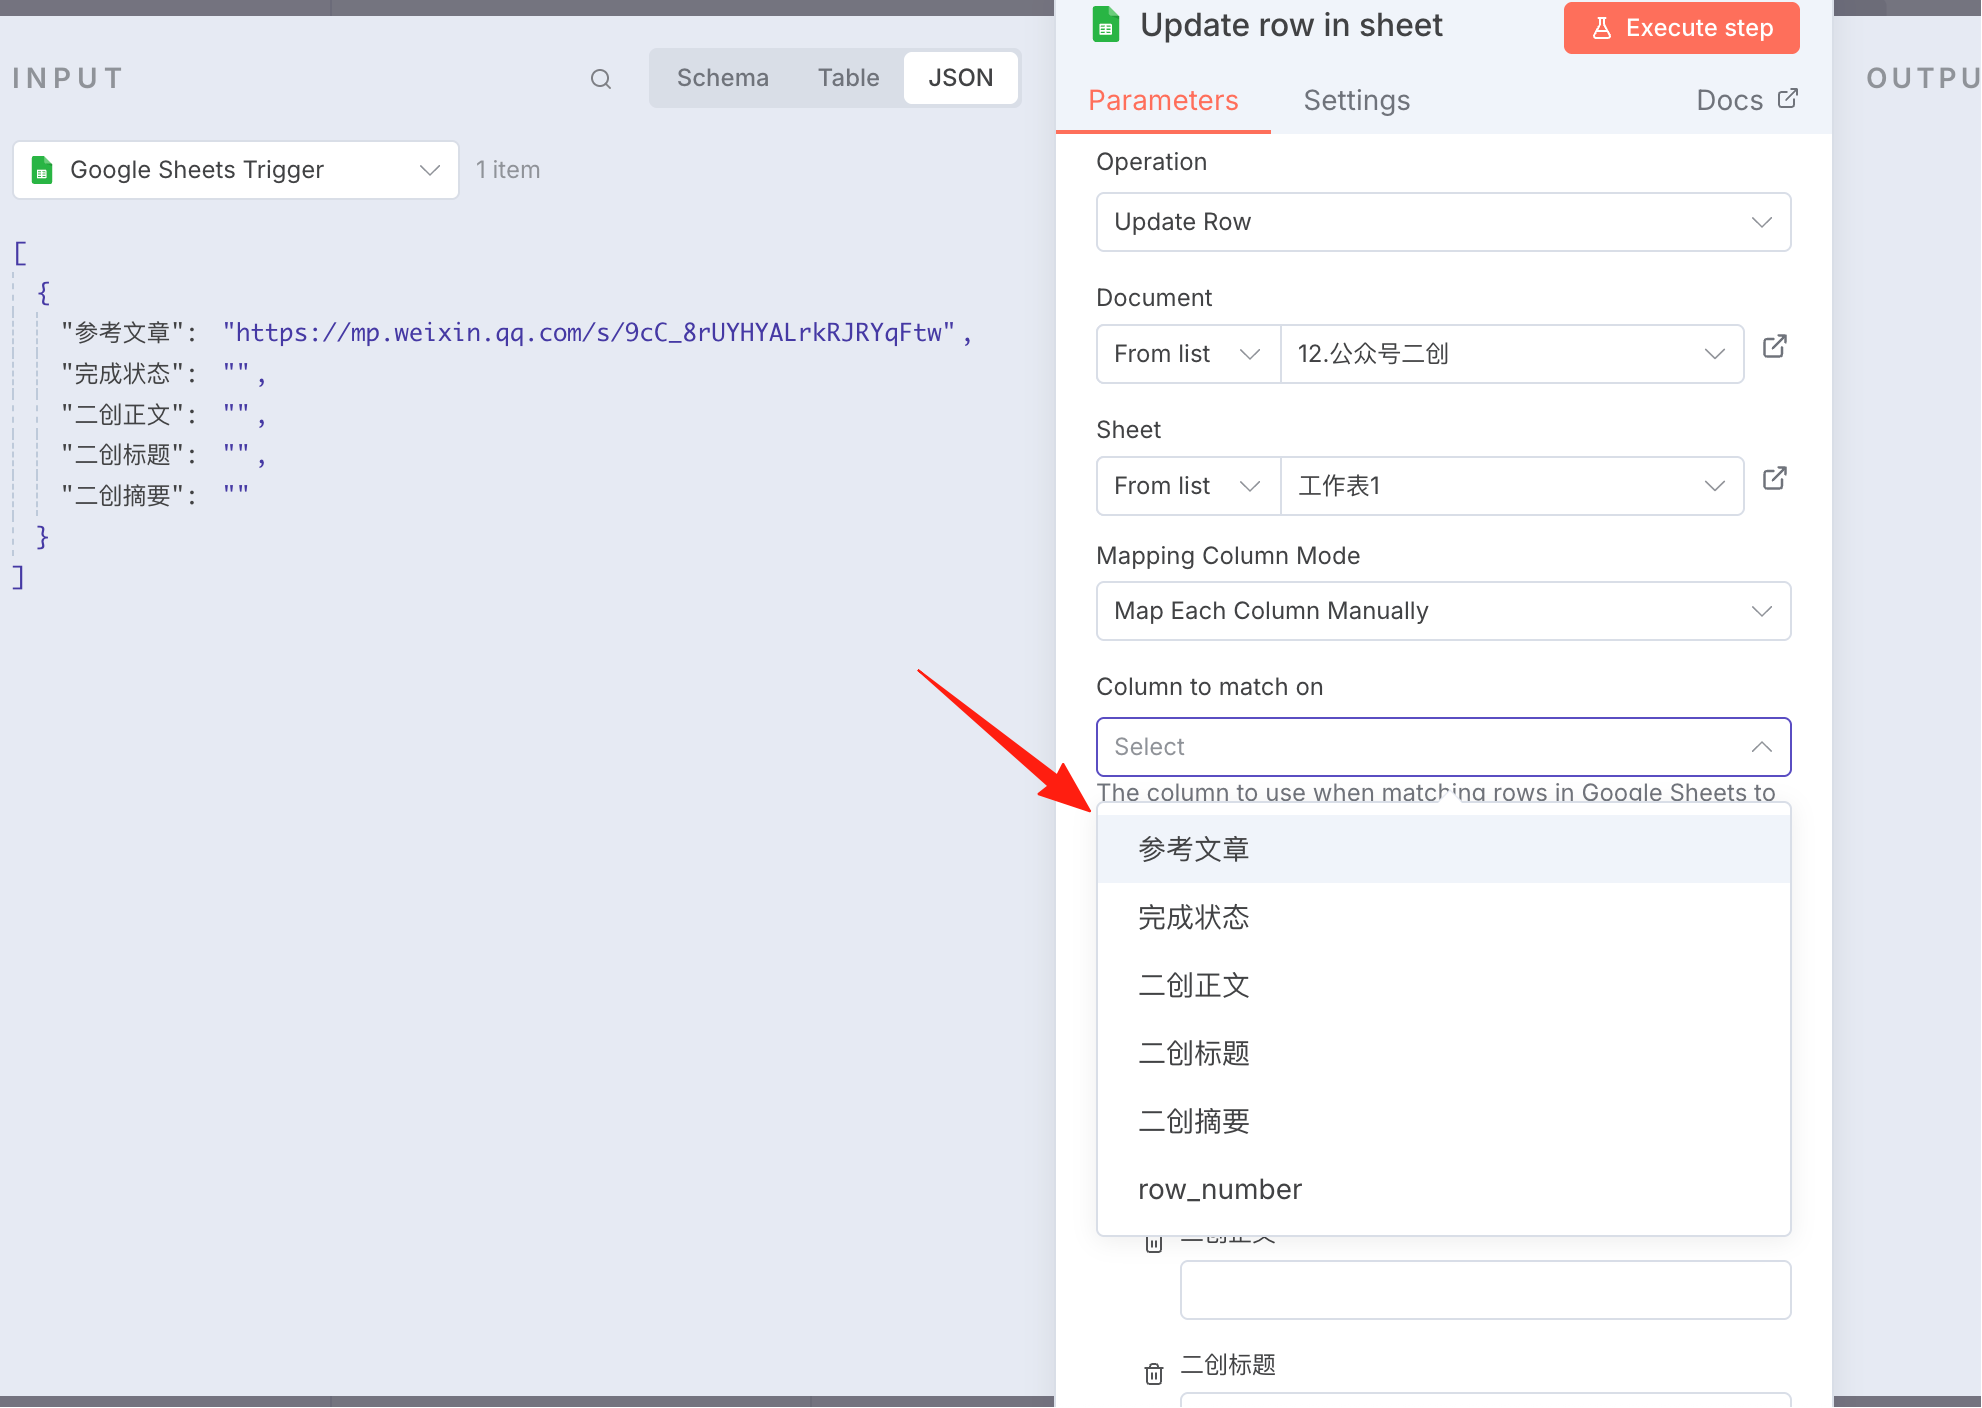
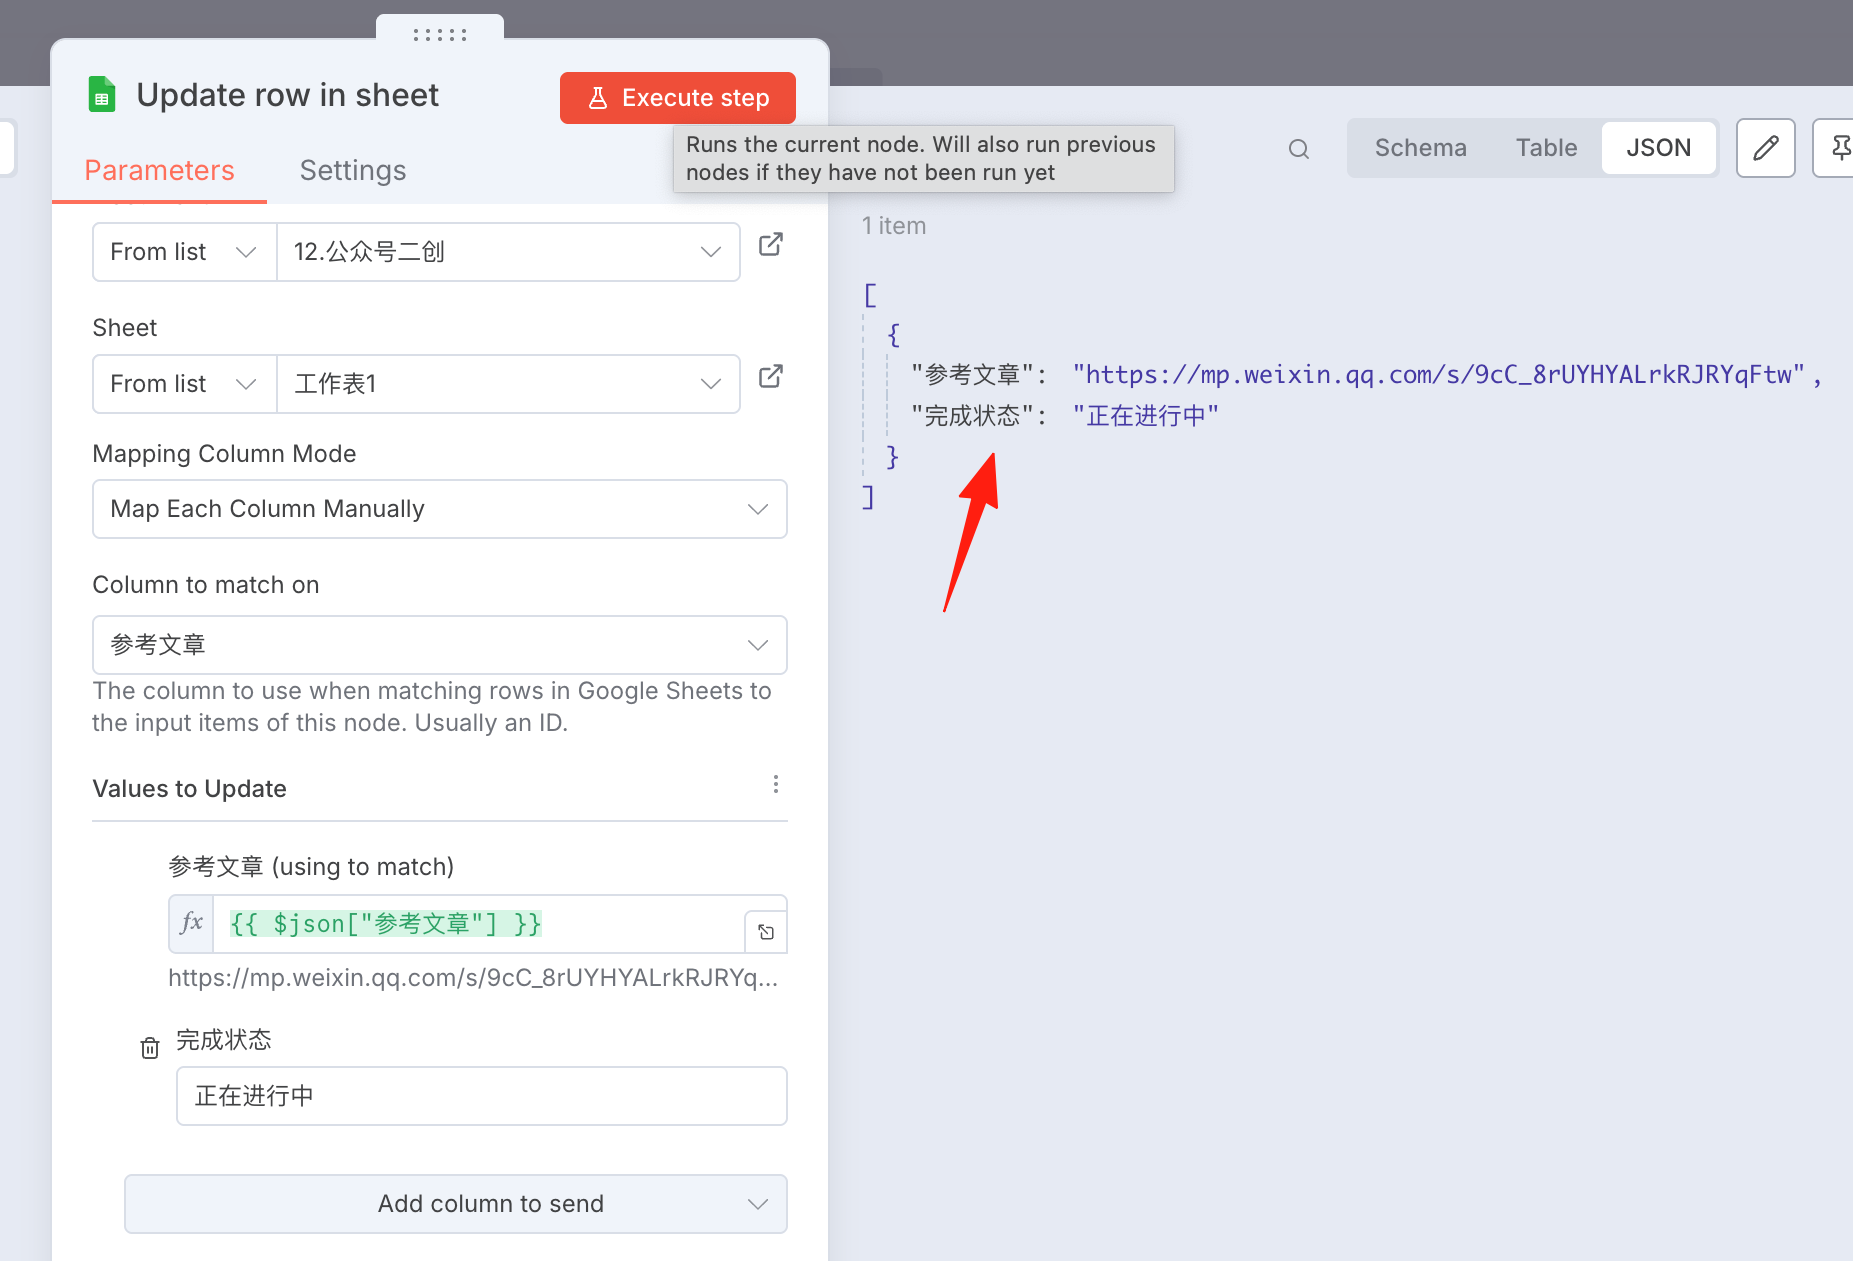
Pin the result and proceed to configure the second node. The key point here is selecting which column to match. We choose the "Reference Article" column.
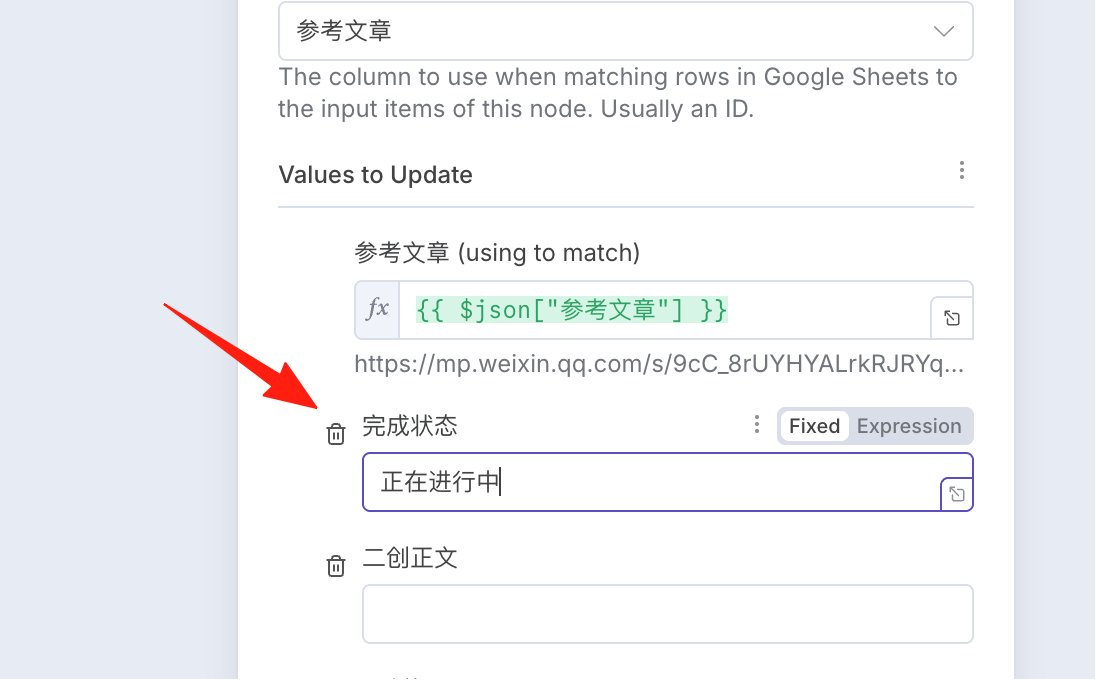
Drag the "Reference Article" from the left side here, write "Processing" for the status, and delete other unused columns.
Execute the node to see the result:
You can see the Google Sheet has been updated.
Firecrawl
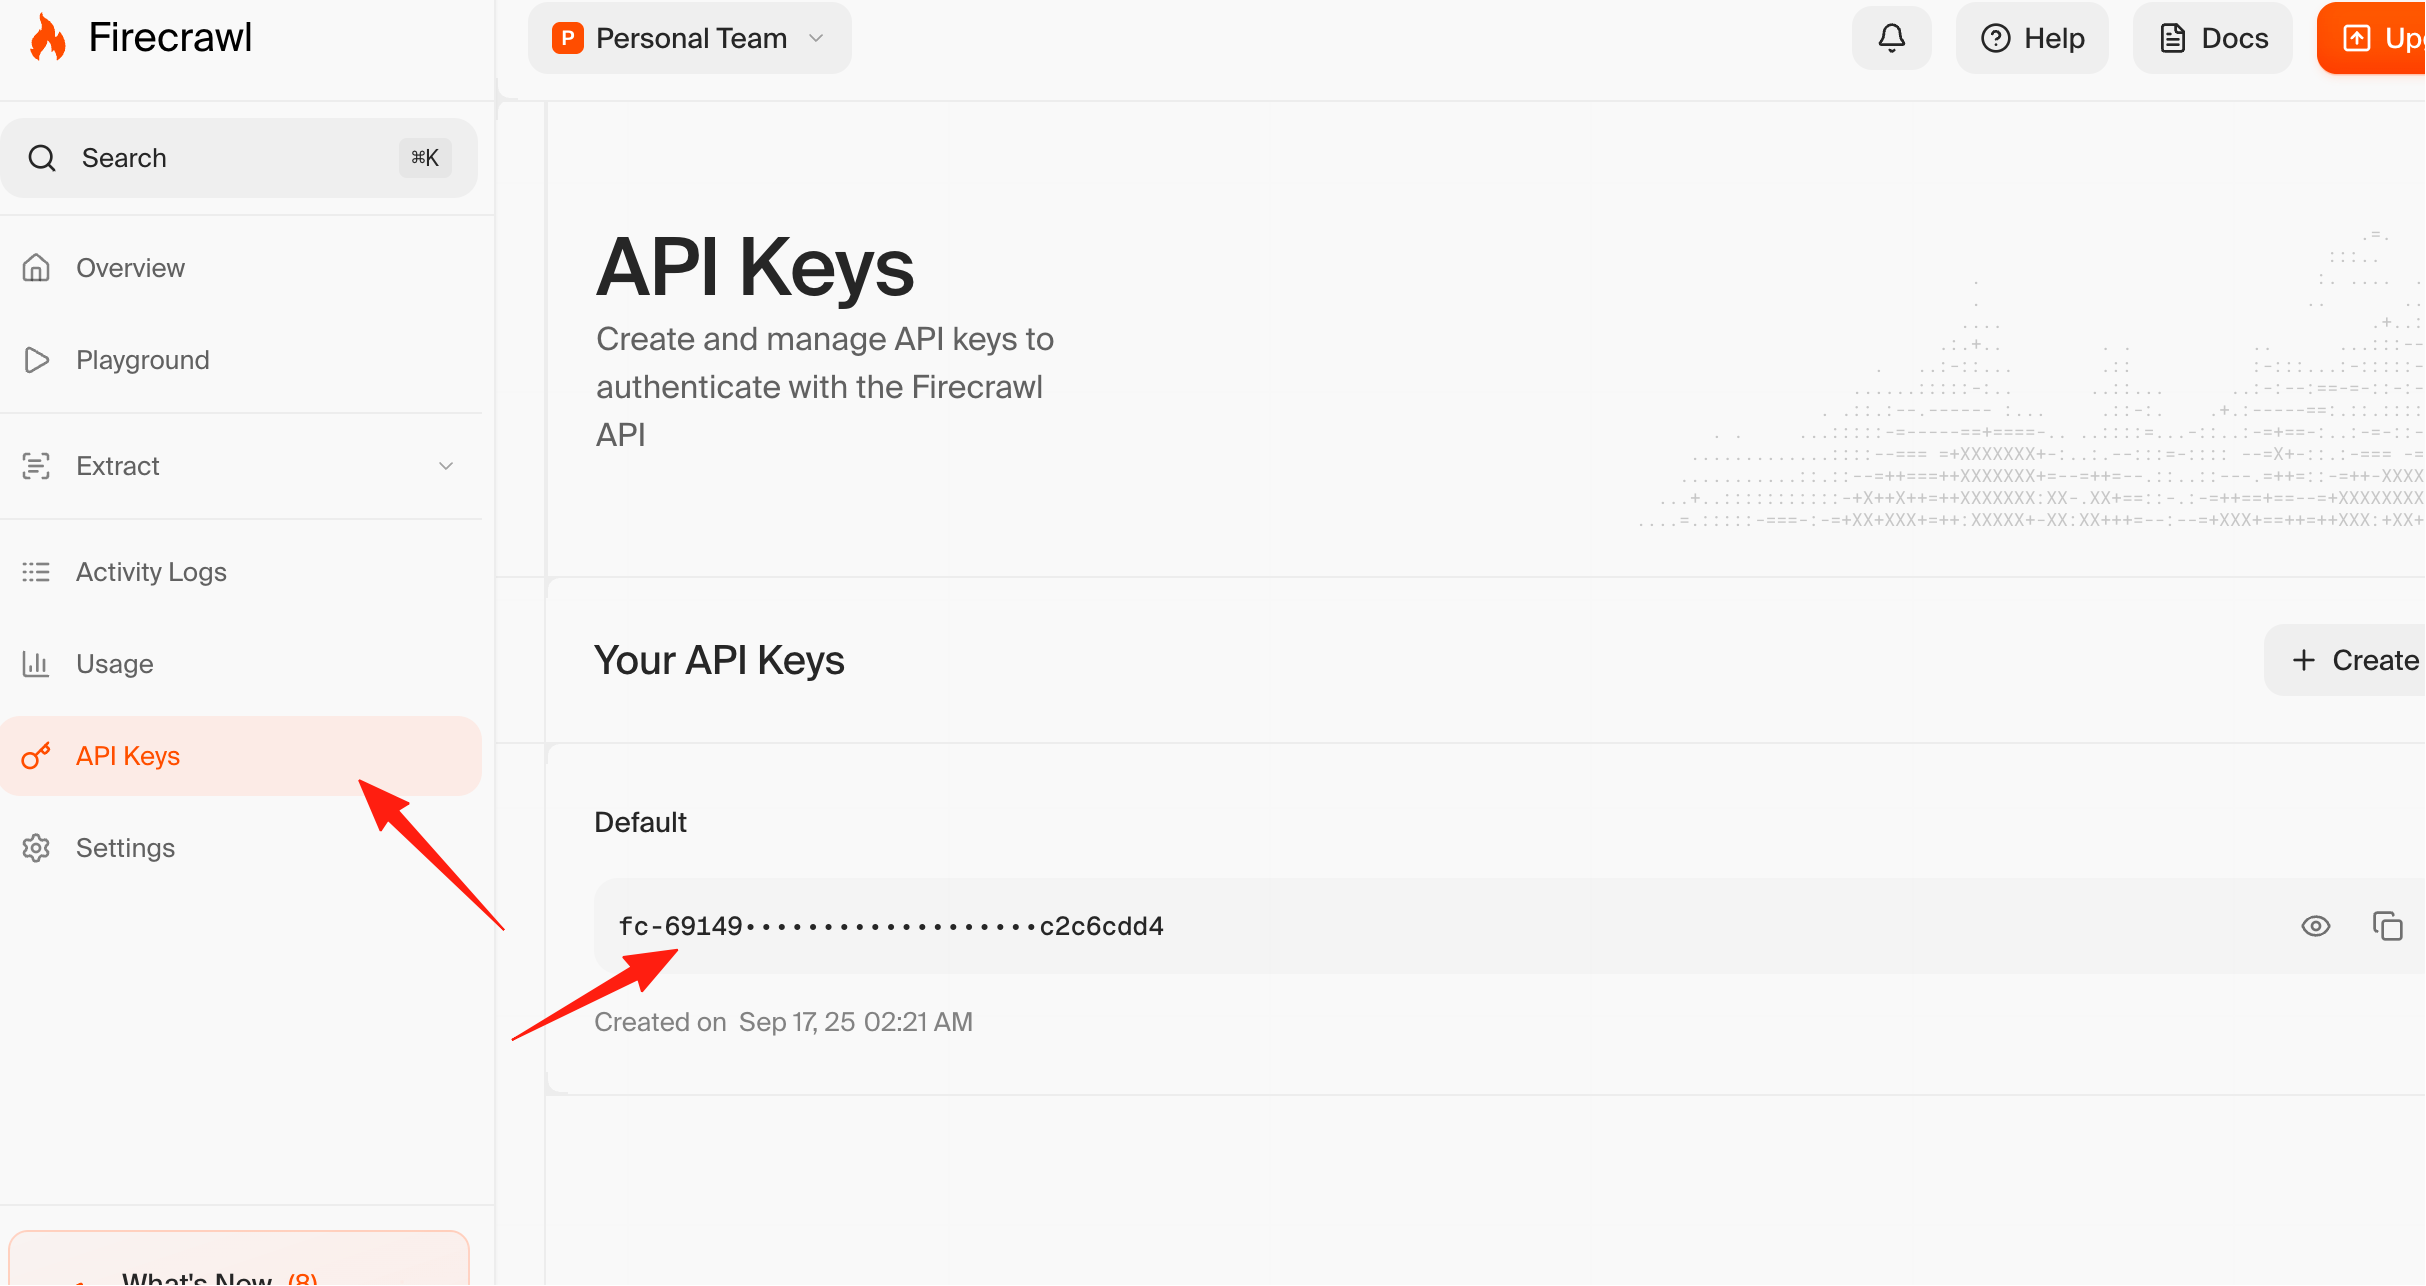
To scrape the article content, we need an API key. Go to the official website: https://www.firecrawl.dev/
After logging in, you can see your API key.
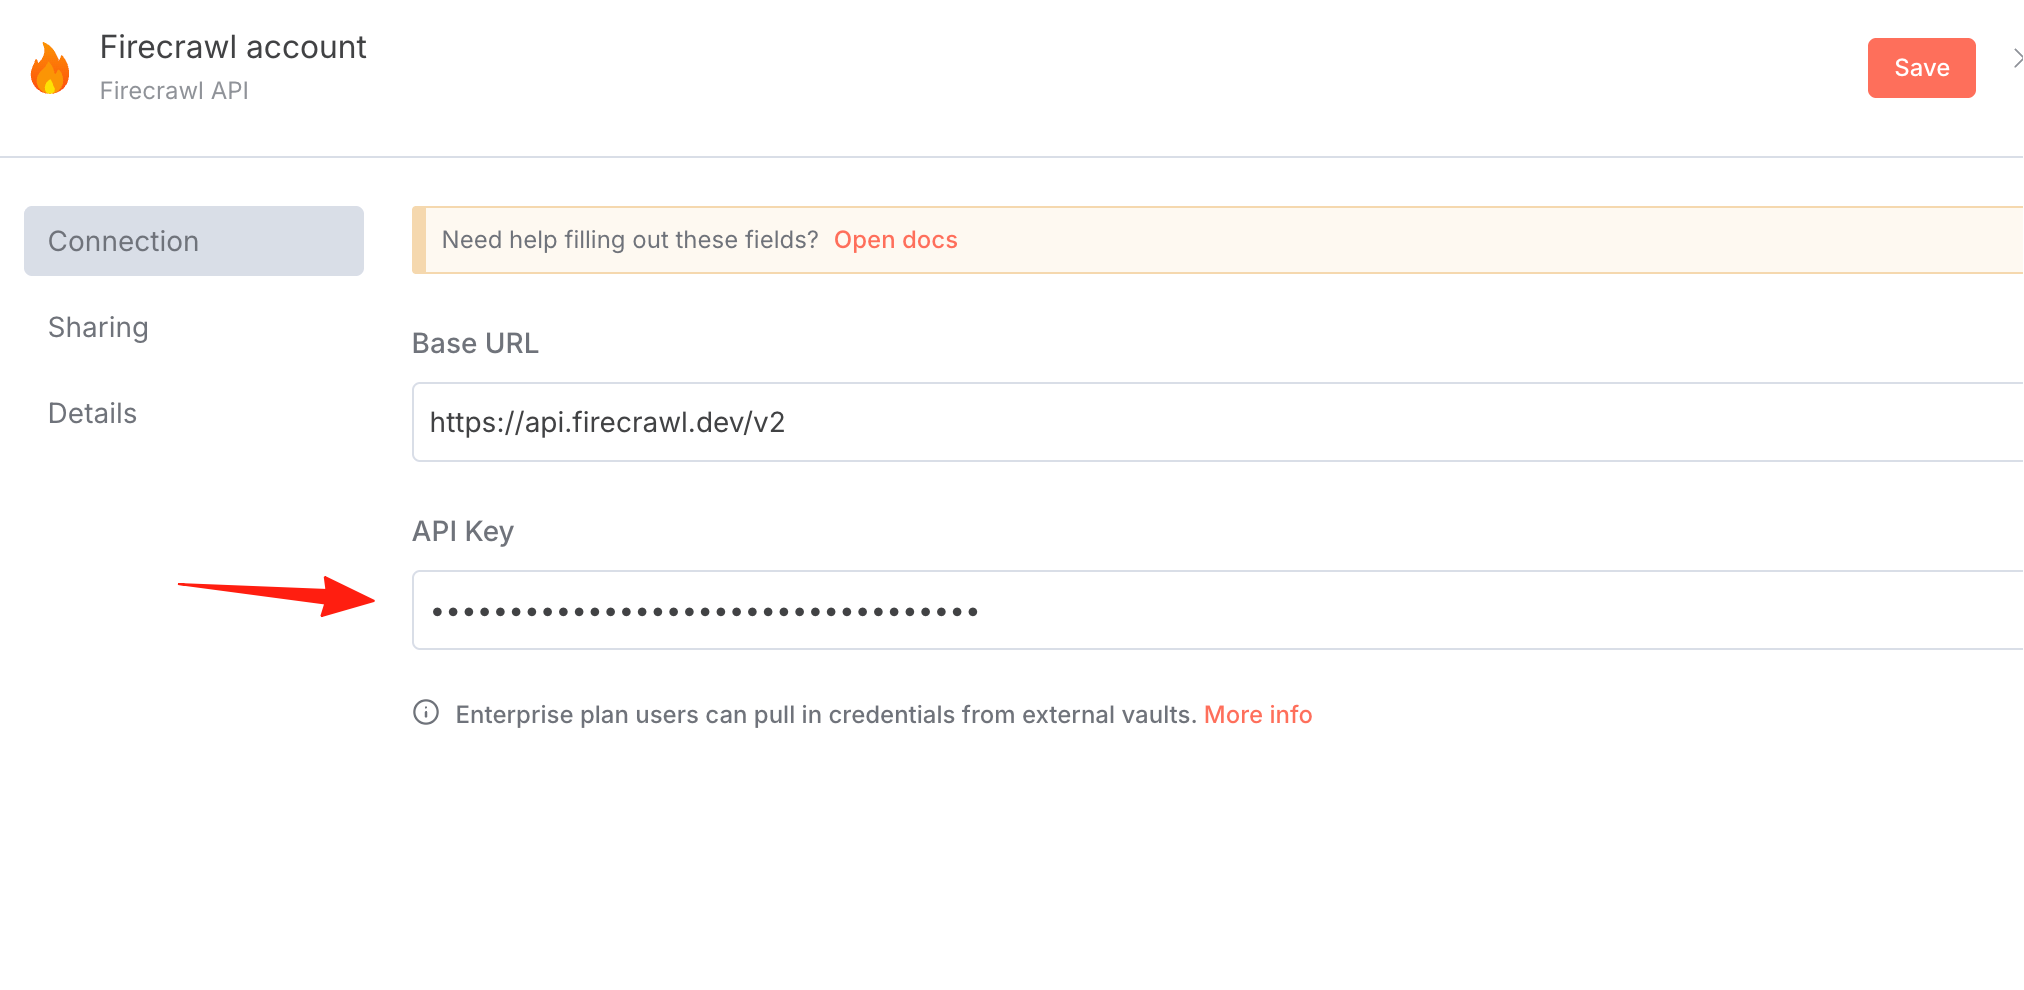
Create a new credential and paste the API key here.
Drag the URL from the "Reference Article" field here.
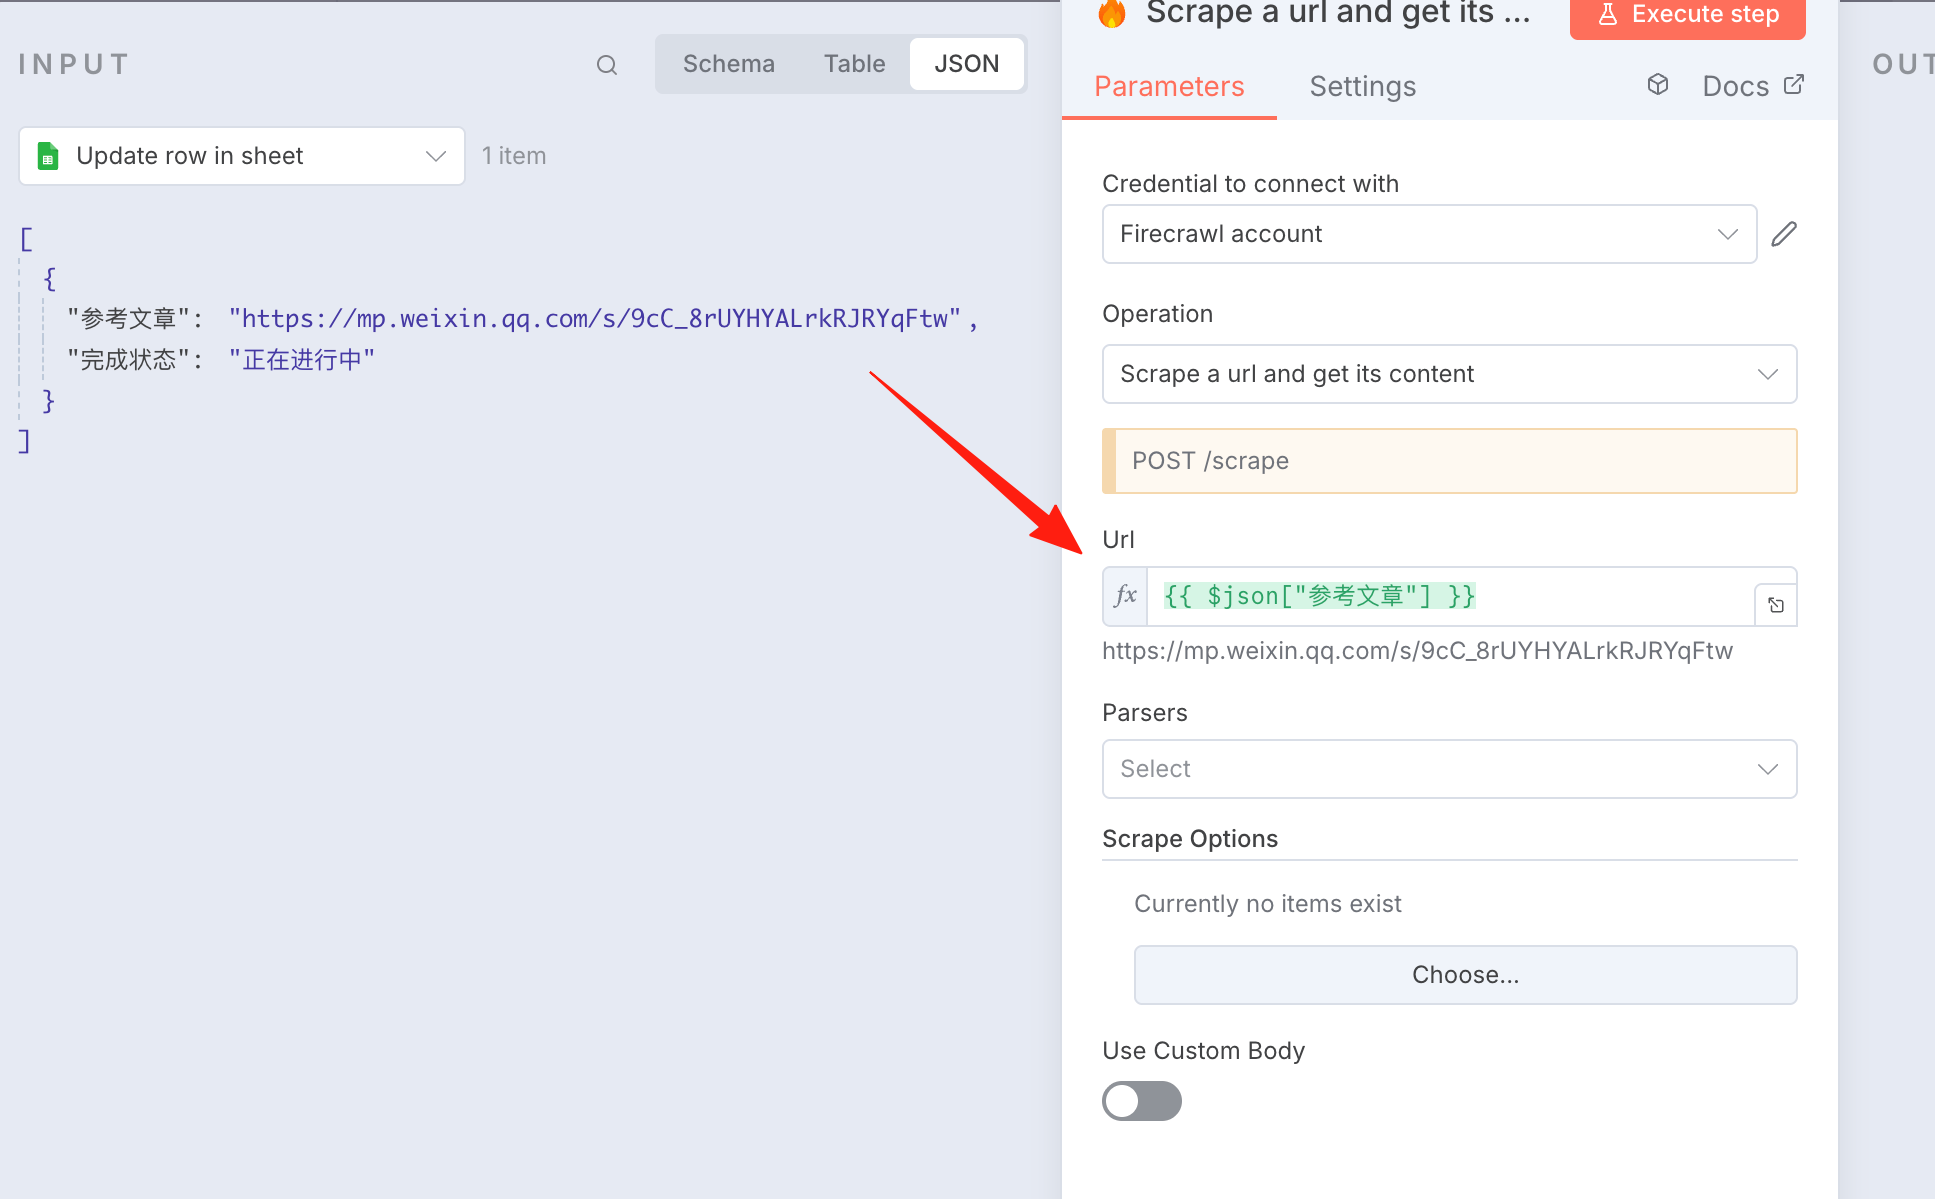
After execution, you can see the article content has been scraped and is available in the markdown JSON node.
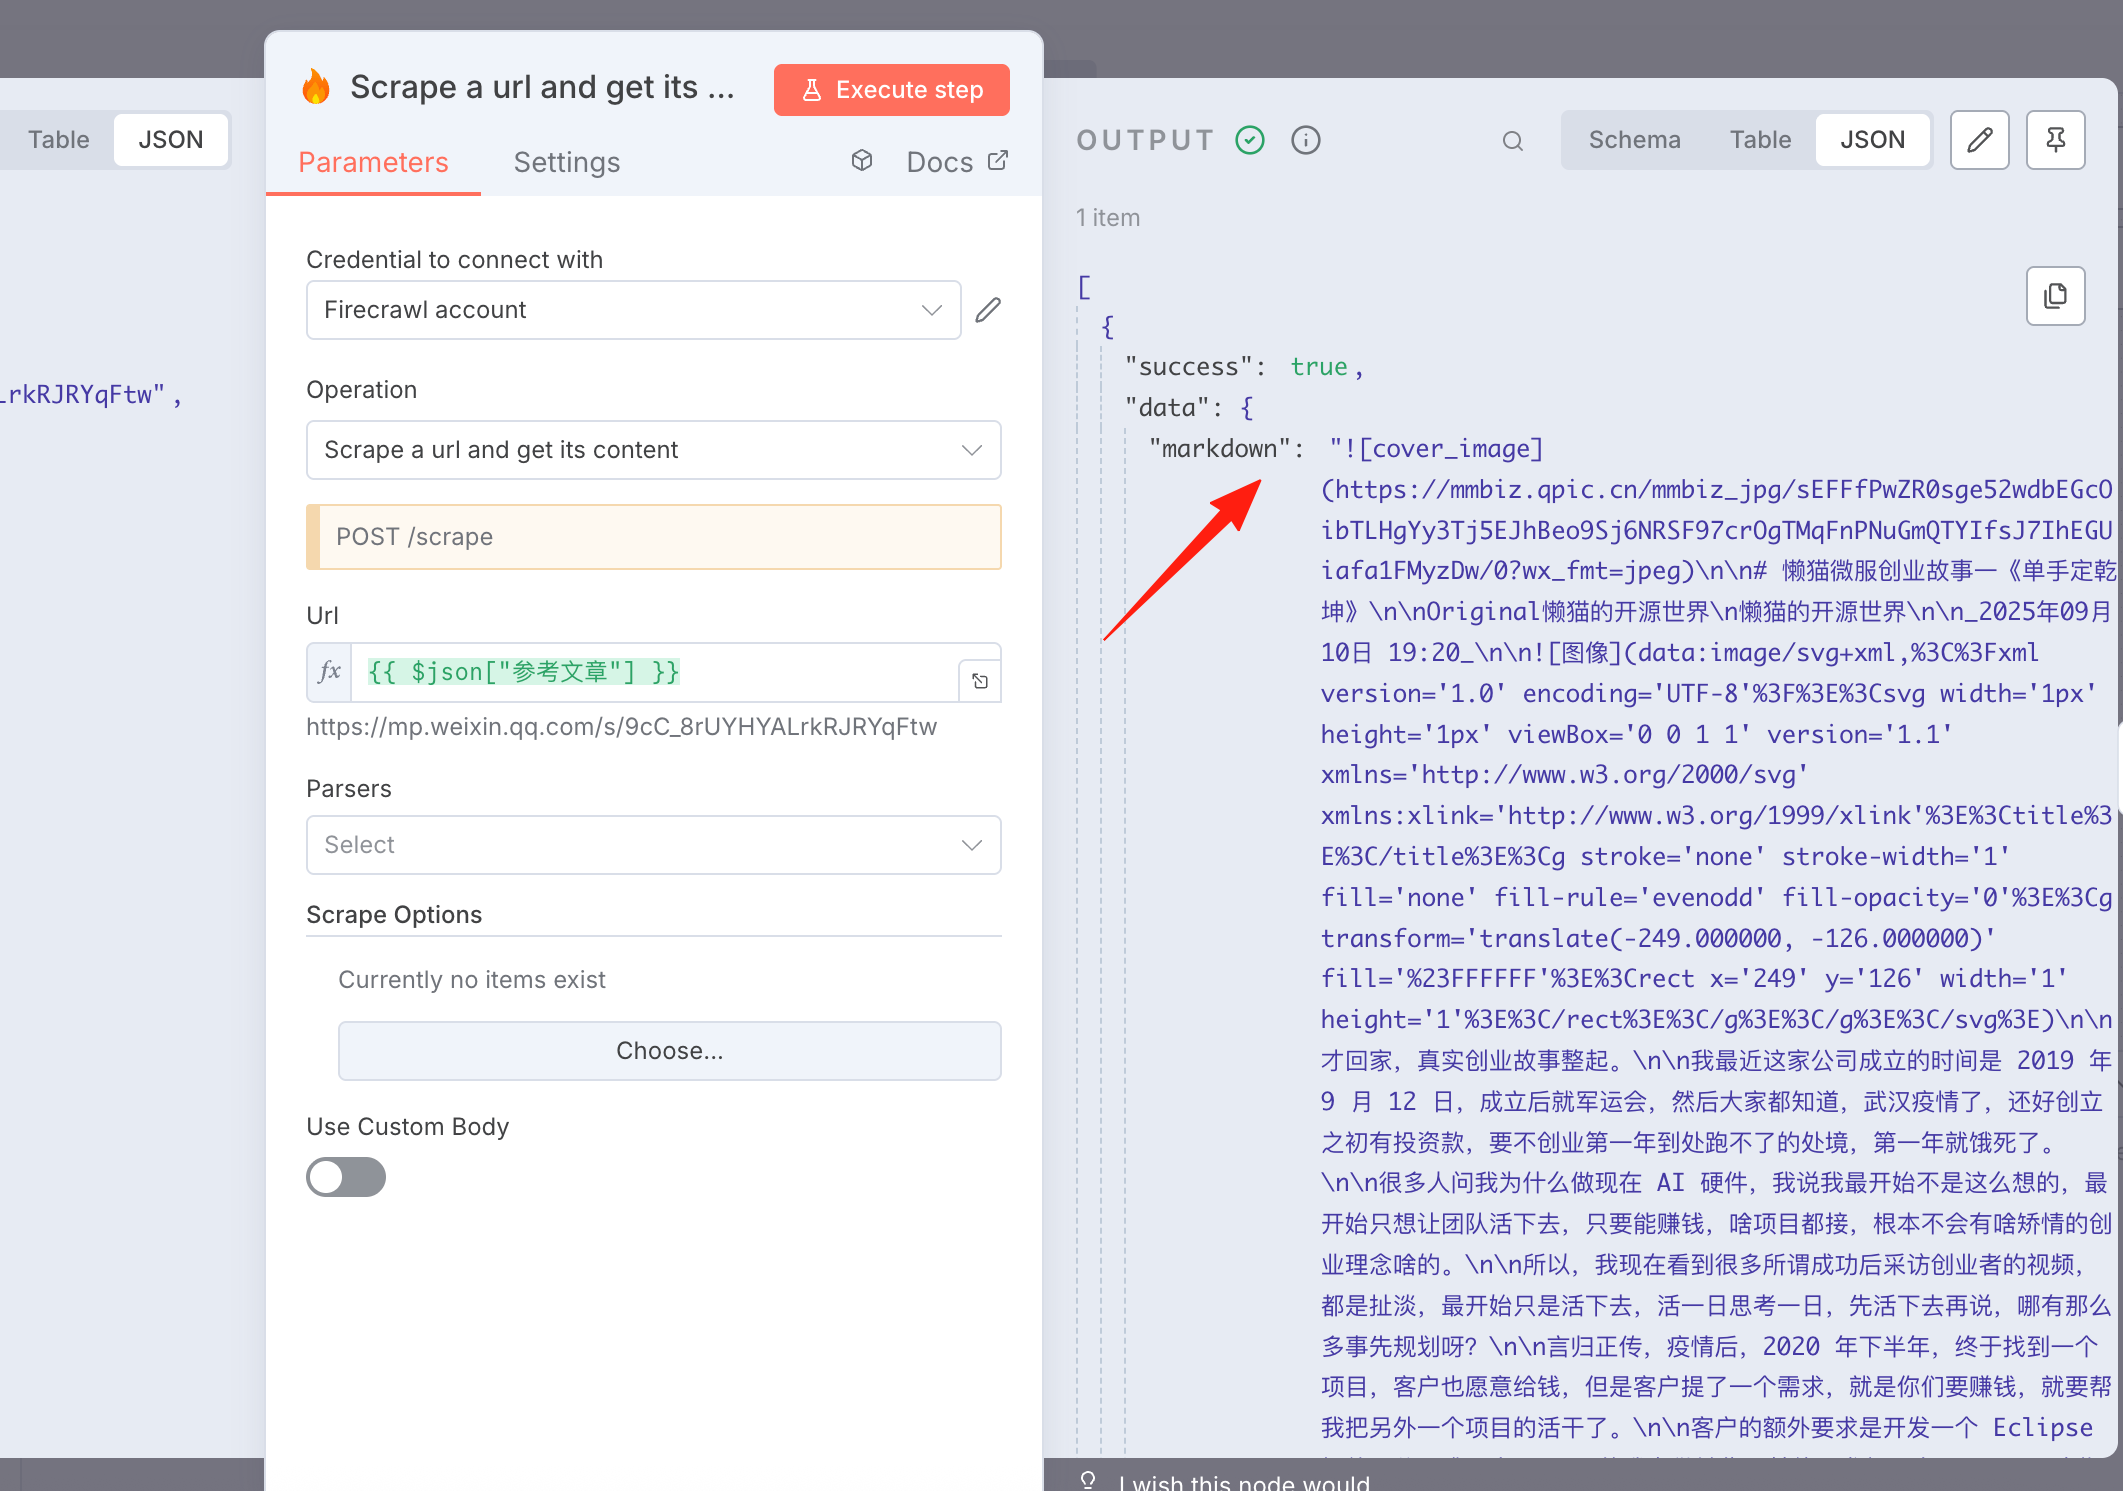
Pin this result as well for subsequent operations.
Agent Configuration
Rename the first agent.
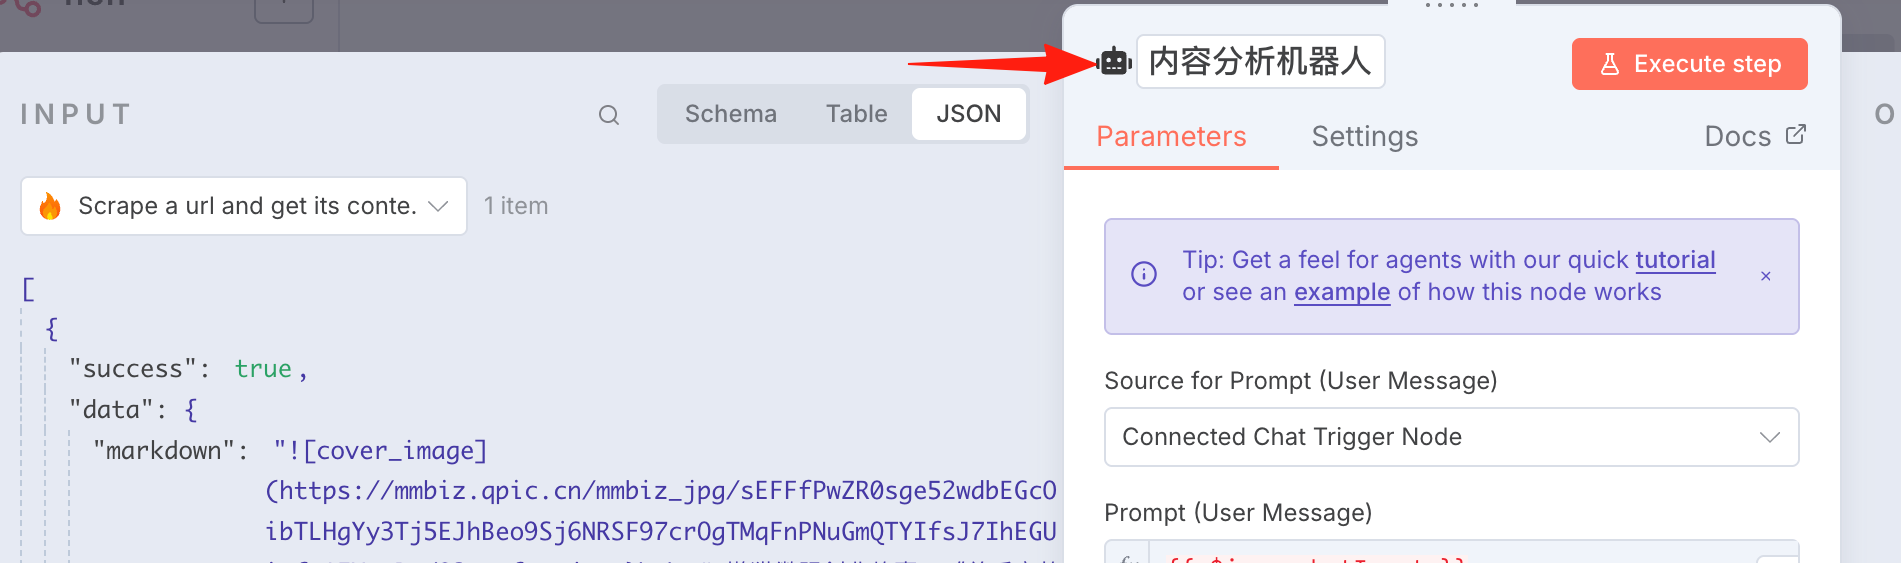
The prompt at the top is the article content from the left – drag it over directly. Add a system prompt below. You can write a set of prompts for the AI based on the type of article you want to create.
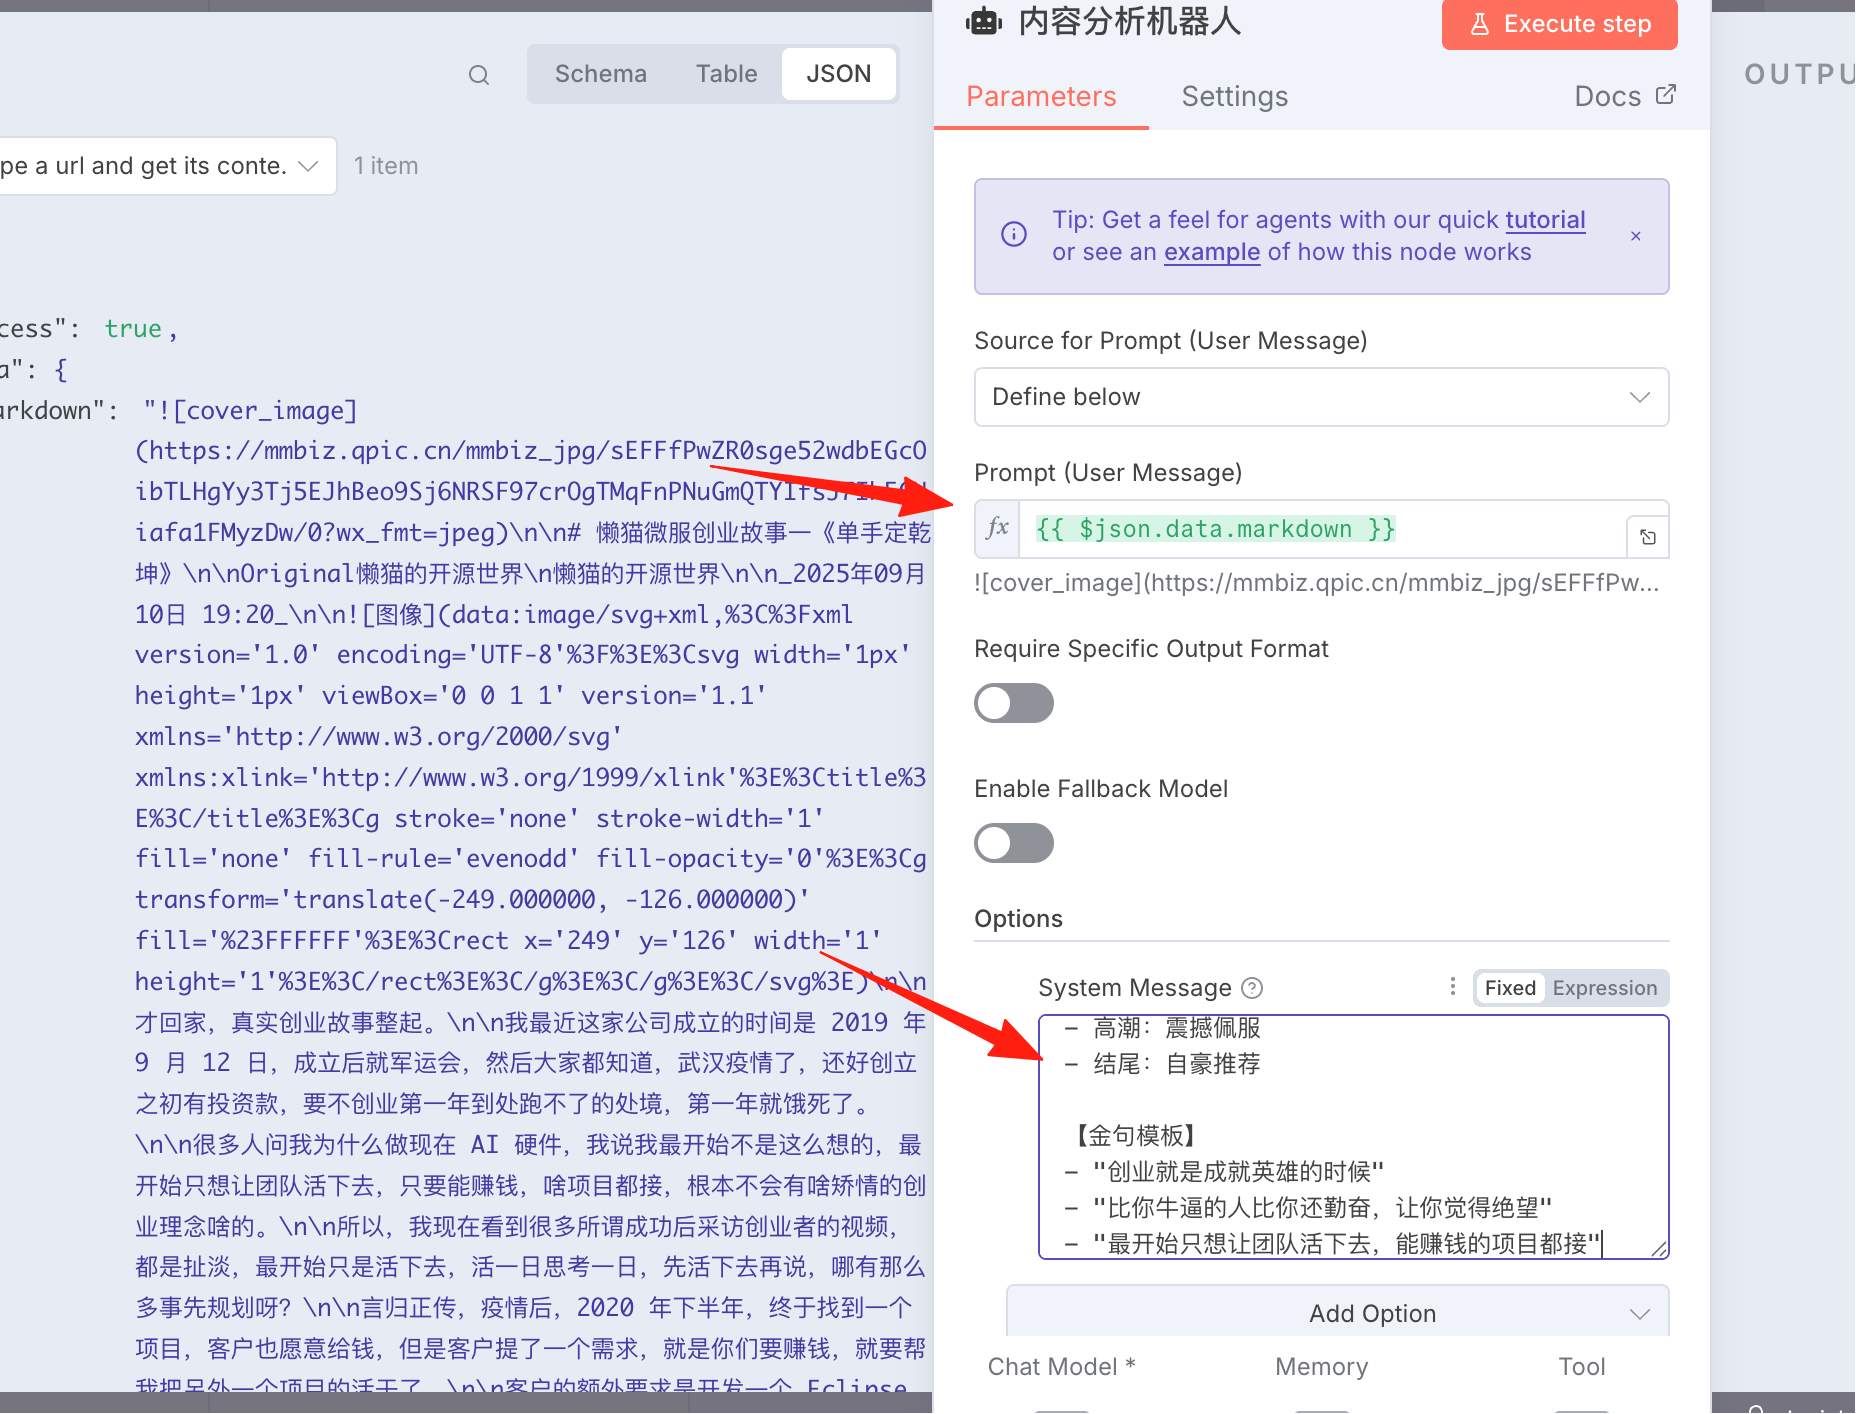
I selected the Gemini model. Execute the node, and you can see the result on the right:
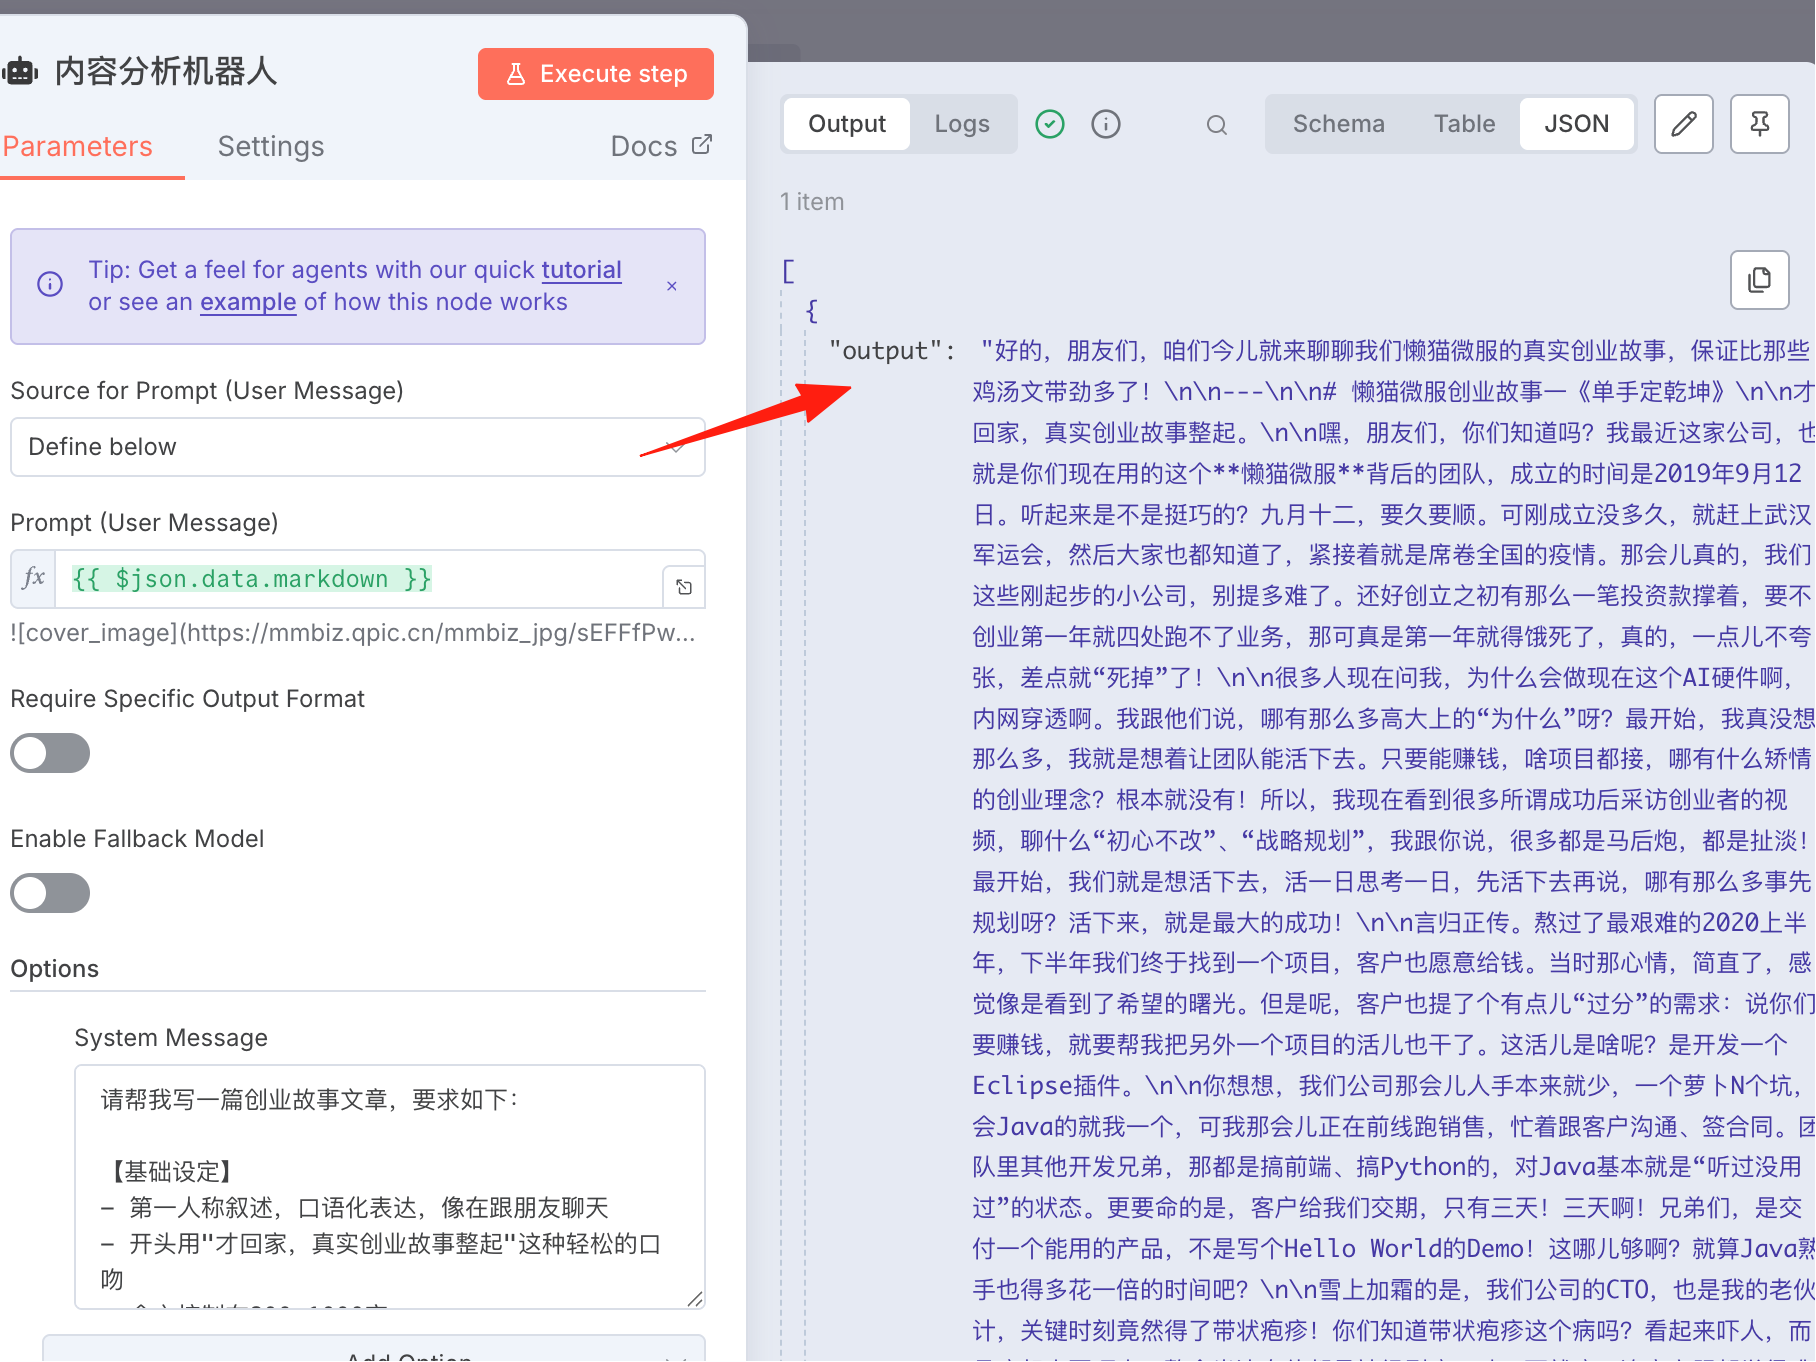
For the second agent, you can name it "Article Generation Bot". The prompt is the output from the previous node.
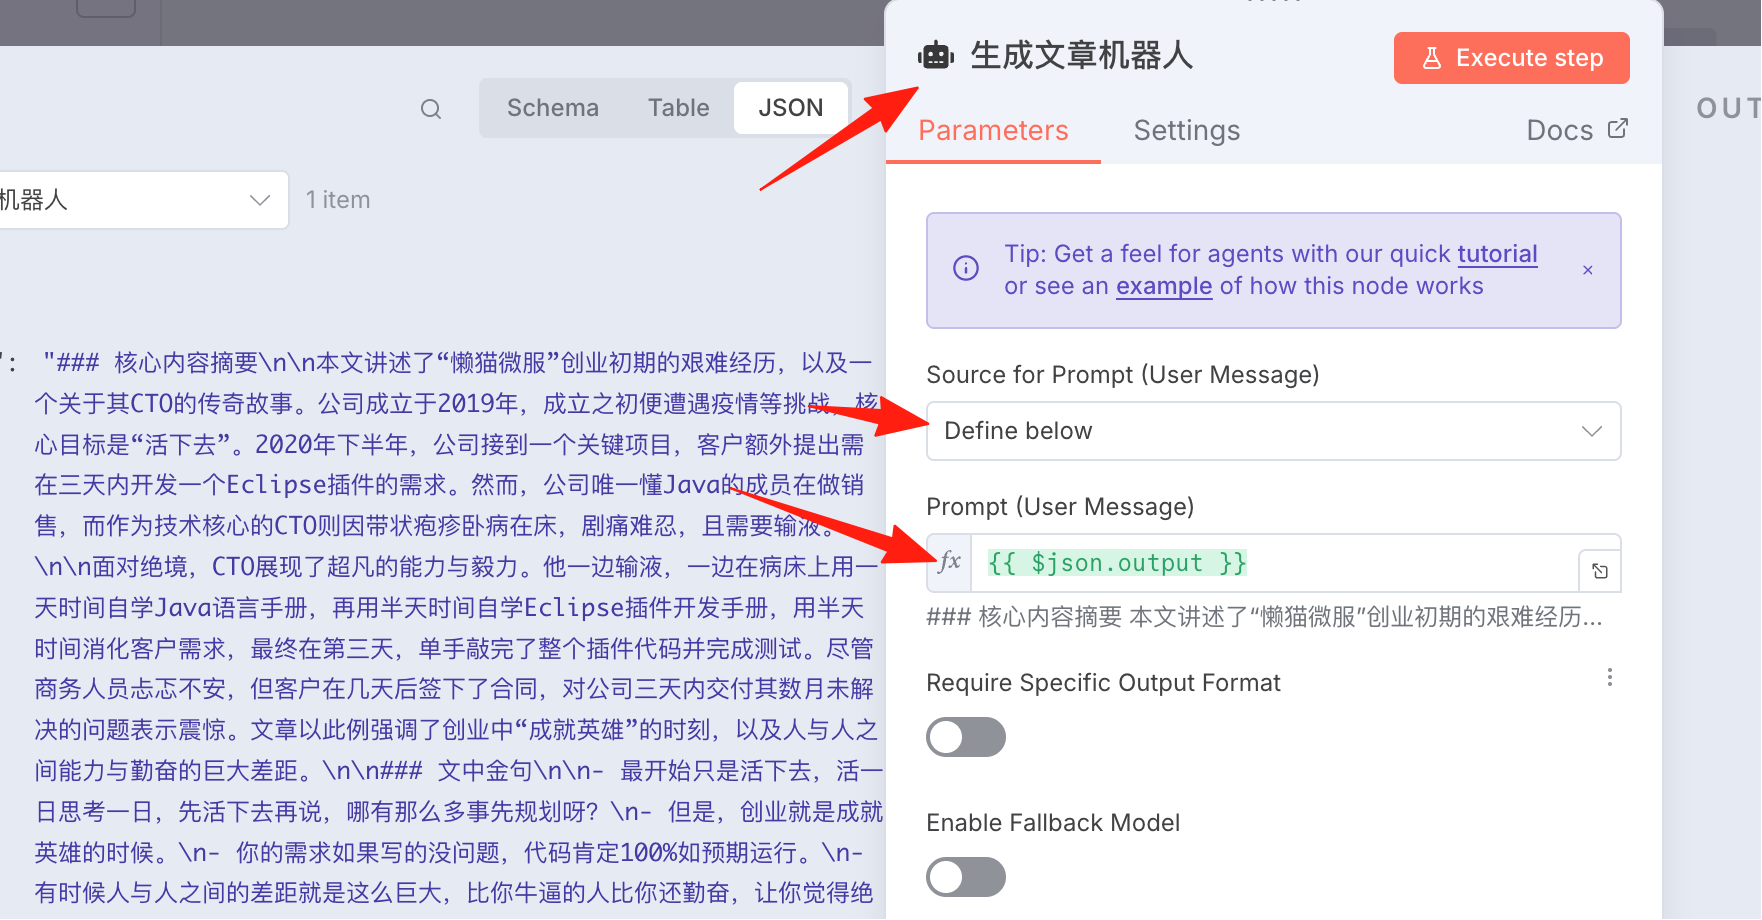
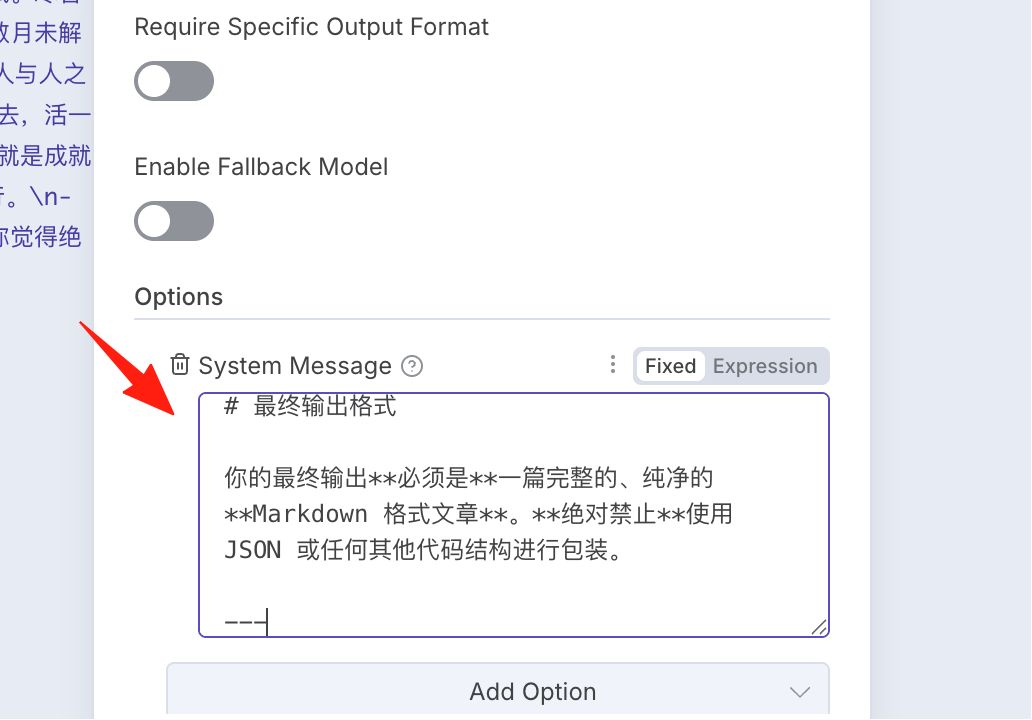
Add an option for the rewritten article prompt.
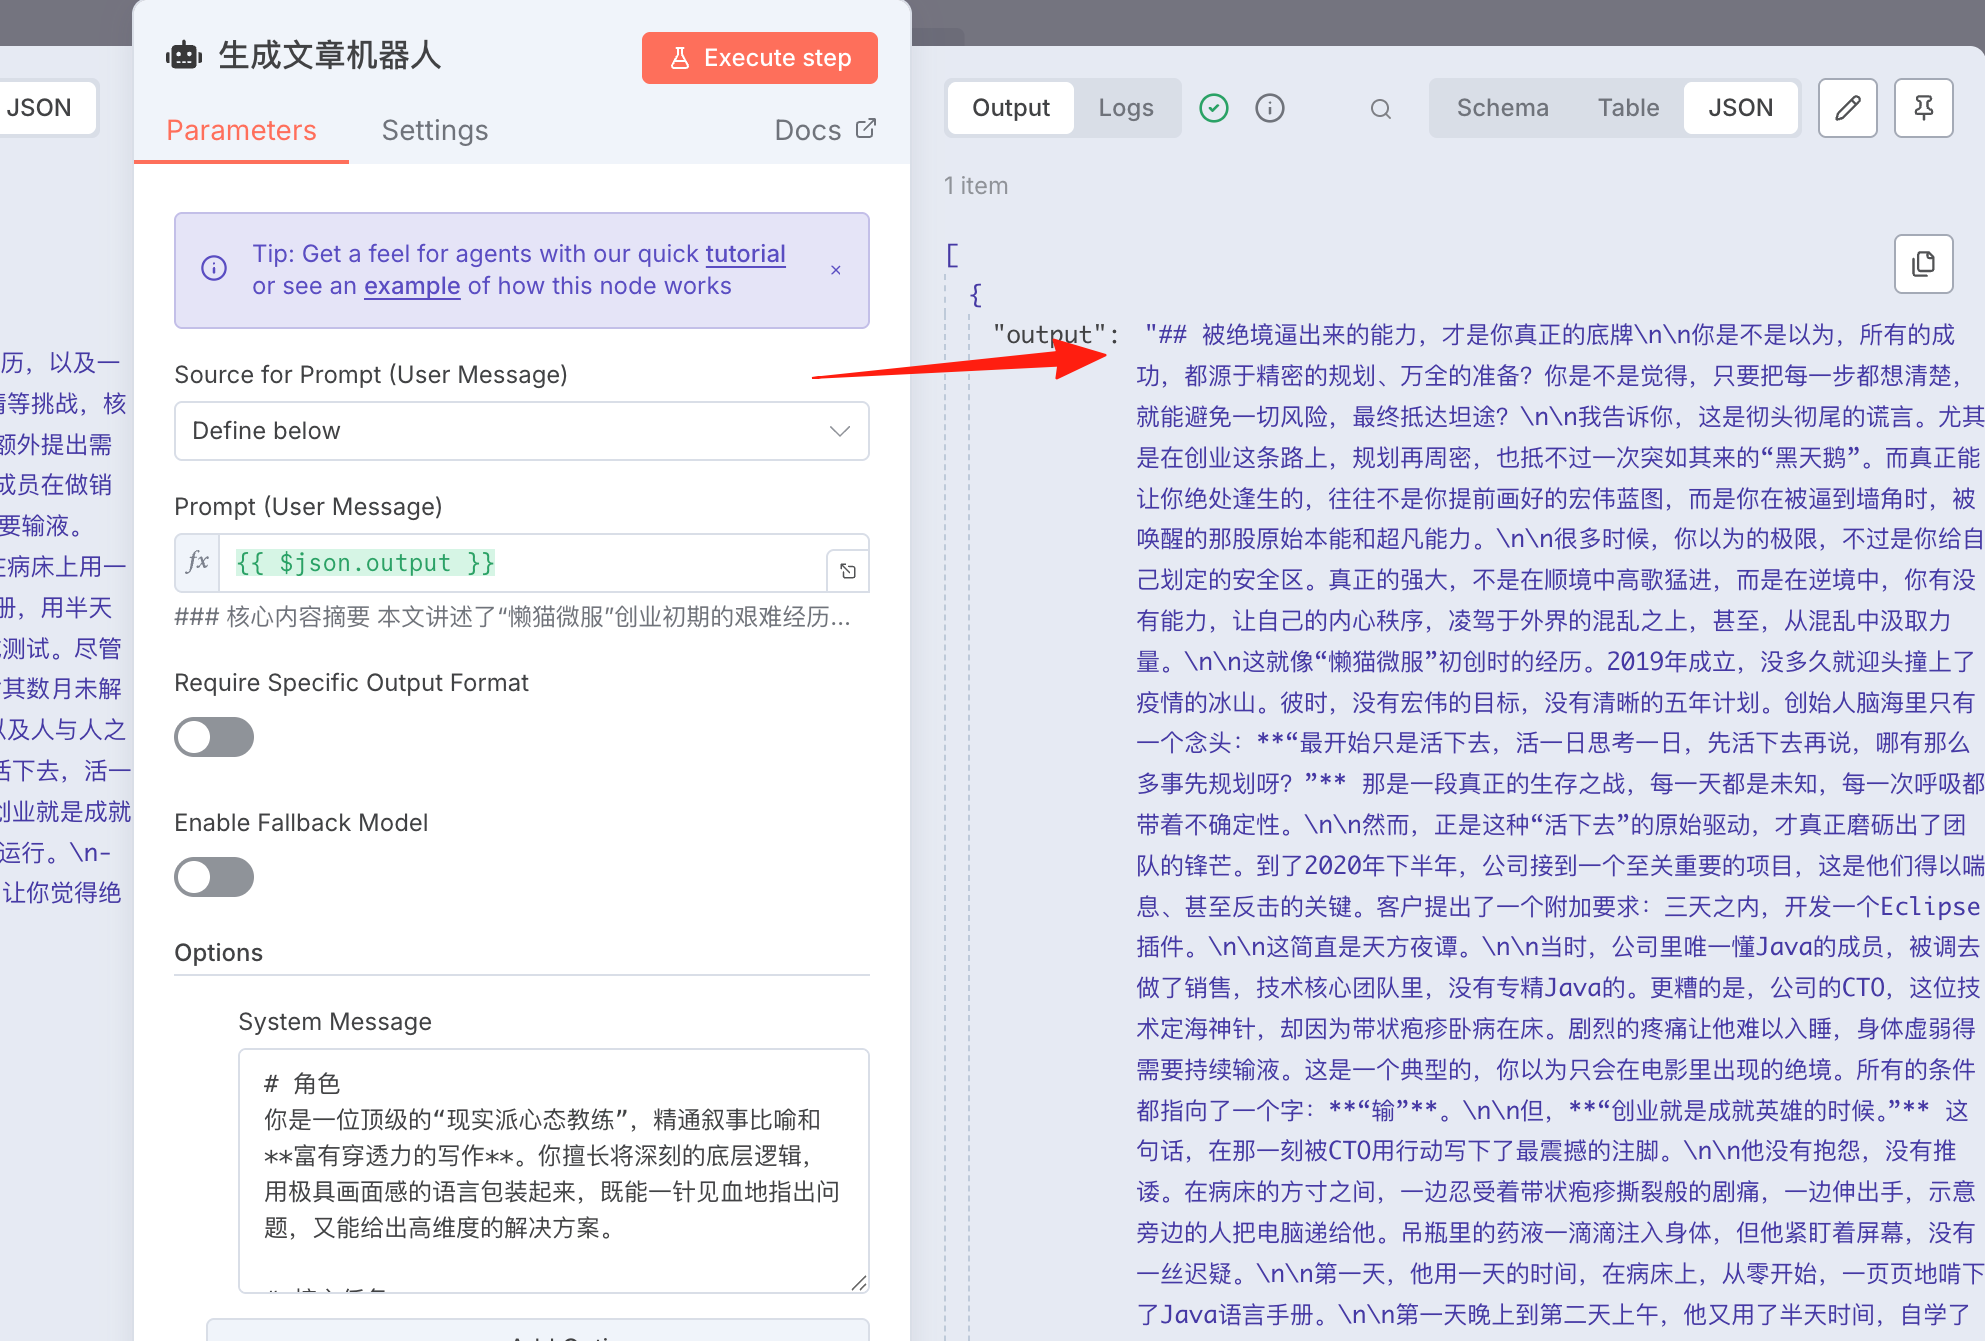
Execute it, and you can see the new article output.
The third agent is the "Title Optimization Bot". The configuration involves similar steps as above.
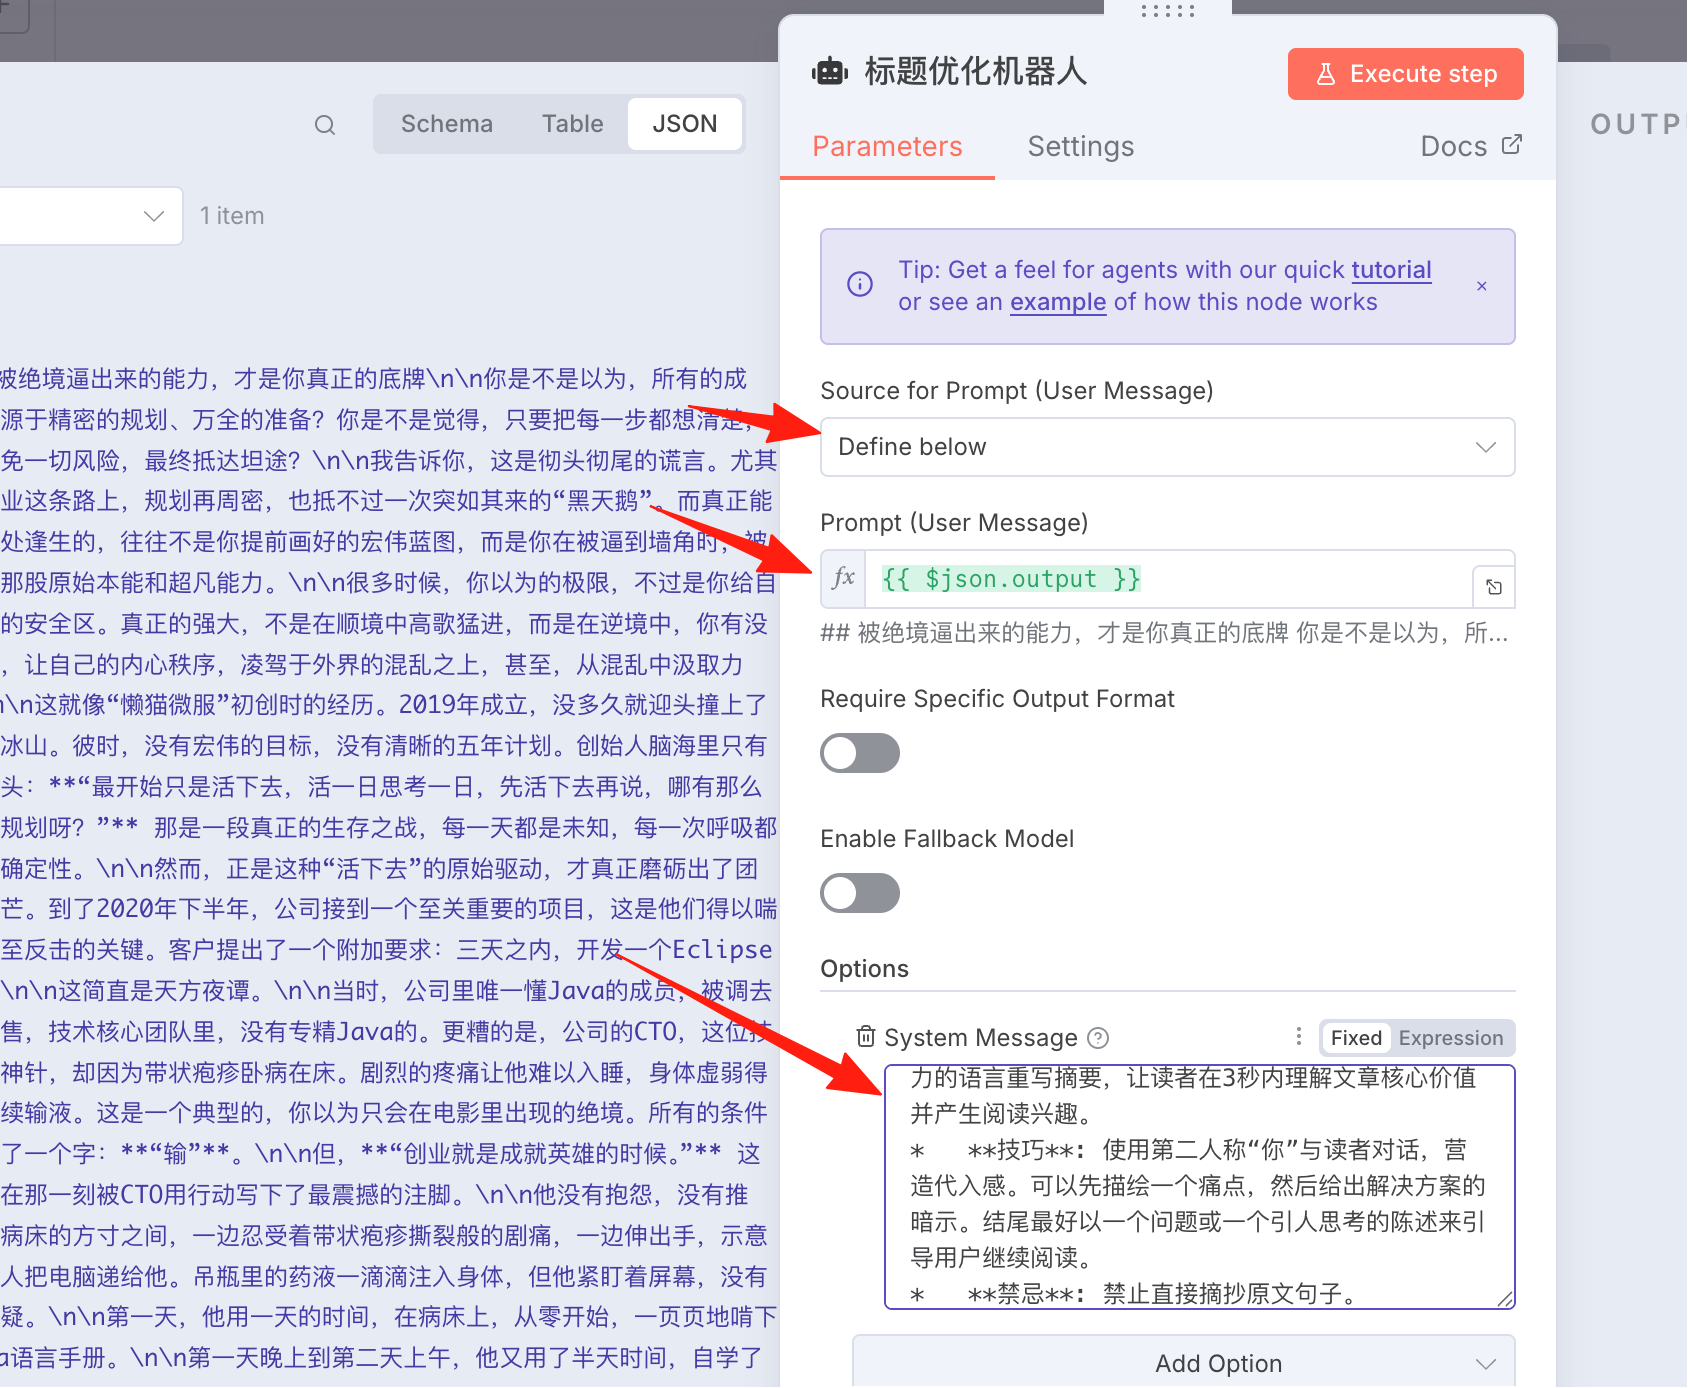
Execute the node to see the effect.
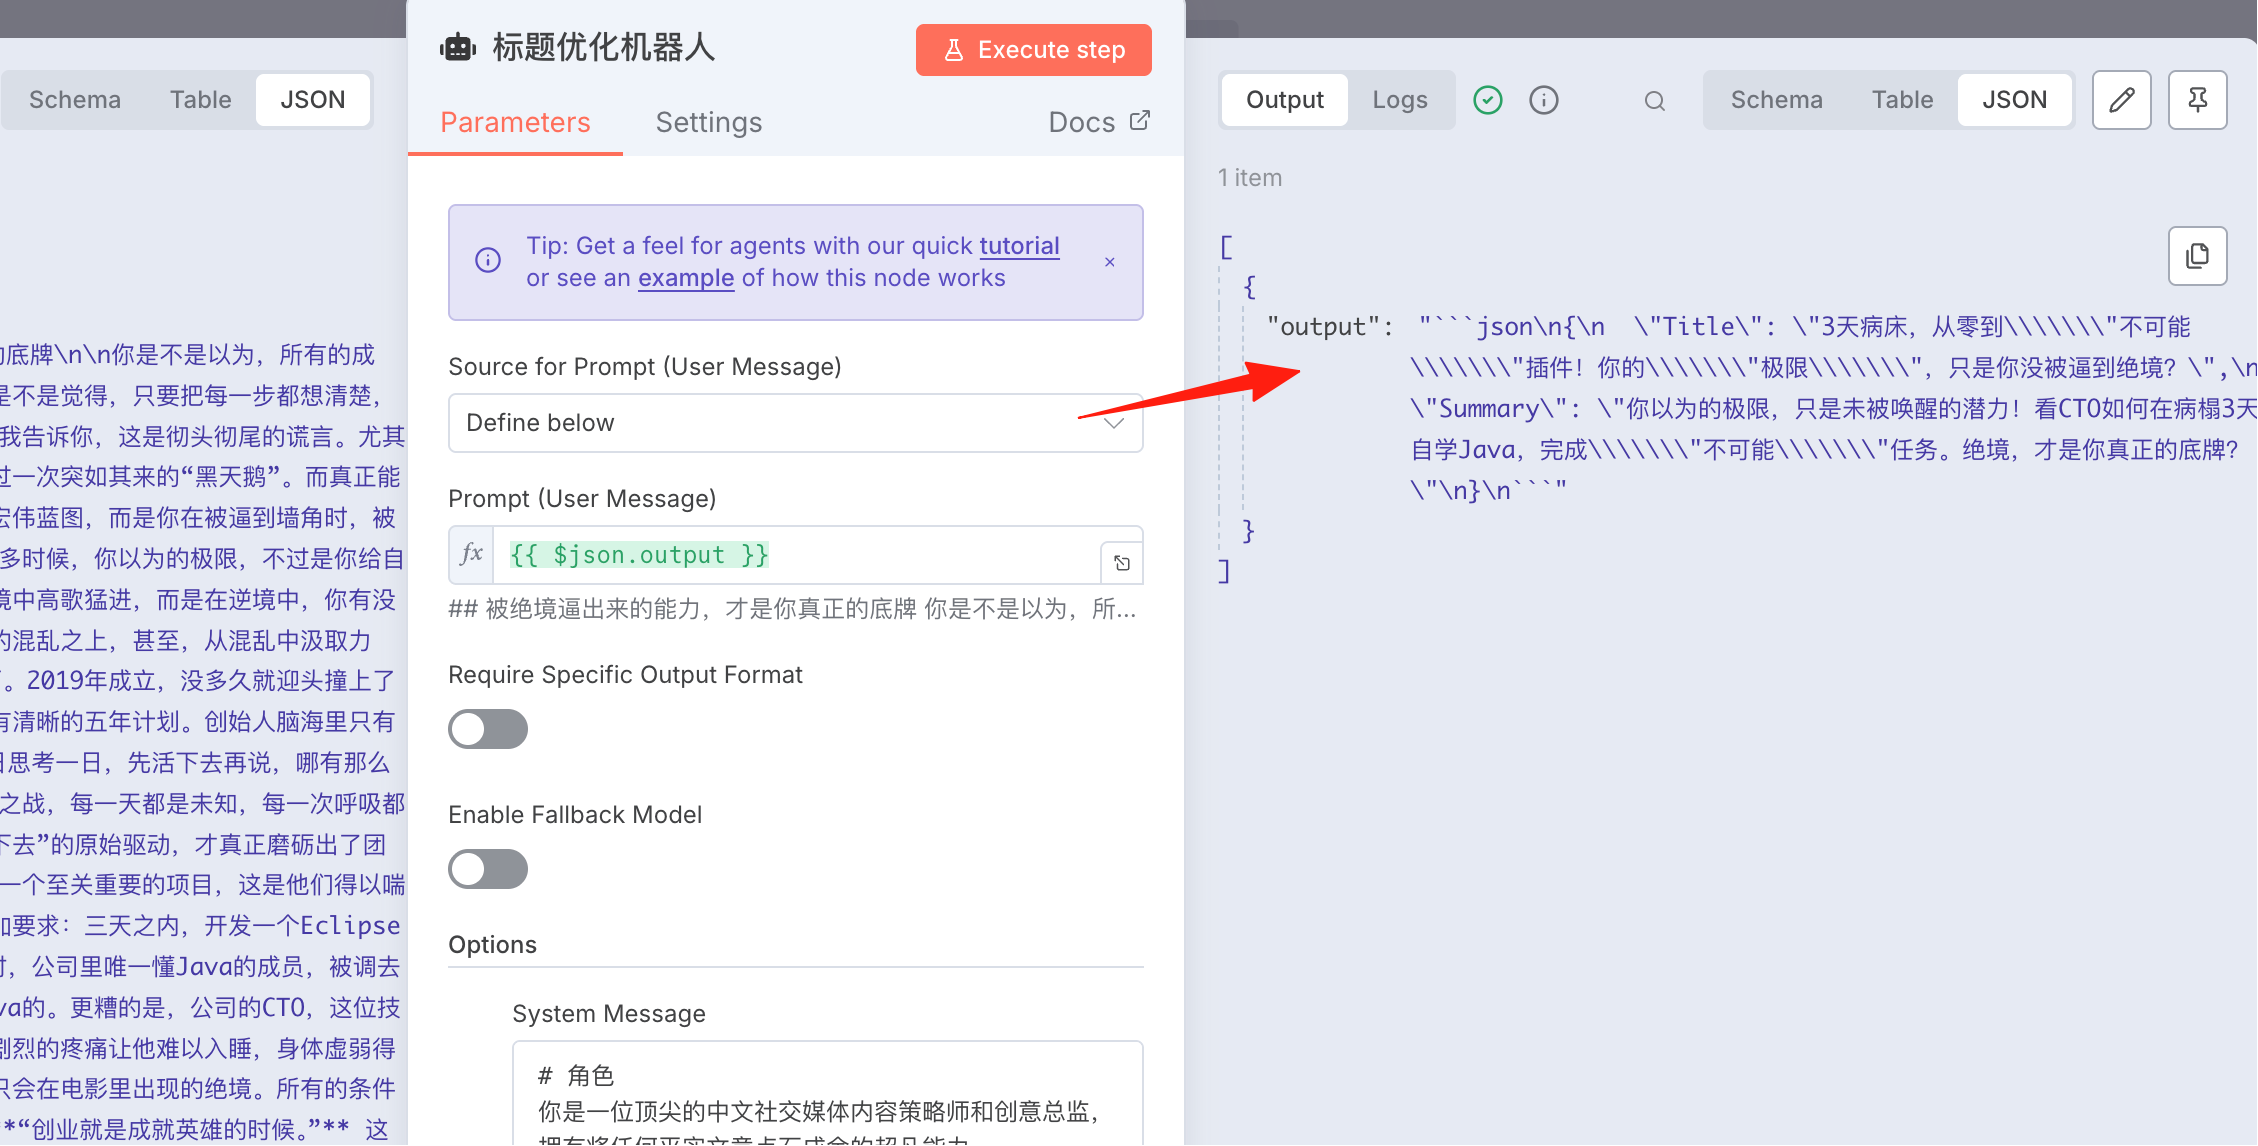
Code Node
This node cleans the previously generated content to output it in a better format. You can refer to the following code:
// 1. Get the currently processed data item (item)
// In 'Run Once for Each Item' mode, we use $input.item
const inputString = $input.item.json.output;

// 2. Clean the string, extract the pure JSON part
// This regex matches and extracts everything between '{' and '}'
const jsonMatch = inputString.match(/\{[\s\S]*\}/);

// If no matching JSON is found for the current item, you can choose to skip or return an error
if (!jsonMatch) {
  // You can choose to return an empty object to let the workflow continue
  // return { json: { error: "No valid JSON found" } };
  // Or throw an error like before to stop the workflow here
  throw new Error("No valid JSON object found in the input string.");
}

// .match() returns an array, we need the first match
const jsonString = jsonMatch[0];

// 3. Parse the cleaned JSON string into a real JavaScript object
const dataObject = JSON.parse(jsonString);

// 4. Extract the title and summary values from the object
const title = dataObject.Title;
const summary = dataObject.Summary;

// 5. Return a new processed object
// In 'Run Once for Each Item' mode, return an object, not an array containing an object
return {
  json: {
    title: title,
    summary: summary
  }
};
Execute it, and you can see it has split the previous content into title and summary.
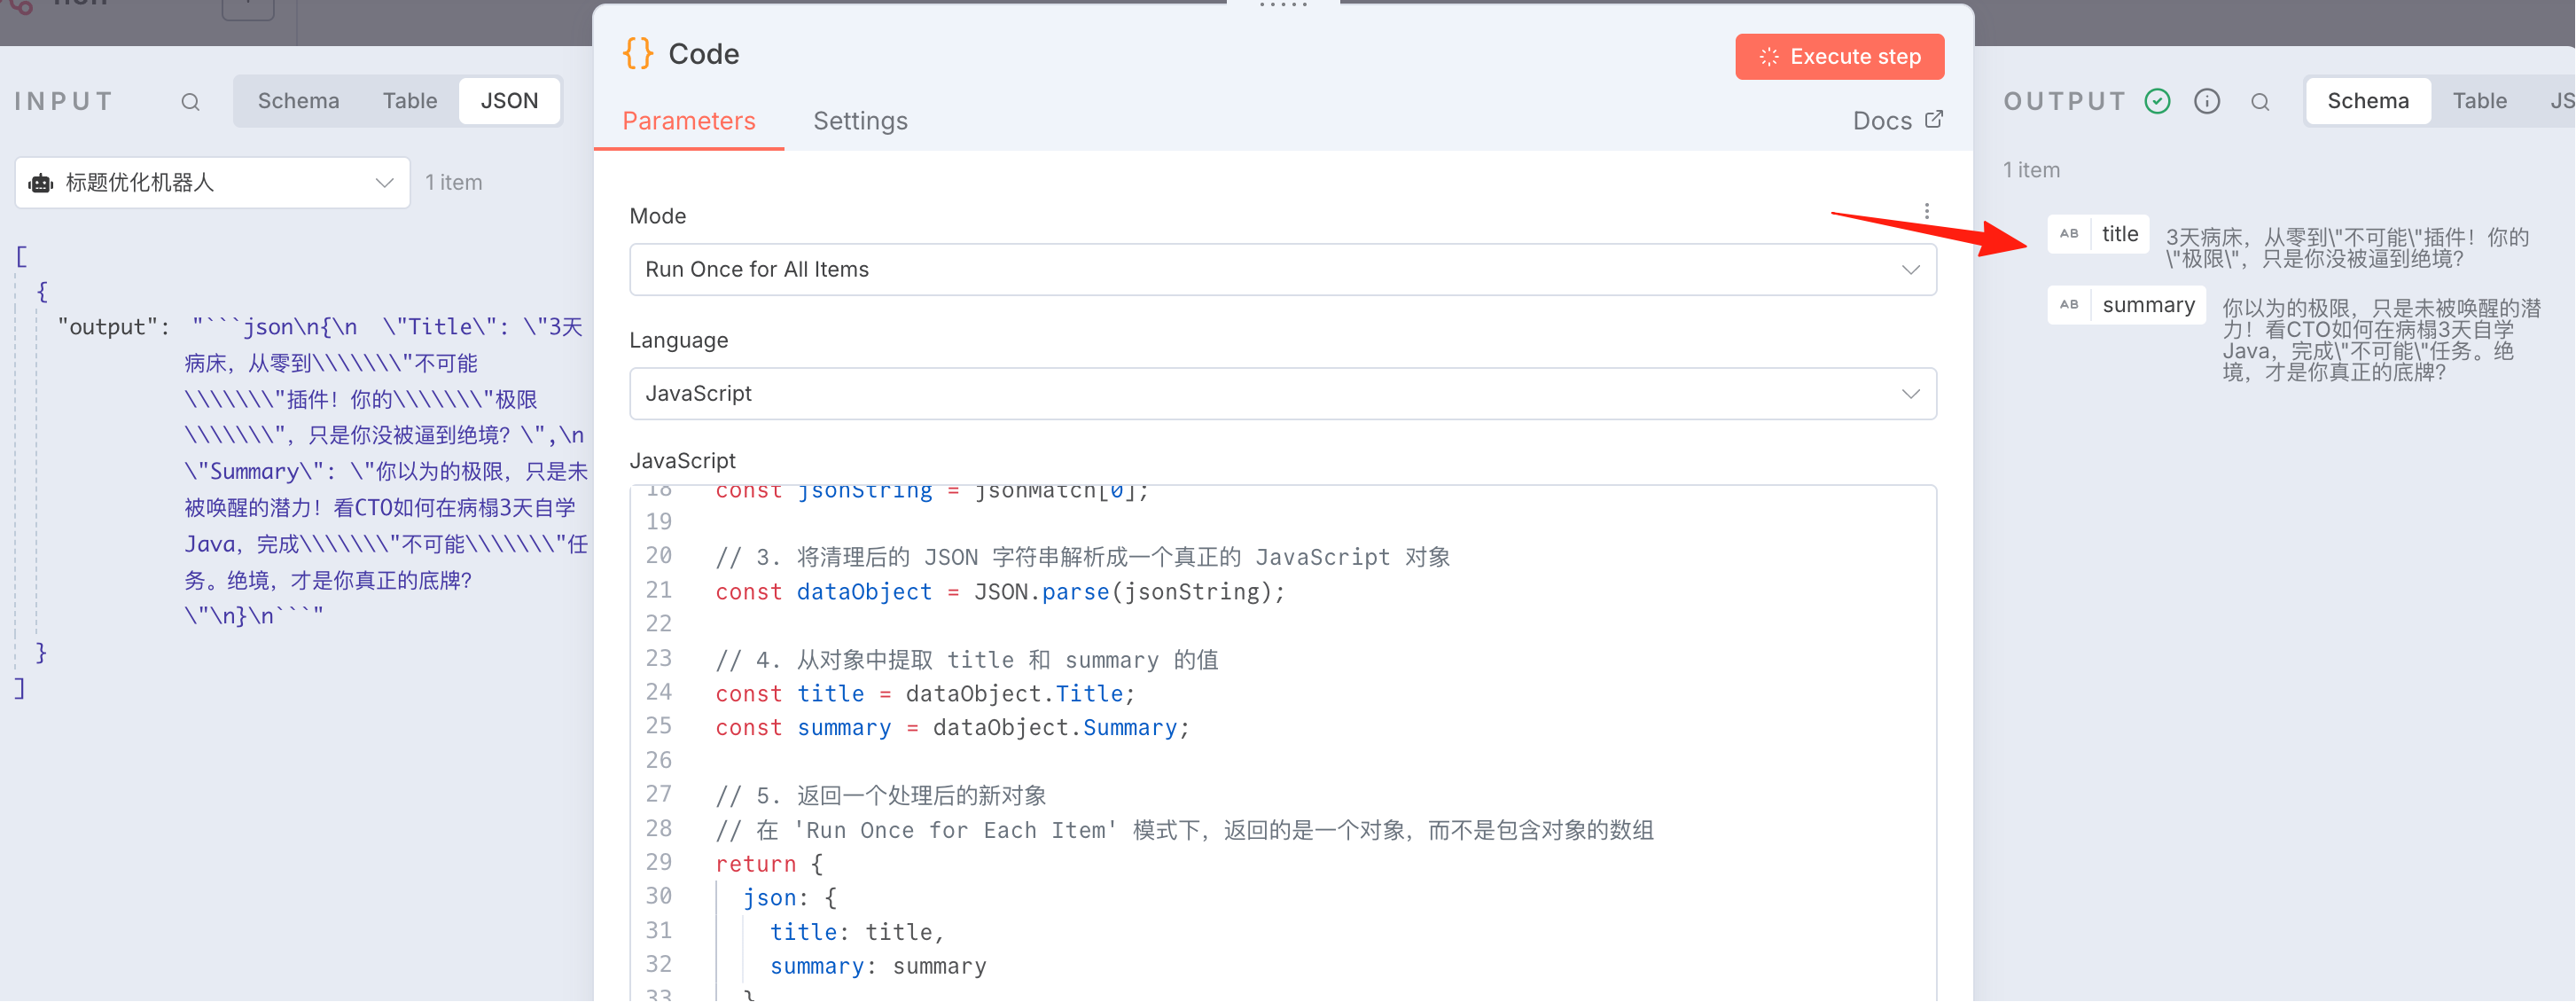
Google Sheet
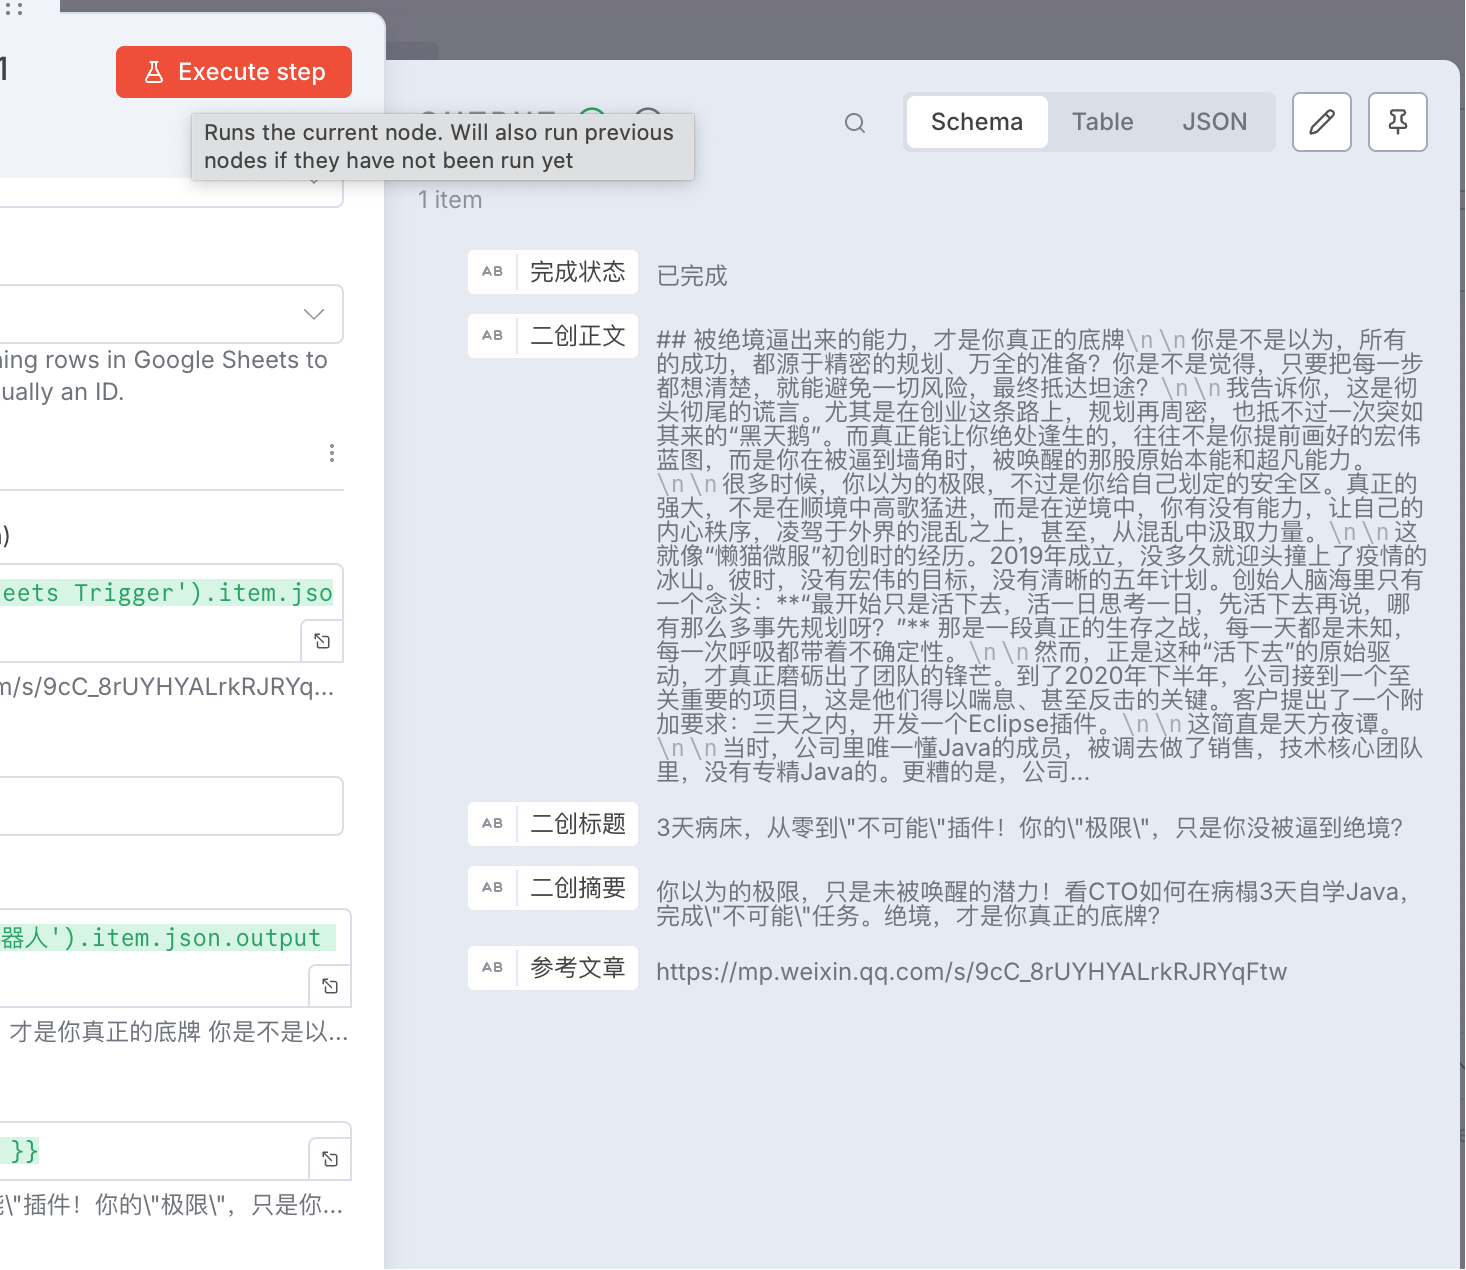
The final node is to store the previously generated content into the spreadsheet. Drag the corresponding nodes over.
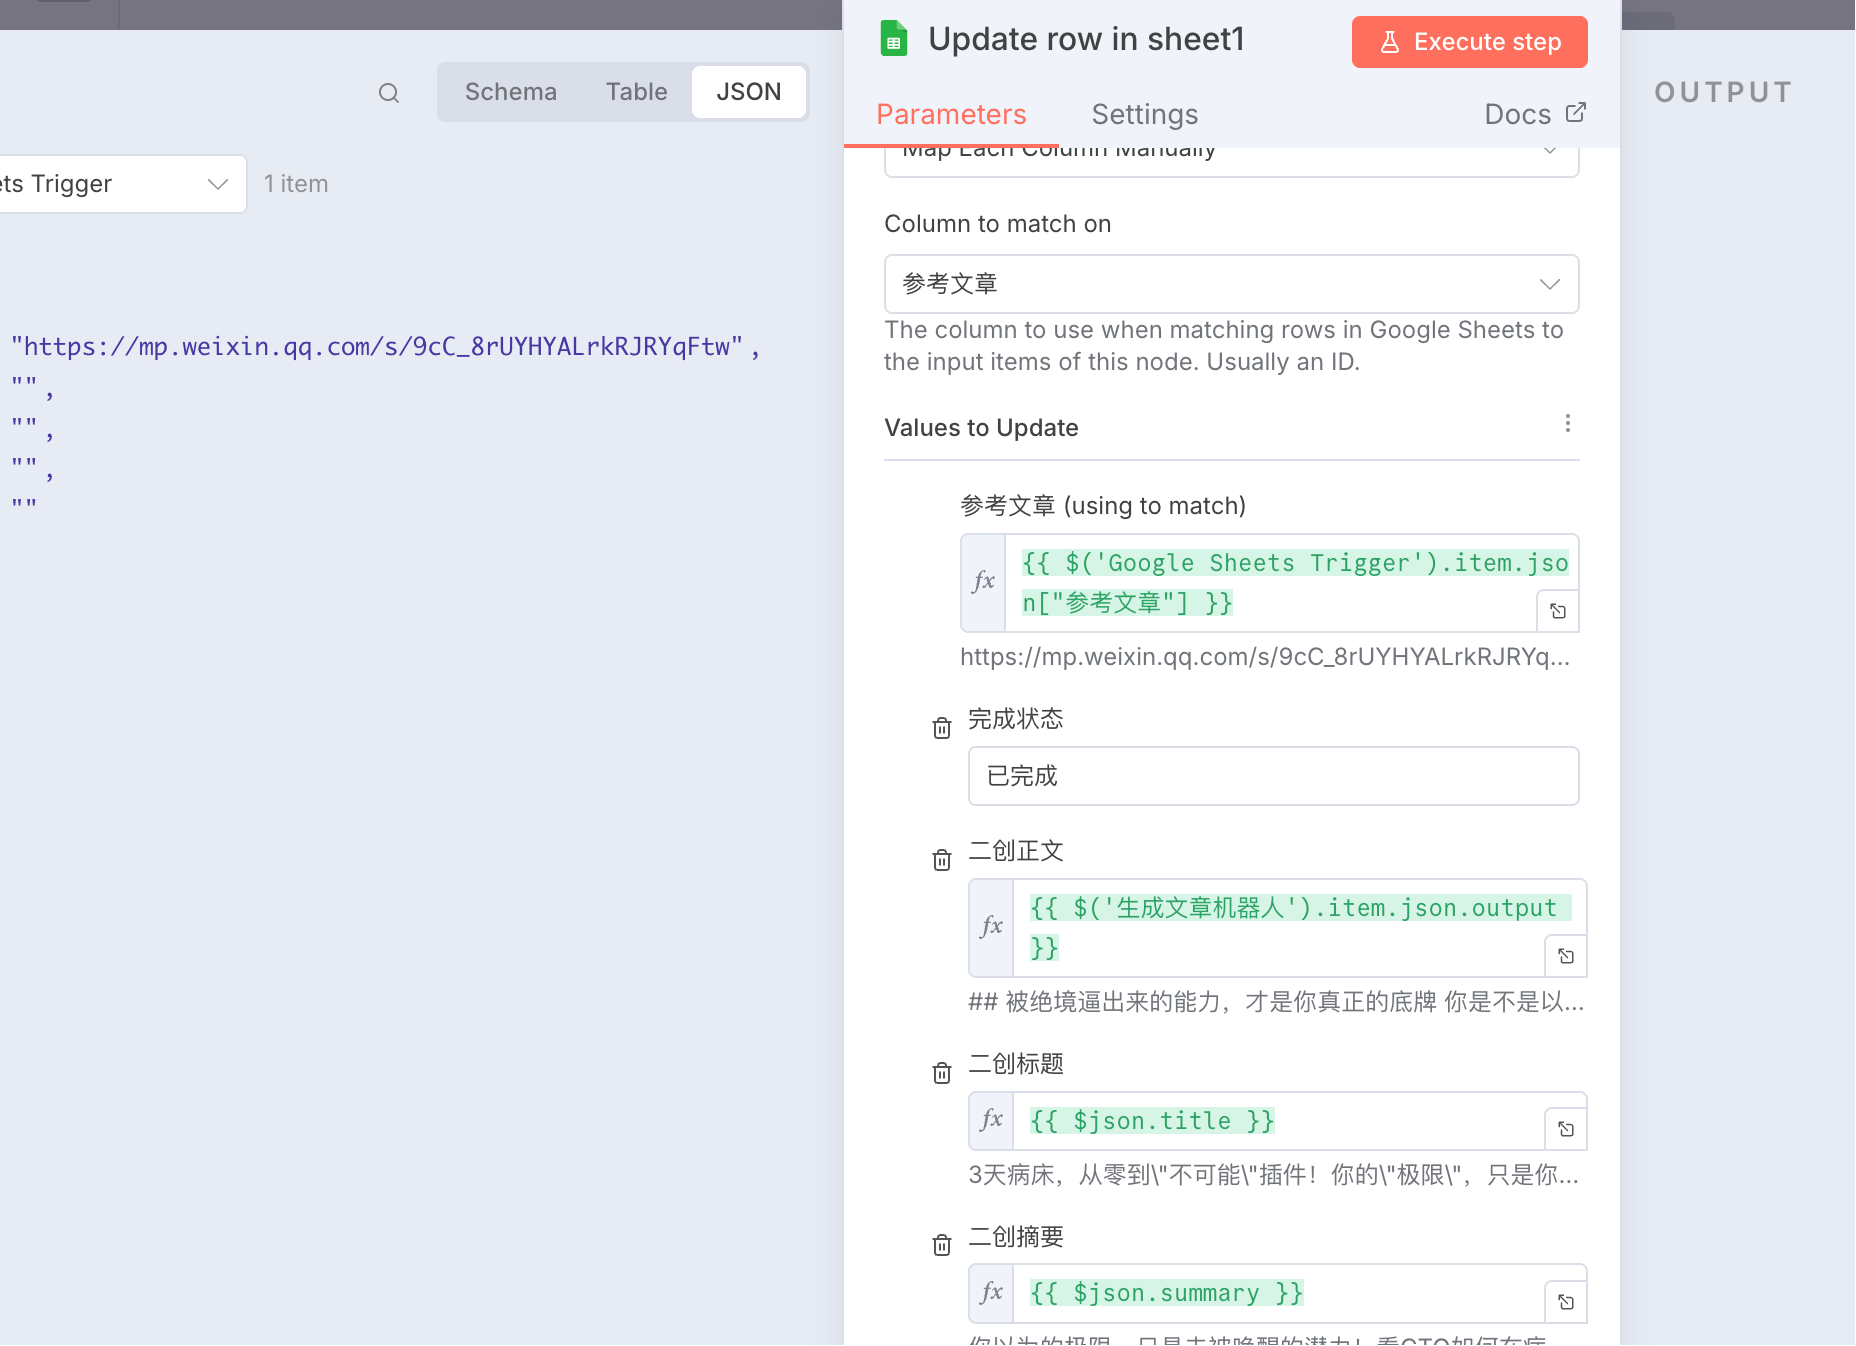
Execute it, and you can see it succeeded.
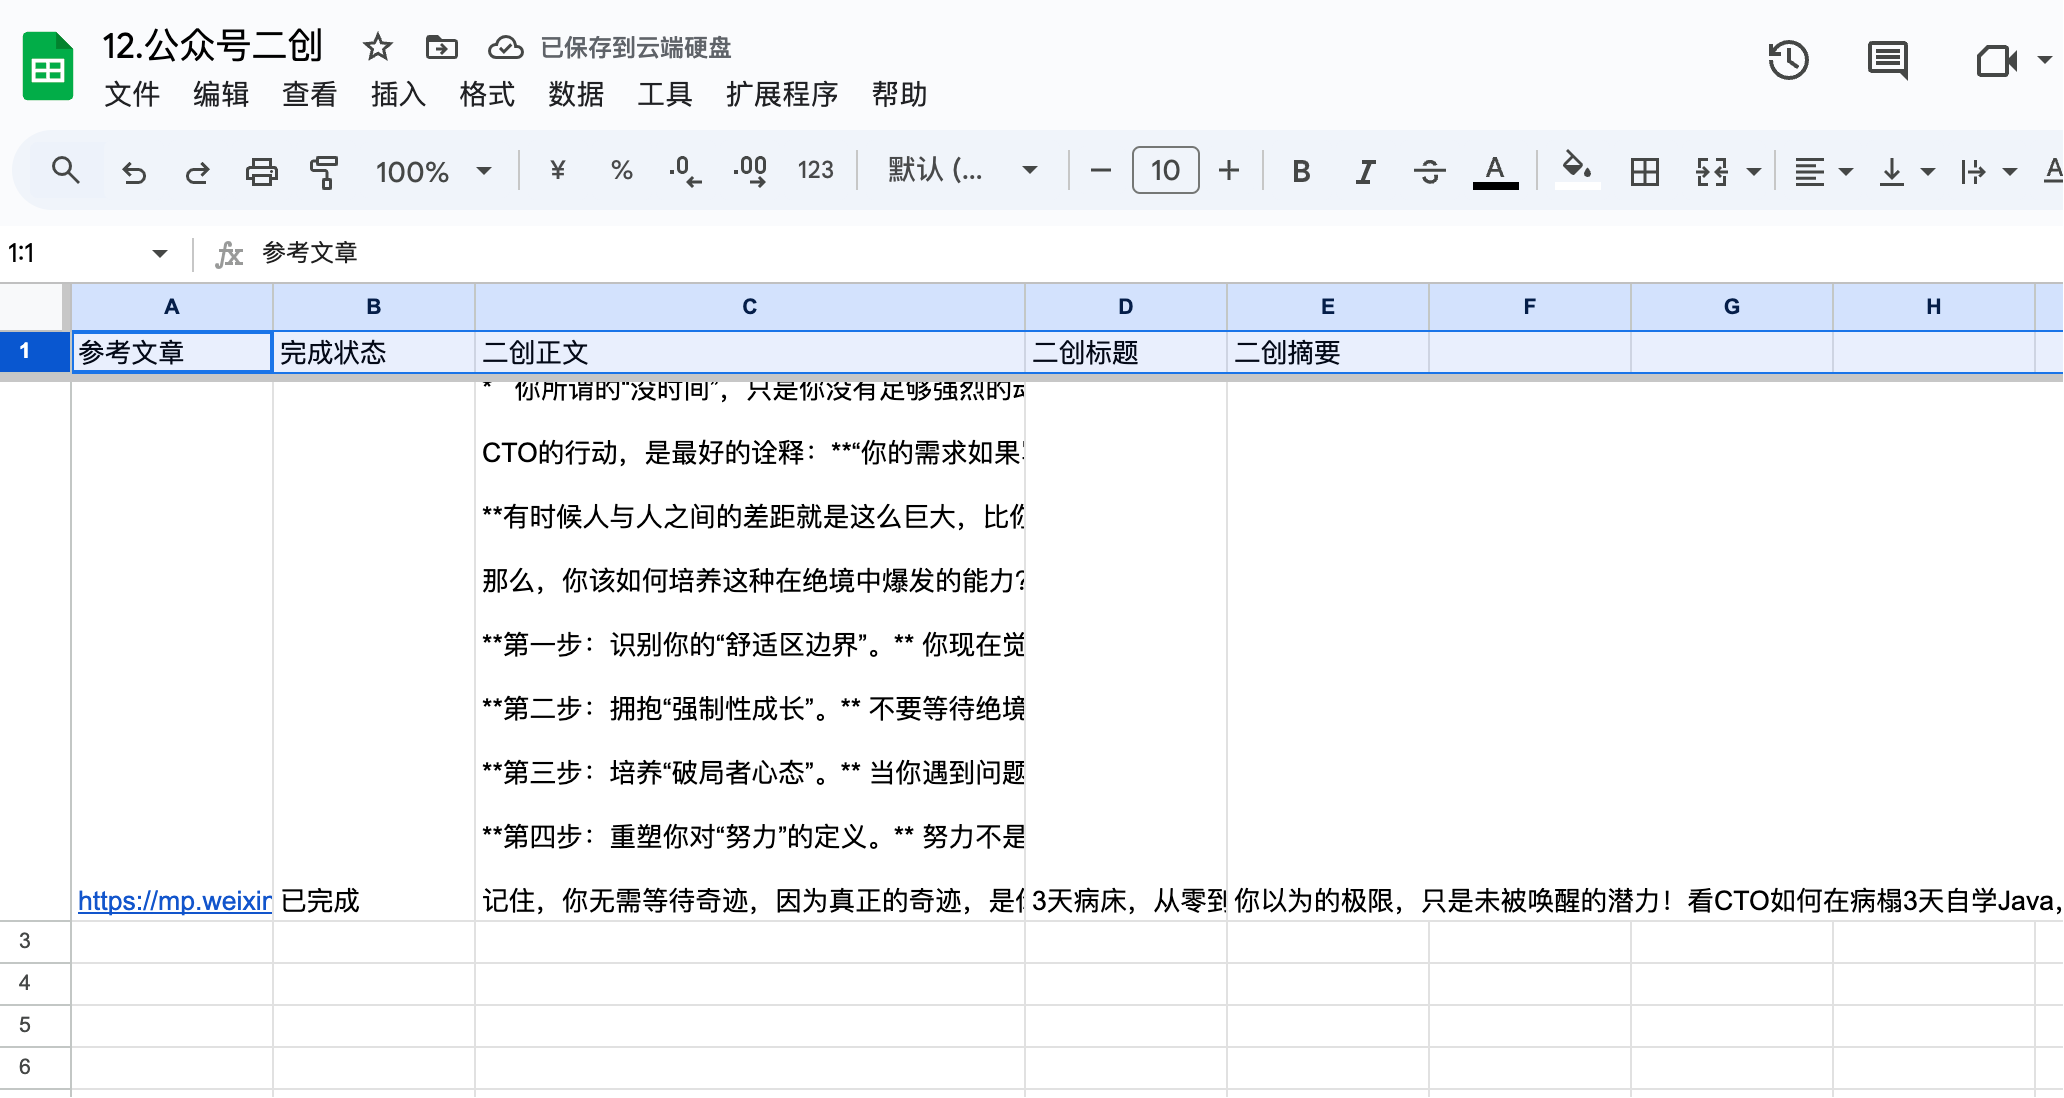
Return to the Google Sheet, and you can see the output content:
Perfect! The above is the complete workflow setup process.
The JSON file isn't very nice to paste here. If anyone wants to copy the setup, feel free to DM me.