
n8n Hands-On Guide 2: How to Add Google Drive Configuration
When configuring workflows in n8n, we often need to perform file operations, such as handling spreadsheets, documents, etc. Some nodes require authorization to use, and the authorization configuration can be complex. This article will demonstrate step by step how to configure it.
https://appstore.lazycat.cloud/#/shop/detail/cloud.lazycat.app.n8n
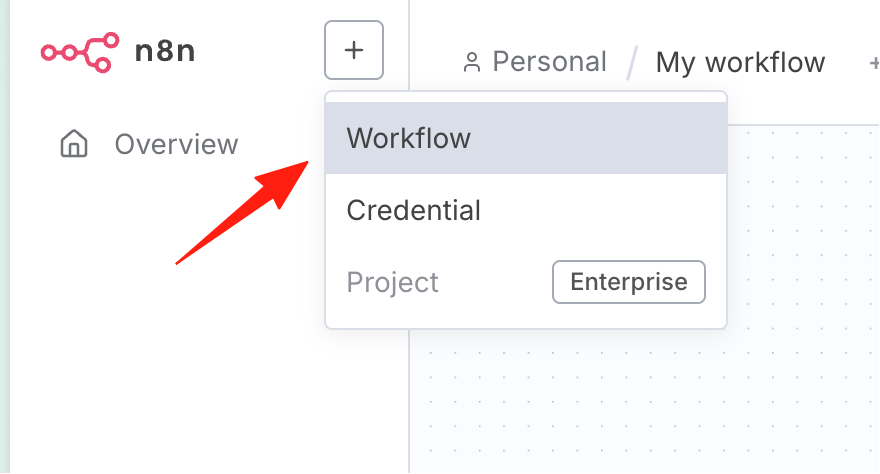
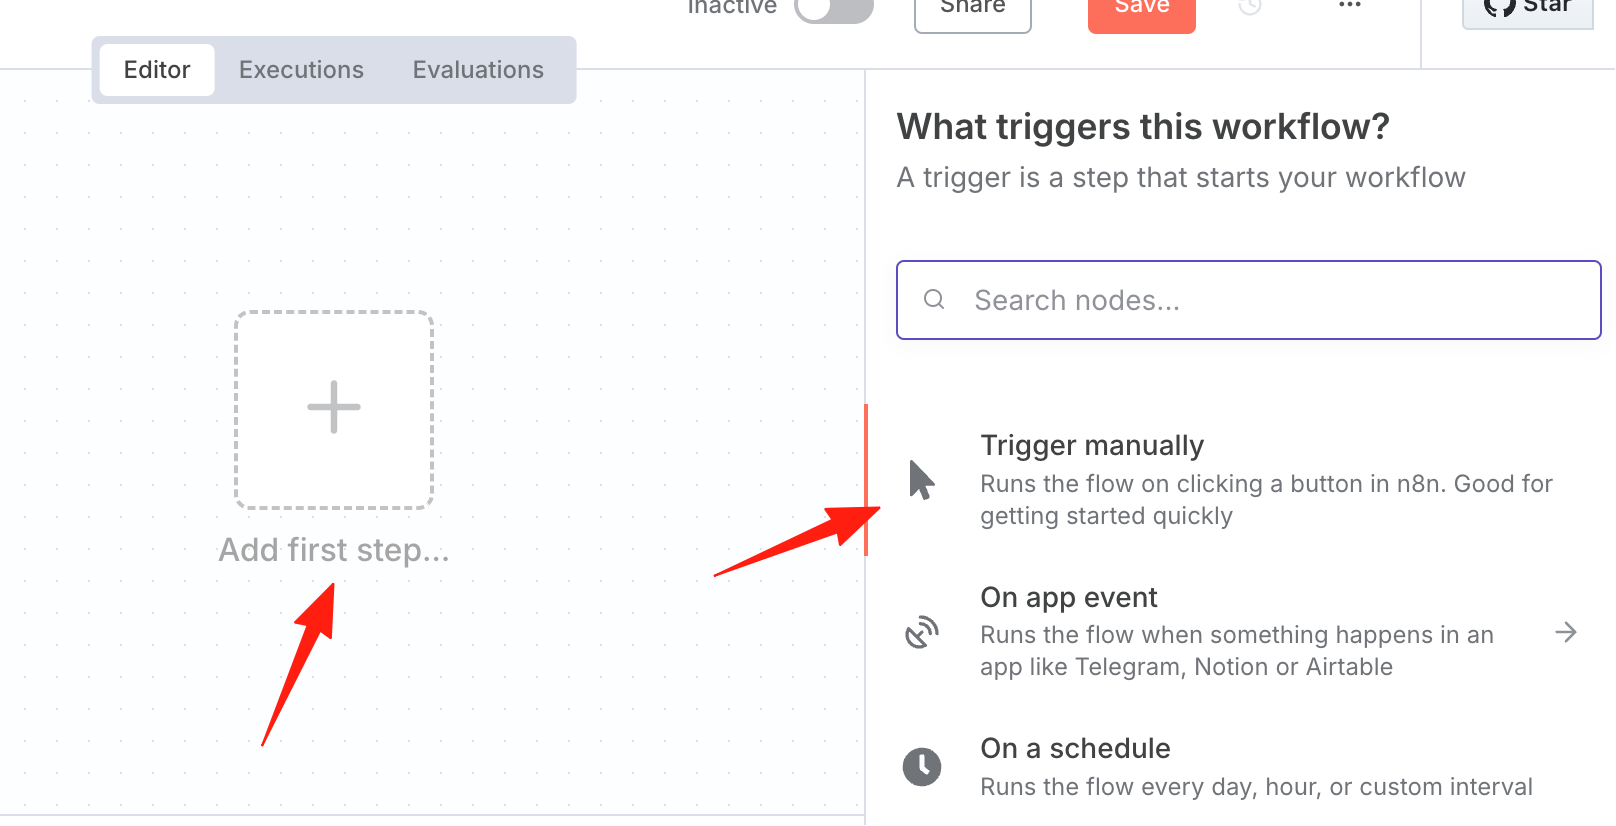
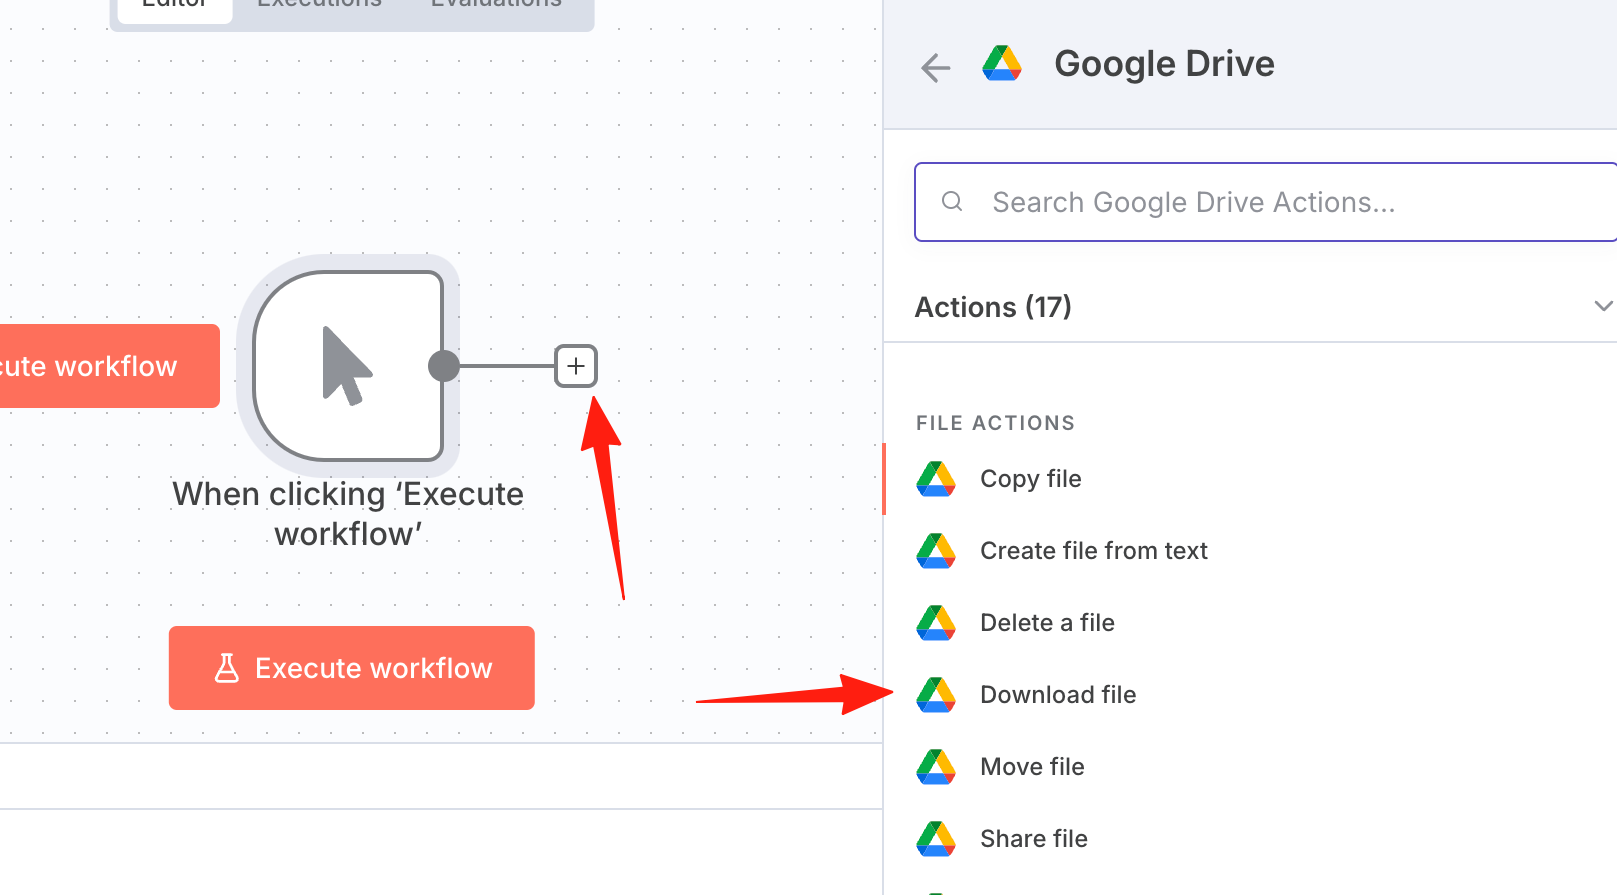
First, create a new workflow and add any trigger.
After adding, it should look like this:
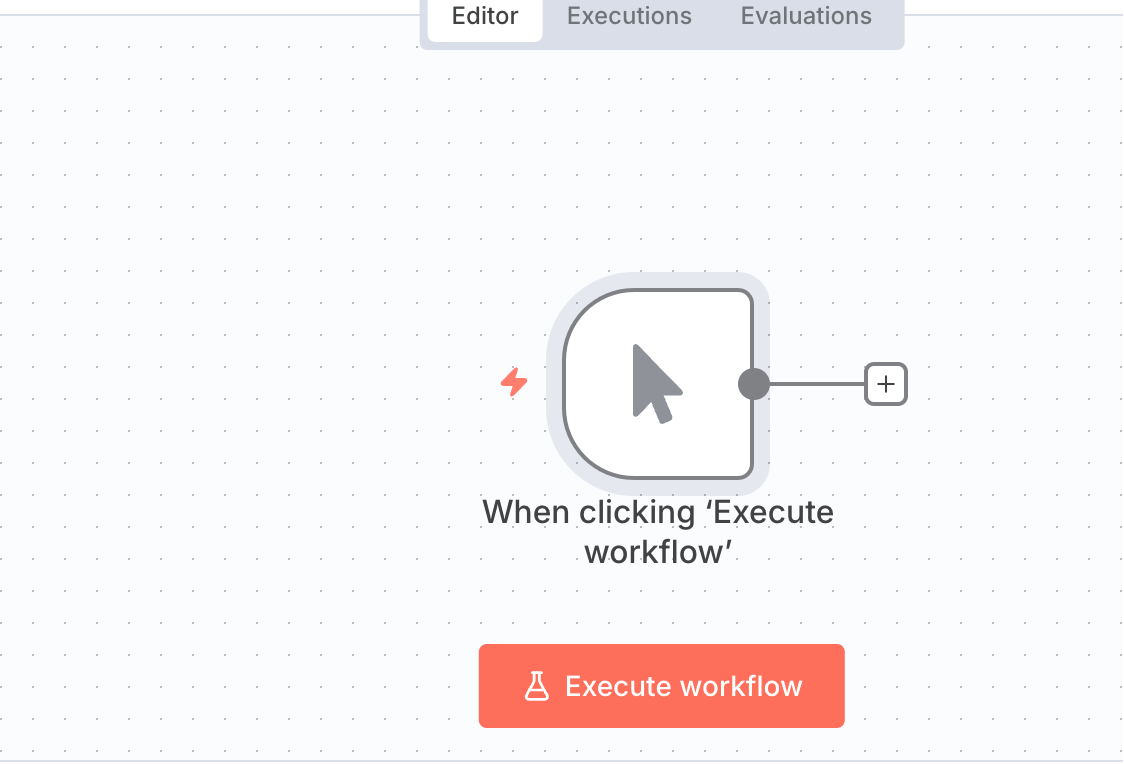
Click the + on the right to add a Google Drive node, using "Download File" as an example.
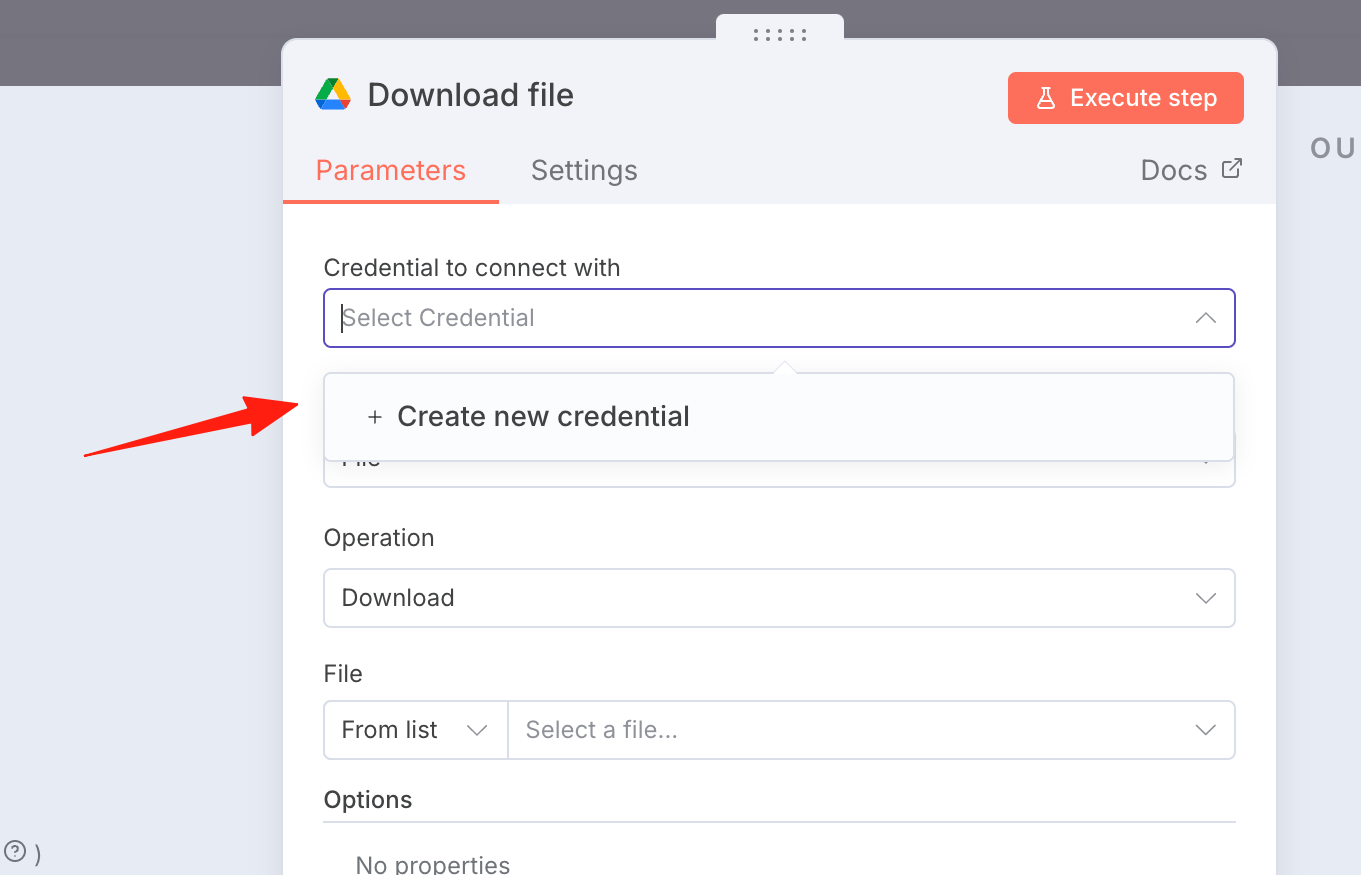
Click to create an authorization.
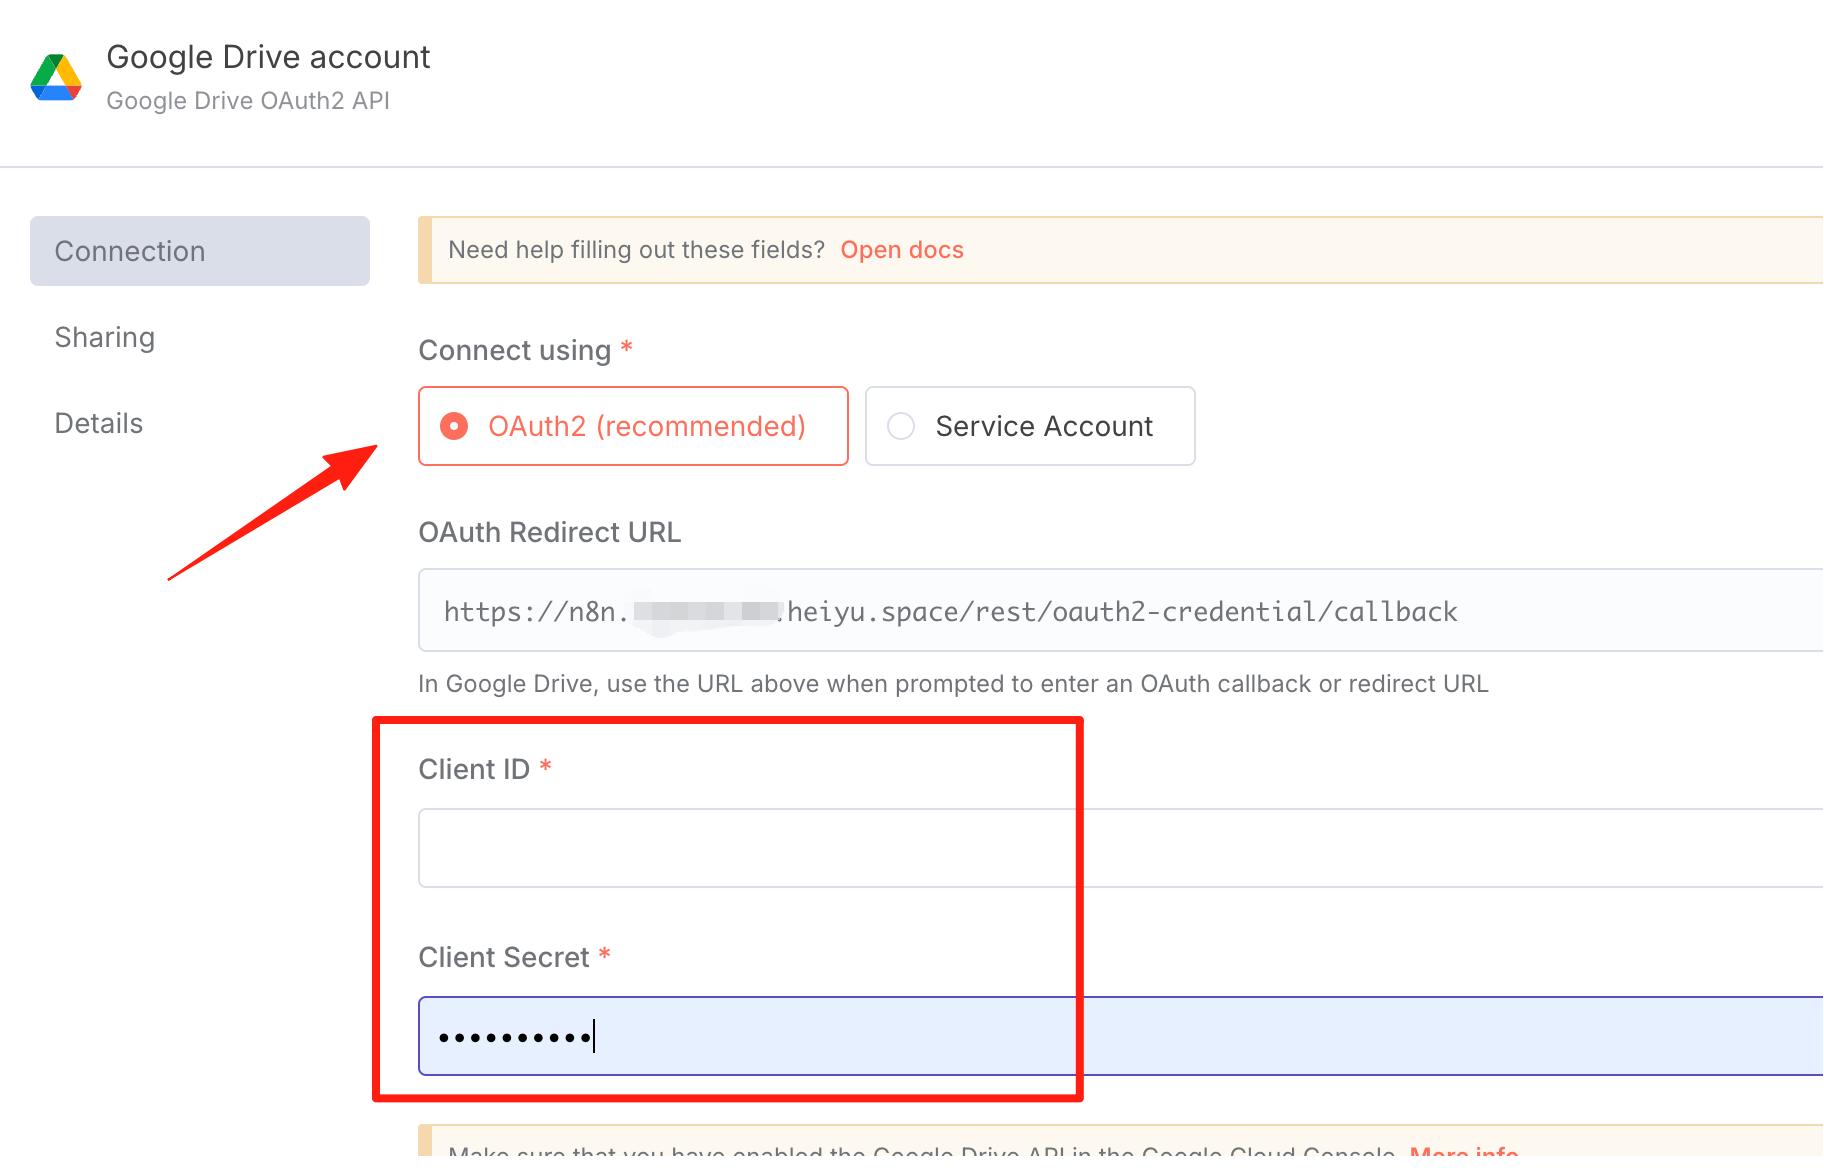
Select the OAuth authorization method. You need to obtain a Client ID and Secret.
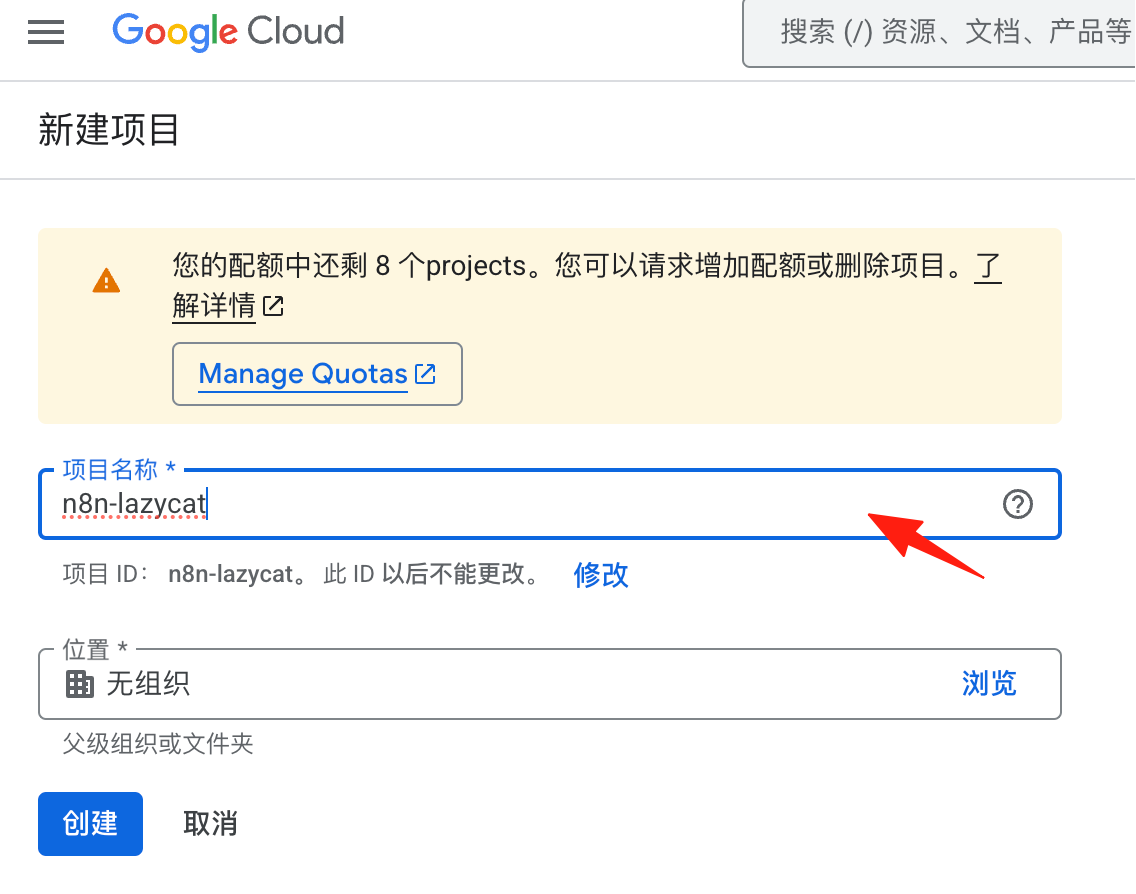
Go to Google Cloud and create a new project.
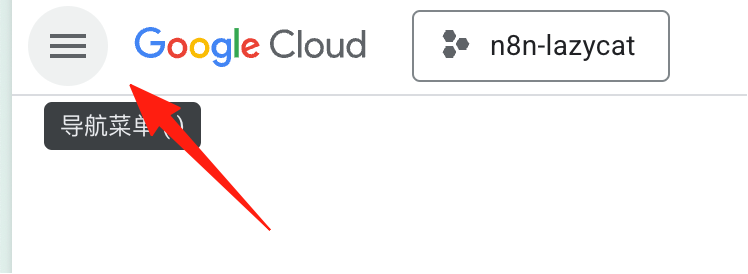
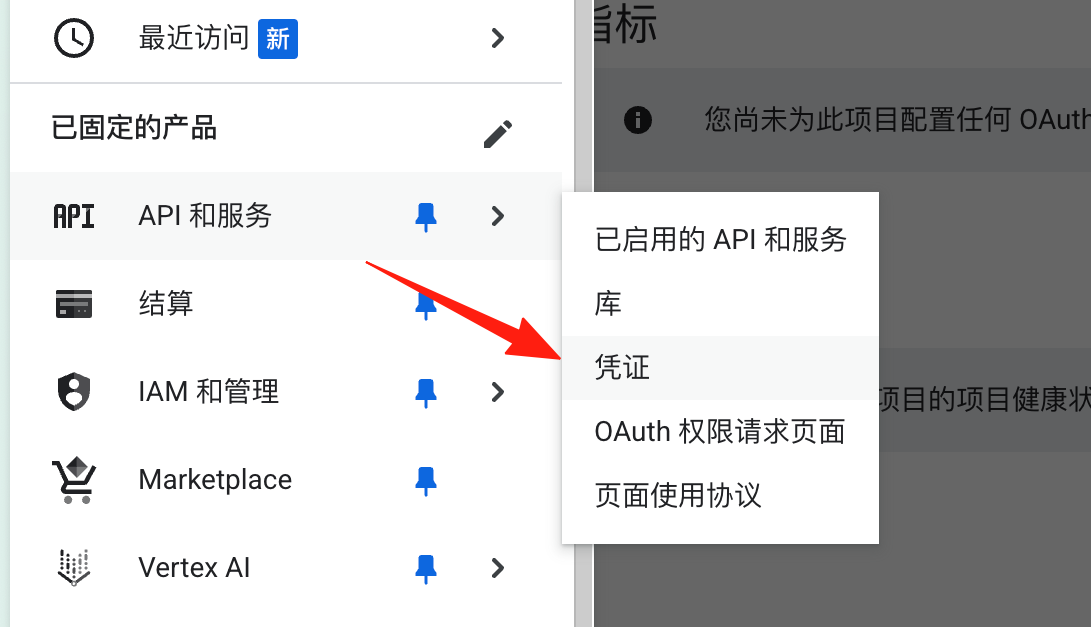
Click the navigation menu here.
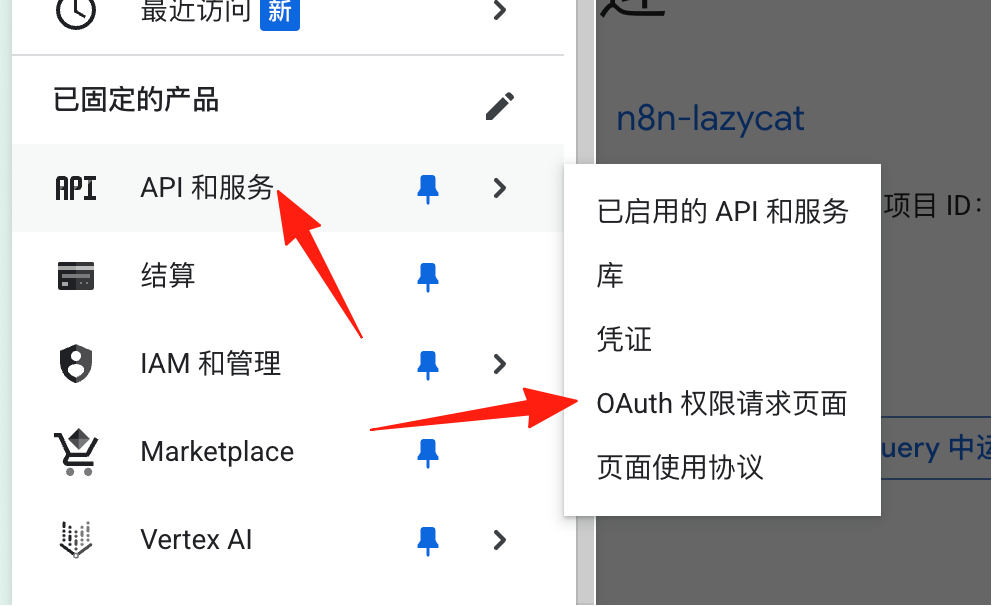
Under "APIs & Services", select "OAuth consent screen".
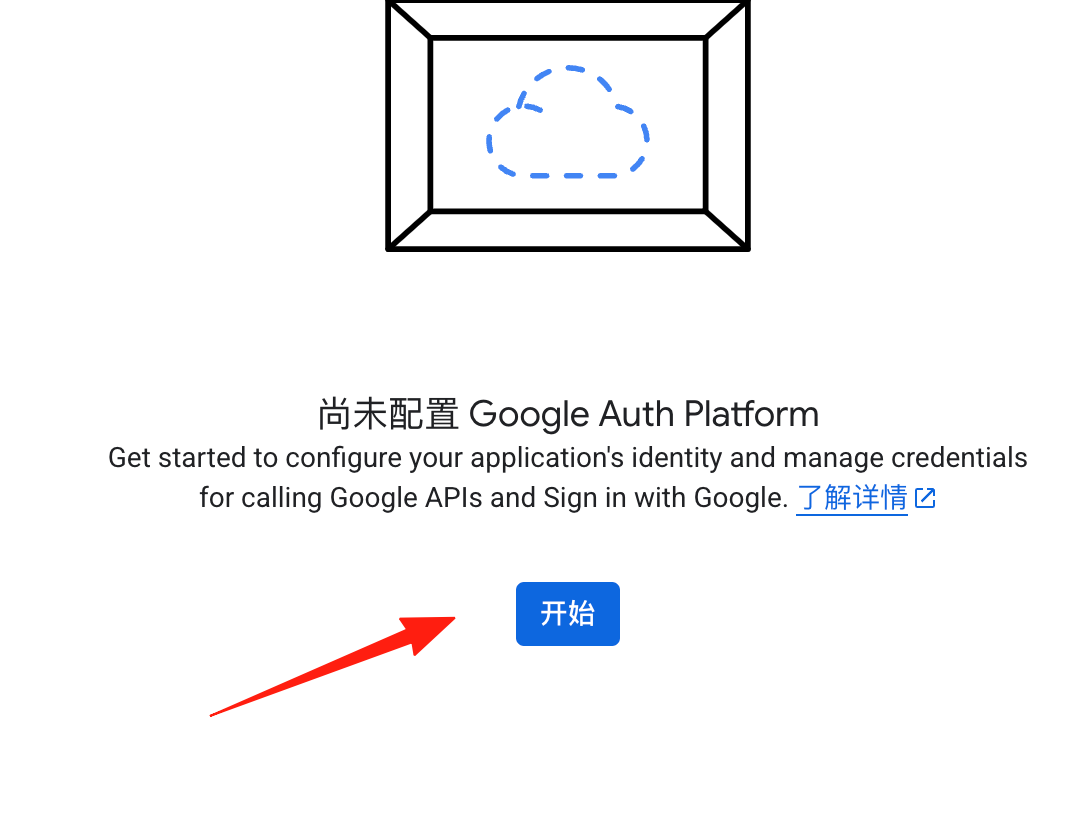
Click "Start".
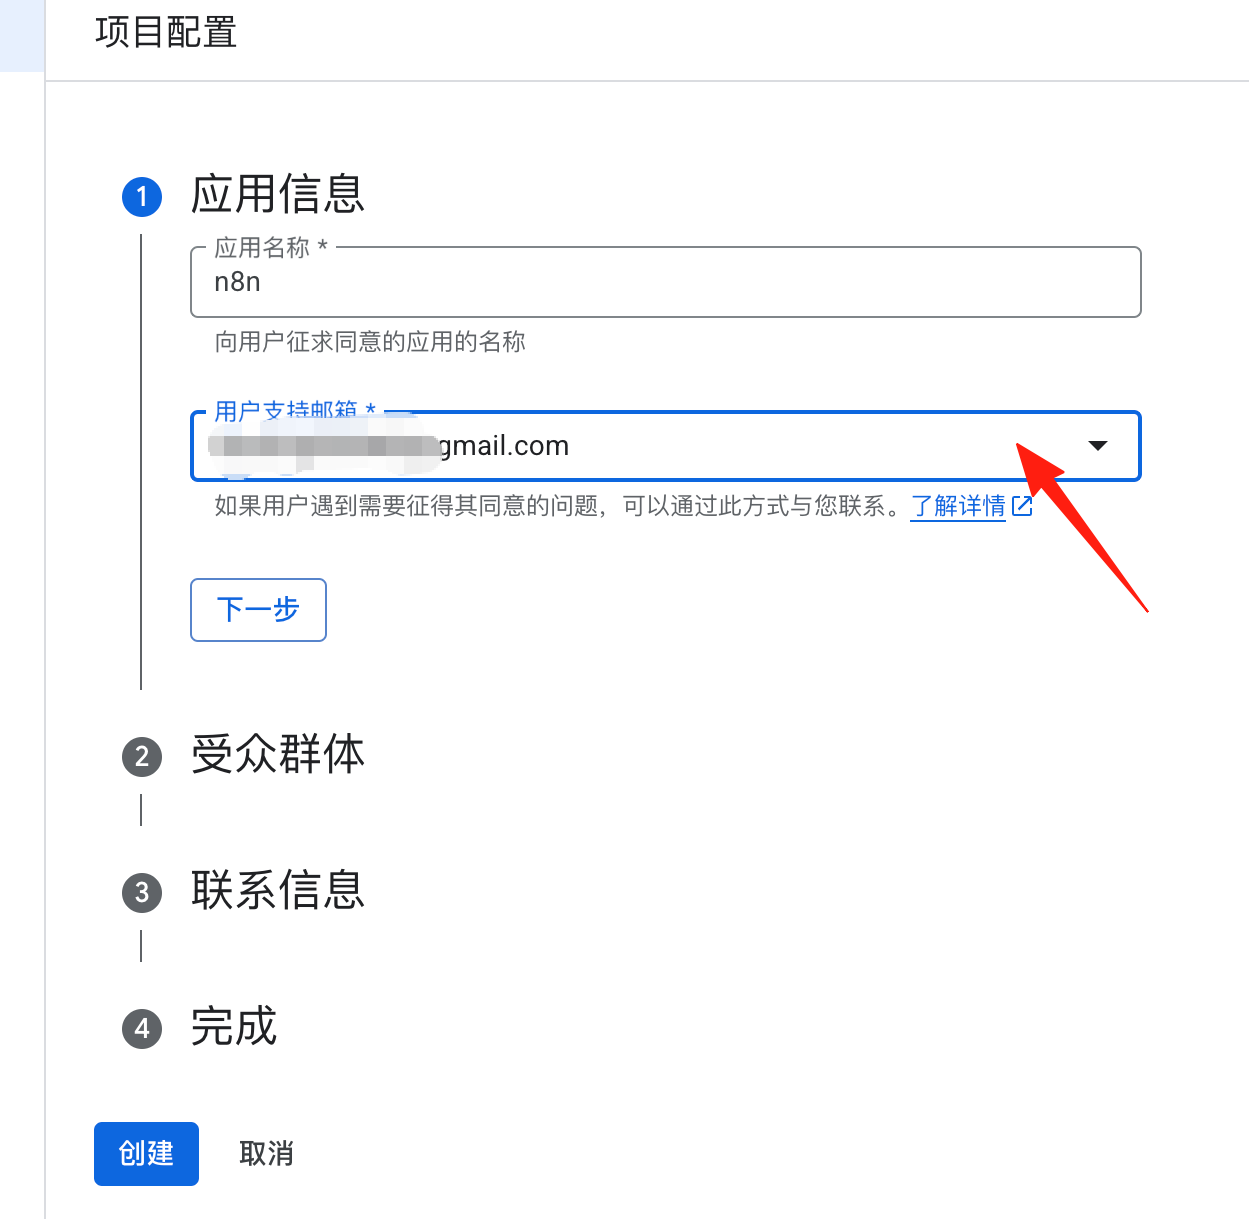
Enter a name and your email address.
For personal use, select "External".
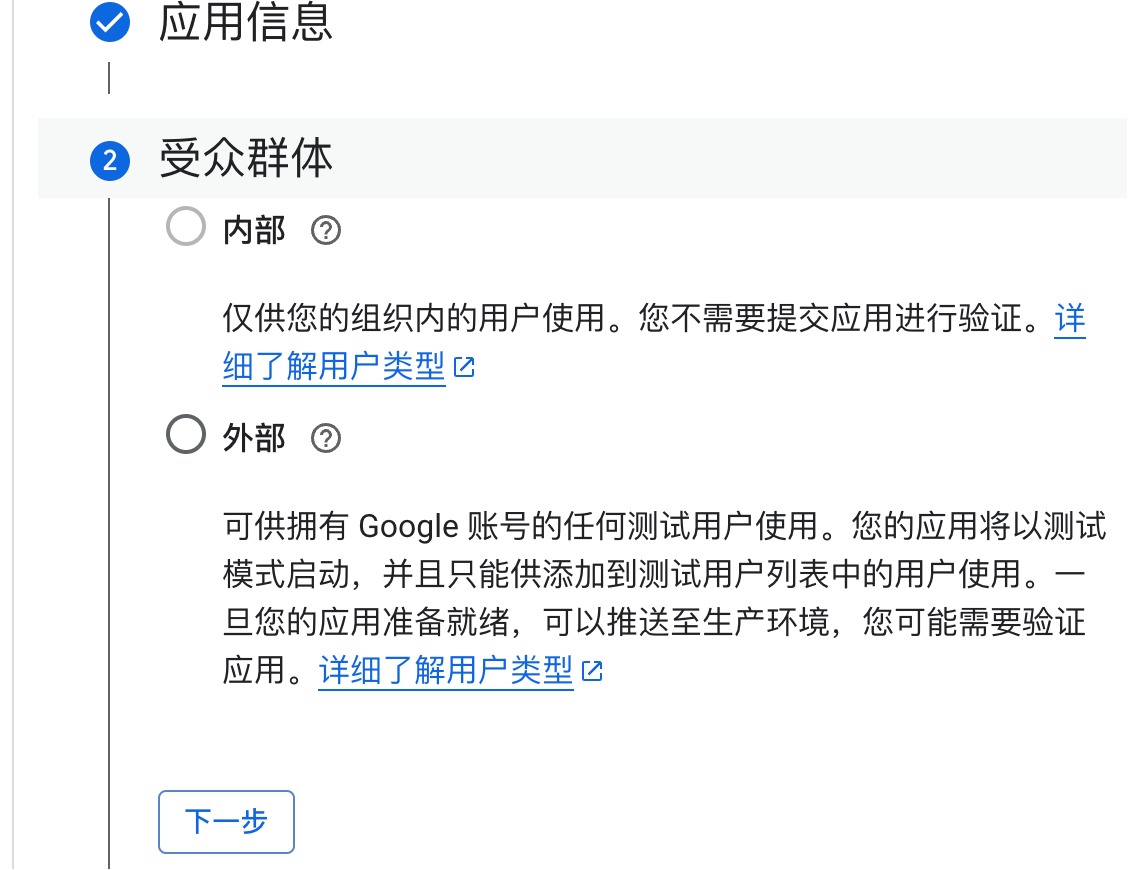
Enter your email address again.
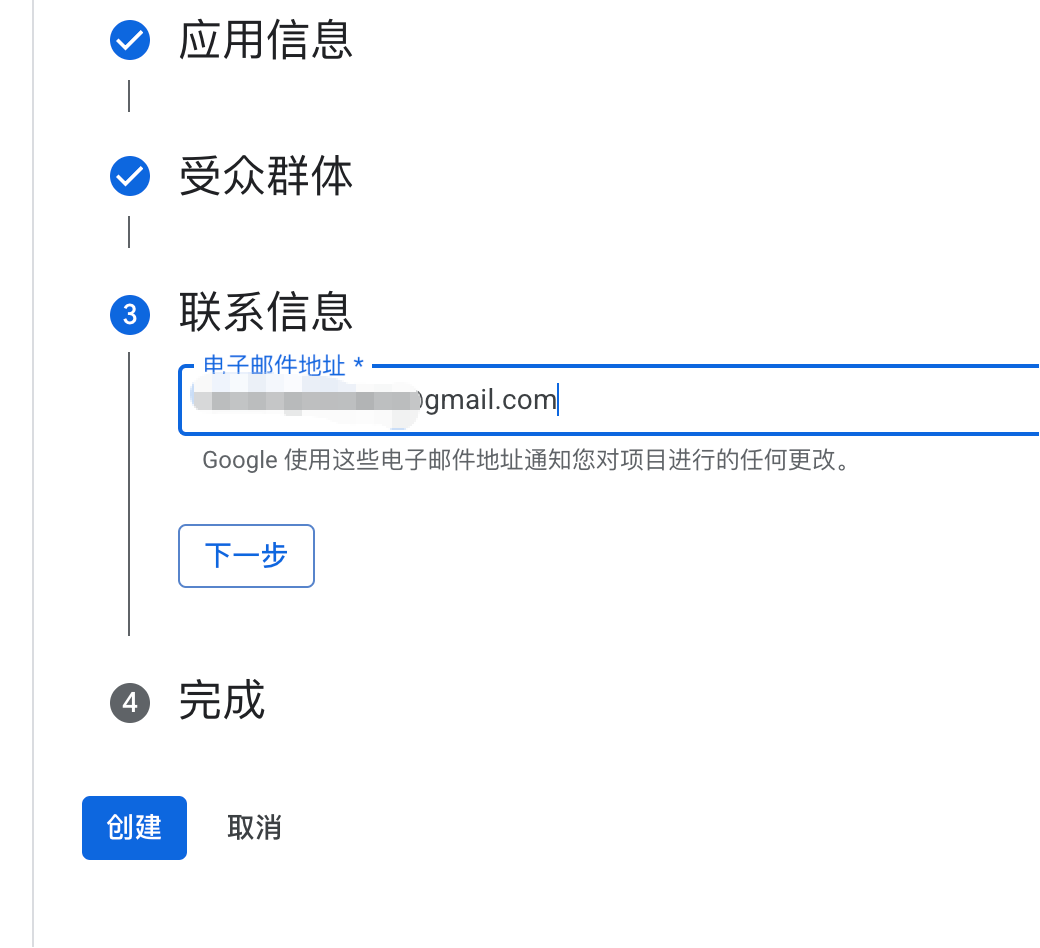
After clicking "Create", return to the navigation menu and click "Credentials".
Create a credential.
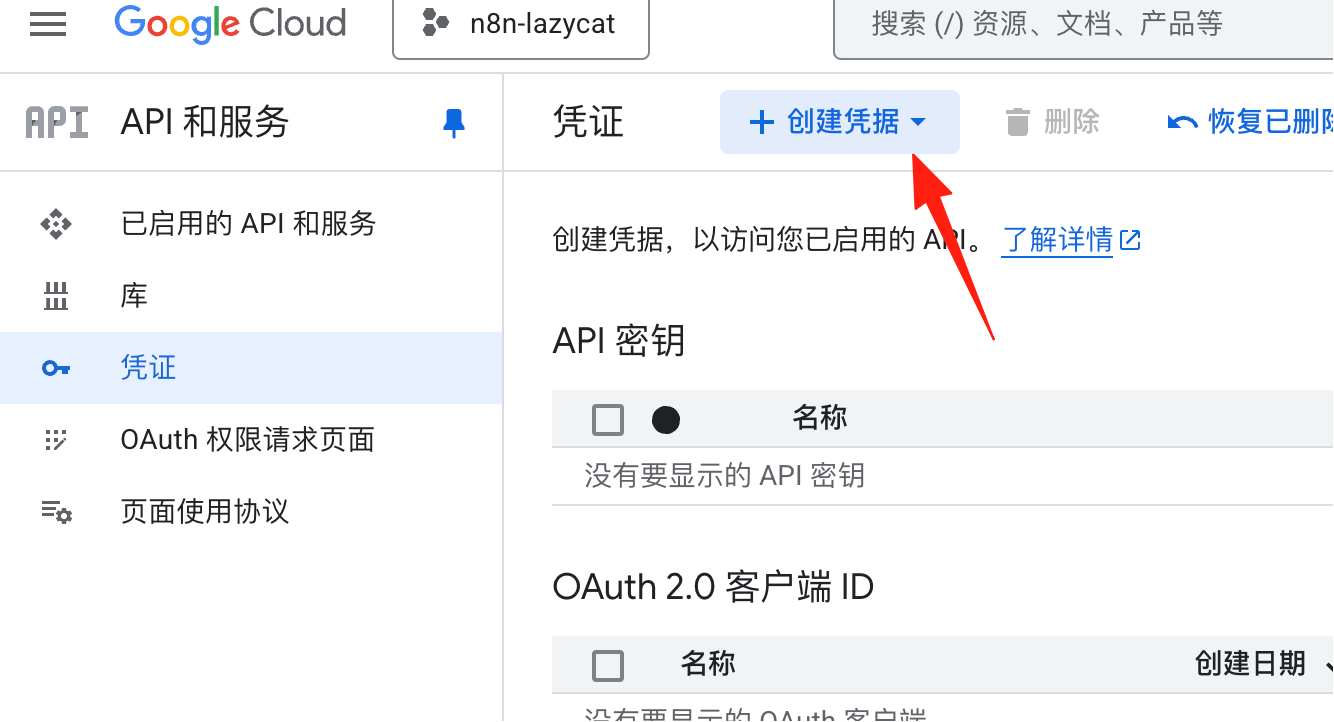
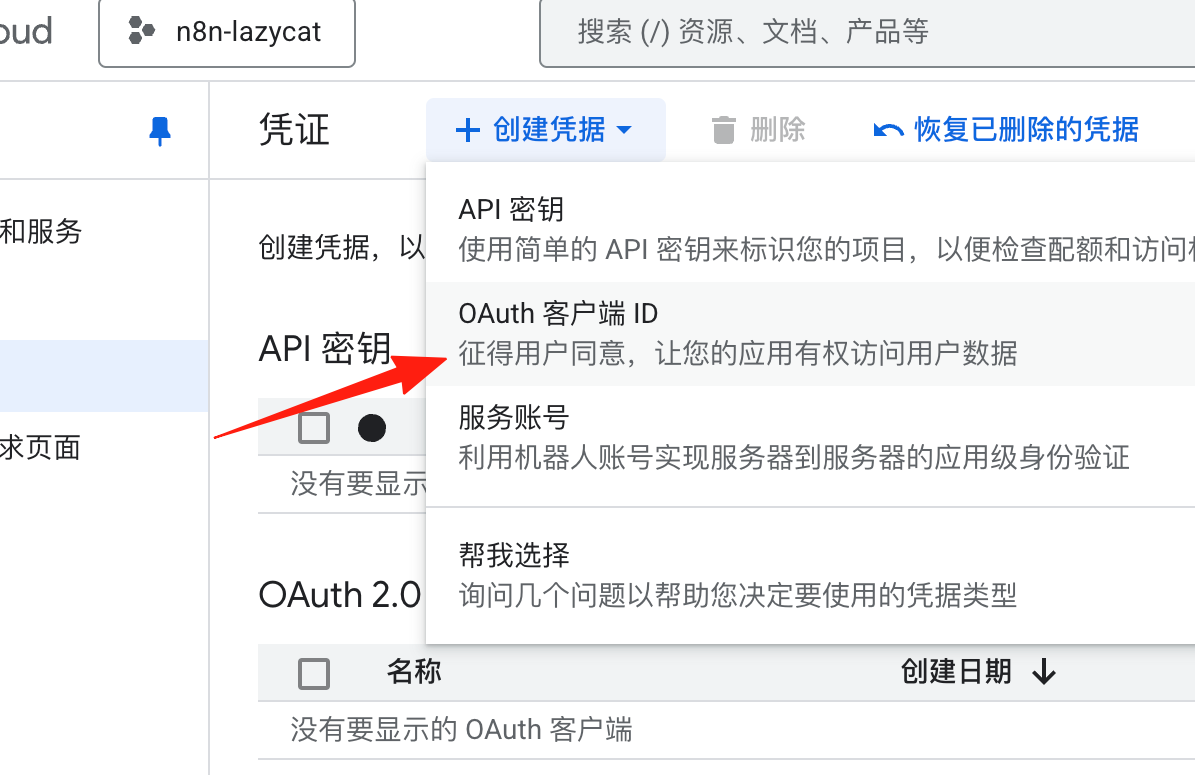
Select "OAuth client ID".
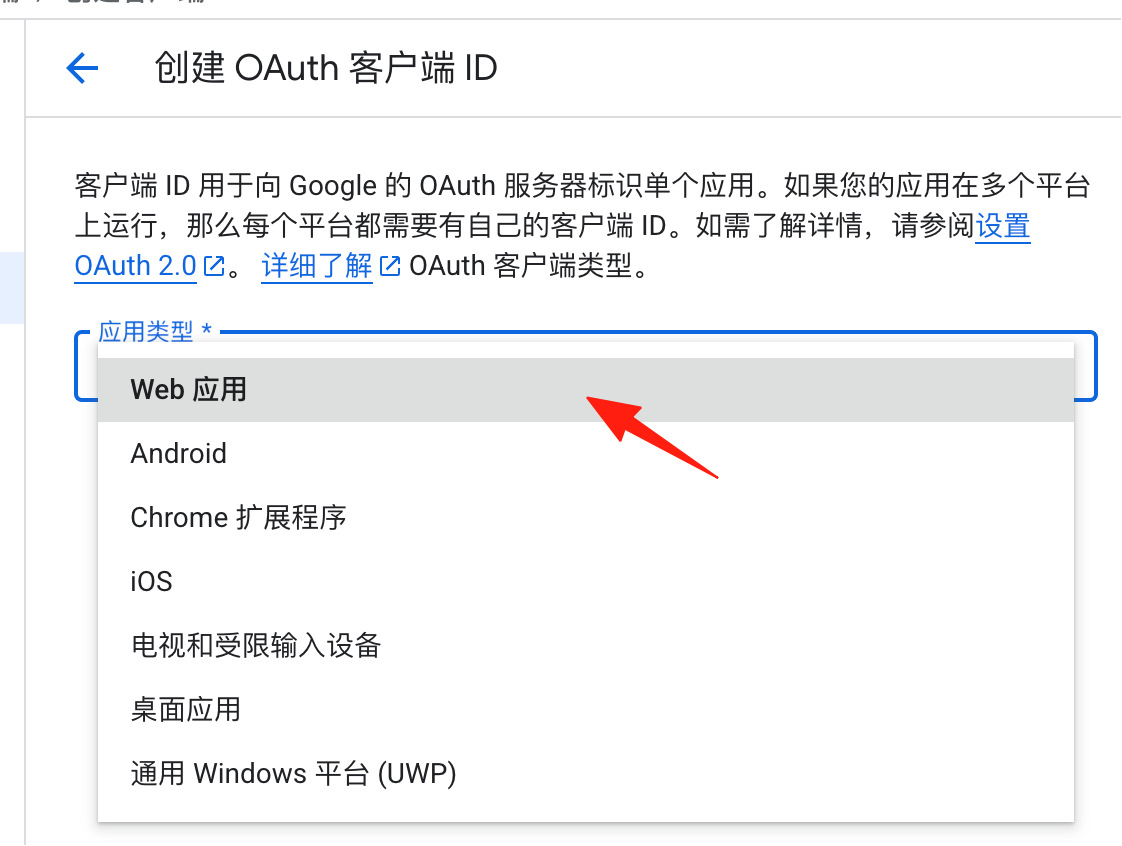
For application type, choose "Web application".
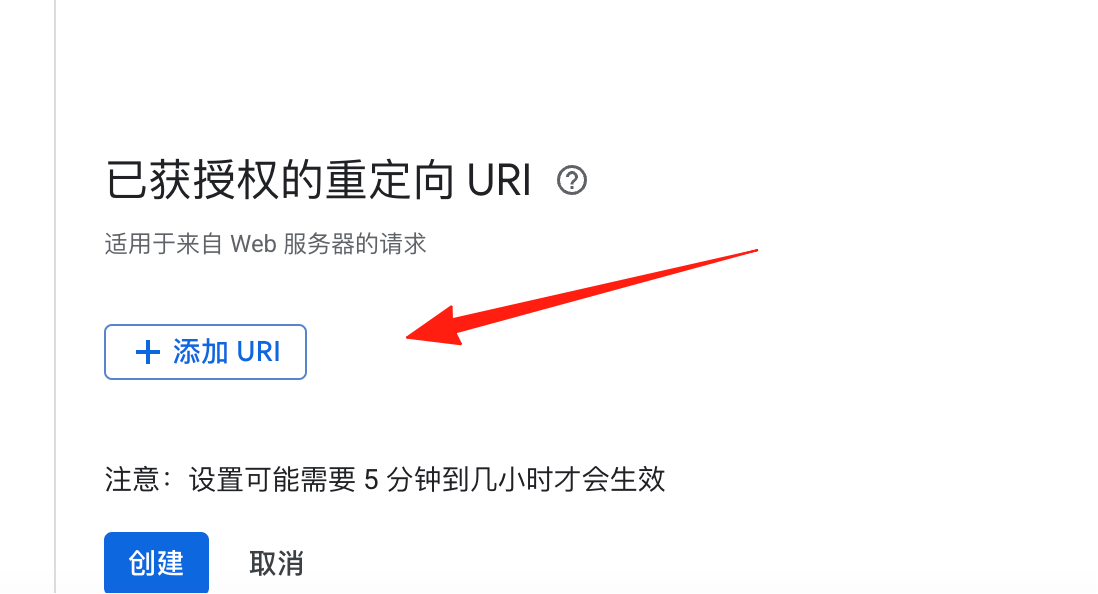
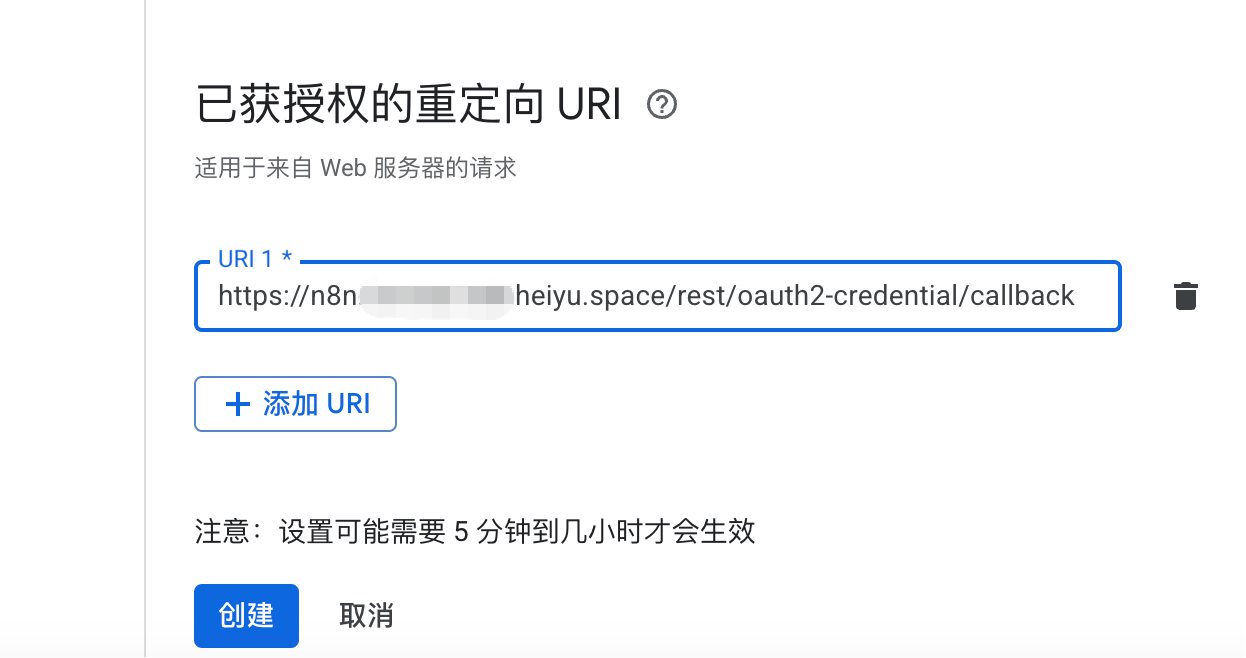
The most important step is to add the following URL in the designated field.
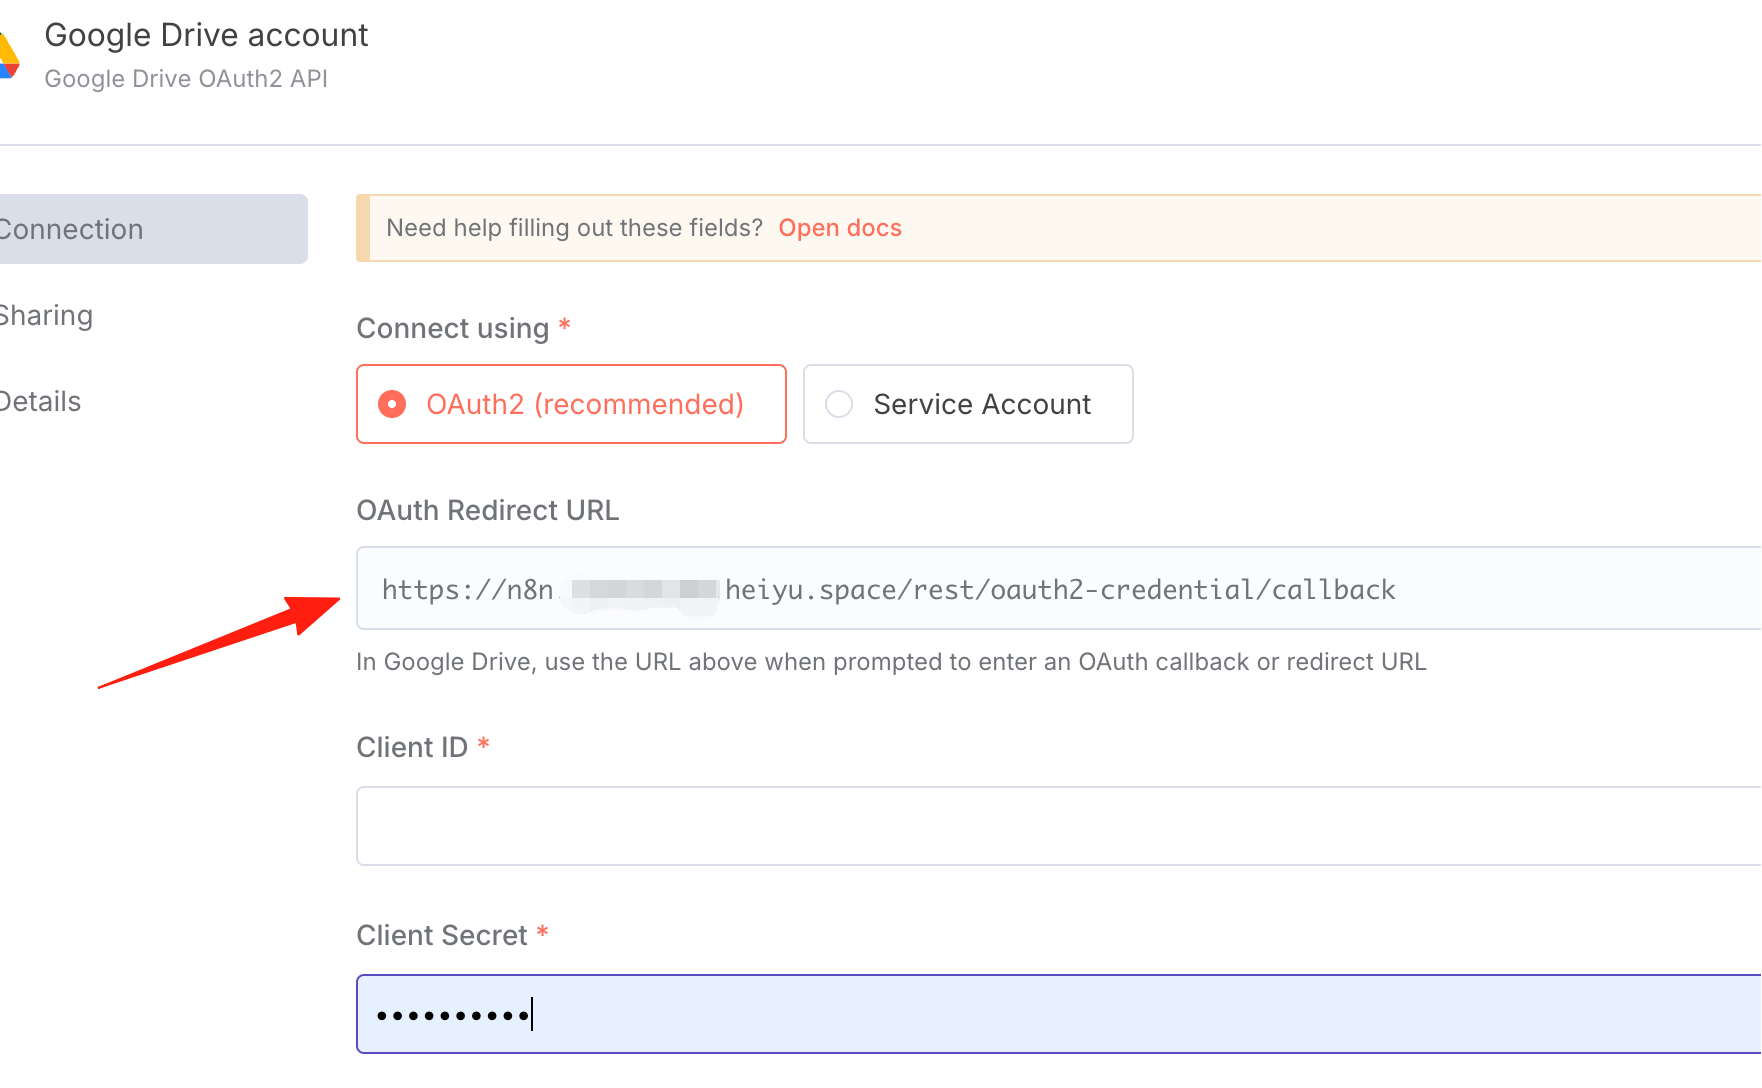
Return to n8n, copy this address, and paste it into the URI field mentioned earlier.
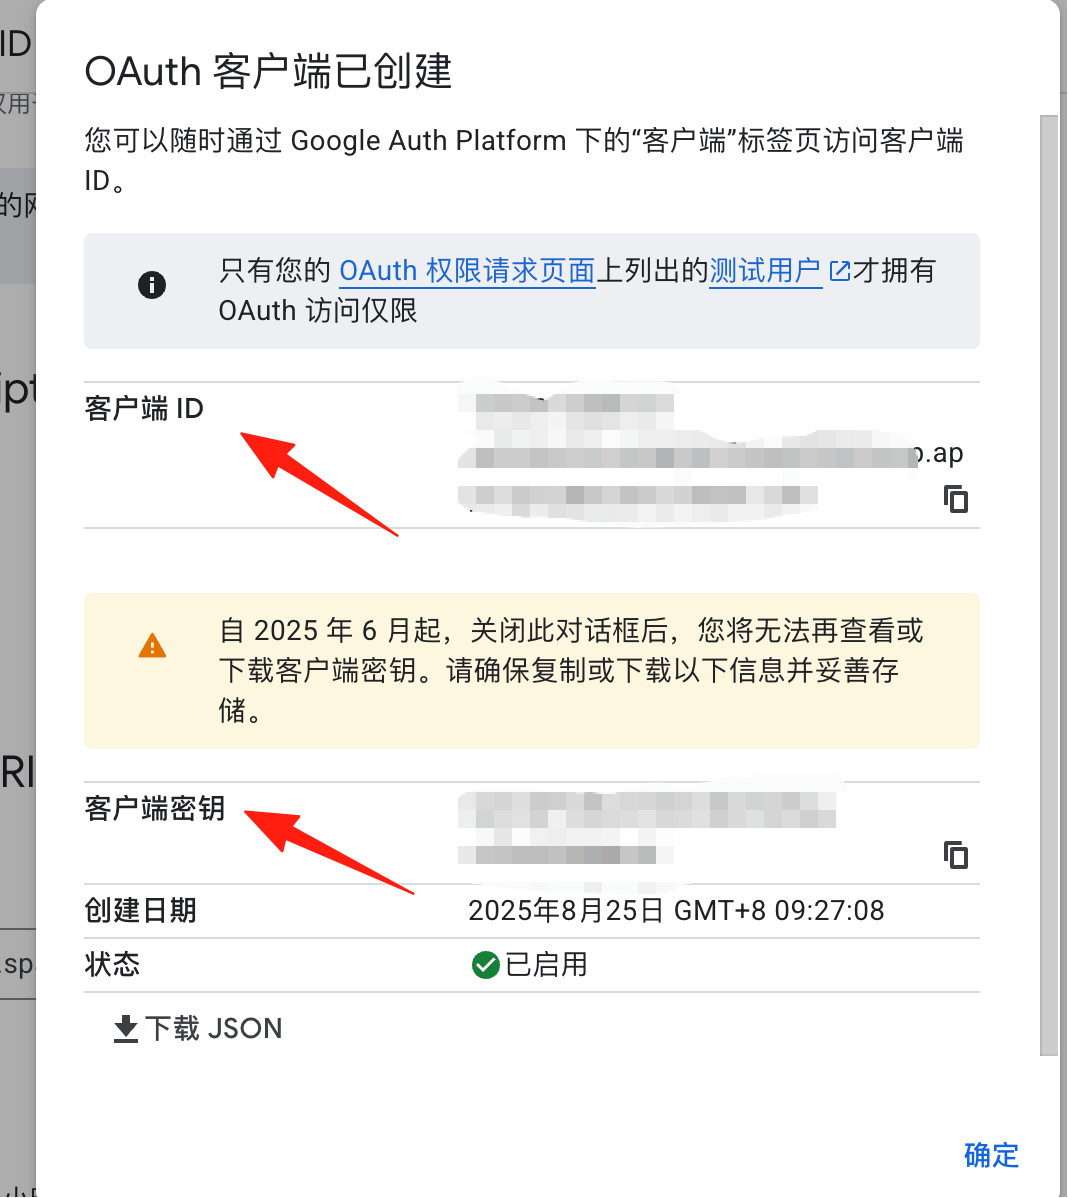
After clicking "Create", the Client ID and Secret will be displayed. Copy them into the corresponding fields in n8n.
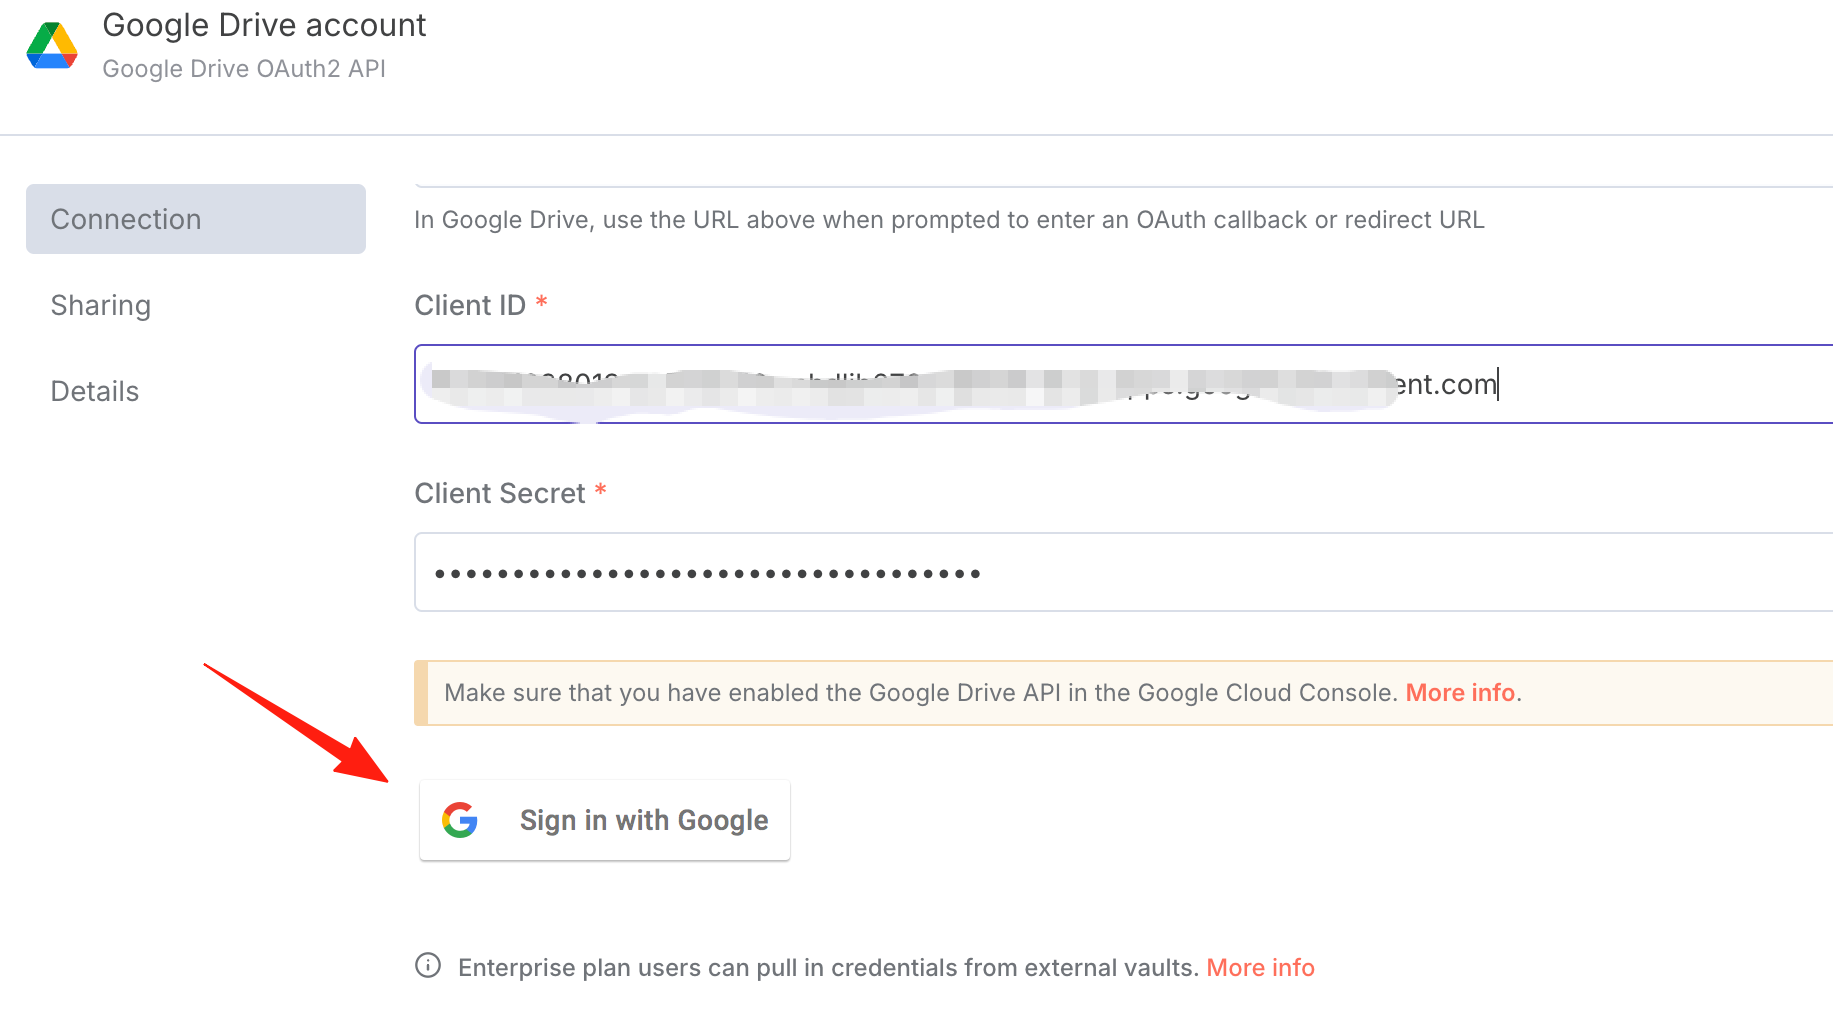
Click "Sign in with Google" here.
You won't be able to proceed at this point; you will see the following prompt.
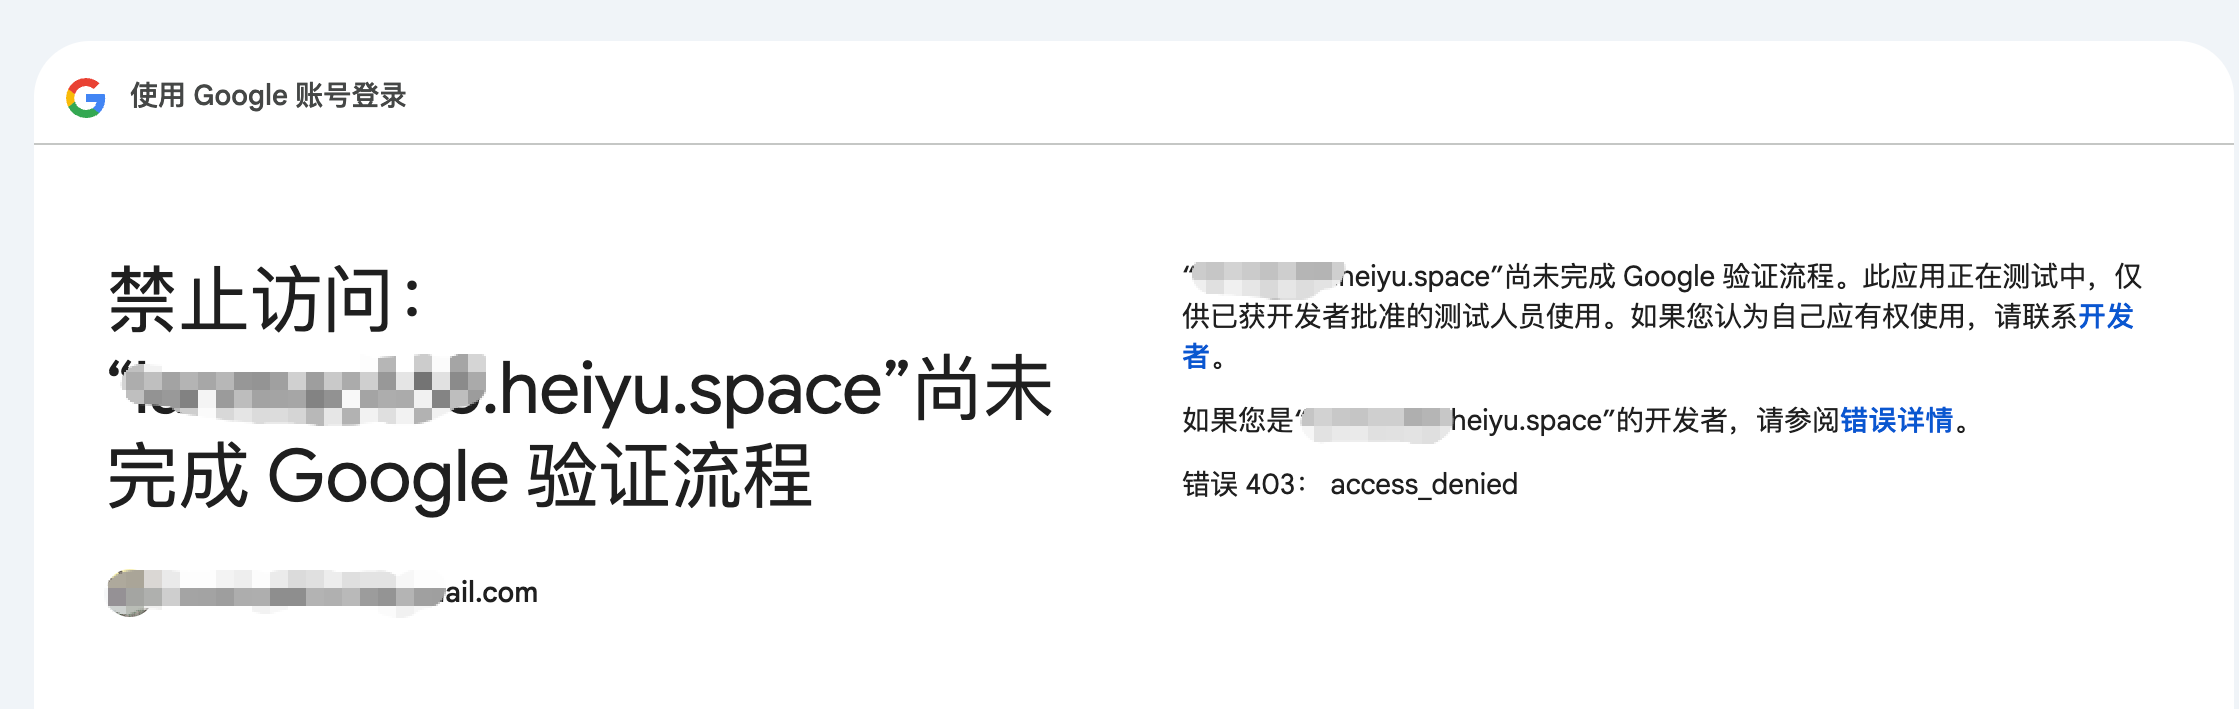
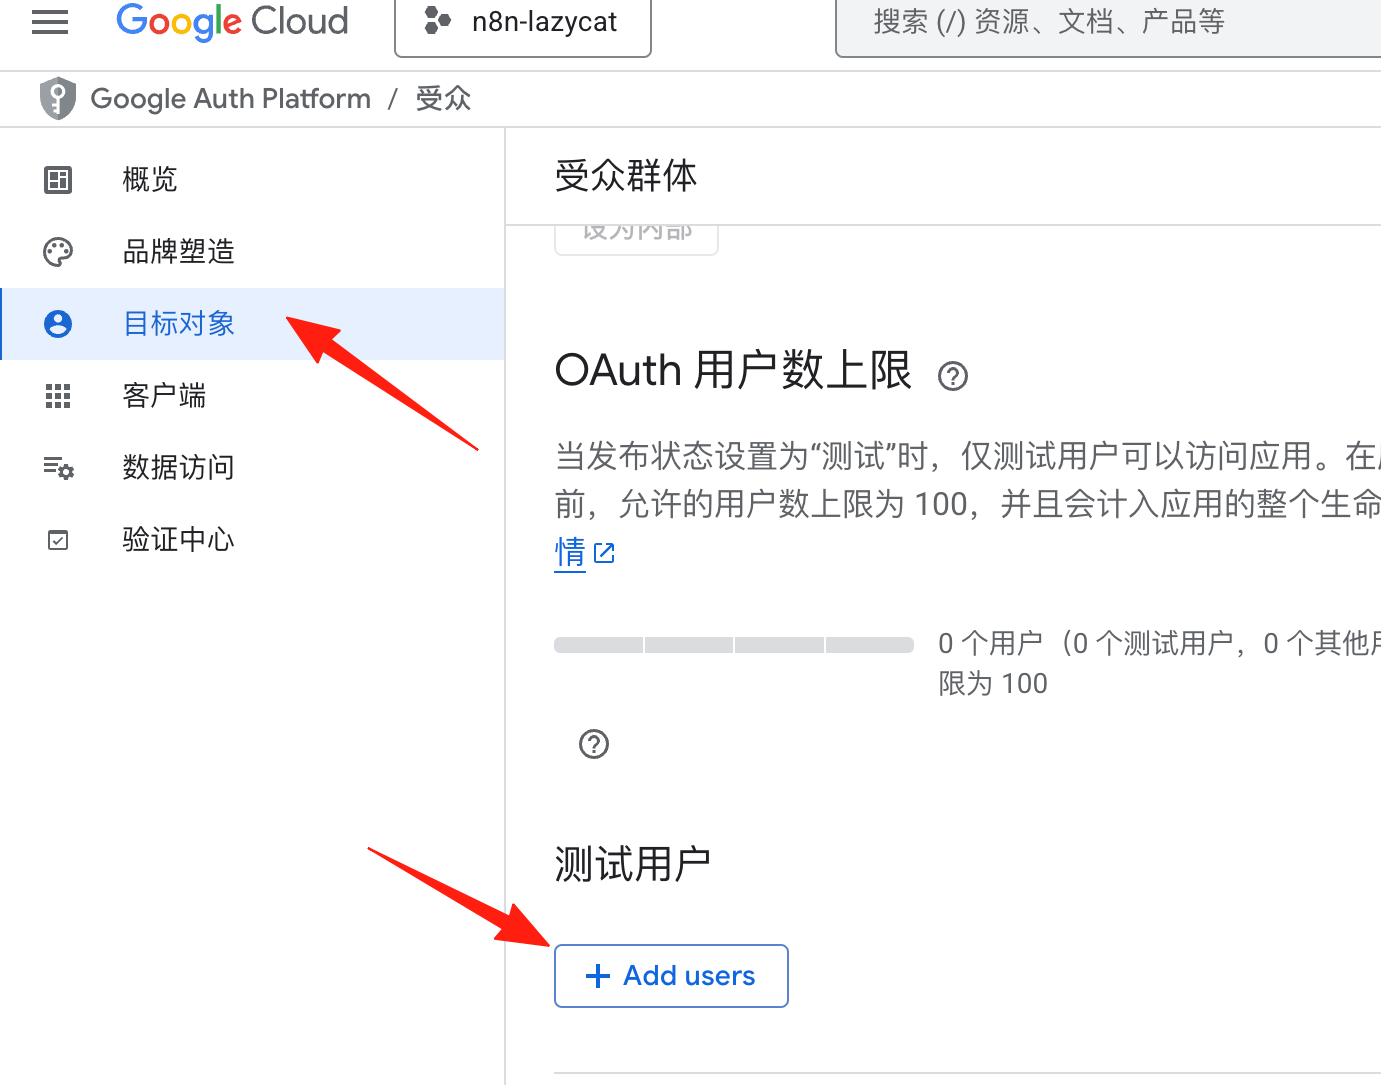
You need to add your account as a test user. Under "Test users", add a user.
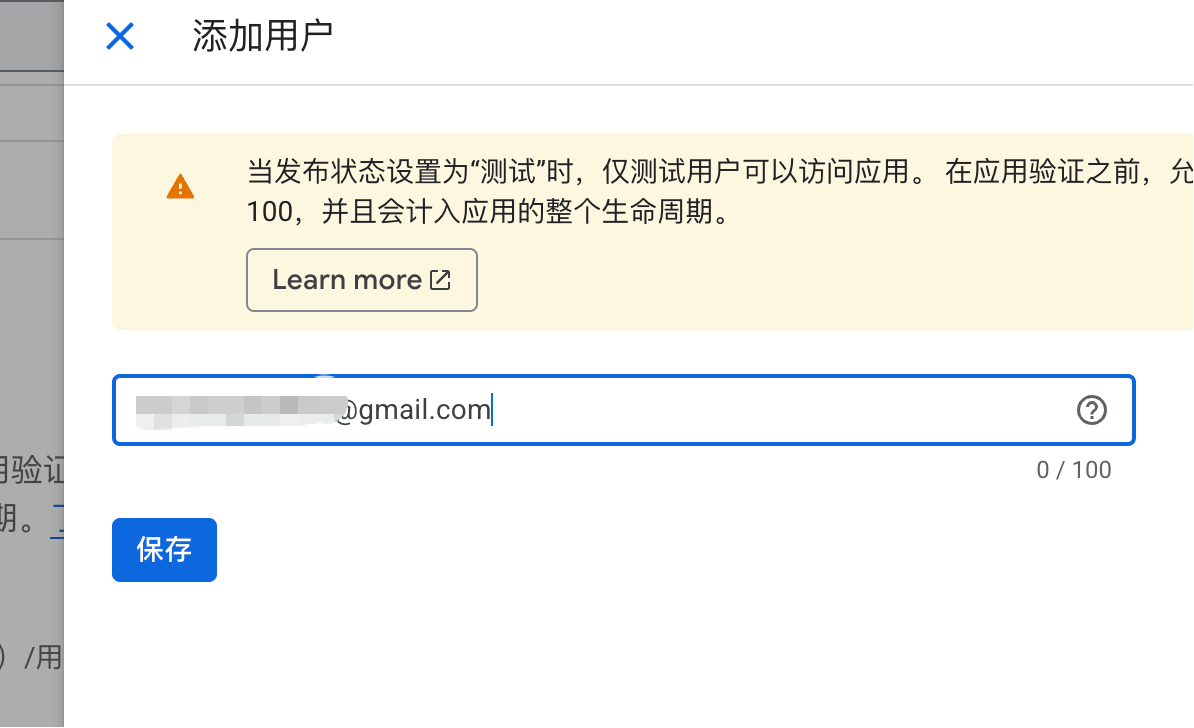
Enter your email address.
Return to the n8n authorization and click "Continue".
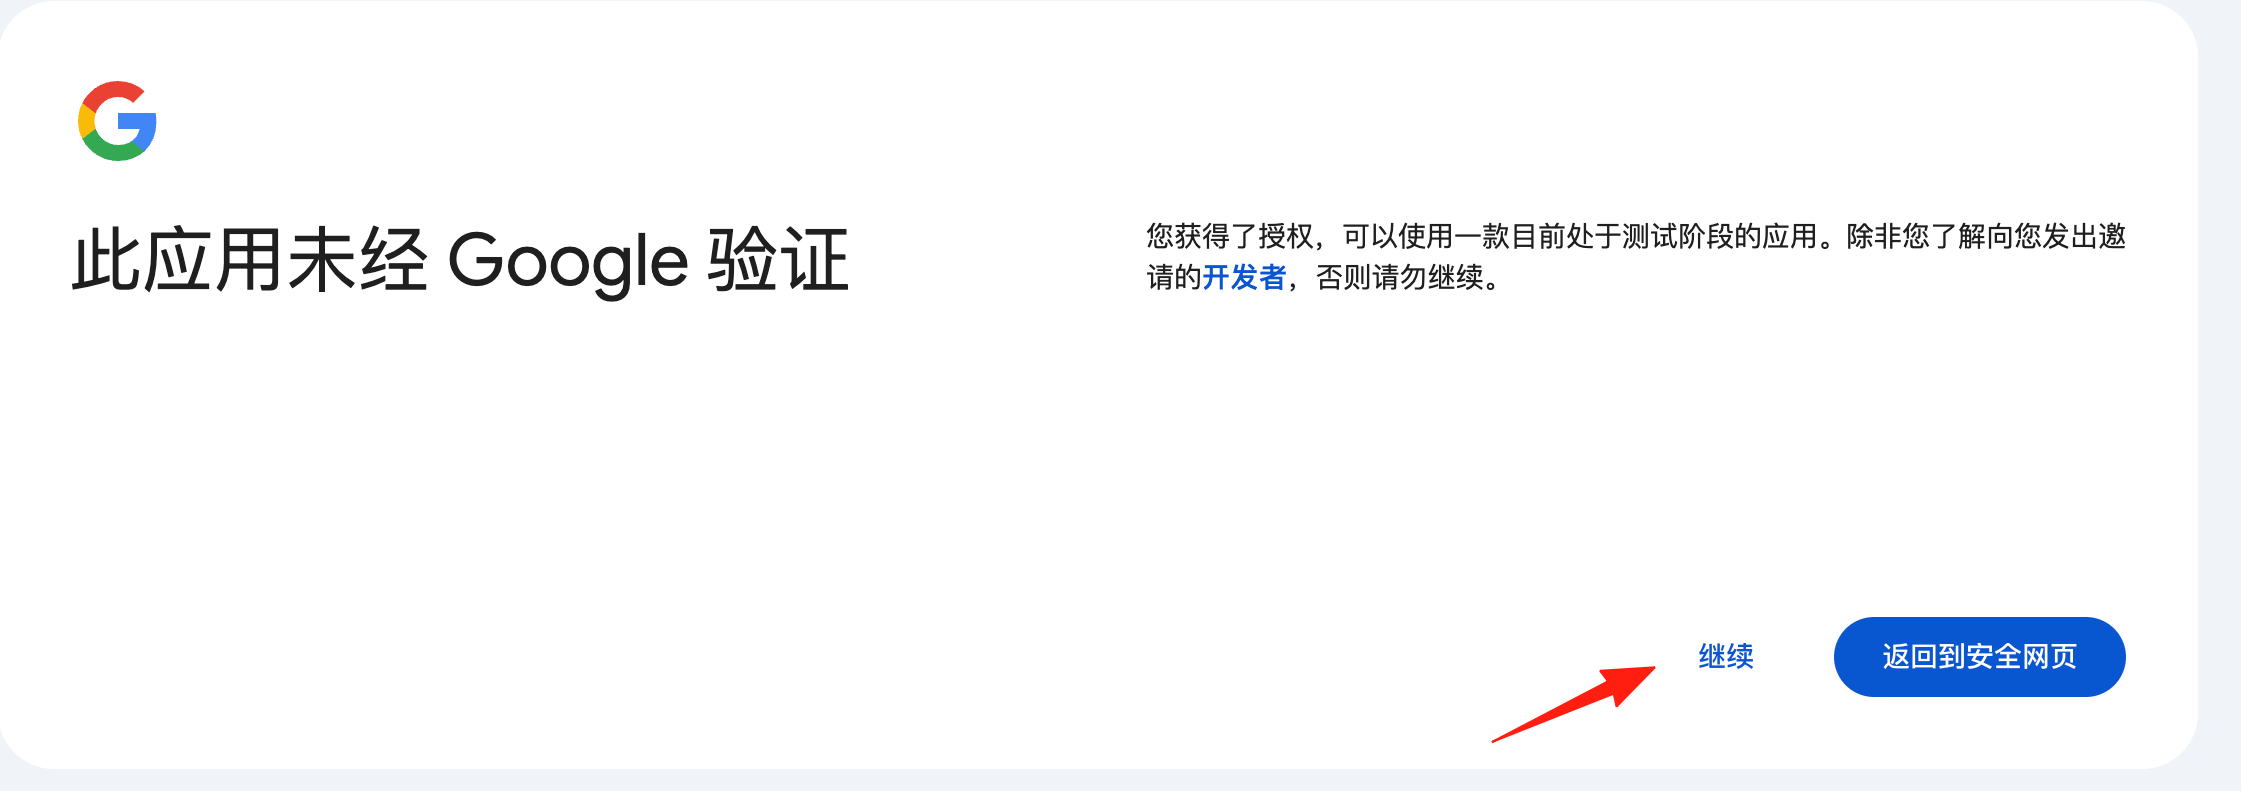
Authorization successful. You will see a confirmation message.
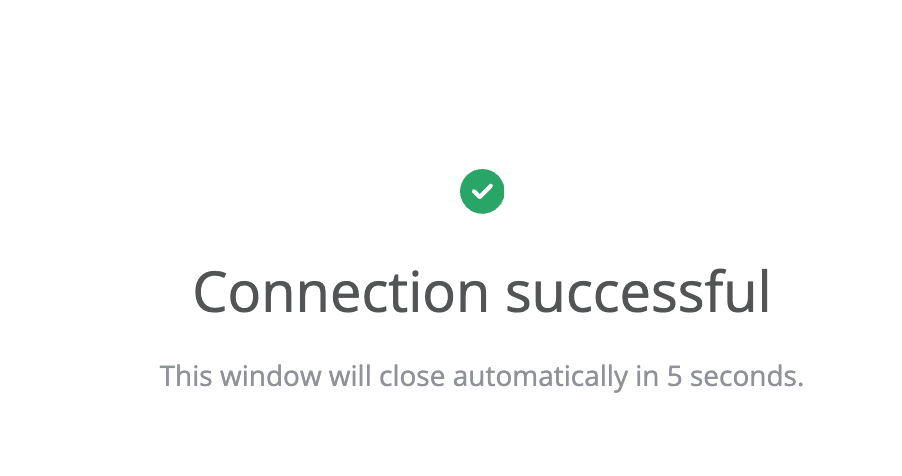
n8n will also show a success message.
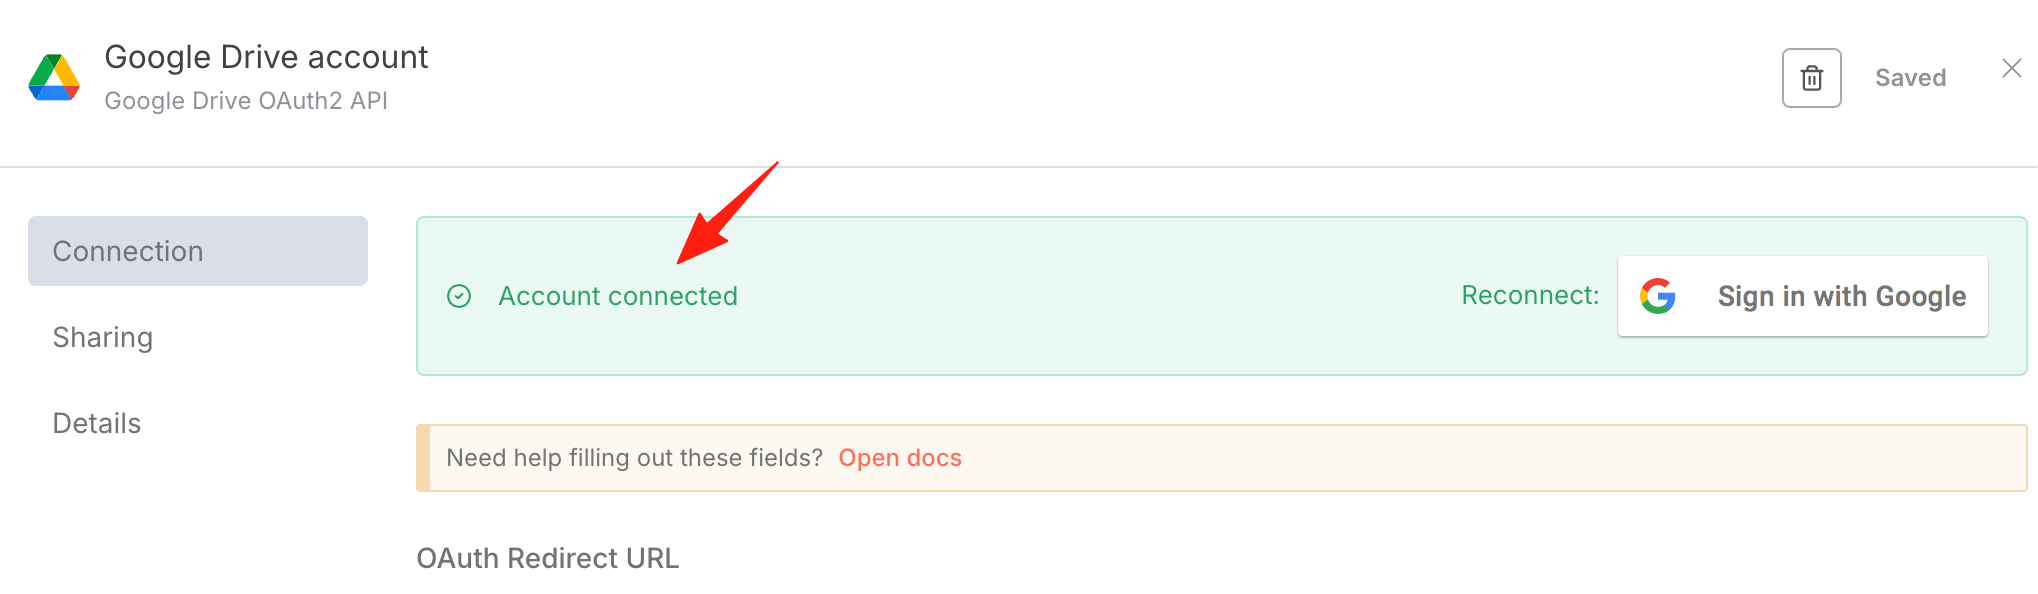
At this point, the operation is successful. You can now use n8n to upload and download files.