
Website-shot Practical Guide: The Ultimate Tool for Effortless Webpage Screenshots
What is Website-shot?
Let's be honest, taking full-page screenshots of websites can be really annoying. The built-in browser screenshot function only captures the visible viewport. Want a full-page, long screenshot? You either need to install an extension or use various online tools, often running into limitations.
Website-shot is a free webpage screenshot tool that generates complete webpage screenshots with no usage restrictions. Its core advantages are:
Full-Page Screenshots: No matter how long the webpage is, it can capture it as a single, complete image, eliminating the need for manual stitching.
Batch Screenshots: You can put all the URLs you want to capture into a list and let it process them all at once, maximizing efficiency!
Highly Customizable: Want a specific screenshot size? Need to capture a specific device view (e.g., mobile, tablet)? It can handle all these settings for you.
https://appstore.lazycat.cloud/#/shop/detail/cloud.lazycat.app.websiteshot
Quick Start
After installing the application, the main function page opens directly.
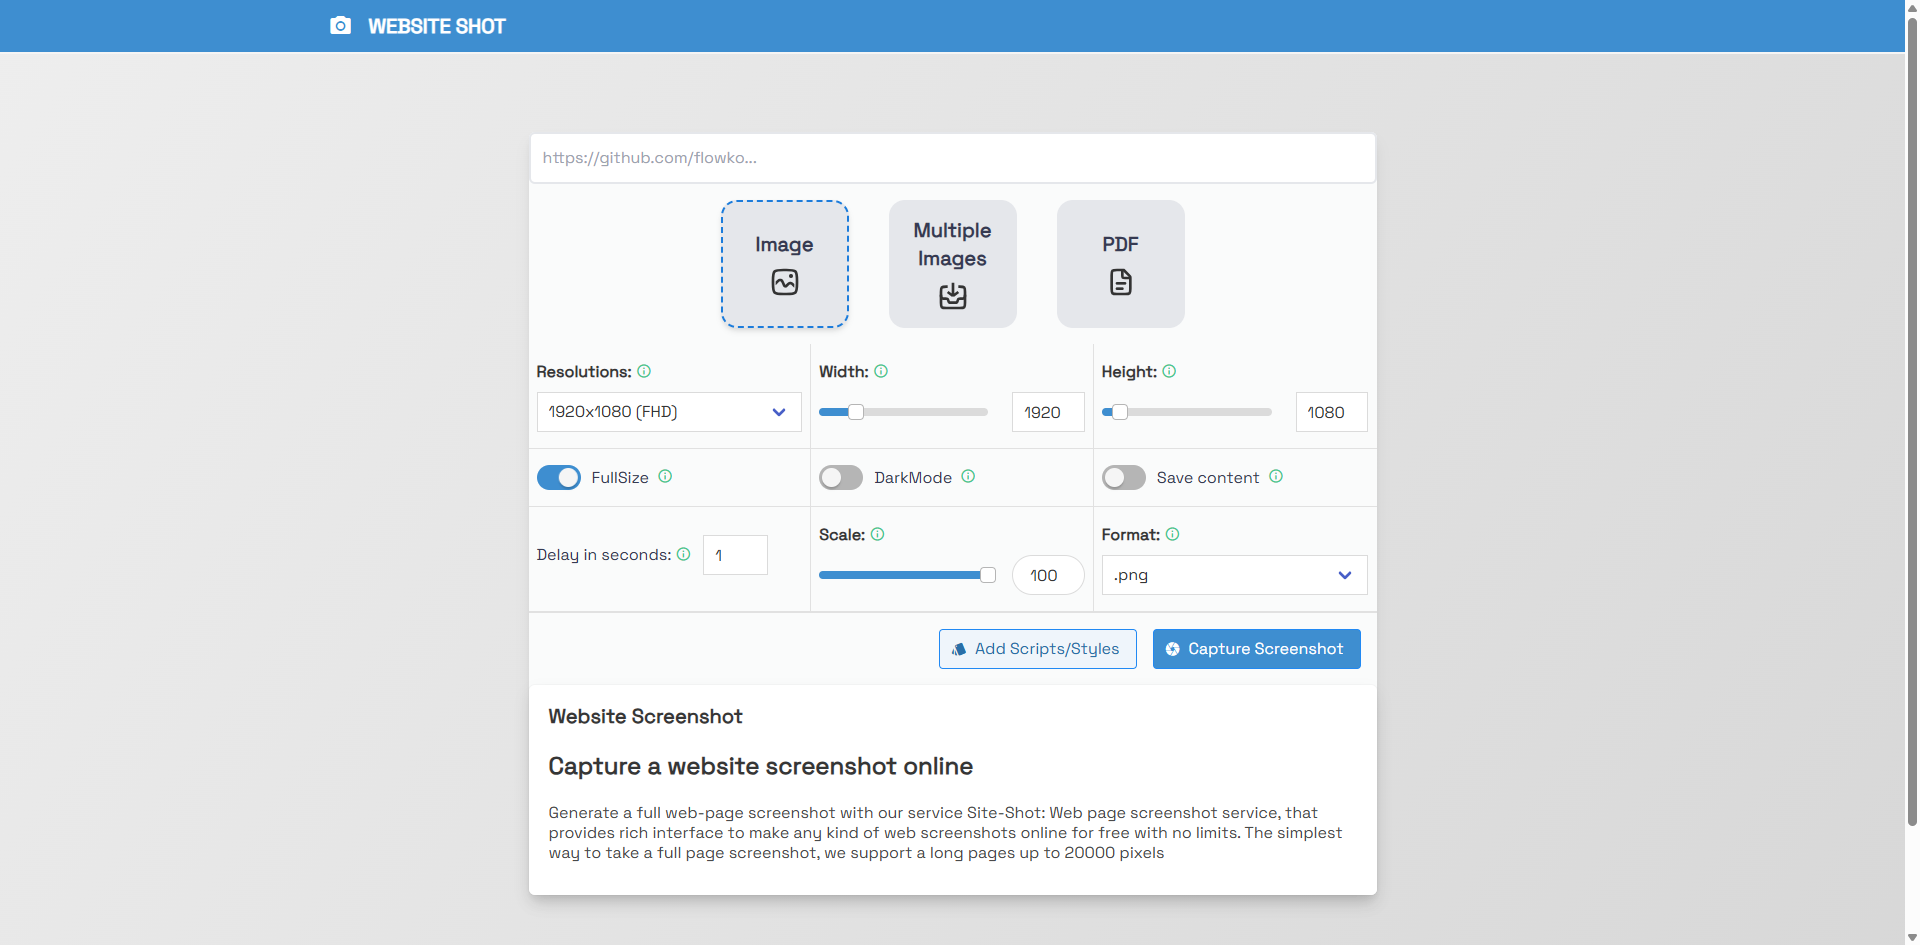
Screenshot Type Selection
At the top, there are three large buttons for selecting the output type:
- Image: This is the most common option, capturing the webpage content as a single image.
- Multiple Images: If you have entered multiple URLs in batch, select this to generate screenshots for all websites at once.
- PDF: Select this if you want to save the webpage content as a PDF file.
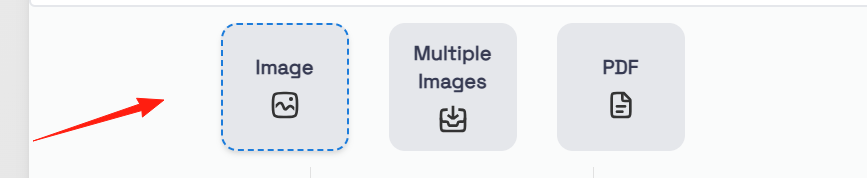
Resolution and Size Settings
This area controls the screenshot size and aspect ratio:
- Resolutions: A dropdown menu with preset common resolutions like 1920x1080 (FHD) for quick selection.
- Width & Height: If you don't want to use a preset resolution, you can manually drag the sliders or input numbers to precisely control the screenshot's width and height.
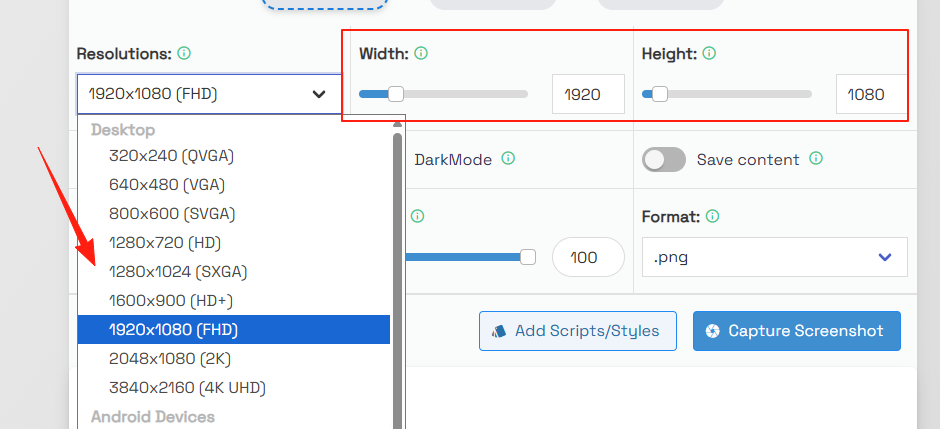
These toggles enable more advanced screenshot requirements:
- FullSize: Extremely practical! When enabled, website-shot captures the entire webpage from top to bottom as one complete image, regardless of length, eliminating manual scrolling and stitching.
- DarkMode: Check this to generate a screenshot showing how the website looks in dark mode.
- Save content: This function is primarily for saving the webpage's HTML and CSS code.

Settings in this area provide better control over the capture process:
- Delay in seconds: Sometimes a webpage needs time to load content (e.g., dynamic data, animations). You can set a delay (e.g., 3 seconds) to ensure all content is fully loaded before capturing, avoiding blank or incomplete screenshots.
- Scale: This slider adjusts the screenshot's zoom level. Setting it to 50 reduces the screenshot by half; 200 doubles its size.
- Format: This dropdown menu lets you choose the image save format. The default is usually .png, but you can select others like .jpeg.
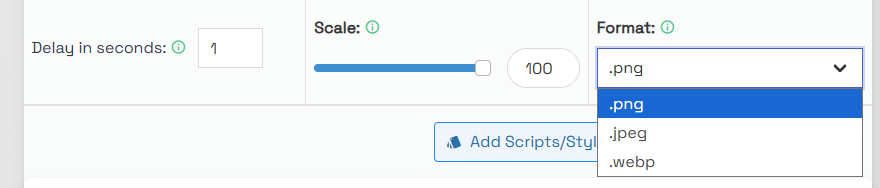
- Add Scripts/Styles: If you know some front-end code, use this button to add custom scripts or styles to the webpage for special effects, like hiding an element before capturing.
- Capture Screenshot: After configuring all parameters, click this button to start the screenshot process.
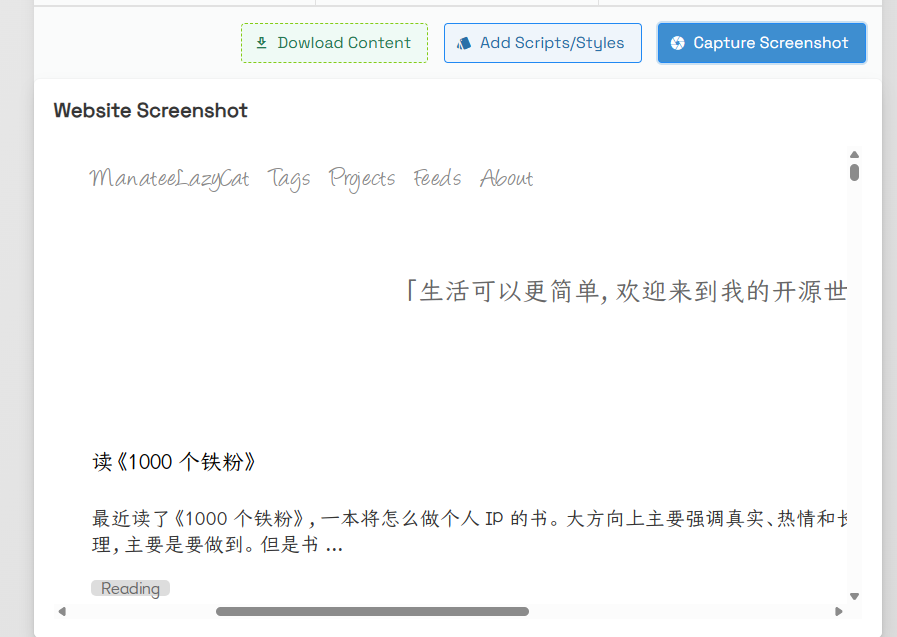
Using Mr. Wang's blog as an example: https://manateelazycat.github.io/index.html
Note: If you have a proxy enabled, you must disable it, otherwise the capture will fail.
Summary
Website-shot's advantages are that it's open-source, free, and relatively feature-complete, making it suitable for most use cases.
If you only need occasional screenshots, a browser extension might suffice. But if you require batch processing, customization, or prefer not to rely on third-party services, Website-shot is worth trying.